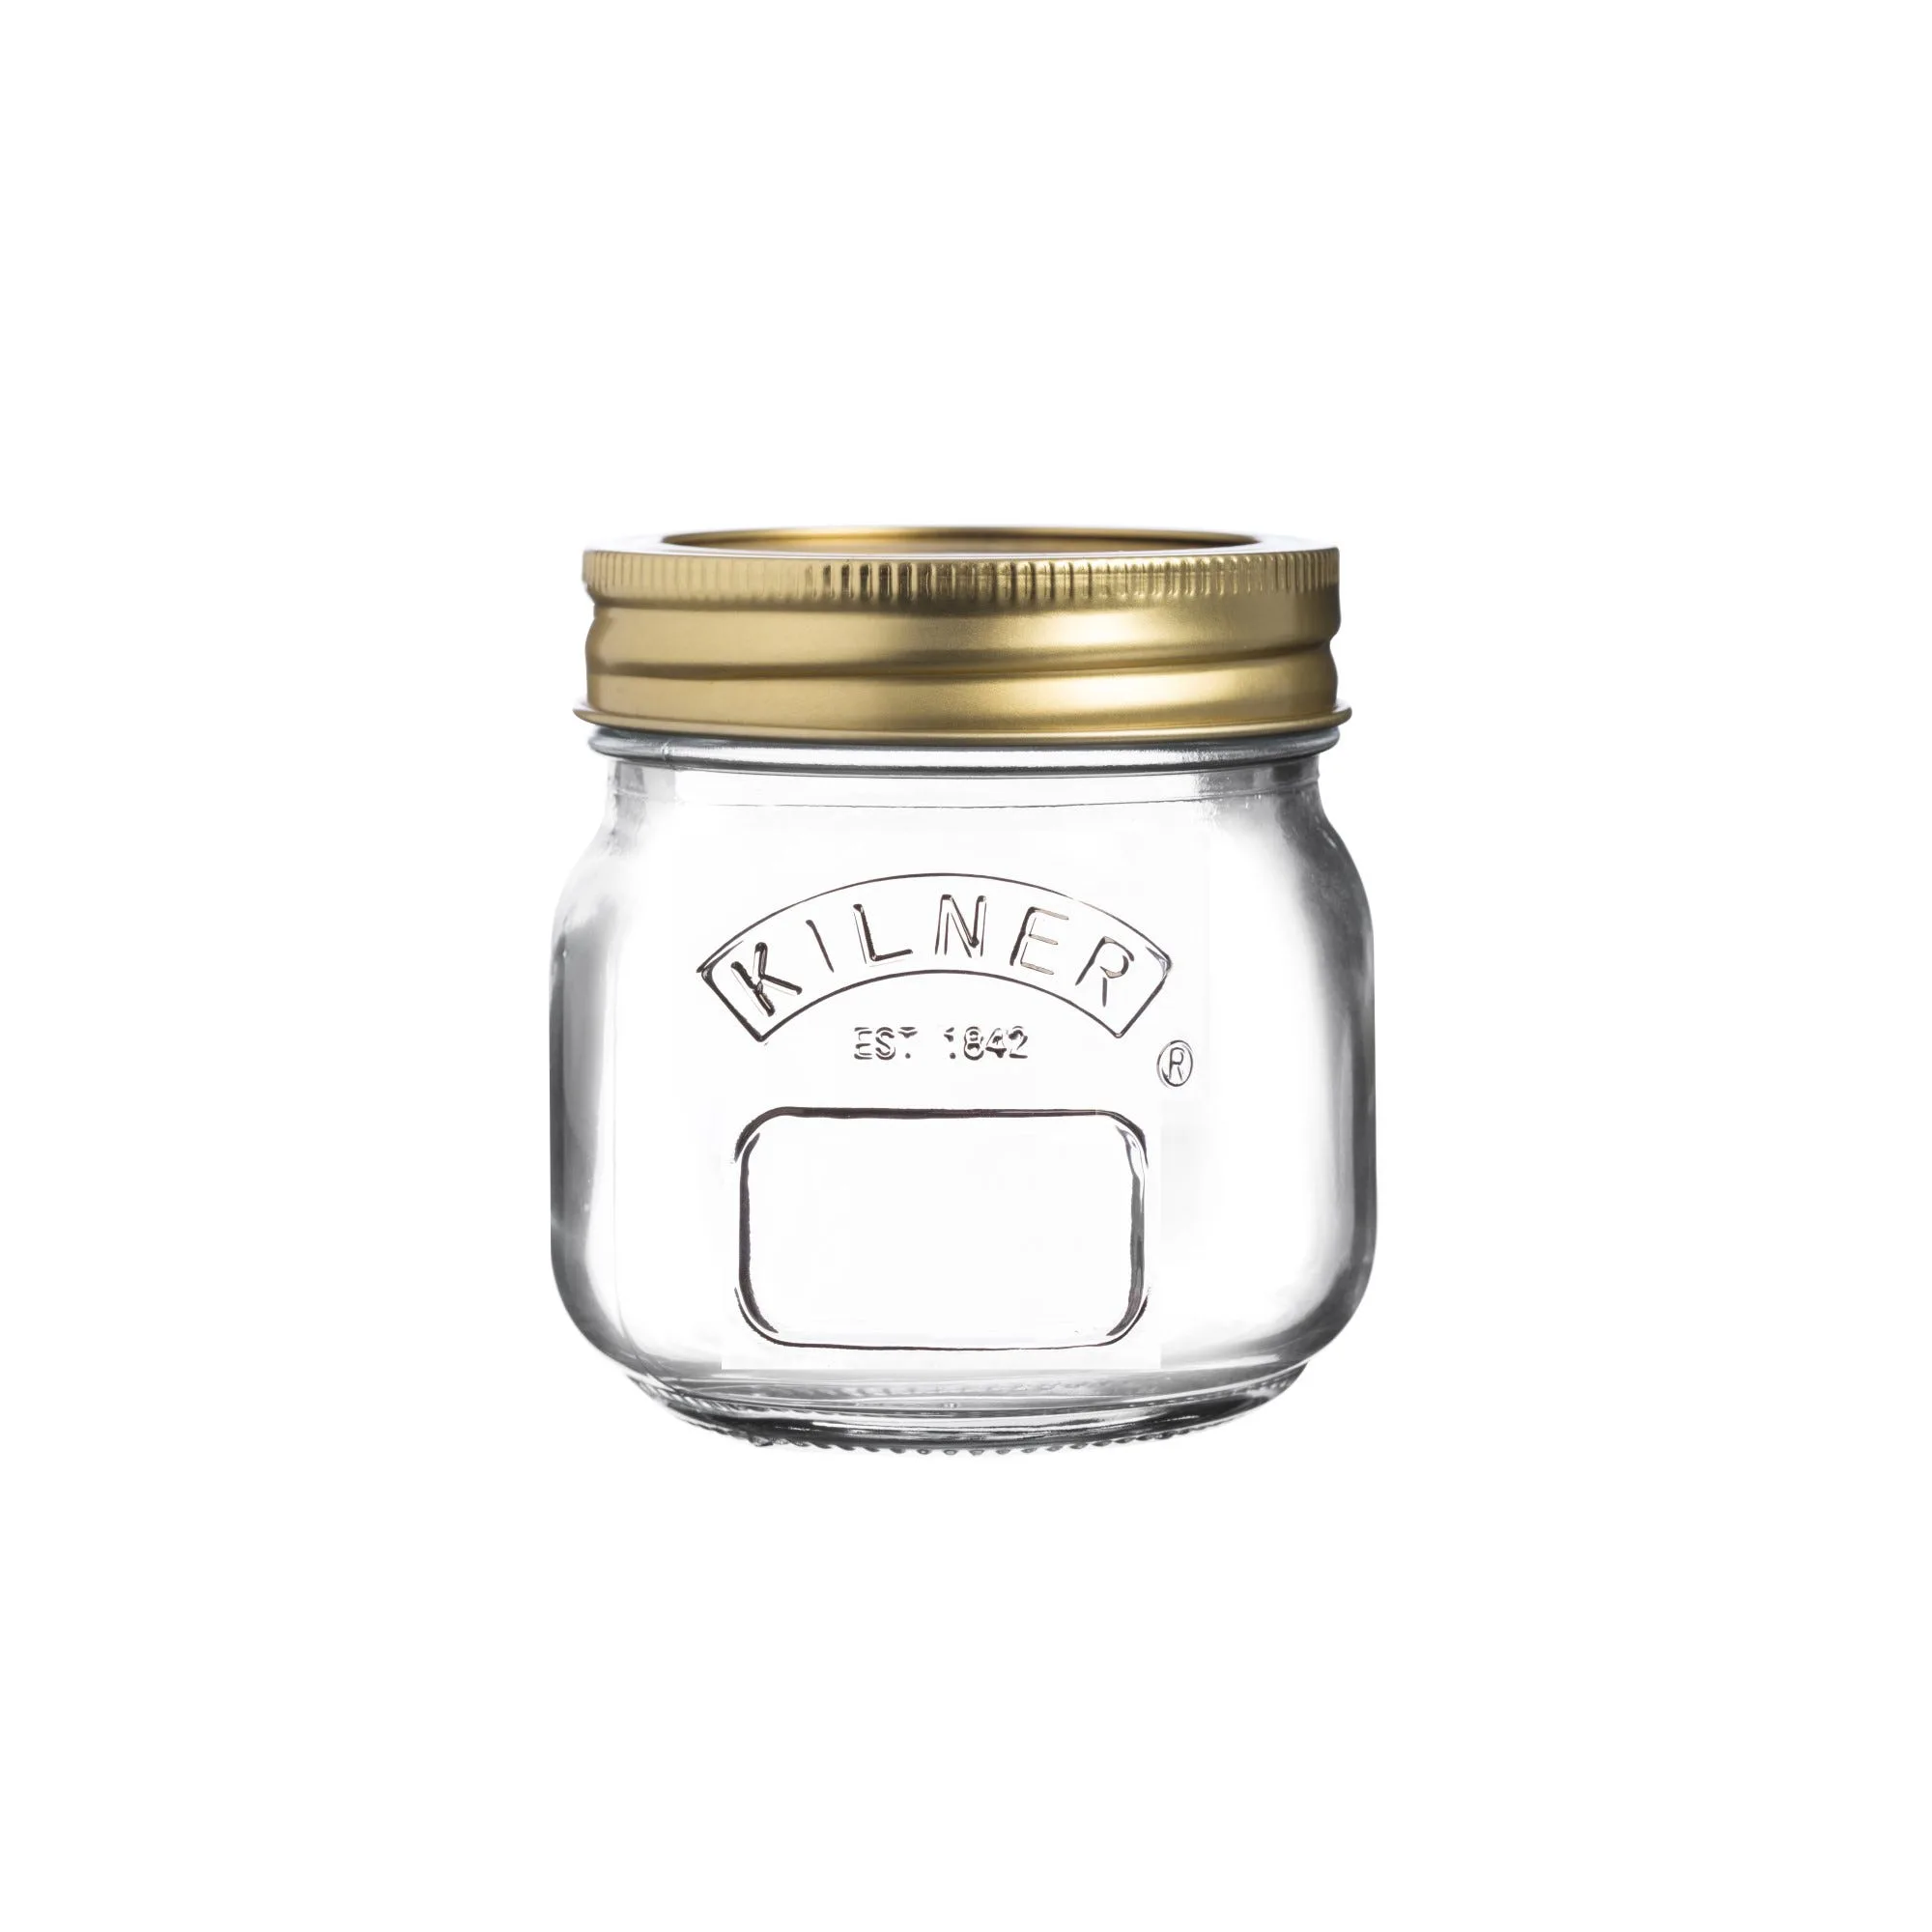
Preserving your own food is a rewarding way to enjoy seasonal flavors all year round, and Kilner® jars have been a trusted companion for home preservers for over a century. But the key to successful long-term storage lies not just in the jar itself, but in how you seal it. A proper seal ensures your preserves stay fresh, safe, and delicious for months—or even years.
In this guide, we'll walk you through the essential steps to properly seal Kilner® jars for long-term storage. Whether you're using classic clip-top jars or screw-top preserve jars, you'll learn the techniques that guarantee an airtight seal every time.
Understanding Kilner® Jar Sealing Mechanisms
Kilner® jars come in two main sealing styles: clip-top jars with rubber seals and screw-top jars with metal lids. Clip-top jars, like the Kilner® 1 Litre Preserve Jar, use a glass lid, a rubber seal, and metal clips to create an airtight closure. Screw-top jars, such as the Kilner® 0.25 Litre Preserve Jar, rely on a two-piece metal lid that forms a vacuum seal during processing.
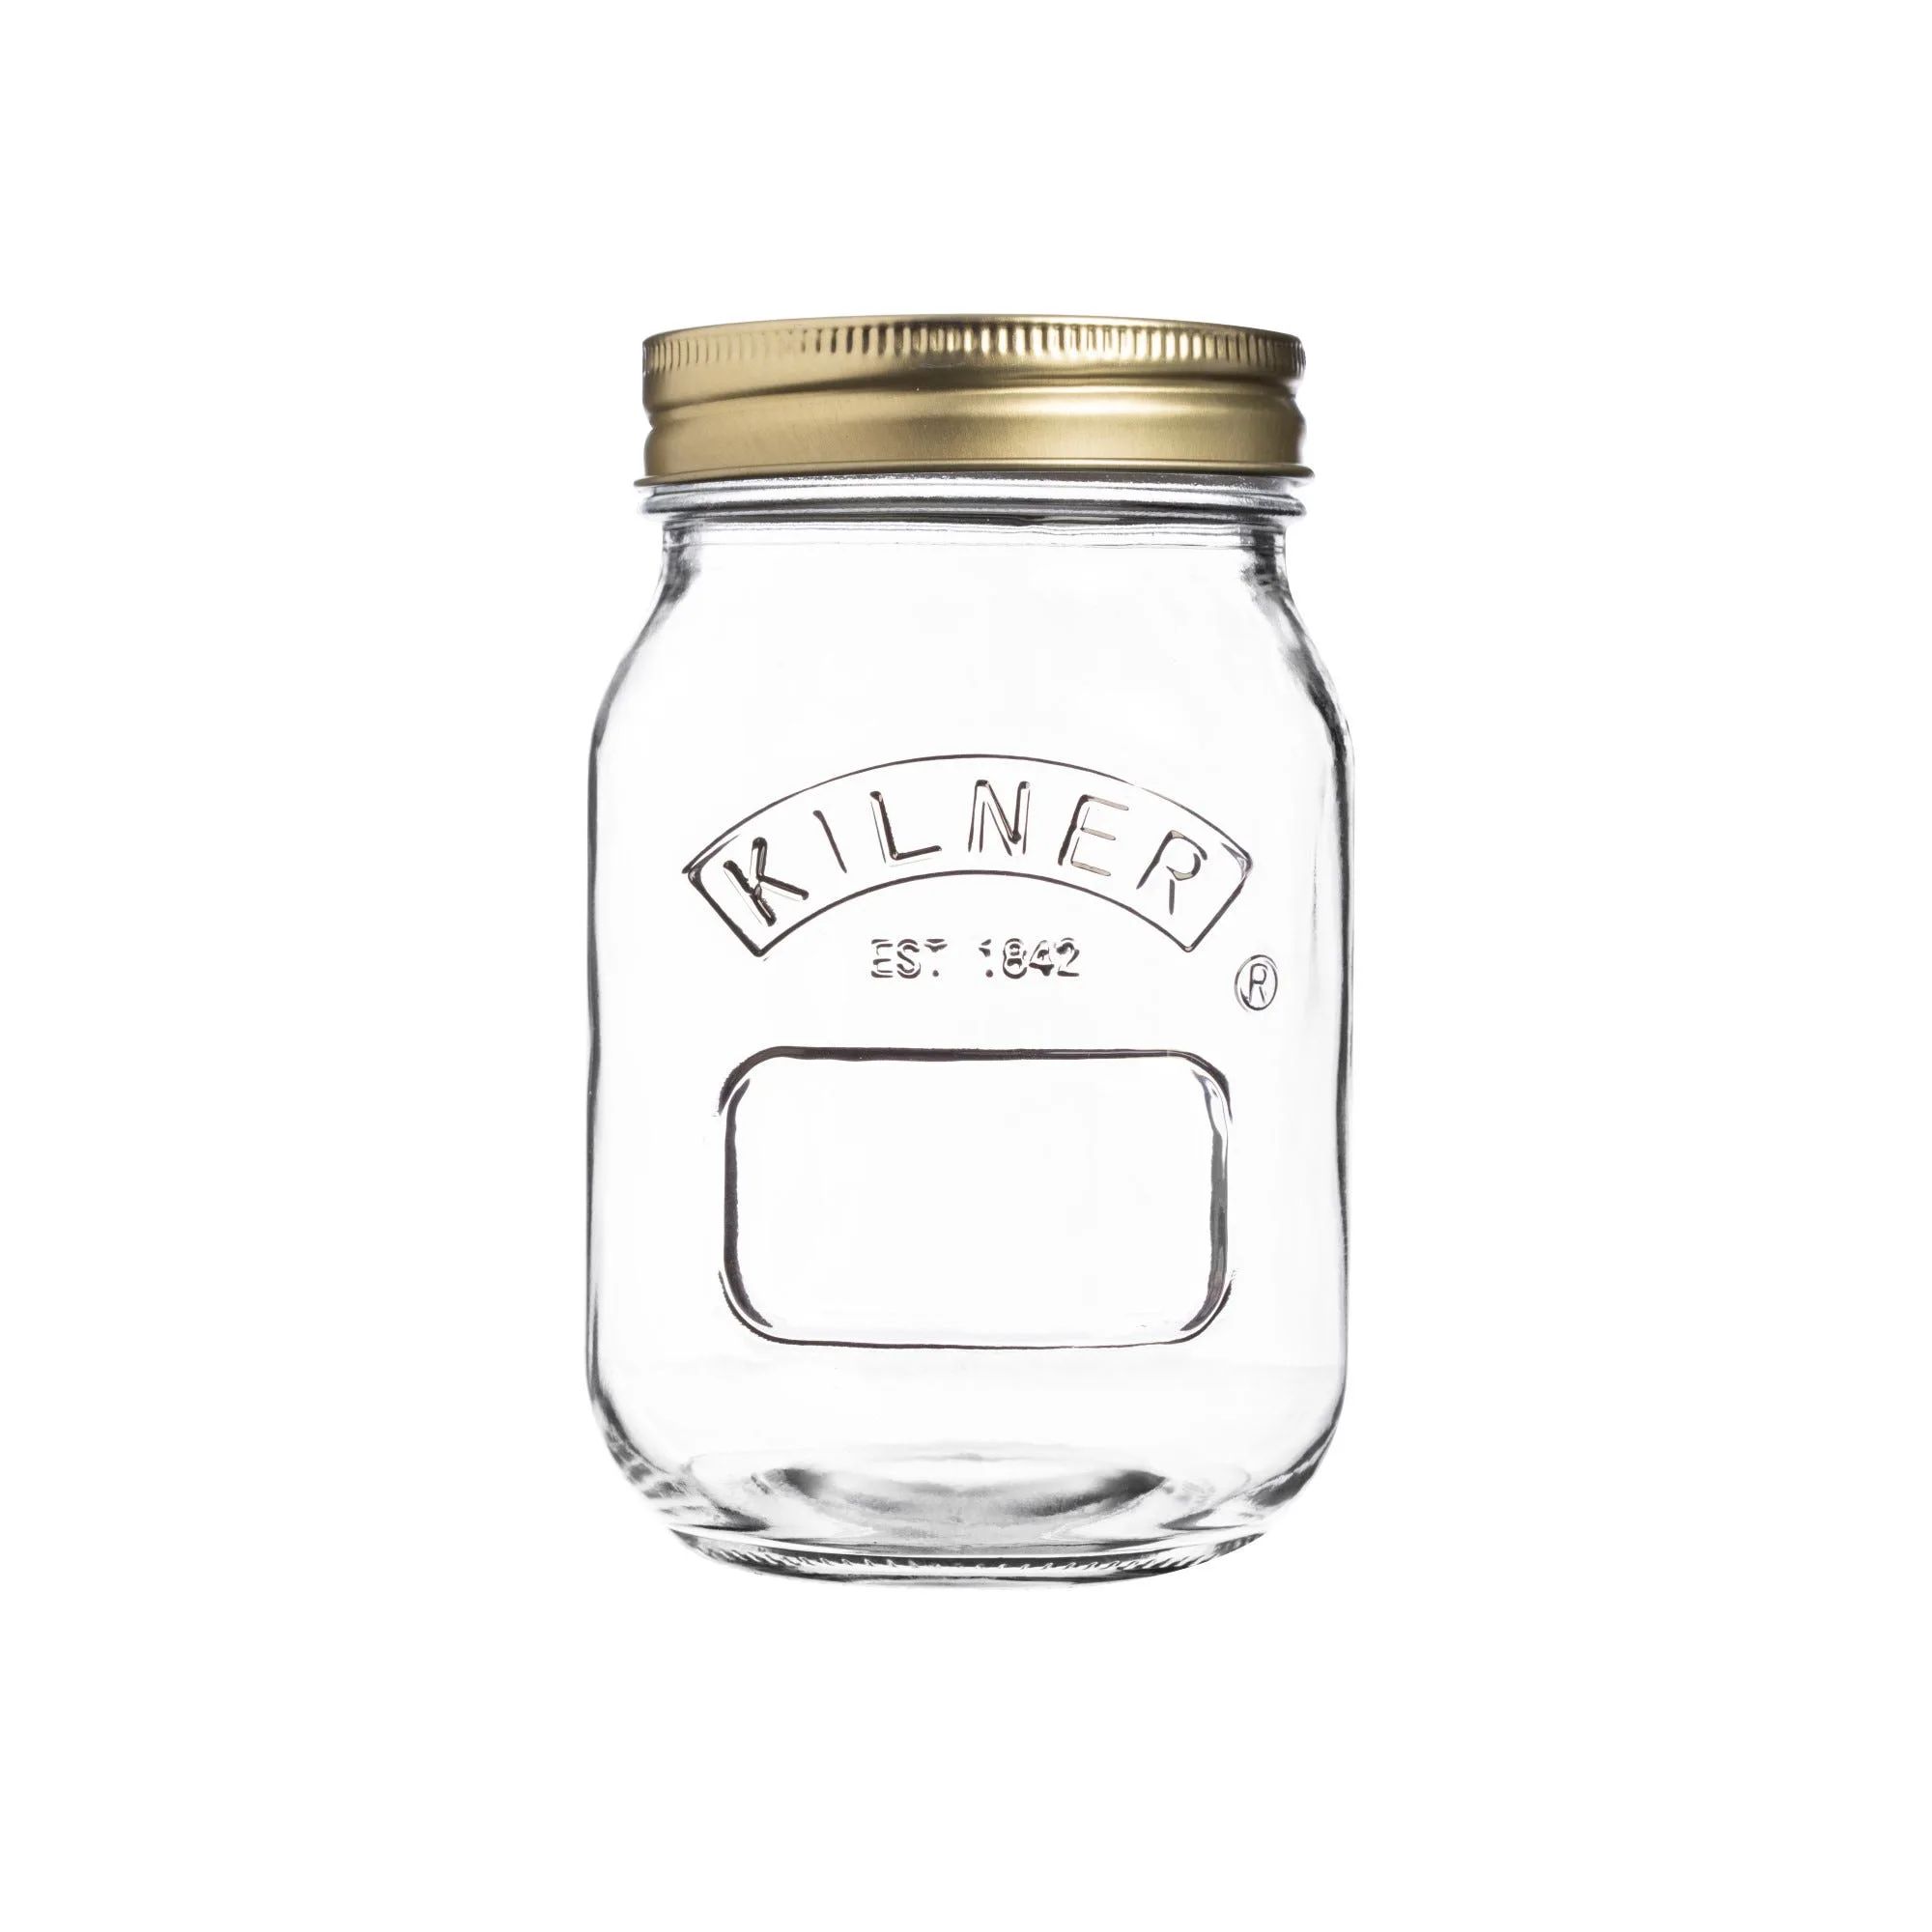
Kilner® 0.25 Litre Preserve Jar
Each mechanism requires slightly different handling, but the principles of cleanliness and proper technique remain the same. Understanding how your jar seals will help you troubleshoot any issues and ensure long-term storage success.
- Clip-top jars: glass lid, rubber seal, and metal clips
- Screw-top jars: metal lid with a sealing compound
- Both types are designed for repeated use with replacement seals
Step-by-Step Guide to Sealing Clip-Top Kilner® Jars
Clip-top jars are iconic for their distinctive look and reliable seal. To properly seal a clip-top jar for long-term storage, start by ensuring the jar, lid, and rubber seal are scrupulously clean. Wash them in hot, soapy water, rinse thoroughly, and allow them to air dry. The rubber seal must be free of any food particles or grease, as even a tiny residue can prevent an airtight seal.
When filling your jar, leave the recommended headspace (usually about 1 cm) to allow for expansion during processing. Wipe the rim of the jar with a clean, damp cloth to remove any food residue. Position the rubber seal on the lid, then place the lid on the jar and secure the metal clips. For water bath processing, place the jars in a canner with hot water and process according to your recipe. After processing, let the jars cool undisturbed. You should hear a 'pop' as the vacuum forms, indicating a successful seal.
If you're not heat processing, you can still achieve a seal by using the 'inversion' method (filling with hot food and immediately sealing) for high-acid foods like jams. However, for long-term storage, proper heat processing is recommended to ensure safety.
- Always use fresh, pliable rubber seals—replace them annually or if they show signs of wear.
- Leave proper headspace to prevent siphoning and ensure a good vacuum.
- Cool jars slowly on a towel-lined surface to avoid thermal shock.
How to Seal Screw-Top Kilner® Preserve Jars
Screw-top jars, like the Kilner® 1 Litre Preserve Jar, are a popular choice for jams, chutneys, and pickles. The sealing process is straightforward: fill the hot jar with your hot preserve, leaving the recommended headspace. Wipe the rim and threads with a clean, damp cloth to remove any stickiness that could prevent a proper seal. Place the lid on the jar and screw on the band just until fingertip-tight—do not overtighten, as air needs to escape during processing.
Process the jars in a water bath canner for the time specified in your recipe. Once processed, remove the jars and let them cool on a towel. As they cool, you'll hear the familiar 'pop' of the lid, and the center of the lid will become concave, indicating a vacuum seal. After 12 to 24 hours, test the seal by pressing the center of the lid—if it doesn't flex, the seal is good. Remove the bands and store the jars in a cool, dark place.
- Use new lids for each batch, as the sealing compound only works once.
- Fingertip-tight is key: too tight and air can't escape; too loose and the seal may fail.
- Label your jars with the date and contents before storing.
Testing Your Kilner® Jar Seals
After processing, it's crucial to verify that each jar has sealed properly. For clip-top jars, the glass lid should be slightly concave and the rubber seal should be pulled down against the rim. You can also gently press the center of the glass lid—if it doesn't move, the seal is secure. For screw-top jars, press the center of the metal lid; if it's concave and doesn't pop, the seal is good.
Another test is to remove the clips (for clip-top jars) or bands (for screw-top jars) and gently lift the jar by the lid. If the lid holds, the seal is strong. If a jar hasn't sealed, refrigerate it and use the contents within a few weeks, or reprocess it with a new lid and fresh processing time.
- Listen for the 'pop' during cooling—it's the sound of success.
- Check each jar individually; don't assume all seals are perfect.
- Store unsealed jars in the fridge and use promptly.
Maintaining Your Kilner® Jars and Seals for Reuse
One of the great advantages of Kilner® jars is their reusability. With proper care, your jars can last for decades. After emptying a jar, wash it thoroughly and store it with the lid and clips in place to prevent breakage. For clip-top jars, the rubber seals should be replaced periodically—the pack of 6 Rubber Seals For 0.35 2 Litre Clip Top Jars is a convenient way to keep spares on hand. Over time, rubber seals can lose elasticity, so inspect them before each use and replace if they feel stiff or cracked.
For screw-top jars, you'll need to purchase new lids for each use, as the sealing compound is single-use. However, the jars themselves are built to last, making them a sustainable choice for home preserving.
- Store jars with lids off or slightly ajar to prevent odors.
- Avoid sudden temperature changes, which can crack glass.
- Keep spare rubber seals in your pantry for emergency replacements.
Common Sealing Mistakes and How to Avoid Them
Even experienced preservers can encounter sealing failures. Common mistakes include overfilling jars, leaving food residue on the rim, using worn rubber seals, or overtightening screw bands. To avoid these, always follow your recipe's headspace instructions, wipe rims meticulously, and inspect seals before use.
Another frequent issue is not processing jars for the correct time. Under-processing can lead to spoilage, while over-processing can break the seal. Always use a reliable, tested recipe and adjust for altitude if necessary. If you're new to preserving, start with simple recipes and practice your technique.
- Use a clean, damp cloth to wipe rims—never use a dry cloth that can leave fibers.
- Don't skip the headspace; it's essential for creating a vacuum.
- Invest in a jar lifter to handle hot jars safely.
Properly sealing your Kilner® jars is the key to long-term storage success. Whether you prefer the classic clip-top design or the convenience of screw-top preserve jars, following these steps will help you create airtight seals that keep your homemade goods fresh and delicious. For all your preserving needs, explore our range of Kilner® jars and accessories, including replacement seals and versatile storage solutions, to ensure your pantry is always ready for the harvest.