Quick answer
Fasten a bustier set from the bottom hook upward while the bustier is in front of you, then rotate it to the back and adjust the straps. This keeps the hook and eye fastening aligned and makes a structured bustier set easier to put on for beginners.
Why the order of fastening matters
A bustier has a row of hooks and eyes down the back, and the boning gives it very little stretch. If you try to fasten it from the top or while it is already twisted around your body, the hooks pull sideways and the edges misalign. Starting at the bottom and working upward lets gravity hold the closed section steady while you connect the next pair.
This matters most on a first wear, when the fabric is still firm. Once the bustier has warmed to your body, the same order still saves time and reduces strain on the stitching.
When a bustier set feels too tight
A bustier should feel firm and supportive, not painful. You should be able to slide a finger under the band at the back and take a full breath without the top edge digging in. If you cannot fasten the middle hooks without pulling hard, go up a size or loosen the straps before forcing it.
Some beginners mistake compression for a good fit. A bustier that leaves red marks after ten minutes is too tight, even if it looks smooth in the mirror.
Step-by-step: putting on a bustier set
- Loosen the straps and open all hooks: Before you put the bustier on, undo every hook and eye and loosen the shoulder straps a few inches. Hold the bustier in front of you with the cups facing out and the hook side toward your stomach. Check that no hook is still closed before you start; a single closed hook will twist the whole back panel.
- Wrap the bustier around your ribcage: Bring the two back edges together behind you at waist level, keeping the bustier low enough that the bottom edge sits under your bust. If you cannot reach comfortably, fasten it in front first and then rotate it slowly. The bottom edge should rest against your ribcage, not on your hips; if it rides up, the bustier is too long for your torso.
- Fasten from the bottom hook upward: Close the lowest hook and eye first, then work upward one pair at a time. Pull each side gently toward the center rather than yanking the fabric. Stop when the top edge sits flat against your back without a gap. If the middle hooks will not meet without straining, do not force them; loosen the straps or size up.
- Adjust the shoulder straps: With the hooks closed, tighten each strap evenly until the bustier stays in place when you lift your arms. The straps should not dig into your shoulders or let the cups gape forward. Tighten one side at a time and check in a mirror; uneven straps are the most common reason a bustier set feels lopsided.
- Check the fit and breathe: Take a slow, deep breath and slide one finger under the back band. You should feel firm support with room to breathe. Sit down and stand up once; the bustier should not slide down or press into your ribs. If you feel pinching at the waist or numbness in your shoulders, undo the top hooks and readjust before wearing it out.
- Add the matching G-string last: Step into the G-string and settle it over the bustier's bottom edge so the waistband sits flat against your skin. Check that the side straps are not twisted. Put the G-string on after the bustier, not before, so the bustier's bottom edge does not catch on the string.
Product facts
-
Adela Floral Bustier Set: The Adela Floral Bustier Set is made from sheer mesh with embroidered floral motifs and has boning for shape and support. The boning is what gives structure, so fastening it flat against your body before rotating it keeps the shape from twisting.
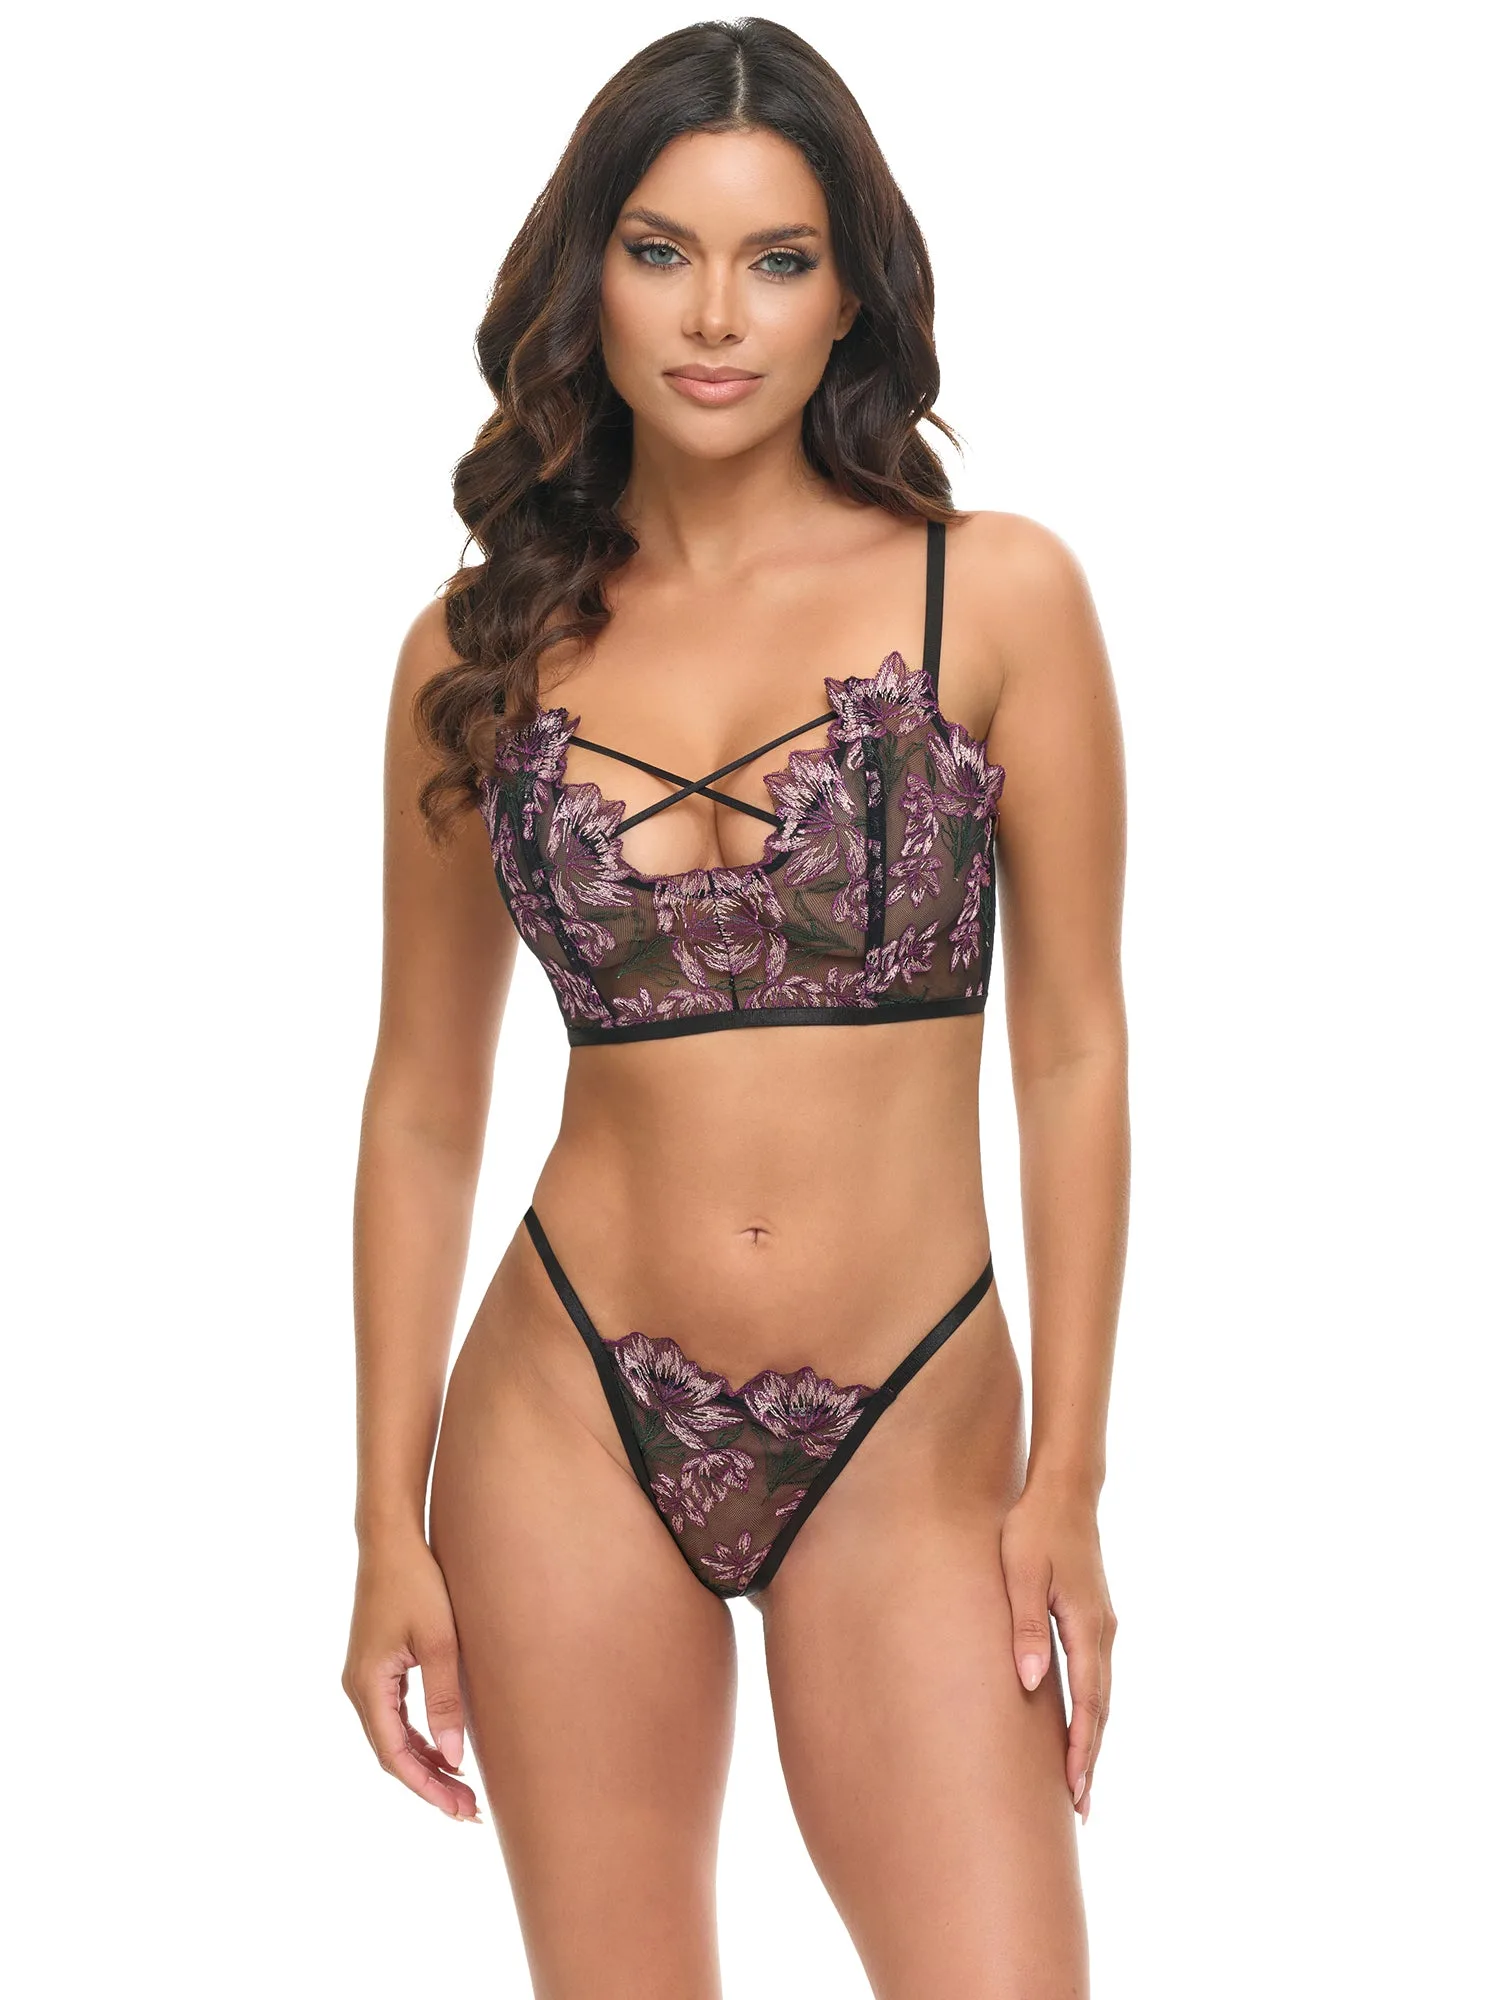
Adela Floral Bustier Set
-
Adela Floral Bustier Set: It has adjustable shoulder straps and a matching G-string. Adjust the straps after the hooks are closed, since strap tension changes once the bustier sits in place.