A well-maintained bird feeder is the key to a thriving backyard bird population. The 3-in-1 Nutrition Set from Birdbuddy makes it easy to offer seeds, suet, and nectar in one convenient station, but proper refilling and cleaning are essential to prevent mold, bacteria, and spoilage that can harm birds. In this guide, we'll walk you through the best practices for refilling and maintaining your 3-in-1 Nutrition Set so your feathered visitors stay healthy and return often.
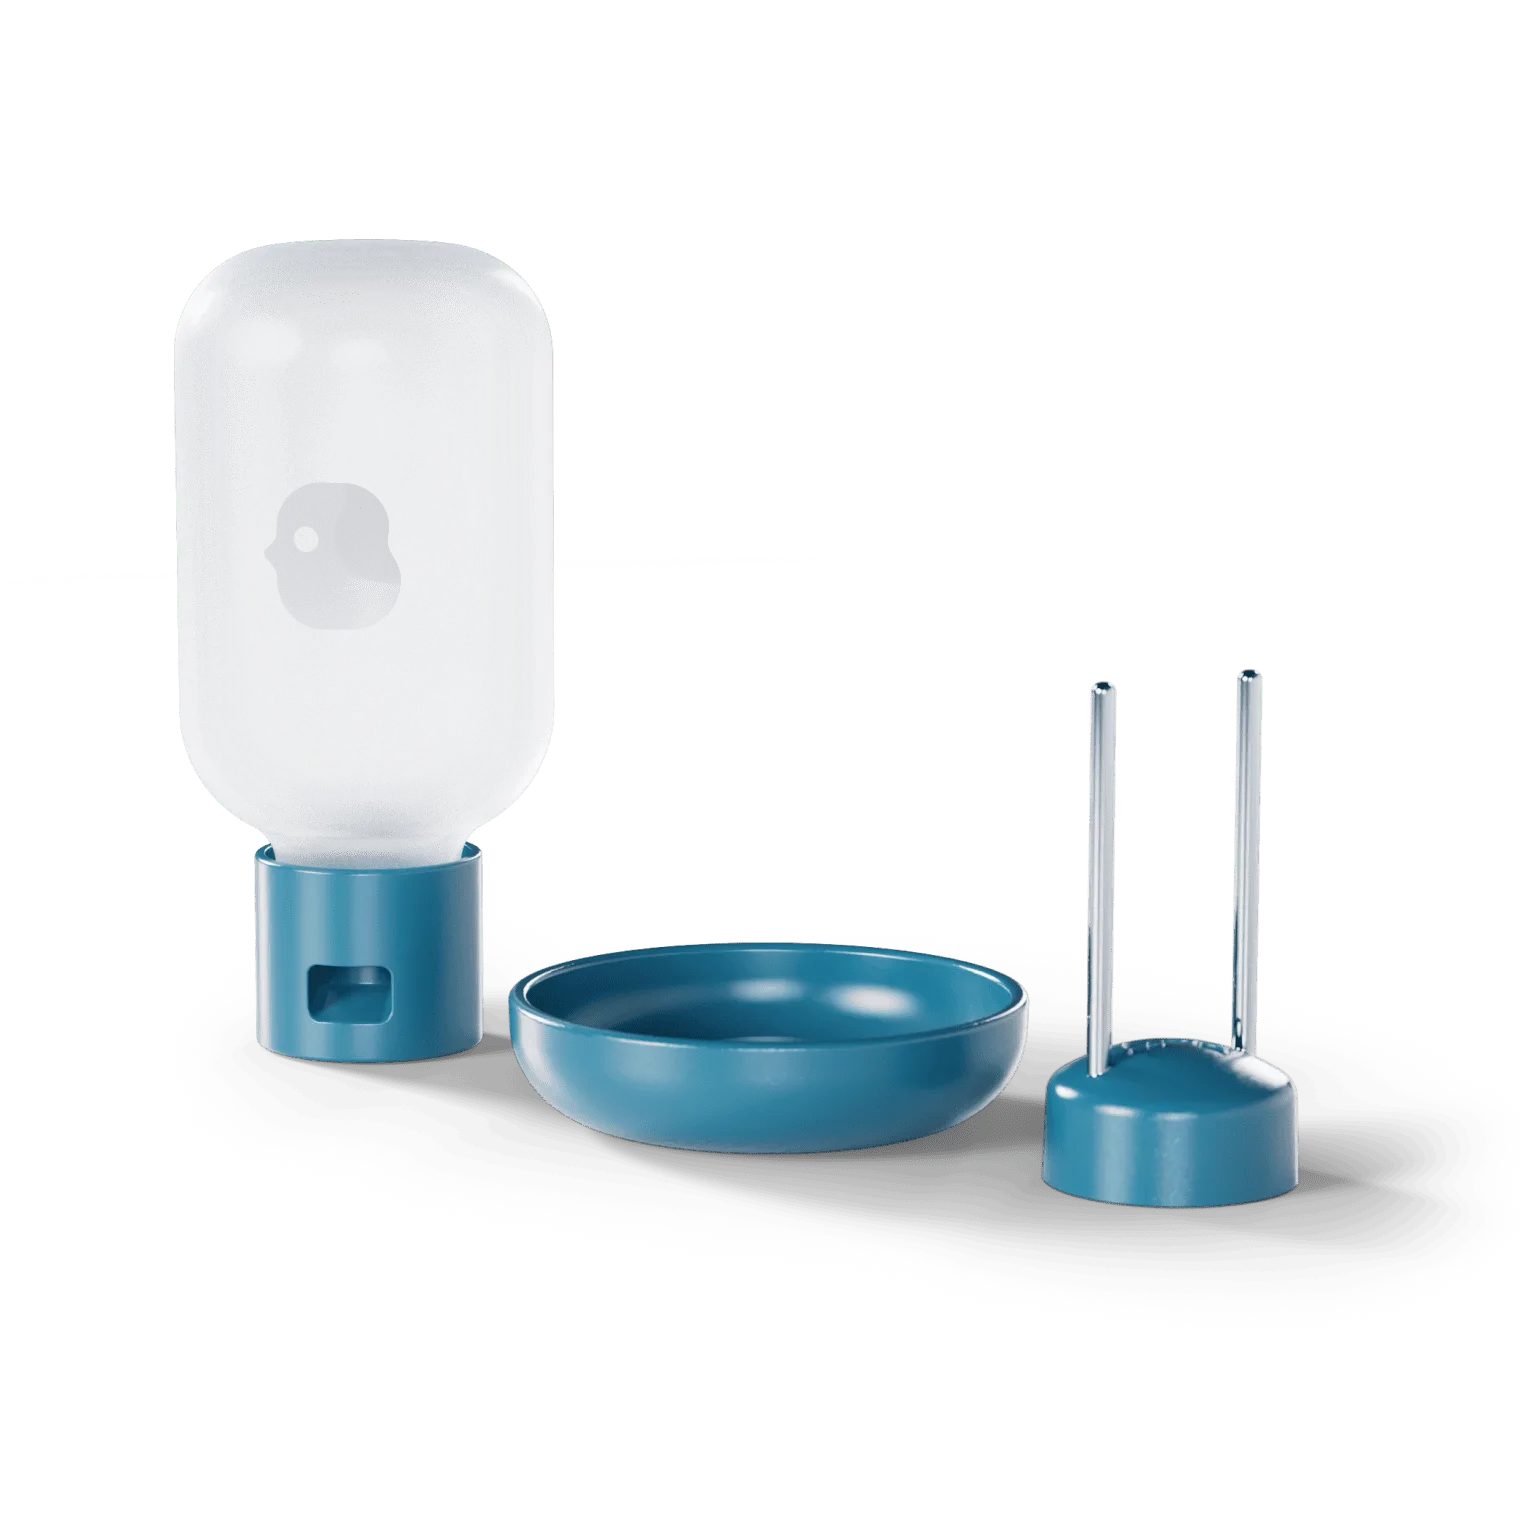
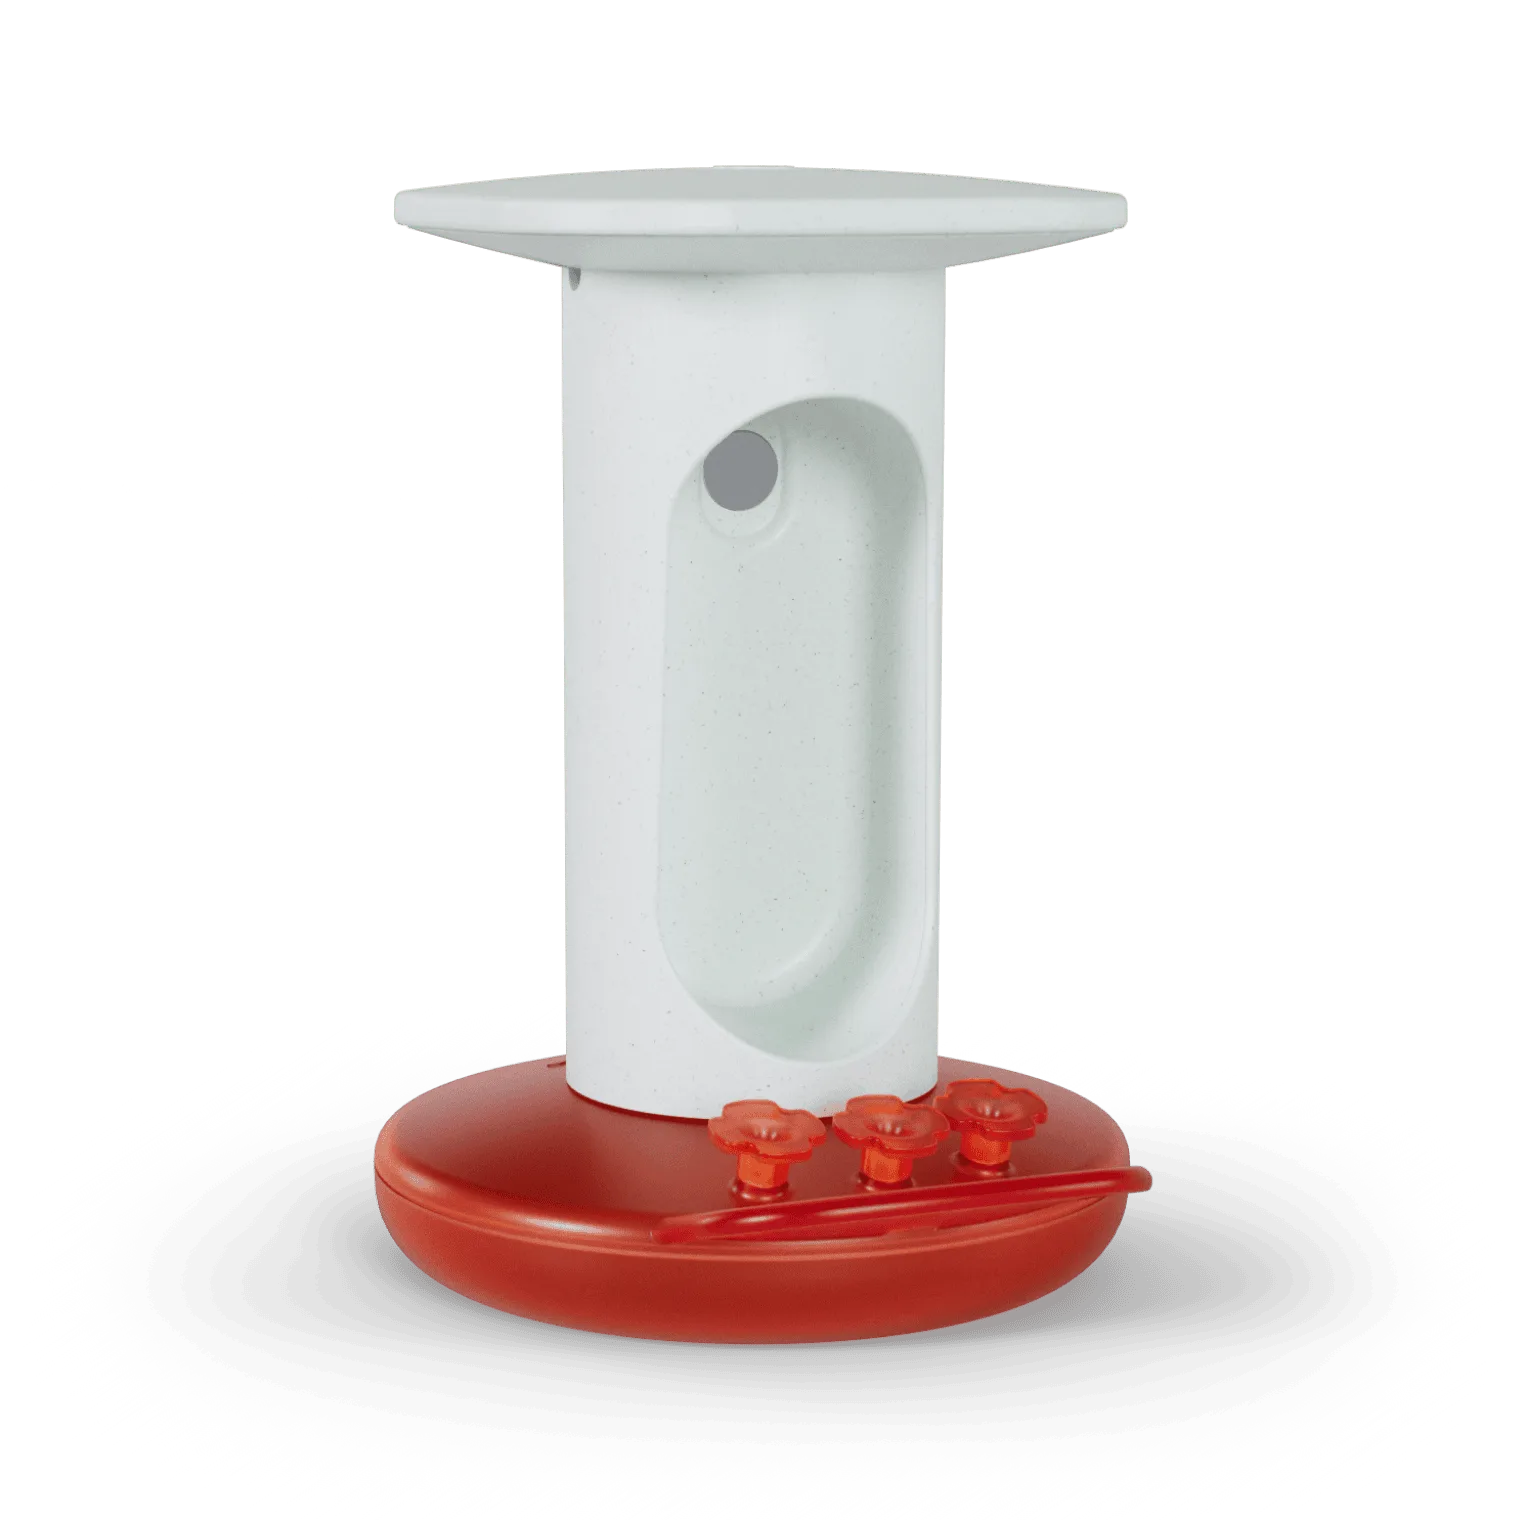
3-in-1 Nutrition Set
Whether you're a seasoned bird enthusiast or new to backyard birding, understanding how to care for your feeder will extend its life and ensure a safe feeding environment. Let's dive into the step-by-step process.
Why Proper Maintenance Matters
Birds rely on clean, fresh food sources, especially during migration and breeding seasons. A neglected feeder can become a breeding ground for harmful bacteria like Salmonella and E. coli, which can cause serious illness in birds. Moldy seeds or rancid suet can also be toxic. Regular cleaning prevents these issues and keeps your feeder looking great.
The 3-in-1 Nutrition Set is designed for easy disassembly, making maintenance straightforward. By following a simple routine, you'll provide a safe dining experience for chickadees, finches, woodpeckers, and hummingbirds alike.
- Prevents disease transmission among backyard birds
- Extends the life of your feeder components
- Ensures food stays fresh and appealing
Step 1: Disassemble the 3-in-1 Nutrition Set
Before refilling, take the feeder apart completely. The 3-in-1 Nutrition Set consists of three separate compartments: one for seeds, one for suet (or mealworms), and one for nectar (or jelly). Each compartment should be removed and cleaned individually. Refer to your product manual for specific disassembly instructions, but generally, the compartments slide or twist off easily.
Place all removable parts on a clean towel. Inspect for any signs of mold, cracks, or wear. If any part is damaged, consider replacing it to maintain a safe feeding environment.
Step 2: Clean Each Compartment Thoroughly
Use hot, soapy water and a dedicated bottle brush or sponge to scrub all surfaces. Avoid using bleach or harsh chemicals, as residues can be harmful to birds. For stubborn mold or debris, a solution of one part white vinegar to nine parts water works well as a natural disinfectant. Rinse thoroughly with clean water and allow to air dry completely before refilling.
Pay special attention to crevices and drainage holes where moisture can accumulate. The nectar compartment should be cleaned more frequently, especially in warm weather, to prevent fermentation and mold growth.
- Clean every 1-2 weeks in moderate weather, weekly in hot/humid conditions
- Use a small brush to reach tight spots in the nectar reservoir
- Dry all parts completely to avoid diluting fresh food
Step 3: Refill with Fresh Food
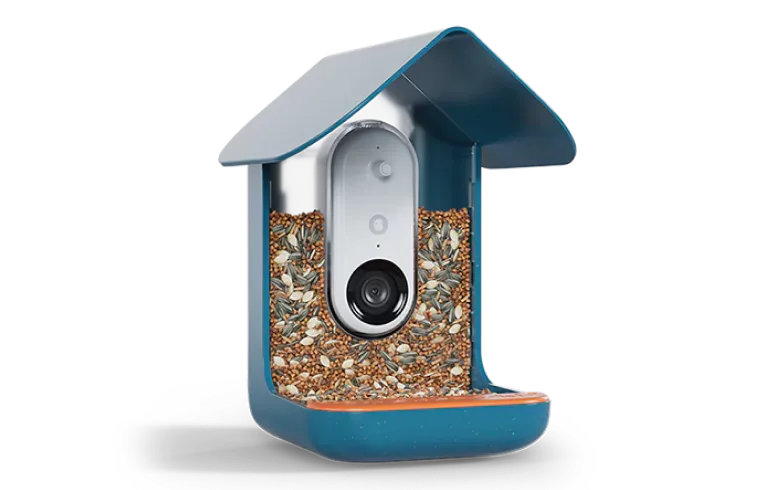
Once the feeder is dry, it's time to refill. For the seed compartment, use high-quality birdseed mix appropriate for your local birds. Avoid fillers like milo or red millet that many birds ignore. For the suet compartment, choose a suet cake or plug that fits snugly. The 3-in-1 Nutrition Set works well with standard suet cakes or the Suet Ball Holder accessory if you prefer a different format.
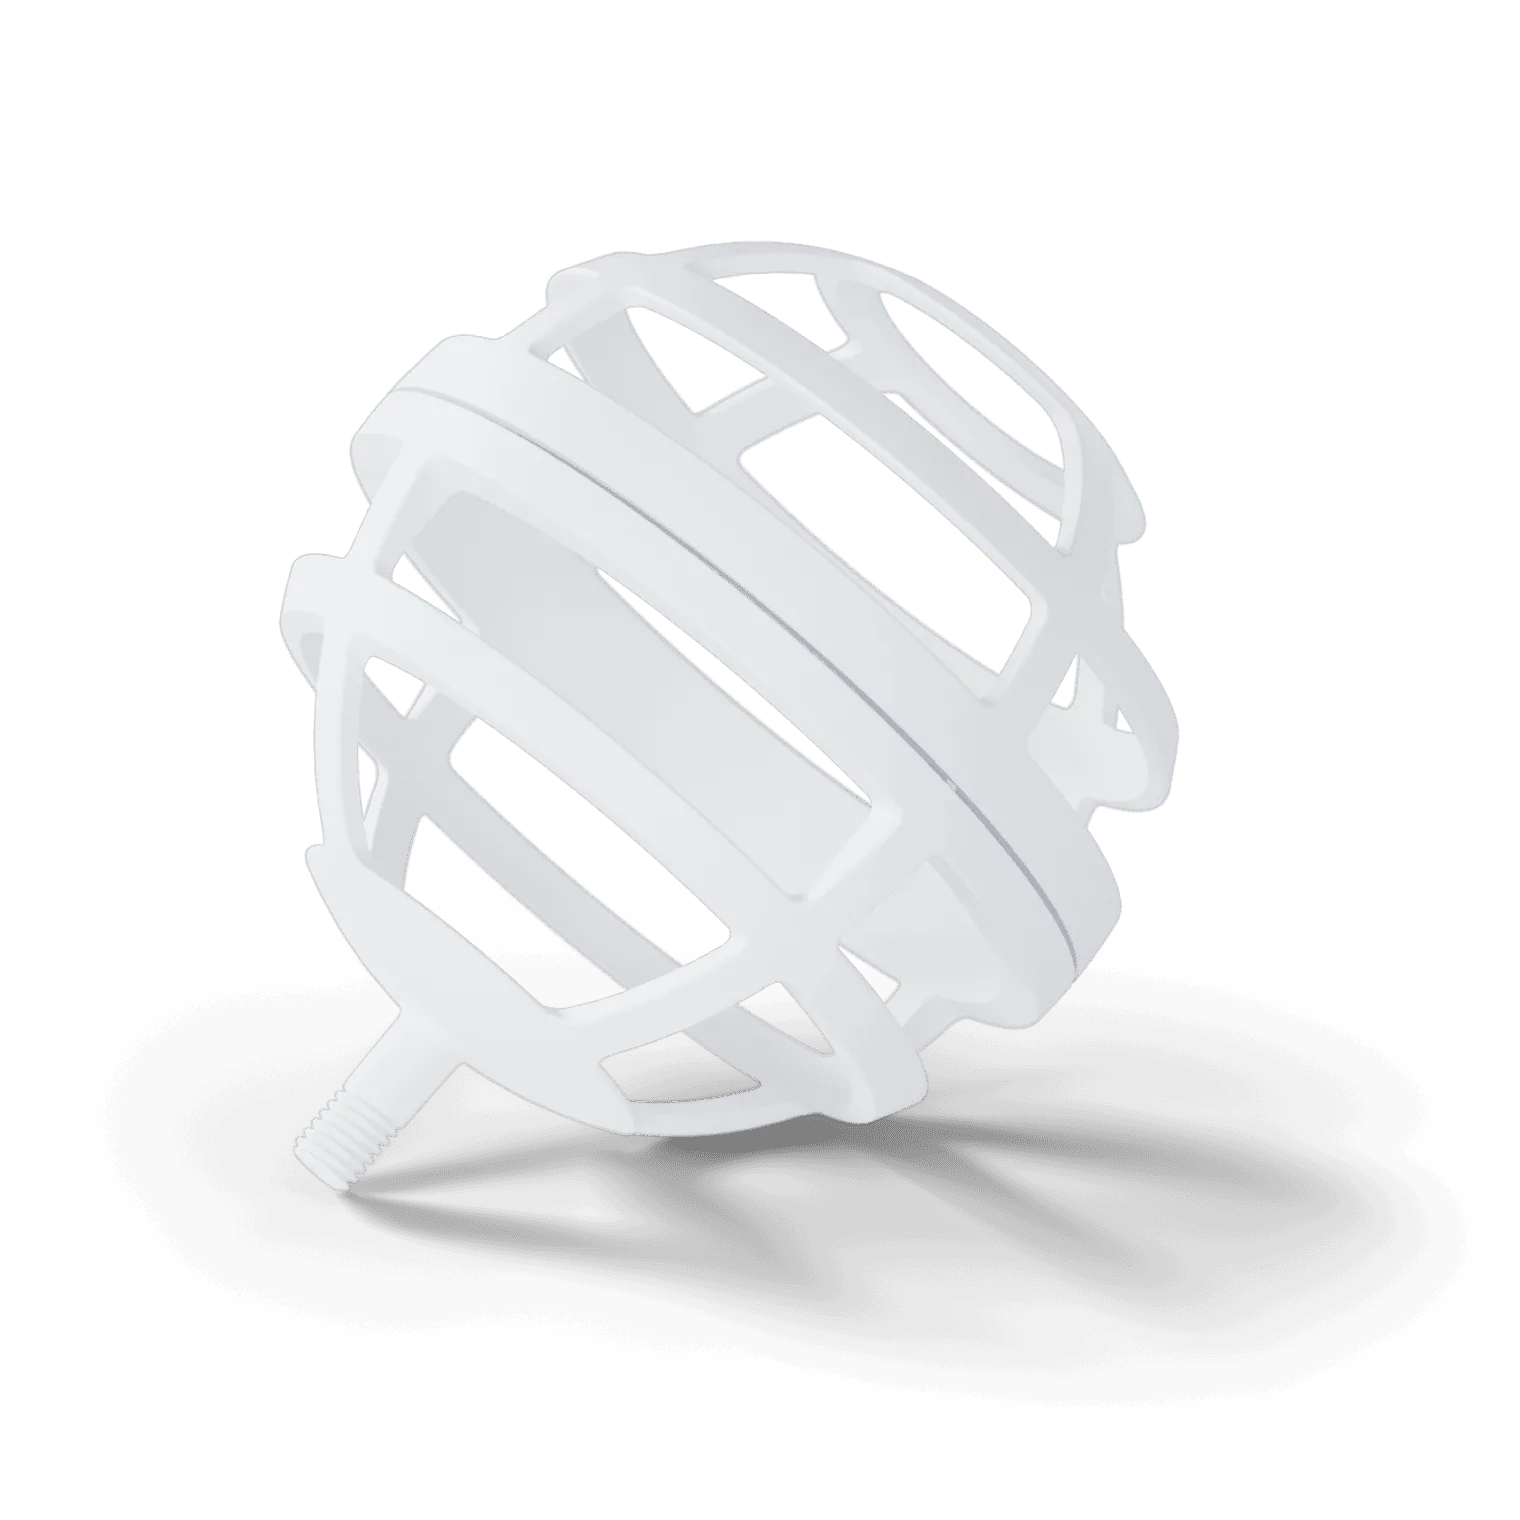
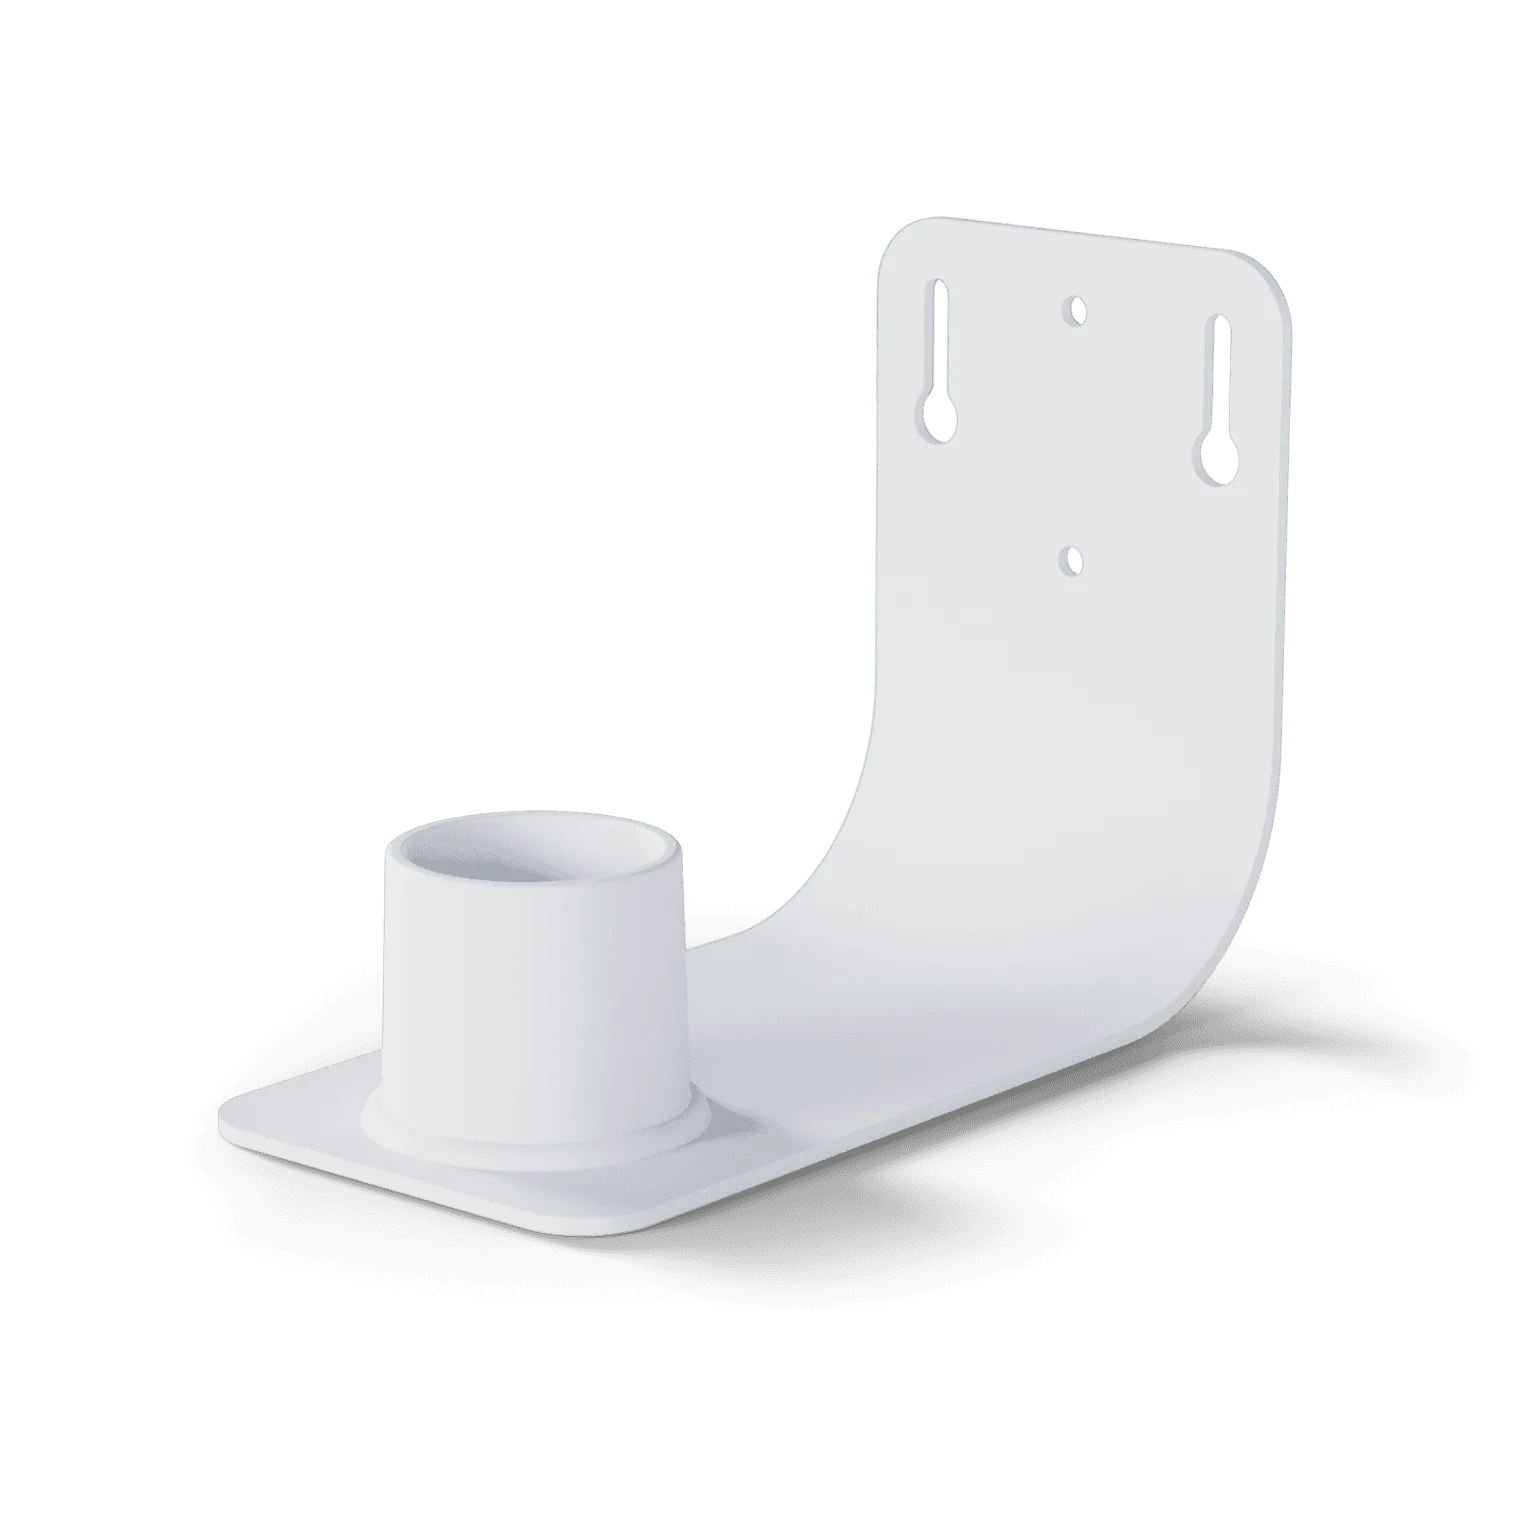
Suet Ball Holder
For the nectar compartment, prepare a simple sugar solution: one part white granulated sugar to four parts water. Boil the water to dissolve the sugar, then let it cool before filling. Never use honey, artificial sweeteners, or food coloring, as these can harm hummingbirds. Store any unused nectar in the refrigerator for up to two weeks.
- Do not overfill; leave a small gap to prevent spillage
- Replace nectar every 2-3 days in hot weather
- Rotate seed types seasonally to attract a variety of species
Step 4: Reassemble and Hang Your Feeder
After refilling, reassemble the compartments in the correct order. Ensure all locks or clips are securely fastened to prevent squirrels or weather from dislodging parts. Hang the feeder in a location that is visible from your window but sheltered from strong winds and direct afternoon sun, which can spoil food faster.
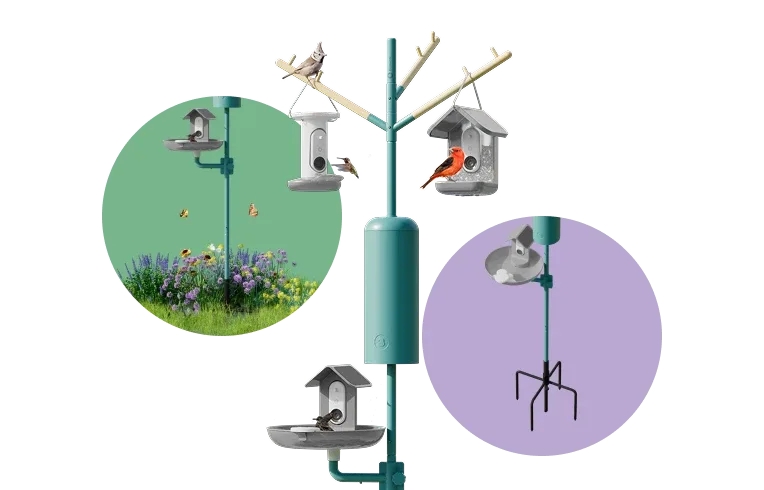
Consider placing the feeder near natural cover like shrubs or trees to give birds a quick escape route from predators. The 3-in-1 Nutrition Set can be used as a standalone feeder or integrated with the Nature Station Essential for a complete feeding station experience.
Maintenance Schedule and Tips
To keep your 3-in-1 Nutrition Set in top condition, follow this simple schedule:
Daily: Check food levels and remove any debris or wet seed. Wipe down perches if they become soiled.
Weekly: Disassemble and clean all compartments with soap and water. Rinse and dry thoroughly.
Monthly: Inspect for wear and tear. Replace any cracked or warped parts to maintain a tight seal against moisture.
Seasonally: Deep clean with a vinegar solution and store the feeder in a dry place during extreme weather if not in use.
- Keep a spare set of nectar or suet on hand for quick refills
- Monitor for ants or bees; use an ant moat if needed
- Record which birds visit to adjust your food offerings
Maintaining your 3-in-1 Nutrition Set is simple and rewarding. By keeping it clean and filled with fresh food, you'll attract a diverse array of birds and support their health year-round. For a complete feeding station that combines this feeder with other essentials, check out the Nature Station Essential to create a backyard bird haven.