Quick answer
Warm the emblem with a hair dryer or heat gun on low, slide fishing line or dental floss behind it, and peel it away slowly. Clean the adhesive residue with isopropyl alcohol, then align and press the new badge into place. The whole job takes about 20 to 30 minutes and needs no special tools.
Removing a Tesla emblem is less about force and more about heat, patience, and keeping your paint safe. Whether you are replacing a faded badge or going for a clean debadged look on a Model 3, the process is the same across most Teslas.
This guide walks through the full sequence: gathering tools, heating the adhesive, separating the badge, cleaning the surface, and installing the replacement. It also covers the mistakes that cause scratched paint or crooked badges, and how to avoid them.
Gather the right tools before you start
You do not need a body shop to remove a Tesla emblem. A heat source, some fishing line or dental floss, and a plastic trim tool will handle most of the work. The key is having everything within reach so you are not holding a hot badge while searching for a rag.
Work in a shaded area on a cool panel. Direct sun makes the adhesive gummy and the paint hot, which makes control harder. If you are working outside, early morning or evening is easier on both you and the finish.
- Heat gun on low or a hair dryer on high
- Fishing line (20 lb test) or unwaxed dental floss
- Plastic razor or trim tool
- Isopropyl alcohol and a microfiber towel
- Painter's tape for alignment marks
Warm the adhesive without cooking the paint
Hold the heat source a few inches from the emblem and move it constantly for 30 to 60 seconds. The badge should feel warm to the touch, not hot. If you can comfortably hold your hand on the panel, the temperature is right.
A common mistake is focusing heat on one spot until the adhesive bubbles or the paint feels too hot to touch. That is how you end up with lifted clear coat or a warped badge. Keep the heat moving and check often.
- Checkpoint: the badge should slide slightly when you nudge it with a plastic tool.
- If it does not move, add more heat in short bursts rather than pulling harder.
Separate the emblem with line or floss
Slide fishing line or floss behind one corner of the badge and work it back and forth in a sawing motion. Keep the line flat against the panel and pull it through the adhesive rather than upward. This separates the badge from the paint without levering against it.
For thicker emblems, you may need to work from both sides. If the badge has a locating pin, stop once the adhesive is cut and lift the badge straight off. Do not twist it, because that can chip paint around the hole.
- Mistake to avoid: prying with a screwdriver or metal tool. It will scratch the paint.
- If the line keeps breaking, the adhesive is still too cold. Reheat and try again.
Clean the adhesive residue completely
After the badge is off, you will see a ghost outline of adhesive. Roll the bulk of it off with your thumb or a plastic razor, then wipe the area with isopropyl alcohol. This removes the last of the sticky film and prepares the surface for the new badge.
Do not use acetone, paint thinner, or a heavy-duty adhesive remover on Tesla paint. Those can dull the clear coat. Isopropyl alcohol is strong enough for badge adhesive and evaporates cleanly.
- Let the alcohol flash off for a minute before installing anything.
- Checkpoint: the surface should feel smooth and look uniform under light.
Align and install the replacement badge
Before peeling the backing, set the new badge in place and mark the edges with painter's tape. Step back and look at it from a few angles. Once the adhesive touches the paint, you get one clean shot at positioning.
Peel the backing, press the badge down firmly for 30 seconds, and hold it steady. Avoid washing the car for at least 24 hours so the adhesive can cure. If you are installing a vinyl emblem overlay rather than a hard badge, the same alignment rule applies, but you can lift and reposition it slightly while the film is still tacky.
- Mistake to avoid: pressing too hard on a thin vinyl emblem and stretching it out of shape.
- Work in warm conditions. Cold adhesive does not bond well.
Debadging versus replacing: what to expect
If you are debadging a Tesla Model 3, the process ends after cleaning. The paint underneath is usually unfaded because the badge has been there since new, but on older cars you may see a slight outline. A light polish can blend that in.
If you are replacing a badge, choose a replacement that matches the curve of the panel. Flat badges on curved surfaces will lift at the edges over time. For small accent pieces like valve caps or interior trim, the same prep rules apply, but the stakes are lower.
- Debadging is reversible if you keep the original badge and fresh adhesive tape.
- Replacement badges with pre-applied 3M tape are the easiest to install cleanly.
Step-by-step badge removal and replacement
- 1. Park in shade and gather tools: Work on a cool panel with heat gun, fishing line, plastic razor, isopropyl alcohol, and microfiber towel within reach. Checkpoint: everything you need is on the ground next to you, not inside the car.
- 2. Heat the emblem evenly: Move a hair dryer or heat gun on low constantly for 30 to 60 seconds. The badge should feel warm, not hot. Mistake: holding heat in one spot until the paint is too hot to touch.
- 3. Cut the adhesive with line: Slide fishing line or floss behind the badge and saw it through the adhesive, keeping the line flat against the paint. Checkpoint: the badge lifts with light pressure. If it resists, reheat.
- 4. Remove residue with alcohol: Roll off the bulk of the adhesive with your thumb or a plastic razor, then wipe with isopropyl alcohol. Mistake: using acetone or paint thinner, which can damage clear coat.
- 5. Dry-fit and tape alignment: Set the new badge in place without peeling the backing. Mark edges with painter's tape and check from multiple angles. Checkpoint: the badge sits flat against the panel with no gaps.
- 6. Press and let it cure: Peel the backing, press firmly for 30 seconds, and avoid washing the car for 24 hours. Next step: if you are debadging, stop after step 4 and polish any ghost outline.
Products that help with badge and trim work
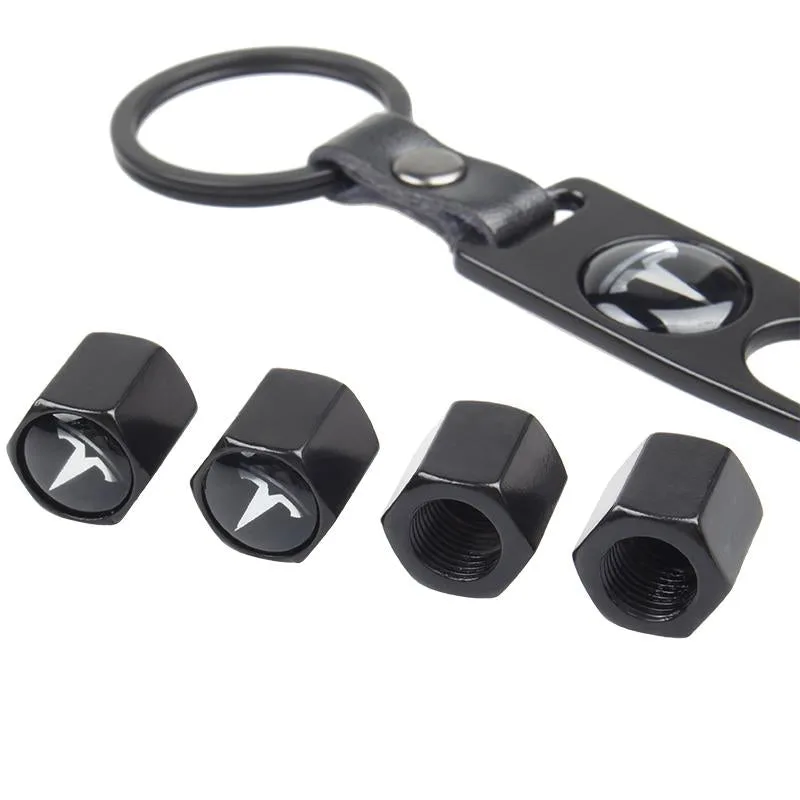
- Tesla Air Valve Caps (covers): Made from zinc alloy, these caps protect valves from dust and debris and will not rust. Aluminum caps can corrode or bond to the stems in salty or damp conditions. Supplied as a set of four with a removal tool. If you are already doing small exterior upgrades, zinc alloy caps avoid the corrosion problem that aluminum caps can cause on Tesla valve stems.
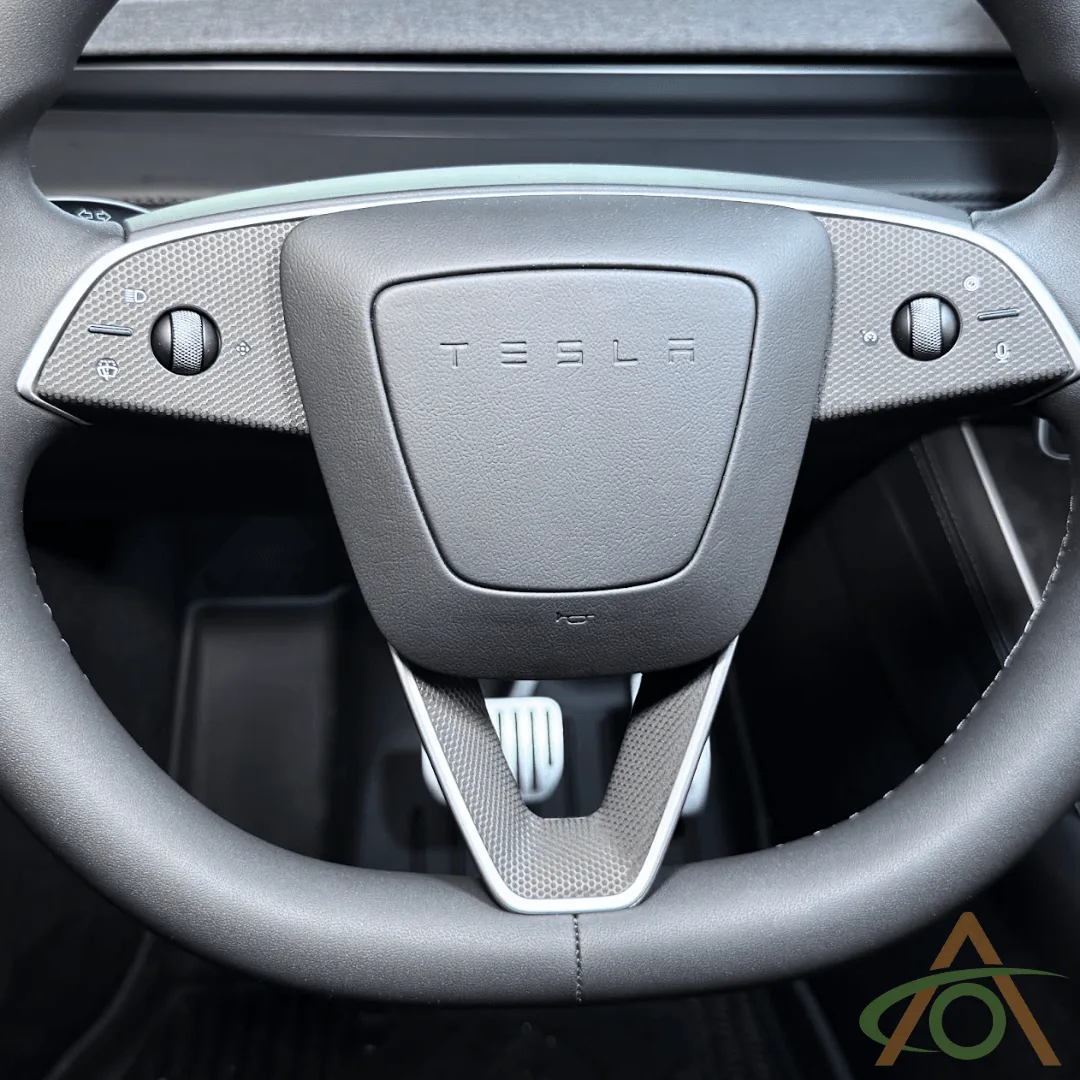
- Steering Wheel Wrap for Refreshed Model 3 (Highland): A vinyl wrap kit for the steering wheel with multiple colors and textures. Each kit includes everything needed for application, and the photos show a Refreshed Model Y wheel. This is a low-risk way to practice vinyl alignment and smoothing before tackling a larger exterior vinyl project.
Removing and replacing Tesla emblems is a straightforward DIY job when you use heat, line, and patience instead of force. Take your time with alignment, let the adhesive cure, and you will get a clean result without touching a body shop.