Quick answer
Most light scratches in vinyl wrap are marks in the top laminate, not cuts through the color layer. Start by cleaning the area, then try heat from a hair dryer or heat gun on low to relax shallow scuffs. If that fails, use a fine finishing polish by hand. Deep scratches that catch a fingernail or show the color underneath usually need a partial re-wrap of that panel or decal.
Vinyl wraps and decals take a beating. Road grit, shopping carts, tree branches, and even a dry microfiber towel can leave marks that look worse than they are. The good news is that many of those marks are surface-level and can be improved without replacing the whole panel.
This guide walks through a safe, ordered process for vinyl wrap scratch repair on Teslas, Rivians, and any other wrapped vehicle. You will learn how to diagnose the scratch, what tools actually help, and when a re-wrap is the smarter move. It also covers how to avoid making the damage worse, which is easy to do if you grab the wrong product.
First, figure out what kind of scratch you have
Before you touch anything, look at the scratch in good light and run a clean fingertip across it. If your nail does not catch, it is likely a surface scuff in the clear laminate. Those often respond to heat or light polishing. If your nail catches or you can see a different color underneath, the vinyl has been cut or worn through.
Another quick test: spray the area with water. If the scratch seems to disappear when wet, it is usually a surface mark. If it stays visible, the damage goes deeper. This matters because aggressive polishing on a cut scratch just widens it and dulls the surrounding finish.
- Do this test in shade, not direct sun, so you can actually see the mark.
- Check whether the scratch is on the vinyl or on a clear protection film layer on top of it.
Clean the area before you try any repair
Dirt trapped around a scratch will act like sandpaper if you start rubbing. Wash the panel with a pH-neutral car soap, rinse, and dry with a clean microfiber towel. If you have bug splatter or tar near the scratch, use a dedicated bug and tar remover first, then re-wash.
For vinyl wrap cleaning tips, keep it simple: no automatic brush washes, no abrasive compounds, and no petroleum-based solvents. A clean surface also lets you see whether the scratch is actually a scratch or just a residue mark from road film.
- Use two buckets or a fresh rinse bucket to avoid dragging grit back onto the panel.
- Dry with light pressure; pressing hard on a dry towel can add new scratches.
Try heat first for shallow scuffs
Vinyl has some memory. A hair dryer on medium or a heat gun on its lowest setting, held several inches away and kept moving, can relax shallow scuffs and light creases. Work in small circles for a few seconds, then stop and check. Do not hold heat in one spot or get close enough to make the vinyl too hot to touch.
If the mark fades, great. If nothing changes after a couple of passes, stop. More heat will not fix a cut, and it can lift edges or distort the film. Let the panel cool completely before deciding whether to move on to polishing.
- Keep the nozzle moving at all times; a stationary heat gun can burn or stretch vinyl fast.
- If the vinyl starts to look glossy or wavy, you have gone too far.
Polish only if the scratch is truly surface-level
For light swirls and haze, a fine finishing polish applied by hand with a soft foam pad can improve the look. Use very light pressure and work a small area, then wipe off residue with a clean microfiber. Do not use a heavy cutting compound or a rotary polisher unless you know the vinyl can take it.
Many vinyl films have a textured or matte finish. Polishing those can create a shiny spot that stands out more than the original scratch. On matte, satin, or textured wraps, heat and cleaning are usually safer than abrasives.
- Test polish on a small hidden area first, like the edge of a door or under the trunk lip.
- If the finish changes color or sheen, stop and wipe the area clean.
When to stop and re-wrap that section
If the scratch is deep, wide, or shows the base color, no amount of heat or polish will bring it back. At that point you have two realistic options: live with it, or replace that panel or decal. For small decals, replacement is often cheap and fast. For larger wraps, a partial re-wrap of the affected panel is usually more practical than redoing the whole car.
This is also a good moment to check whether the damaged piece was a protective decal rather than the wrap itself. Some scratches that look like wrap damage are actually on a replaceable vinyl insert or trim piece, which is a much easier fix.
- Order a spare if the product comes in a multi-pack, so you have a do-over on hand.
- If you are unsure whether the scratch is in the wrap or the paint, have a wrap installer look at it.
Step-by-step vinyl scratch repair
- Step 1: Diagnose the scratch: Clean the area, then run a fingernail across the mark and check it wet and dry. A scratch that disappears when wet or does not catch a nail is usually surface-level. Checkpoint: if the color underneath is visible, skip to step 5.
- Step 2: Wash and dry the panel: Use pH-neutral car soap, rinse thoroughly, and dry with a clean microfiber towel using light pressure. Common mistake: rubbing a dry panel with a dirty towel and adding new scratches.
- Step 3: Apply gentle heat: Hold a hair dryer or heat gun on low several inches away and keep it moving in small circles for a few seconds at a time. Checkpoint: if the vinyl feels too hot to touch or looks wavy, stop and let it cool.
- Step 4: Polish only shallow marks: Use a fine finishing polish by hand with a soft foam pad and light pressure, then wipe residue away. Common mistake: using a heavy compound or machine polisher on matte or textured vinyl.
- Step 5: Replace the damaged piece if needed: For deep scratches or decals that are cut through, order a replacement panel or insert and reinstall it rather than trying to hide the damage. Next step: keep a spare decal or insert on hand for the next inevitable scuff.
Products that make scratch repair easier
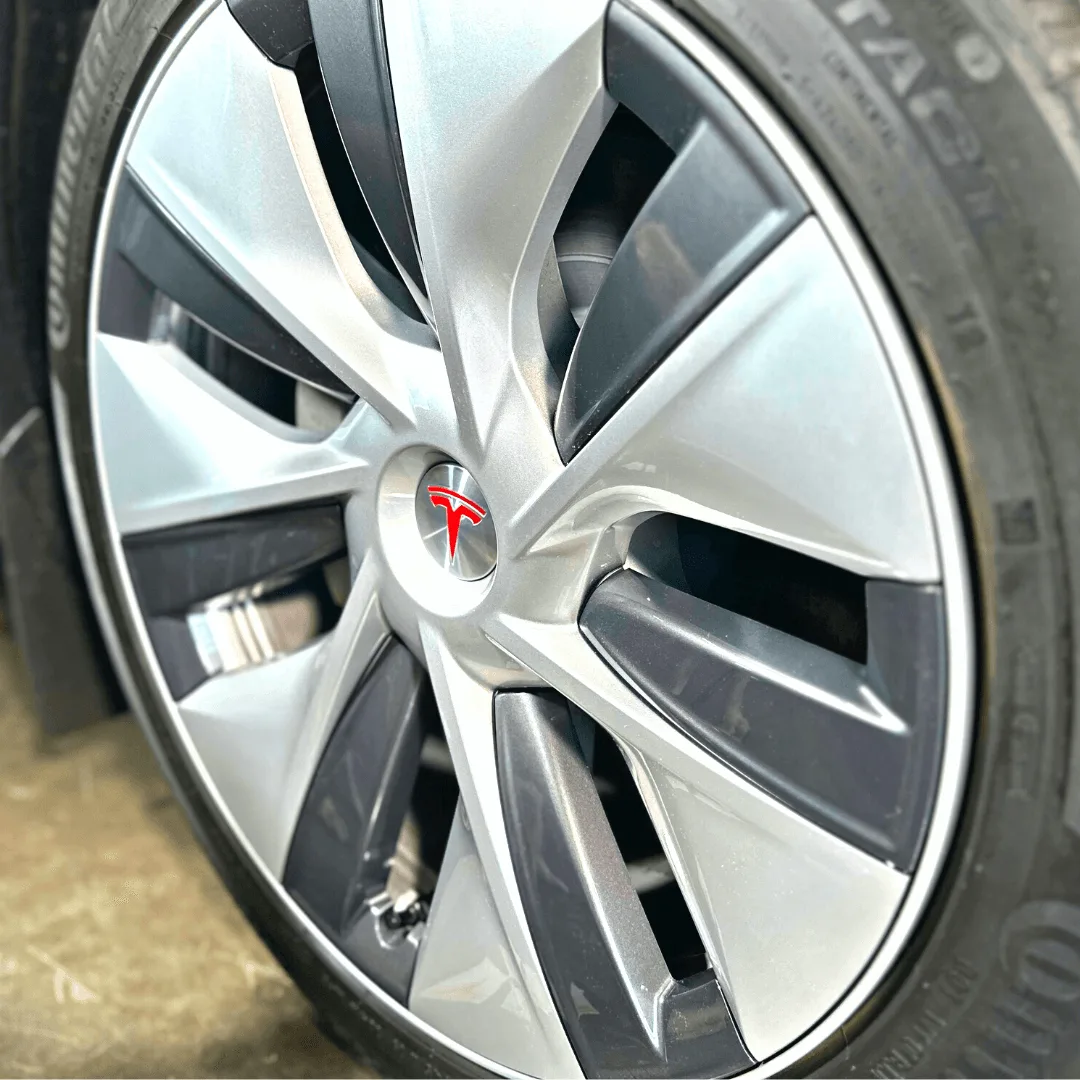
- Vinyl Wheel Decal Inserts (Most Tesla Models): This is a five-pack, one for each wheel, and a spare if you need a do-over. A cleaning wipe is also included, and they take just a few minutes to install. Wheel decals are exposed to the most road grit, so having a spare insert means a scratched one can be swapped in minutes instead of leaving the wheel looking uneven.
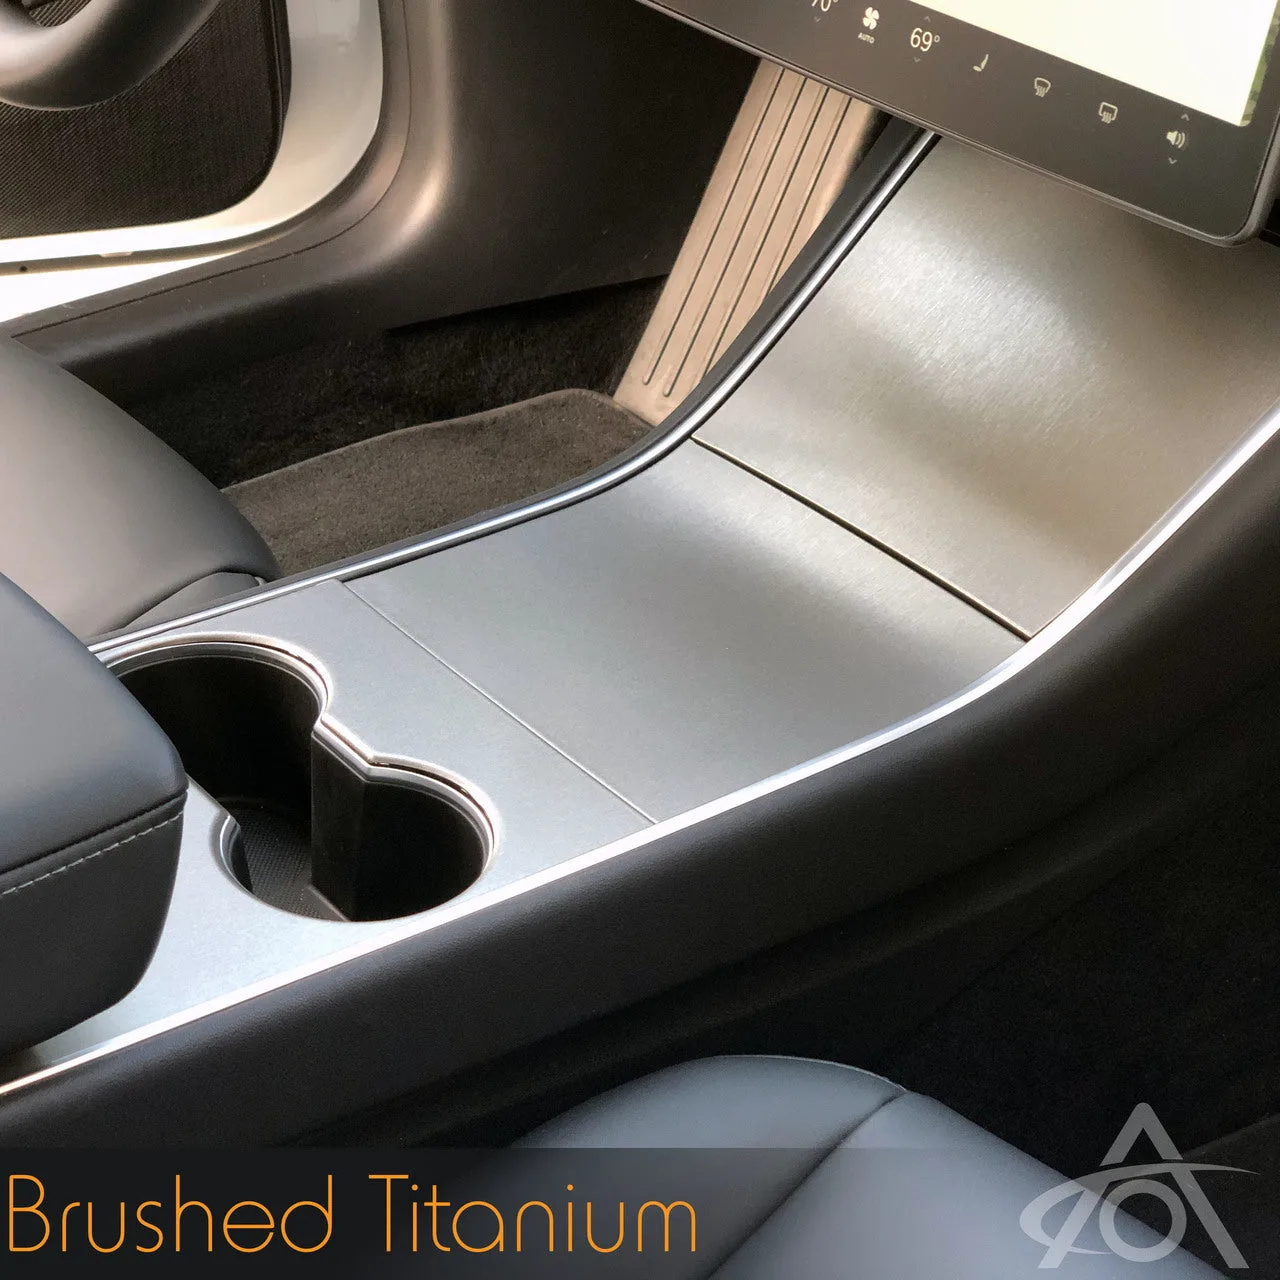
- Center Console Vinyl Wrap for Model 3 & Y (Gen 1 Center Console): Covers the scratch-prone, fingerprint-prone center console. Fits Model Year 2018-20 Model 3 (and SOME of 2021) and 2019-20 Y with the original 1st Gen center console; if your console is shiny Piano Black, you have a 1st-gen version. Interior vinyl takes scratches from keys, rings, and bags. Knowing your console generation before ordering avoids a wrap that will not fit.
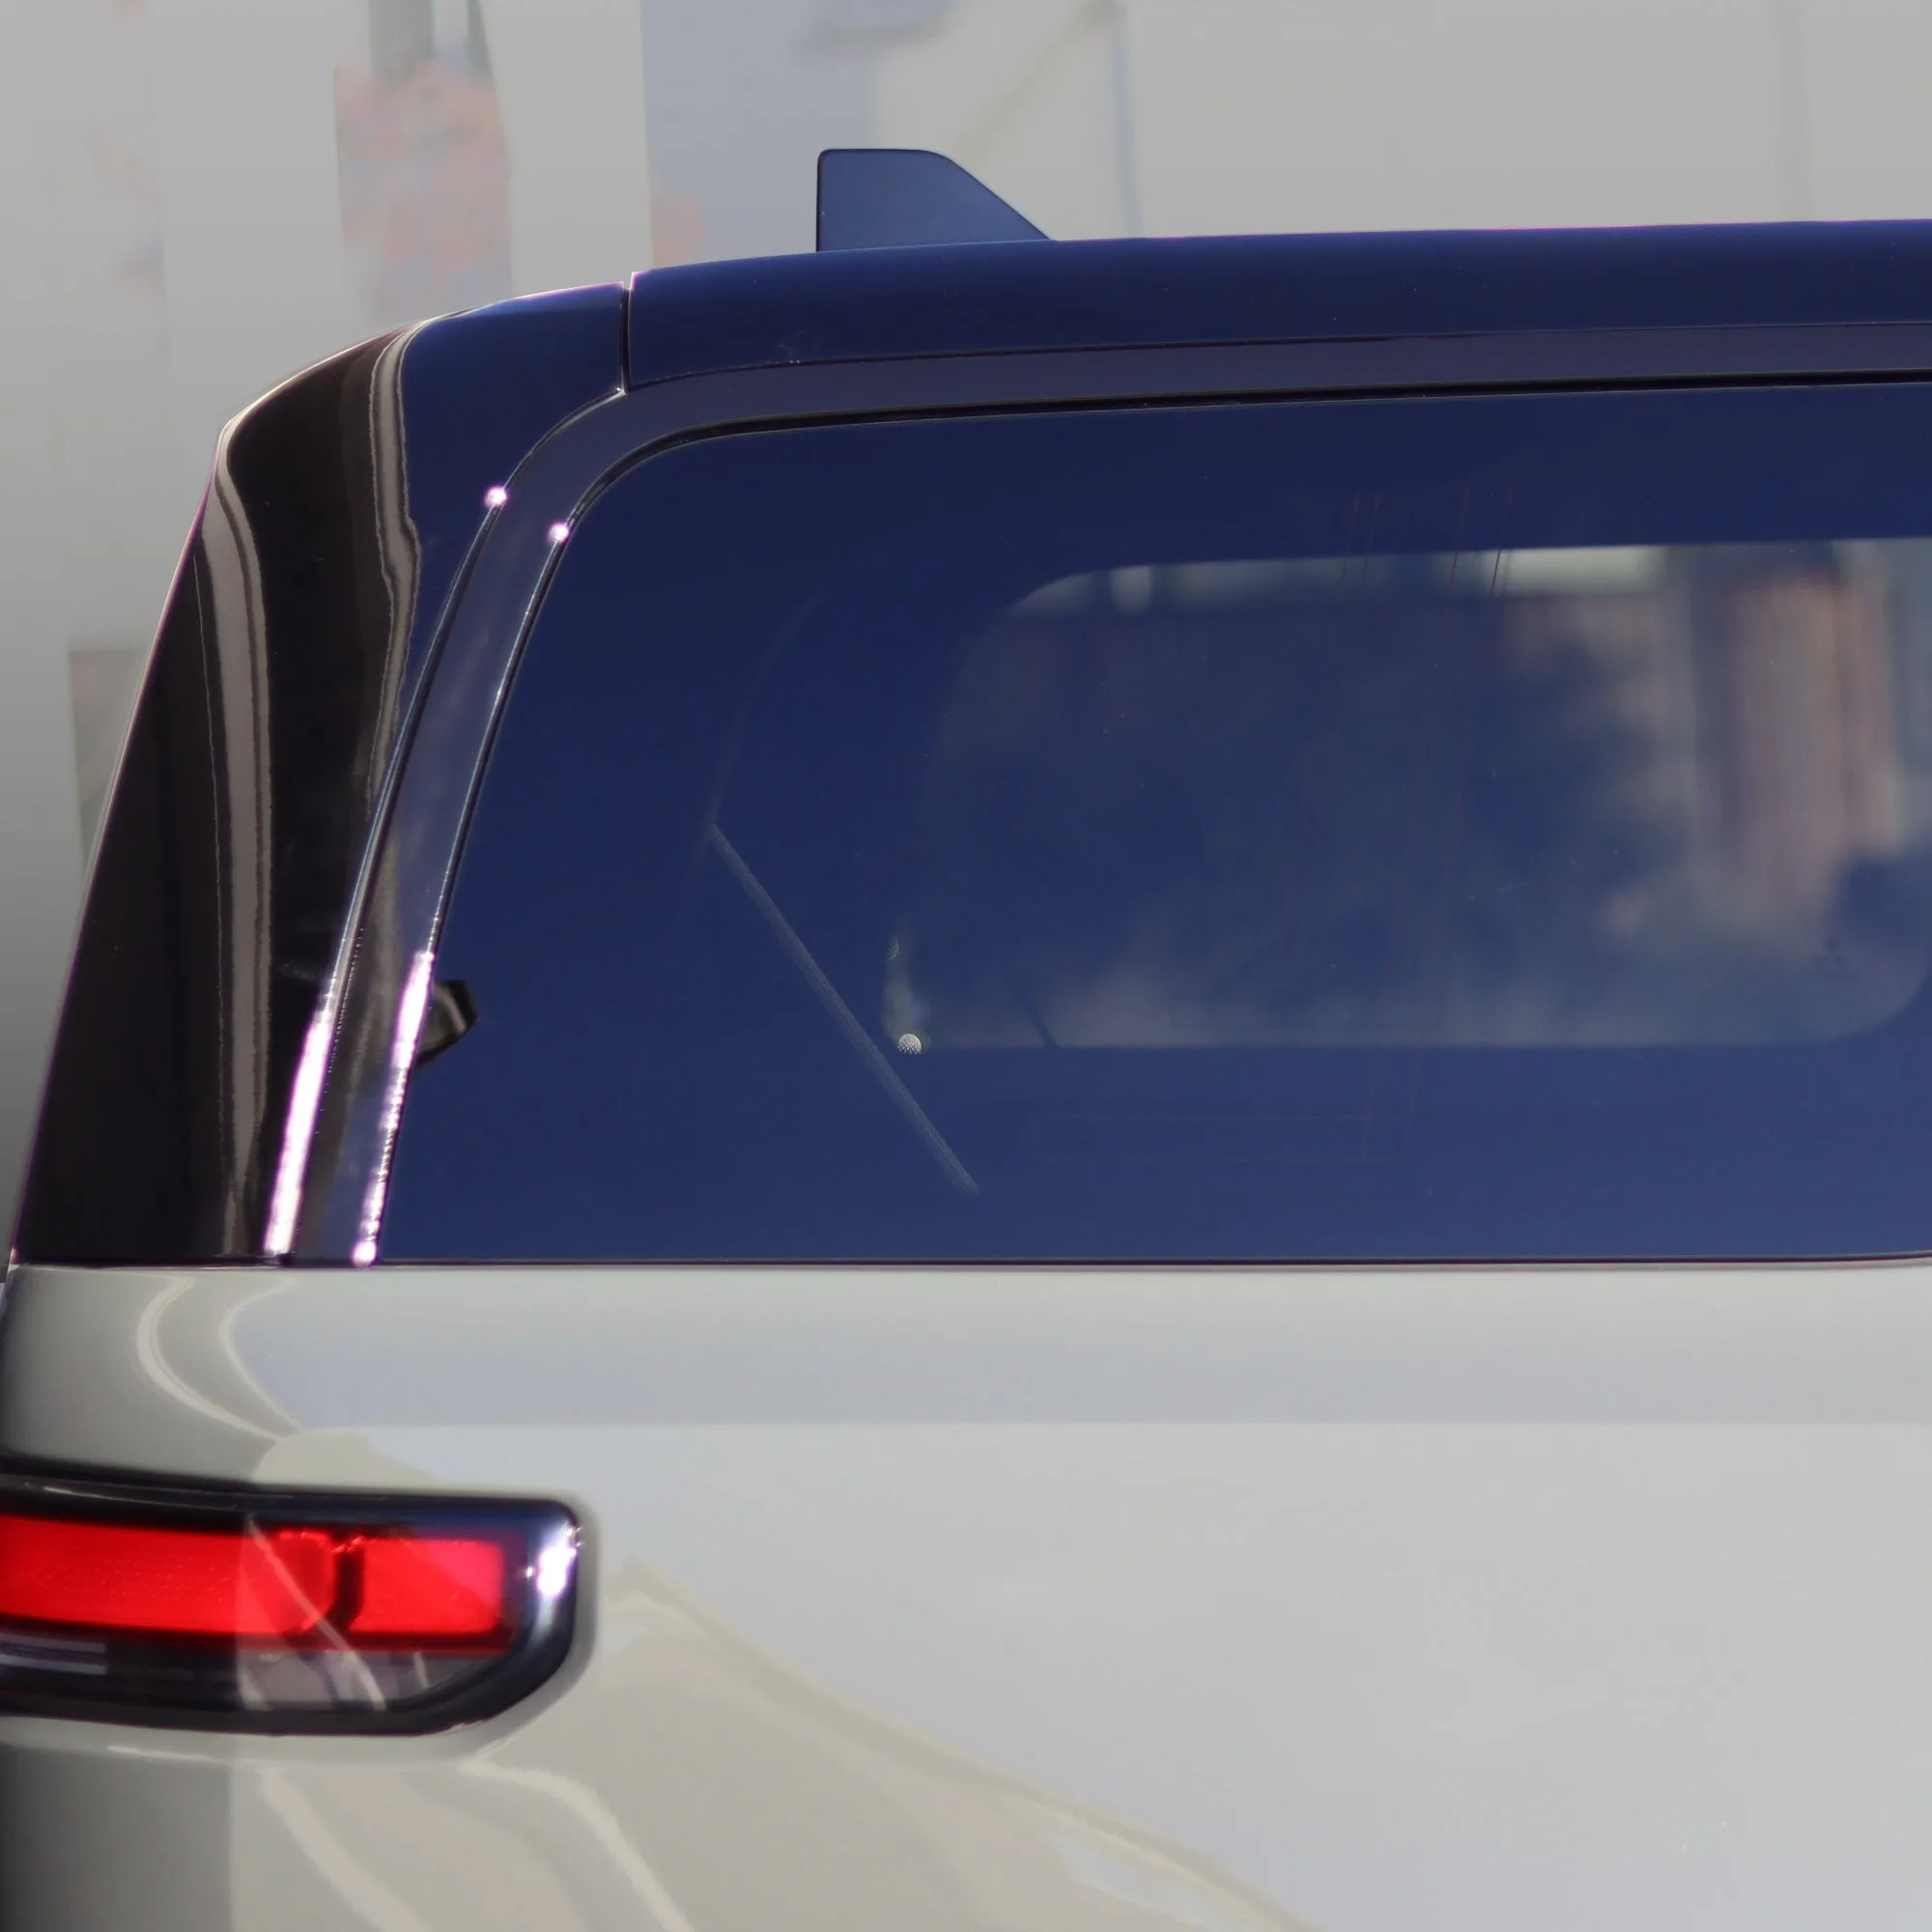
- Chrome Delete for Rivian R1S: Made with premium weather-rated vinyl (3M 2080 series). Install in about 60 minutes. Easy to remove or replace without any residue. Because it is removable without residue, a scratched chrome delete section can be replaced on its own rather than living with the damage or redoing the whole trim.
Most vinyl scratches are cosmetic and treatable, but the right fix depends on how deep the damage goes. Clean first, try heat, polish only shallow marks, and replace the piece when the vinyl is actually cut. That approach protects your wrap and keeps your Tesla or Rivian looking sharp.