Quick answer
To remove a sticker without damage, warm the adhesive with a hair dryer on low for 20–30 seconds, then peel slowly from a corner at a sharp angle. For paper, freeze the item first to make the glue brittle. For fabric, test any solvent on a hidden seam, then dab—never rub—residue with isopropyl alcohol or a specialized adhesive remover.
Why the surface changes your method
Fabric has a weave that traps adhesive, so pulling a sticker off dry can distort threads or leave a fuzzy patch. Paper has a smooth but fragile surface; heat can cause ink to bleed or the sheet to curl, while freezing keeps the fibers intact. Vinyl stickers, like the ones from Kati Cupcake, are designed to be durable and weatherproof, but that same strong adhesive means you should always start with the gentlest method and escalate only if needed.
Tools that work (and what to avoid)
You likely already own a hair dryer, a plastic scraper (an old credit card works), isopropyl alcohol, and cotton swabs. Avoid metal blades, acetone on synthetic fabrics, and scrubbing with a rough cloth—these can pill fabric or scratch paper. For stubborn residue on fabric, a commercial adhesive remover like Goo Gone is effective, but test it first on an inside seam because it can leave an oily ring.
Step-by-step removal process
- Test a hidden area first: Before applying heat or solvent, test on an inside seam, a scrap of the same paper, or the back of the sticker itself. Common mistake: skipping this and causing discoloration or ink bleed. If the test area looks unchanged after 1 minute, proceed.
- Warm the sticker (fabric) or freeze it (paper): For fabric, hold a hair dryer on low 6 inches away for 20–30 seconds until the sticker feels warm. For paper, place the item in a freezer bag and freeze for 30–60 minutes. Common mistake: using high heat on paper, which can curl or scorch it. Warm adhesive stretches; frozen adhesive snaps off cleanly.
- Peel from a corner at a sharp angle: Lift one corner with your fingernail or a plastic card. Pull back at a 180-degree angle (fold the sticker back over itself) rather than straight up. Common mistake: pulling too fast, which tears paper or leaves glue behind. Slow and steady wins; if resistance increases, re-warm or re-freeze.
- Remove residue with the right solvent: For fabric, dab isopropyl alcohol or adhesive remover onto a cotton swab and blot the glue; for paper, use a very lightly dampened swab and blot—never rub. Common mistake: soaking the area, which can spread the glue or damage fibers. Work from the outside of the residue toward the center to avoid spreading.
- Clean and dry flat: After residue is gone, wipe fabric with a clean damp cloth and let it air-dry flat. For paper, place it between two clean sheets of paper and press under a heavy book for an hour. Common mistake: using heat to dry paper, which can reintroduce curl. Proper drying prevents water rings and warping.
Sticker details that affect removal
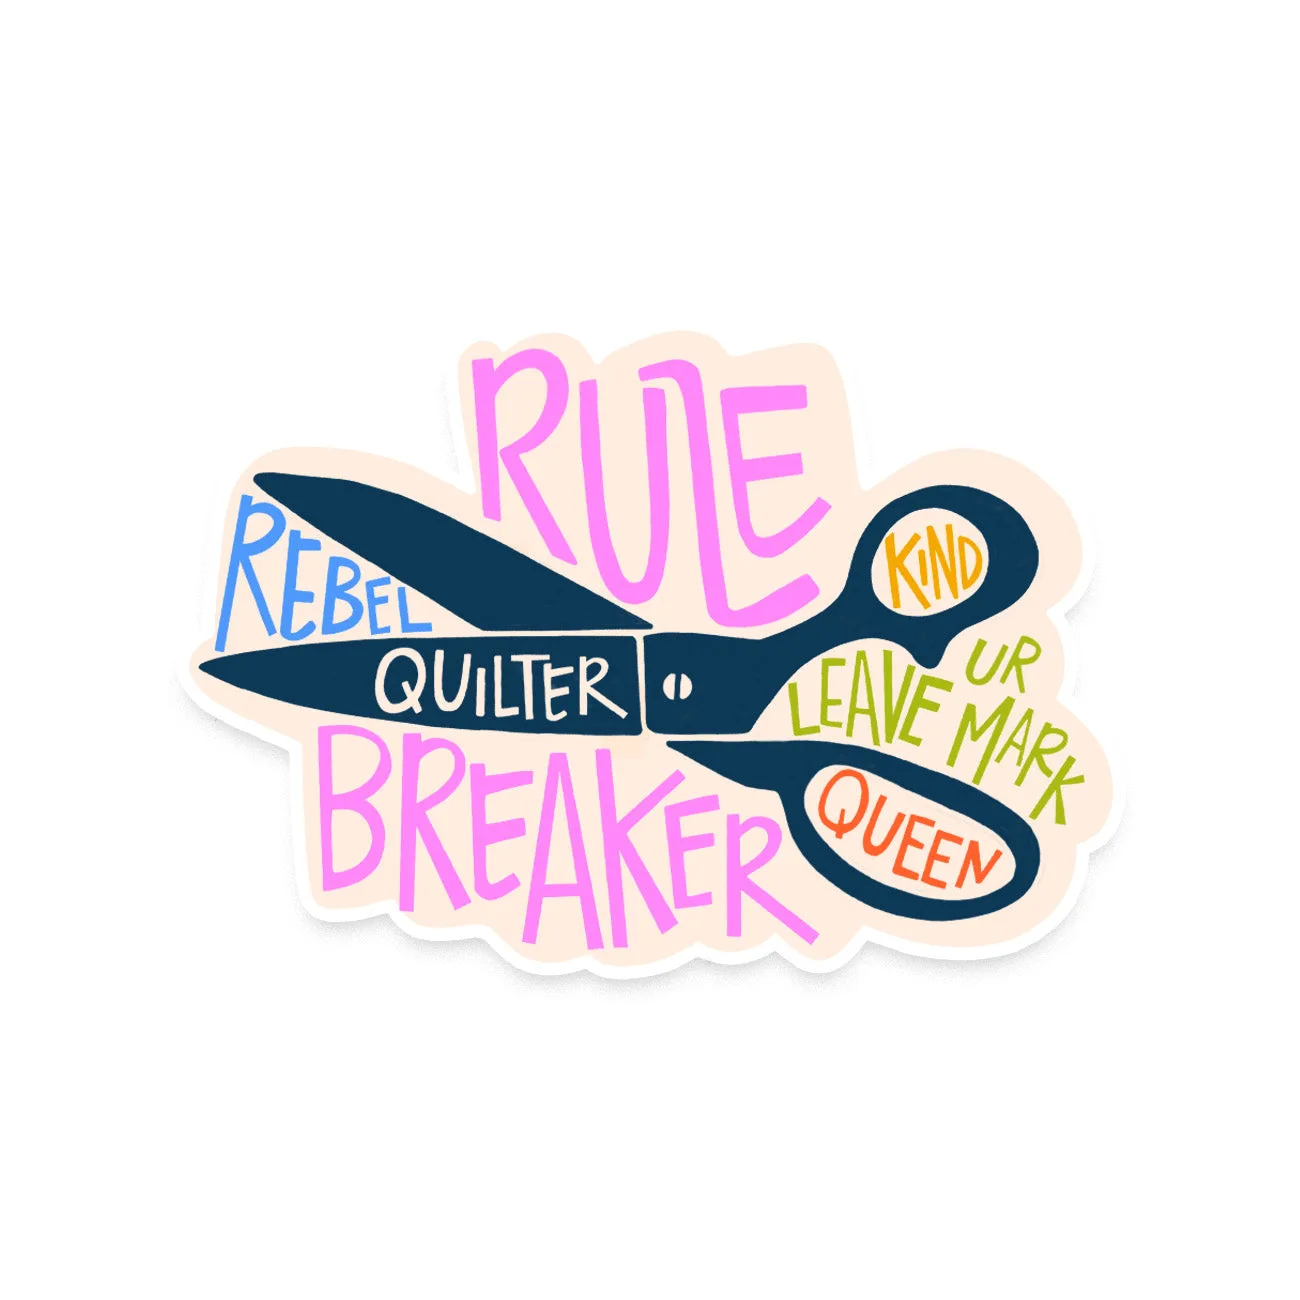
- Rule Breaker Rebel Quilter - Sticker: Premium vinyl with a gloss finish, weatherproof, approximately 3" x 2.25". The gloss surface is smooth, so adhesive tends to release more cleanly with heat than matte stickers, but the weatherproof glue is strong—expect to need a residue step on fabric.
- Next Project Sticker: Premium vinyl with a matte finish, approximately 2.75" x 2.5". Matte vinyl has a slightly textured surface that can grip fabric fibers more, so peel extra slowly and consider freezing before removal to reduce residue.