Quick Answer
To repair a leaky pool float, first locate the leak by inflating the float and listening or using soapy water. Clean and dry the area, apply a patch kit or vinyl adhesive, and press firmly. For long-term durability, use a patch kit designed for inflatables and avoid over-inflating.
A leaky pool float can put a damper on your summer fun, but the good news is most leaks are easy to fix at home. Whether it's a small pinhole from a sharp object or a seam that's come undone, you can often repair your inflatable pool float in under 30 minutes with the right tools and a little patience.
This guide walks you through the entire process, from finding the leak to applying a durable patch. We'll also share tips to prevent future leaks and extend the life of your float.
How to Find the Leak in Your Pool Float
Before you can fix a leak, you need to find it. Start by inflating the float fully and listening for a hissing sound. If you can't hear anything, mix a small amount of dish soap with water and apply it to the surface with a sponge or spray bottle. Watch for bubbles—they'll indicate the leak location.
For hard-to-find leaks, submerge the inflated float in water and look for streams of bubbles. This method works well for larger floats like lounge chairs or tubes. Once you've located the leak, mark it with a waterproof marker so you don't lose it.
- Inflate the float fully before testing to ensure pressure is high enough to reveal leaks.
- Use a soapy water solution for a quick and easy leak detection.
- For small pinholes, consider using a flashlight in a dark room to spot light coming through.
Quick Fixes: Patch Kits and Vinyl Adhesive
Once you've found the leak, clean the area around it with rubbing alcohol and let it dry completely. This ensures the patch adheres properly. Cut a patch that is at least 1 inch larger than the hole on all sides, rounding the corners to prevent peeling.
Apply a thin layer of vinyl adhesive or use a patch kit specifically designed for inflatables. Press the patch firmly and smooth out any air bubbles. Allow the adhesive to cure for the time specified on the product instructions—usually 24 hours—before inflating the float again.
- Always round the corners of the patch to prevent it from lifting.
- For seams that are leaking, apply adhesive along the seam and press together.
Long-Term Solutions: Preventing Future Leaks
To avoid frequent repairs, handle your pool float with care. Avoid dragging it on rough surfaces, keep it away from sharp objects, and don't over-inflate, as excess pressure can stress the seams. When not in use, deflate and store it in a cool, dry place away from direct sunlight, which can degrade the vinyl over time.
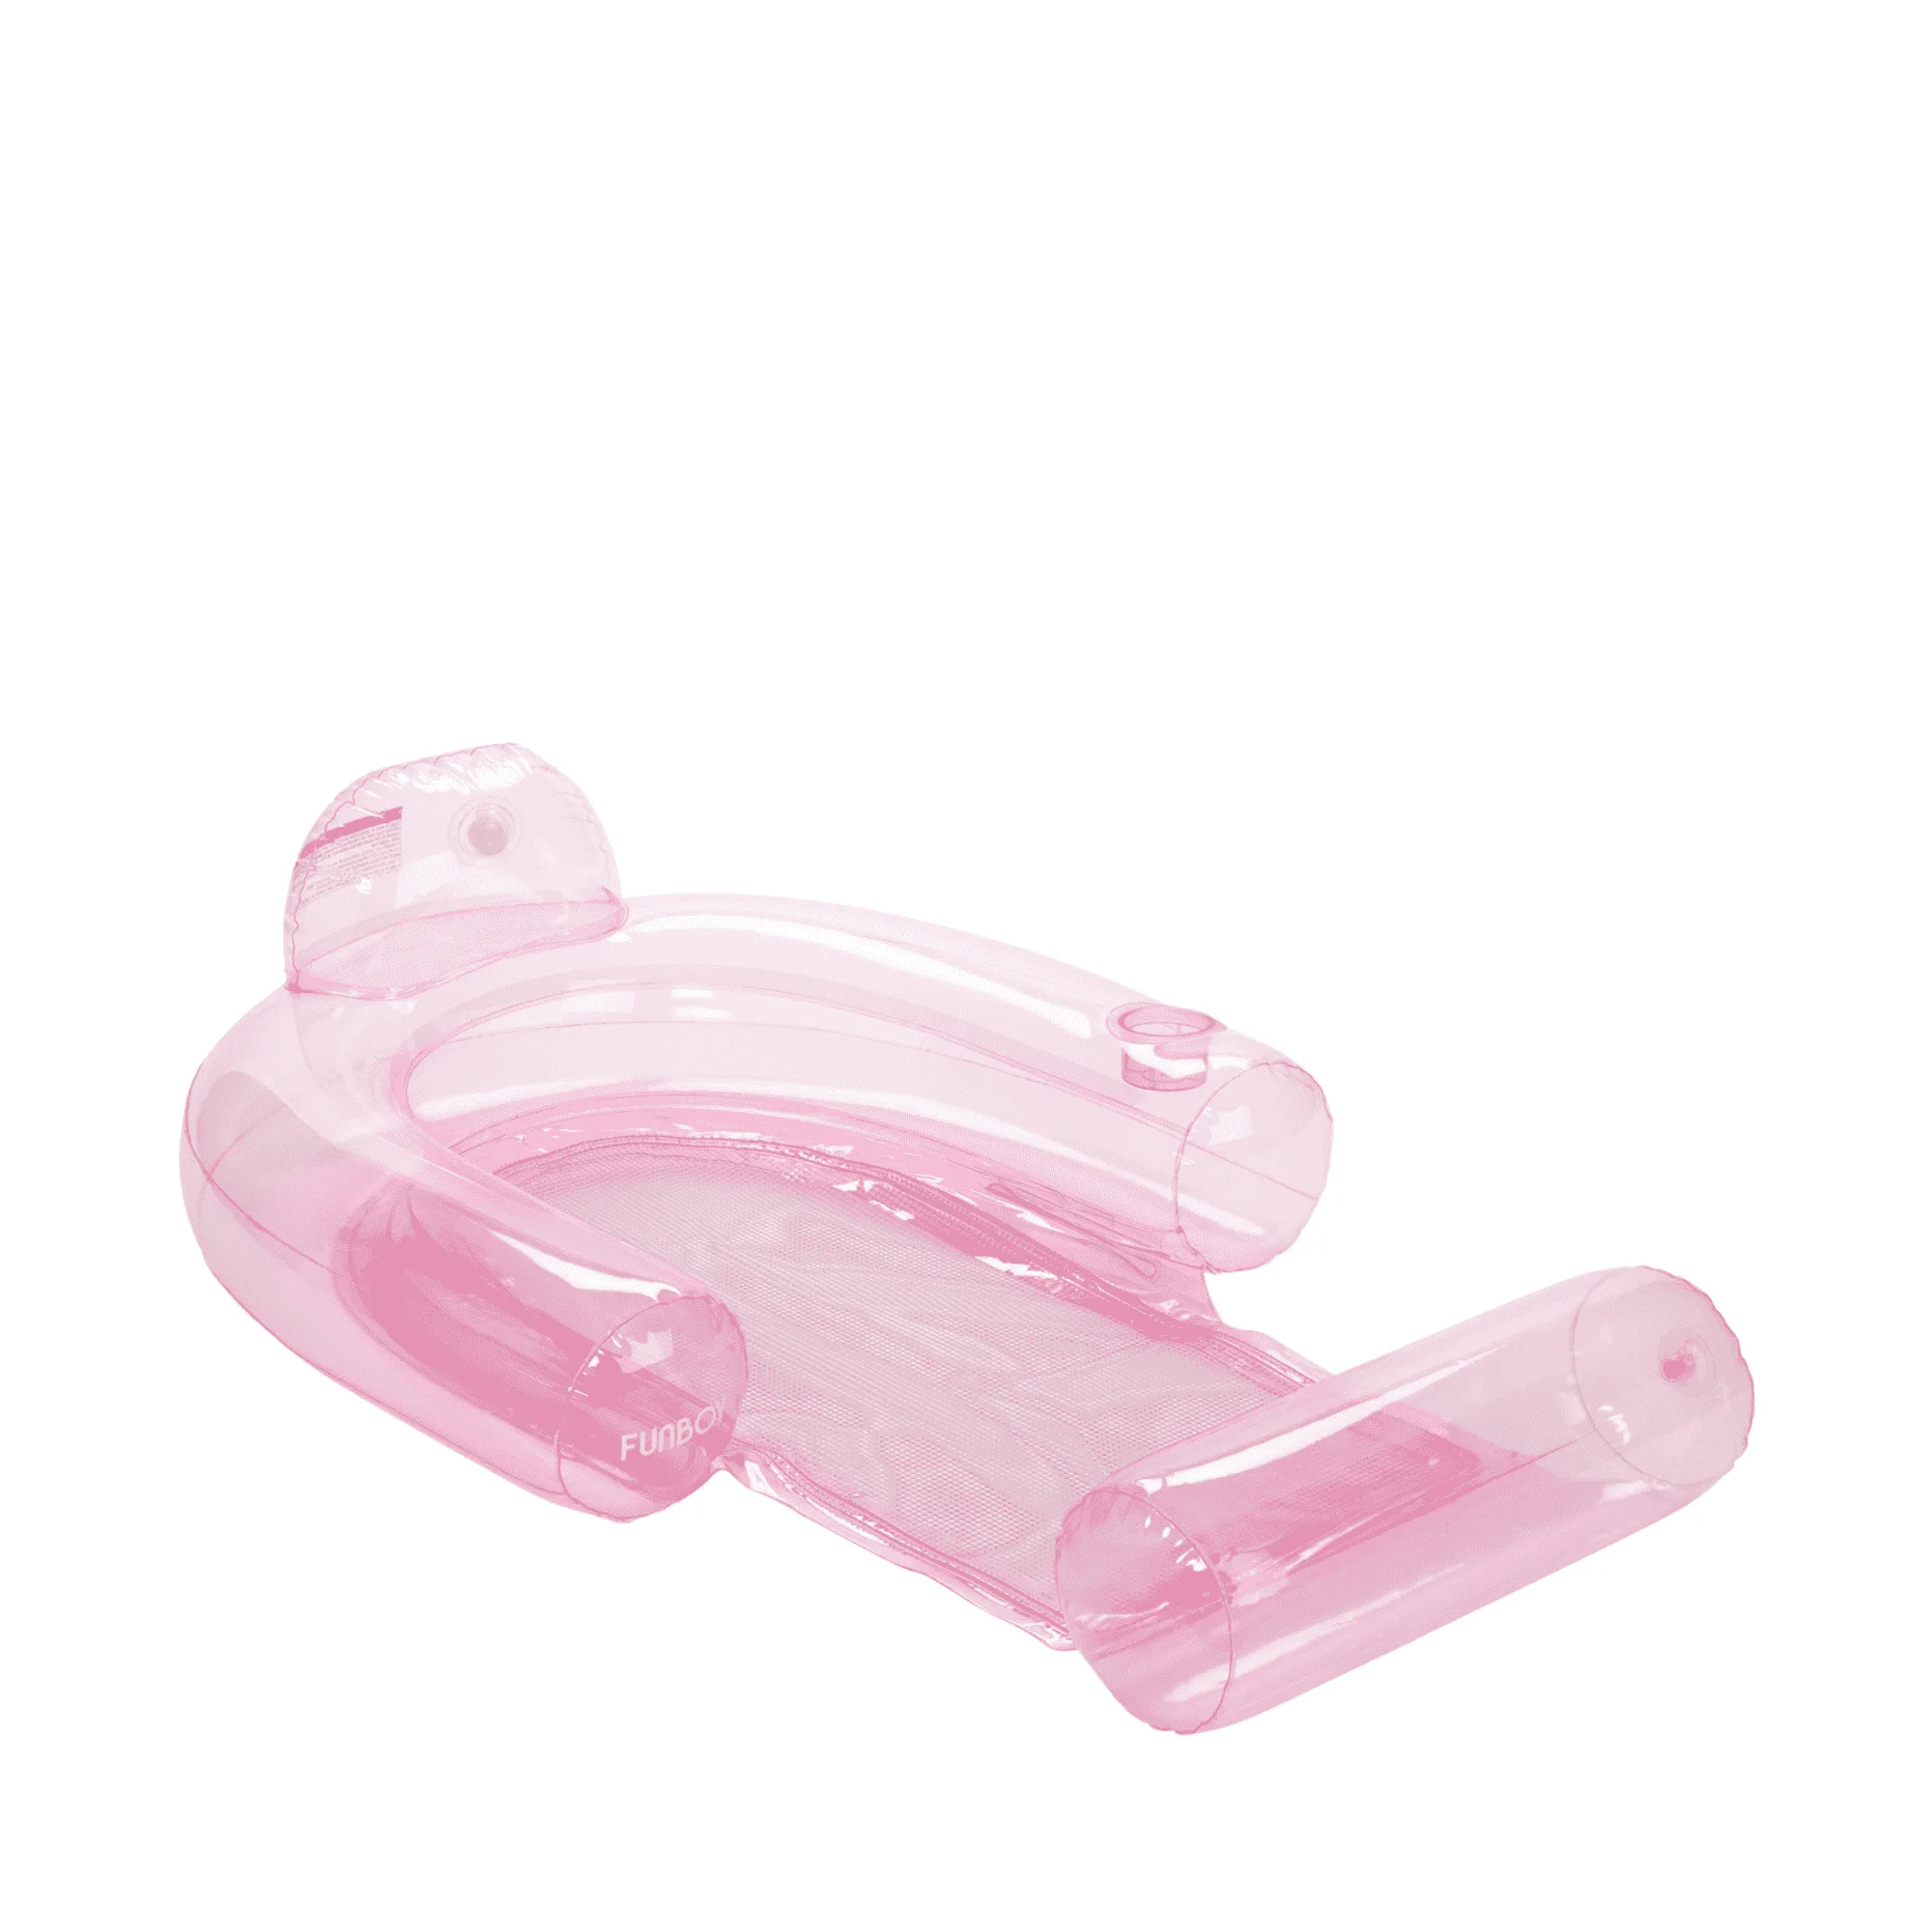
Investing in a high-quality float from the start can also reduce the likelihood of leaks. Look for floats made with durable materials and reinforced seams. Some floats, like the FUNBOY https://pickkind.shop/products/mesh-chair-float-113858https://pickkind.shop/products/mesh-chair-float-113859https://pickkind.shop/products/mesh-chair-float-113860https://pickkind.shop/products/mesh-chair-float-113861Mesh Chair Float, are designed with durability in mind, featuring a 2-in-1 chair and hammock design that's built to last.
- Store your float in a storage bag or container to protect it from punctures.
- Check your float for wear and tear before each use.
Step-by-Step Repair Process
- Step 1: Inflate and Locate the Leak: Inflate the float fully. Listen for hissing or apply soapy water to find bubbles. Mark the leak. Checkpoint: Ensure you've found all leaks—repeat the process after the first patch.
- Step 2: Clean and Dry the Area: Wipe the area with rubbing alcohol and let it dry completely. Dirt and moisture prevent adhesion. Common mistake: Skipping this step leads to patches that don't stick.
- Step 3: Cut and Apply the Patch: Cut a patch at least 1 inch larger than the hole, round the corners, and apply adhesive. Press firmly. Checkpoint: Smooth out air bubbles to ensure a tight seal.
- Step 4: Let It Cure: Allow the adhesive to cure for the recommended time (often 24 hours) before inflating. Common mistake: Inflating too soon can cause the patch to fail.
- Step 5: Test and Reinflate: Inflate the float and check for any remaining leaks. If the patch holds, your float is ready for the water. Checkpoint: If leaks persist, consider replacing the float.
Products That Stand Up to Wear and Tear
- Mesh Chair Float: Revolutionary 2-in-1 water chair and hammock pool float. Sit back and relax in the pool with your body perfectly submerged in the pool's cooling water. Ergonomically designed for ultimate relaxation w/ reinforced cup holder. This float's ergonomic design and reinforced cup holder mean fewer stress points and less chance of leaks, making it a reliable choice for frequent pool use.
- Floating Drink Cooler: The Ultimate Poolside Cooler, Country Club Style. Meet the Golf Cart Cooler—your new party essential. Styled to match our best-selling Country Club Golf Cart Float, this inflatable cooler fits a 12-pack plus ice, with two cupholders and a fringe-trimmed shade to keep drinks cool and classy. A well-constructed cooler float like this one is less prone to leaks, and its design keeps drinks secure, reducing spills that could cause accidents.
Repairing a leaky pool float is a straightforward DIY task that can save you money and extend the life of your favorite float. By following these steps and taking preventive measures, you can enjoy a leak-free summer. And when it's time for a new float, choose a durable option like the Mesh Chair Float or Floating Drink Cooler from FUNBOY to minimize future repairs.