Quick Fix
Apply a thin clear adhesive patch over the tear, press the edges together, and smooth out bubbles. Let the patch set, then protect the repaired area with a clear seal if desired.
A torn sticker doesn’t have to mean the end of a favorite design. With a few household items you can fix a sticker tear, restore the visual appeal, and keep the piece functional on laptops, water bottles, or notebooks.
This guide walks you through practical sticker repair tips, explains why certain adhesives work better, and helps you decide when the damage is beyond repair and a replacement is the smarter choice.
Step‑by‑Step Repair Process
First, clean the sticker surface gently with a soft cloth to remove dust or residue. Align the torn edges as closely as possible; even a small misalignment can affect the overall look of the artwork. Cut a piece of clear, low‑tack adhesive patch—such as a thin clear tape or a specialty sticker repair patch—slightly larger than the tear. Peel the backing and place the patch over the tear, pressing from the center outward to push out air bubbles.
After the patch adheres, smooth the surrounding area with a fingertip or a soft roller to ensure a flat finish. If the sticker will be exposed to water or sunlight, consider sealing the repaired spot with a thin layer of clear acrylic spray or a clear nail polish, which adds durability without obscuring the design. Finally, let the adhesive cure for the time recommended by the manufacturer before handling the item again.
- Use a clear, low‑tack patch to keep the repaired area invisible.
- Work in a well‑lit area to see tiny gaps.
- Avoid using heavy‑duty glue; it can spread and damage the artwork.
Diagnosis
- Symptom: The sticker shows a visible tear that disrupts the artwork. Identify the tear before proceeding.
- Likely Cause: Tear caused by a sharp edge, moisture exposure, or improper peeling. Understanding the cause helps choose the right repair method.
- Corrective Action: Align the edges, apply a thin clear adhesive patch, press firmly, and let dry. Proceed if the tear is ≤½ inch; larger tears may need replacement.
- When to Stop: If the tear is extensive, the design is distorted, or the adhesive fails, consider swapping the sticker. Choose a new sticker for the best appearance.
Products That Hold Up Well After Repair
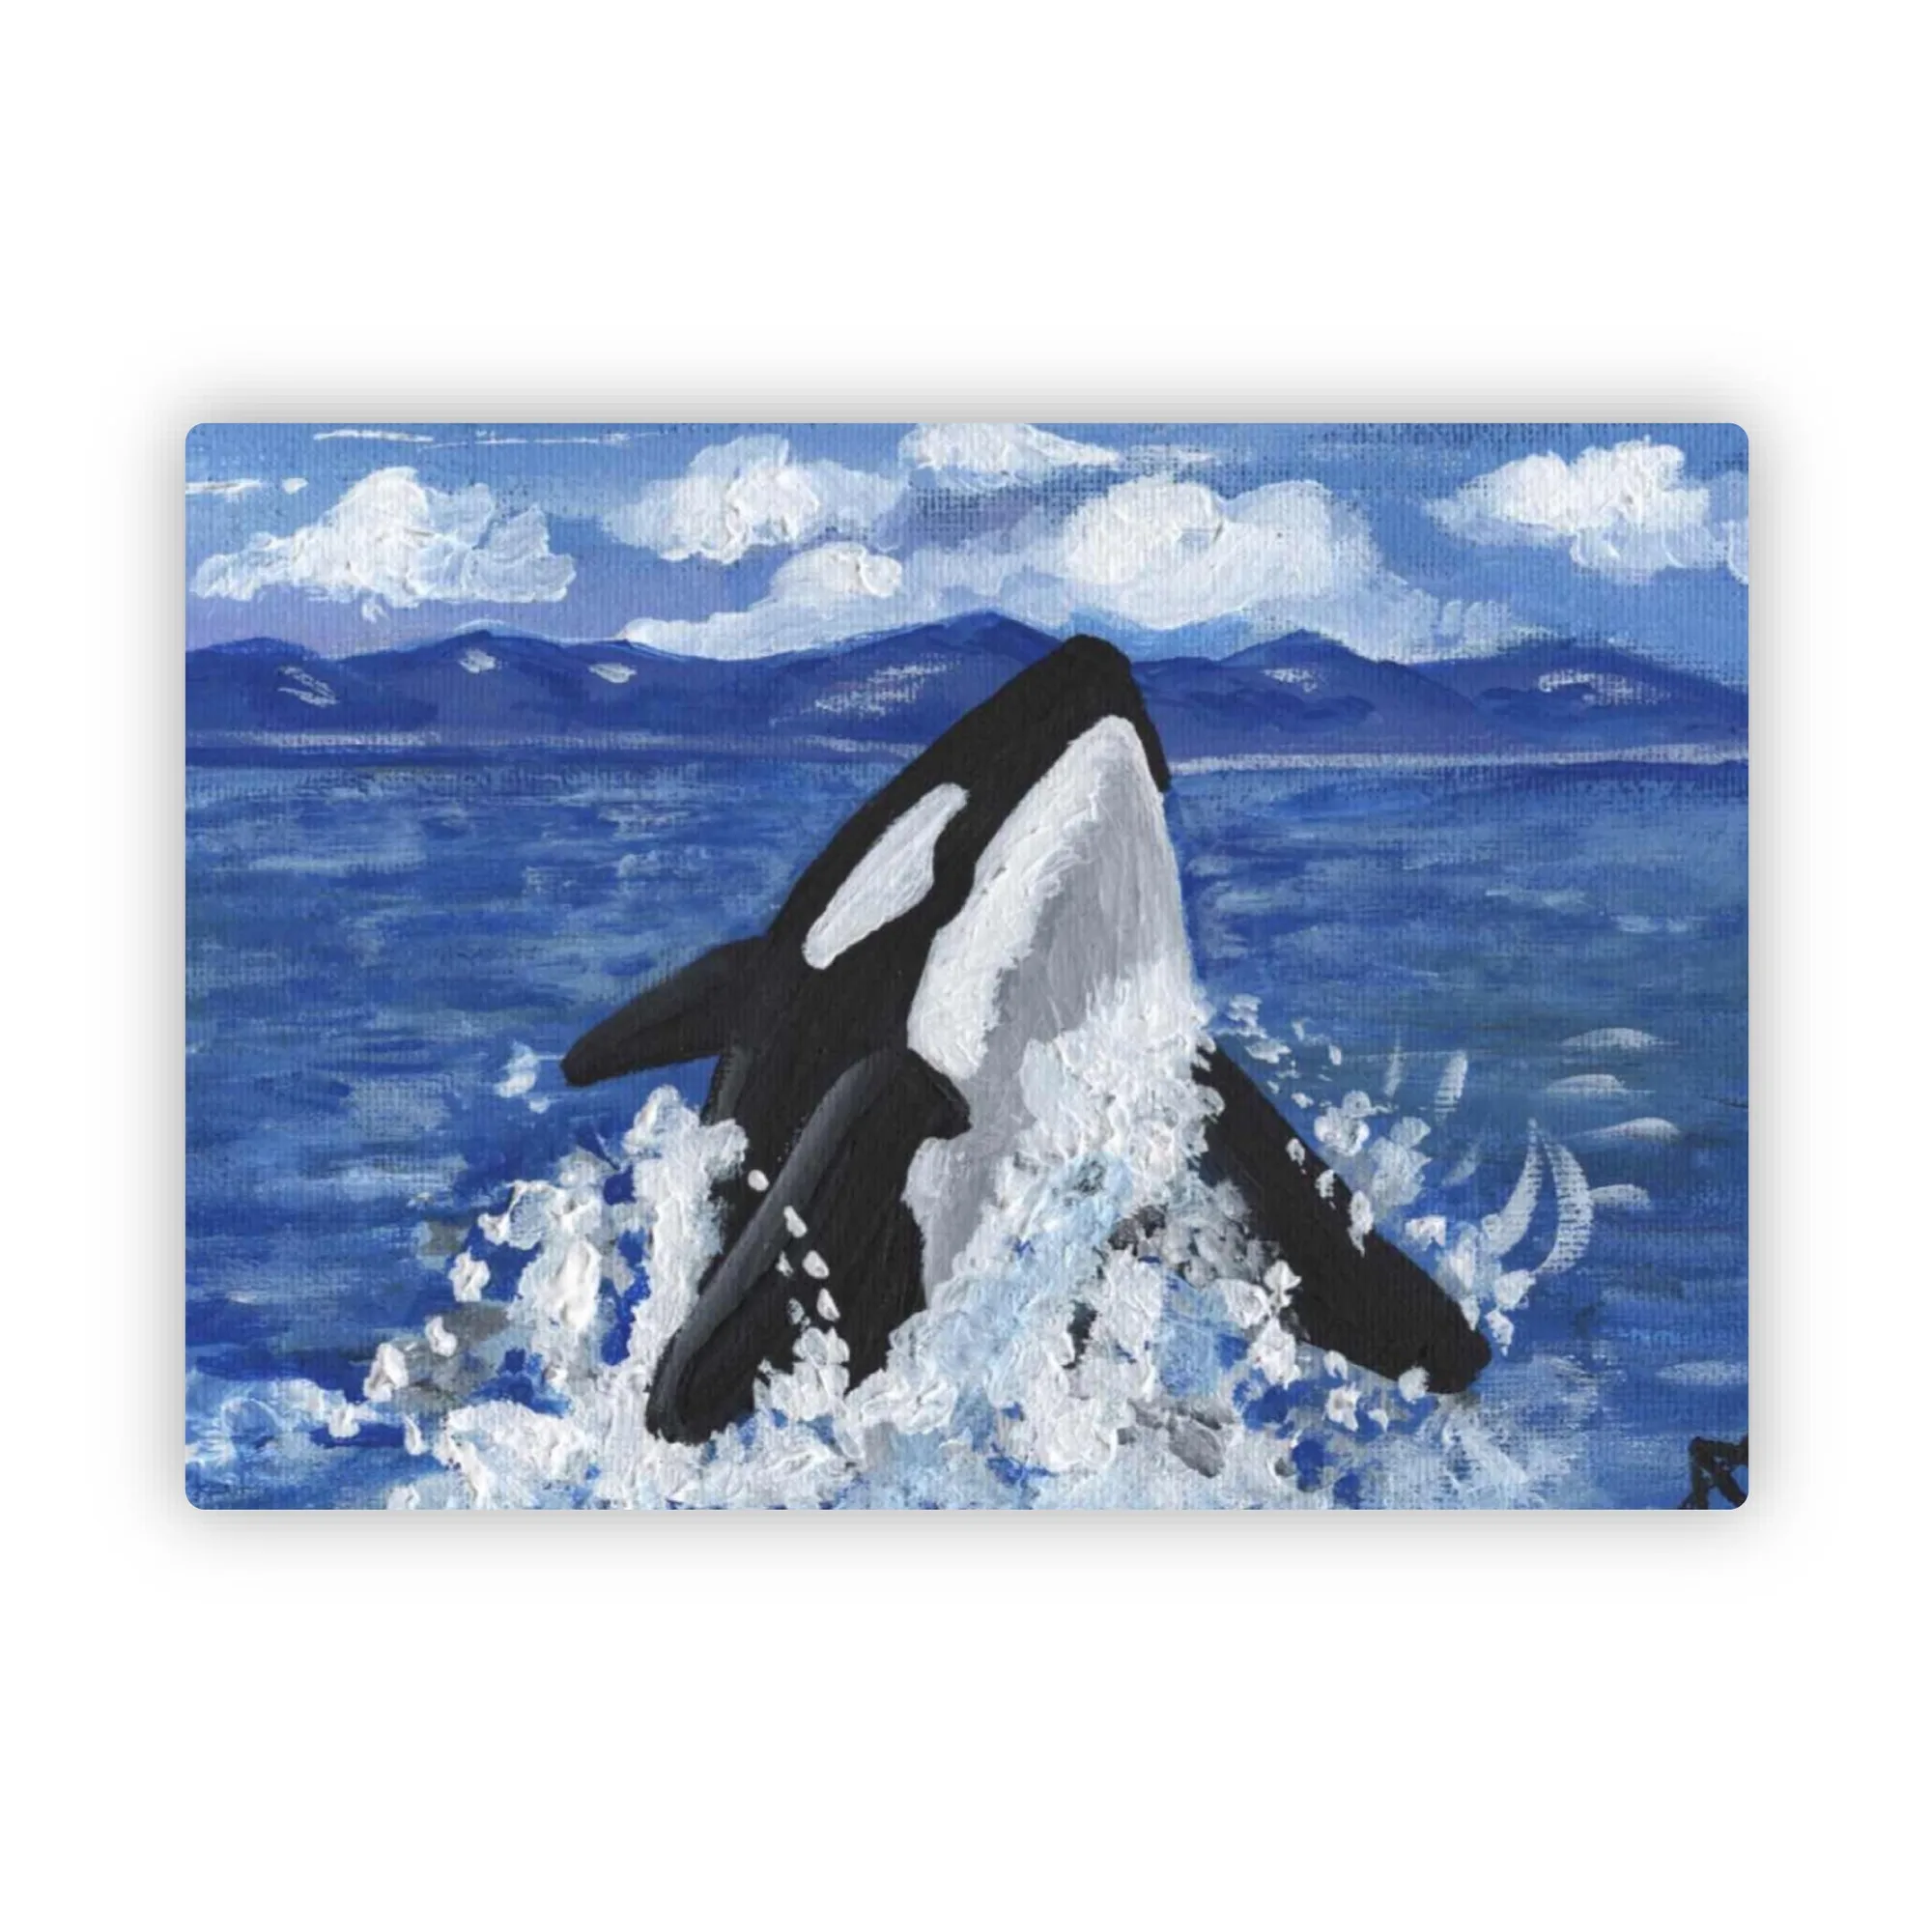
- Orca Sticker: 3" x 2.1" Die Cut Waterproof StickerThis sticker features my 2021 acrylic painting, inspired by the docu-series "The Secret Life of Whales. It's a tribute to the matriarchal beauty and wonder of these incredible creatures. Its waterproof material resists moisture, so a repaired Orca Sticker stays intact on surfaces that get wet.
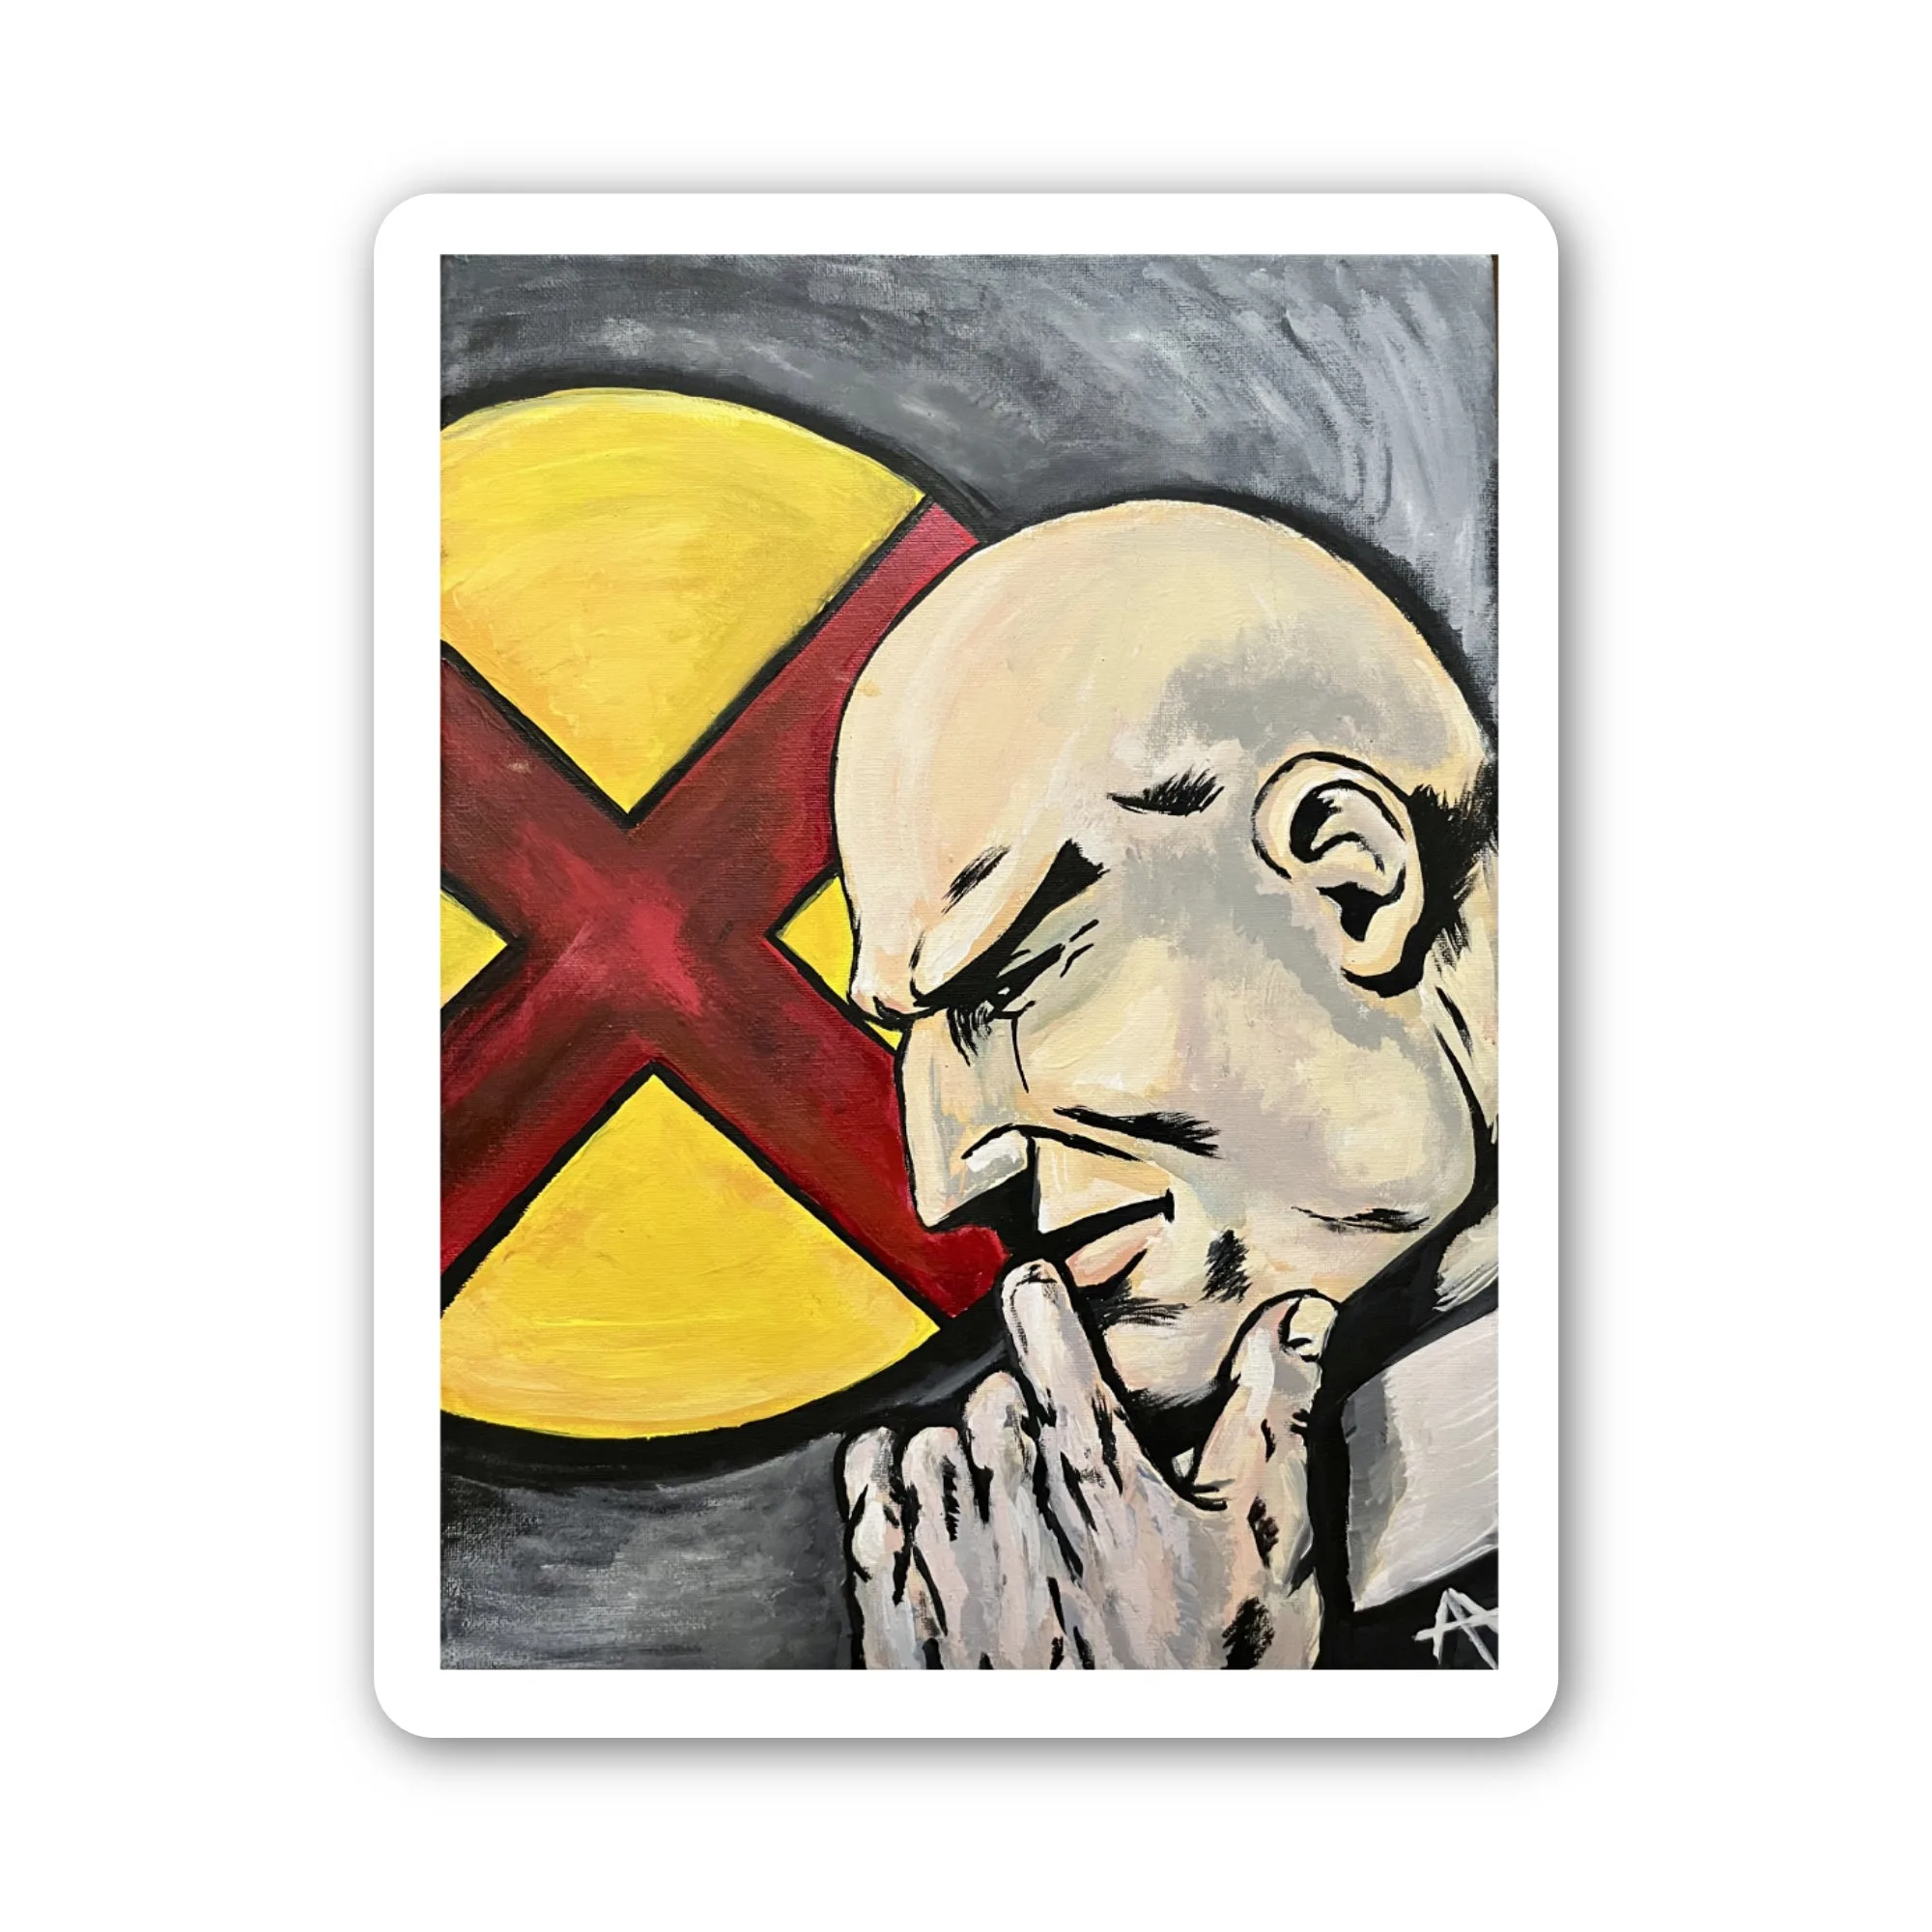
- Xavier Sticker: 1.54" x 2" Die Cut Waterproof Sticker This "Xavier" sticker is a print of my 2018 acrylic painting made during a fun Cousins' paint party night. Theme "Superheroes". Now, this special piece of art can be yours to enjoy and share. Being waterproof, the Xavier Sticker tolerates the added adhesive patch without peeling, making it a good candidate for DIY fixes.
With these sticker repair tips you can extend the life of your favorite designs. When the repair works, enjoy a restored look; when it doesn’t, a fresh sticker is just a click away.