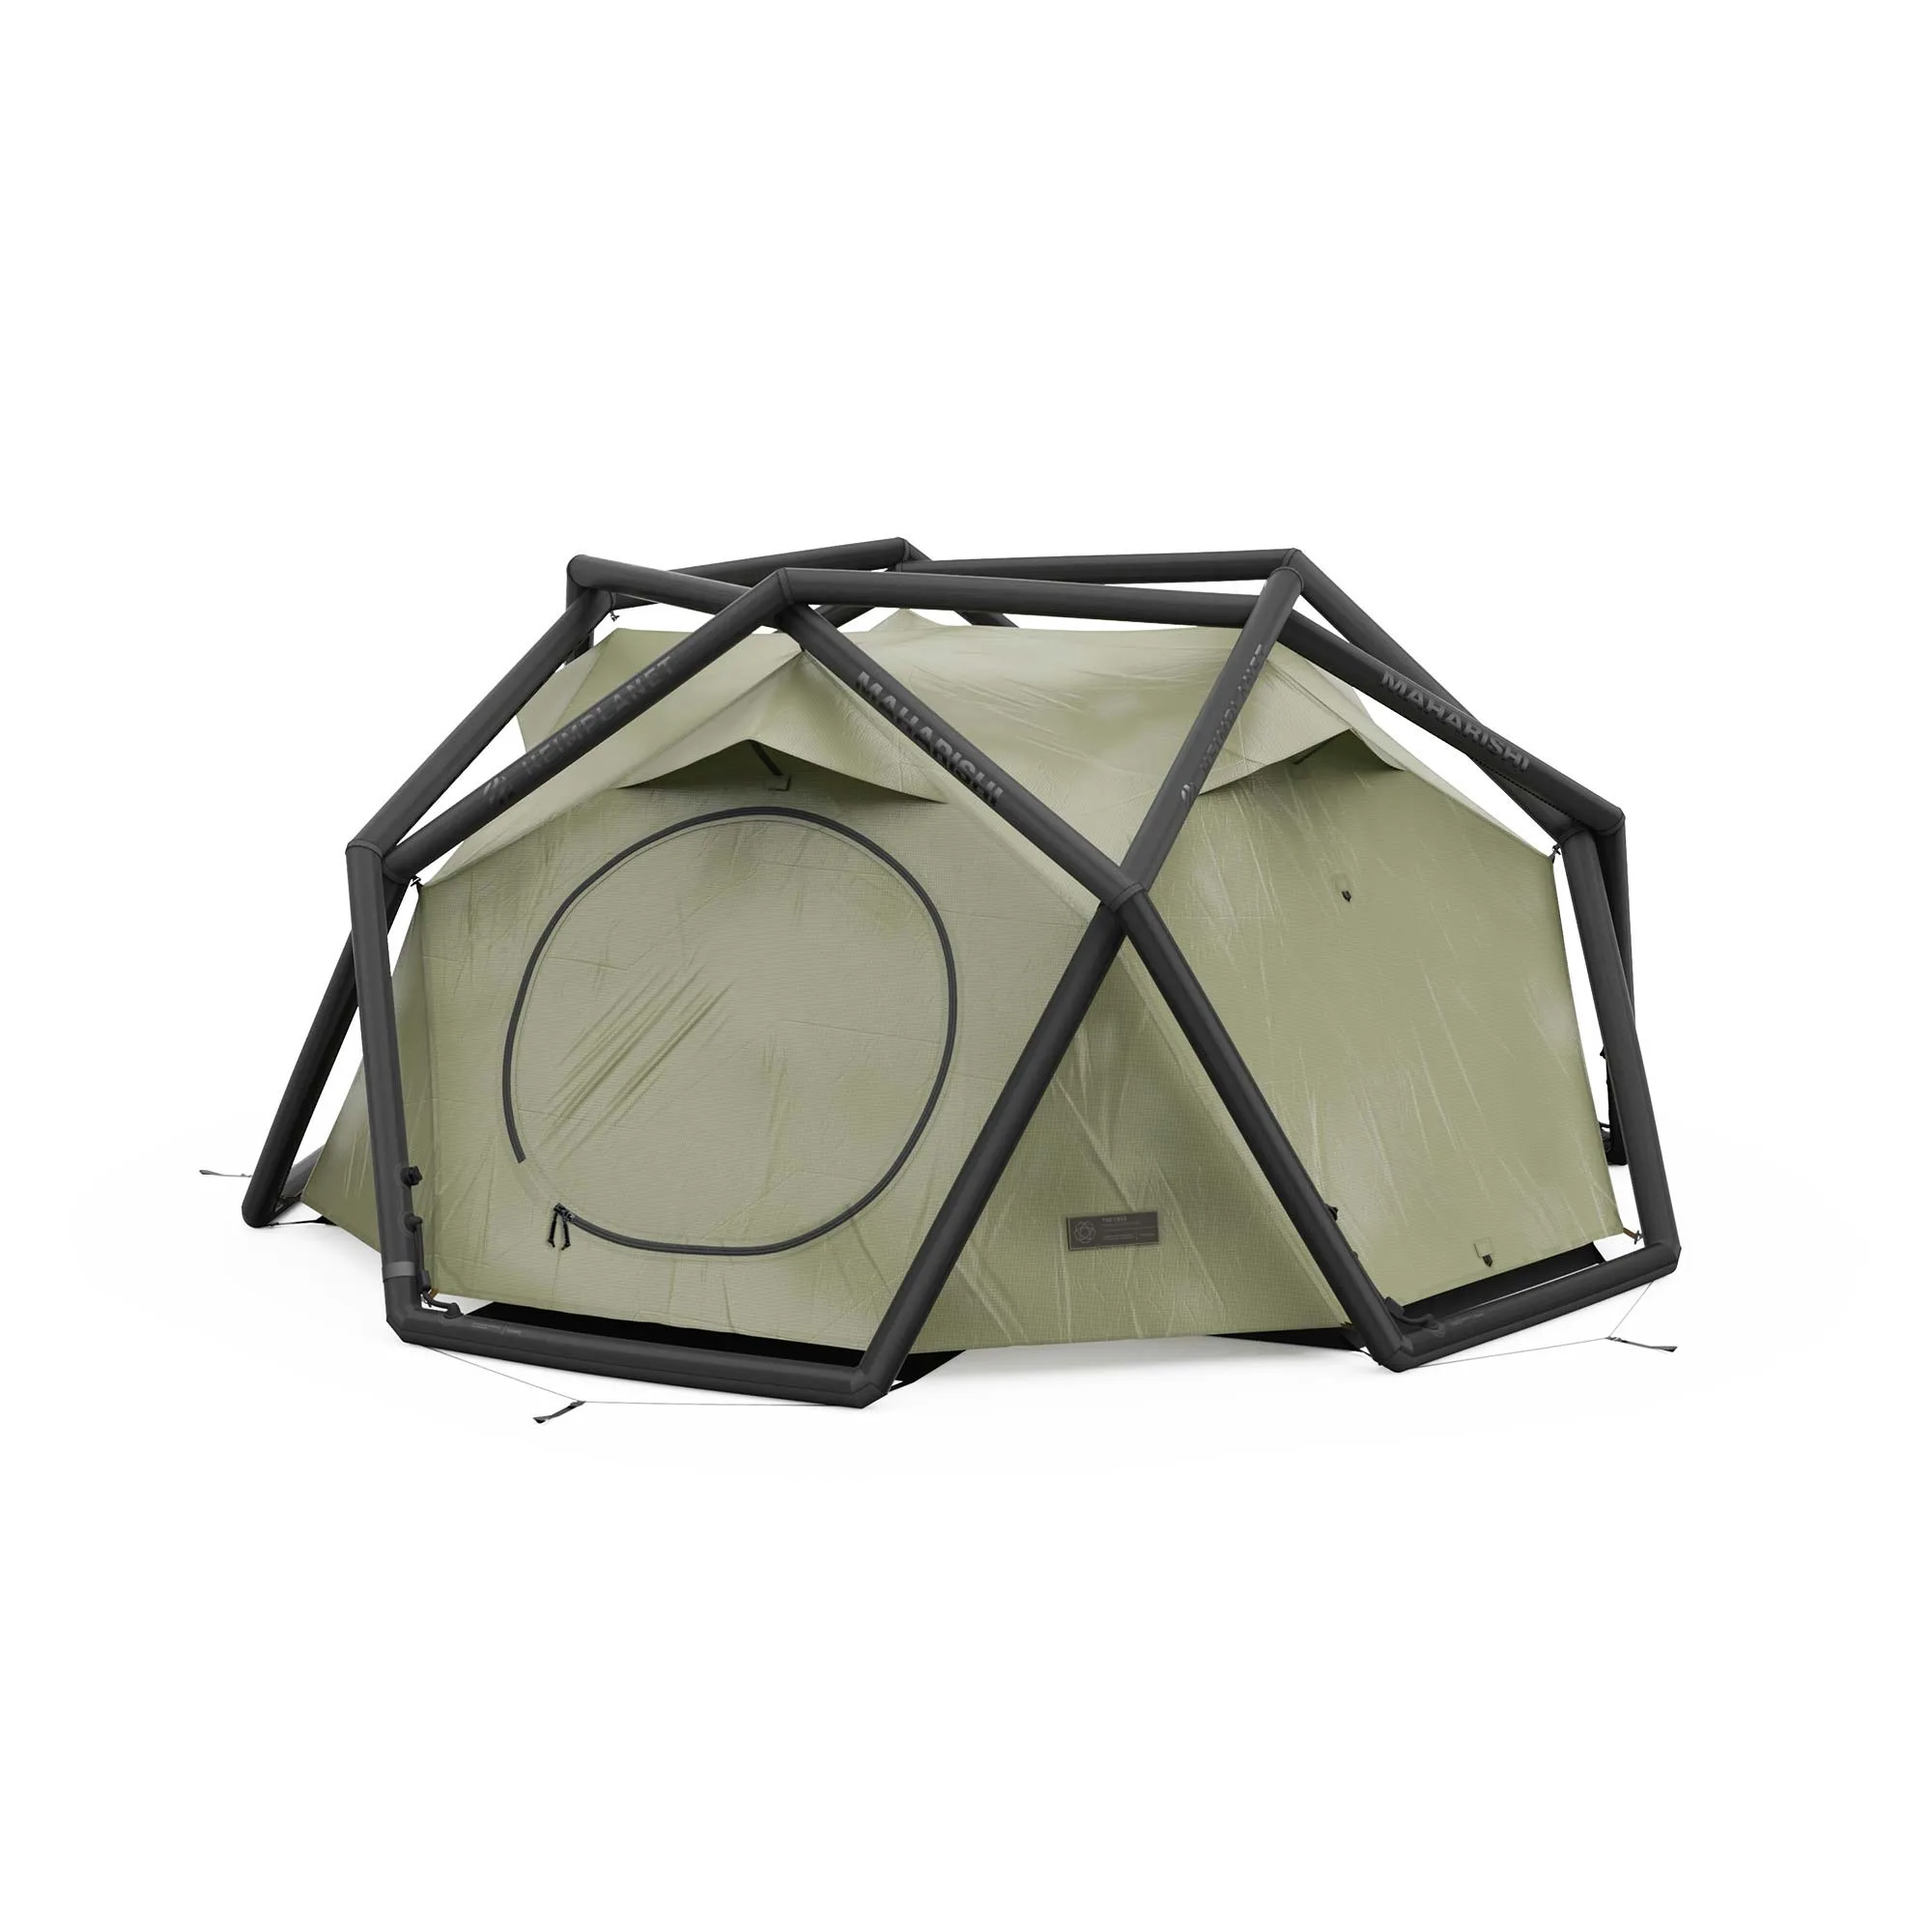
A ripped tarp or torn tent can turn a promising camping trip into a stressful ordeal. Whether you're caught in a sudden storm or snag your shelter on a sharp rock, knowing how to repair a tear quickly and effectively is an essential skill for any outdoor enthusiast. This guide covers both emergency field fixes and more permanent repairs, so you can extend the life of your gear and stay comfortable on the trail.
With the right techniques and a few key products from Heimplanet, you can fix most tears in minutes and get back to enjoying the outdoors. We'll walk you through assessing the damage, choosing the right repair method, and applying patches that hold strong through wind and rain.
Assess the Damage: Small Tear vs. Large Rip
Before you start repairing, take a close look at the tear. Small punctures or cuts under 2 inches can often be fixed with a simple patch kit or adhesive tape. Larger rips—especially those near seams or stress points—may require a more robust approach, such as stitching combined with a patch. Also check if the tear is in the main fabric, a seam, or near a pole sleeve, as each location demands slightly different attention.
If the tear is in a critical area like the floor of your tent or the ridge of your tarp, consider reinforcing the repair from both sides. For minor damage, a quick field patch can hold for the rest of your trip, but a permanent repair at home will ensure long-term durability. Always clean and dry the area around the tear before applying any adhesive patch.
- For small tears (under 2 inches): use a self-adhesive patch or repair tape. For large rips (over 2 inches): apply a patch on both sides and consider stitching.
Essential Tools and Materials for Tarp and Tent Repair
Having the right tools on hand makes repair work much easier. A basic repair kit should include repair tape (like Tenacious Tape or Gear Aid), a patch of matching fabric, seam sealer, a small pair of scissors, and rubbing alcohol wipes for cleaning. For more permanent fixes, you might also want a needle and thread (preferably polyester or nylon) and a lightweight sewing awl.
Heimplanet offers several accessories that can help you stay prepared. For example, the Carry Essentials Simple Pouch is perfect for storing your repair kit and keeping it organized in your pack. If you need to replace a damaged component, the Backdoor inner tent is a great option for upgrading your setup. Having a dedicated repair pouch ensures you never scramble for supplies when a tear happens.
- Store your repair kit in a small pouch like the Carry Essentials Simple Pouch for quick access.
Step-by-Step Field Repair for Small Tears
When you're on the trail and discover a small tear, follow these steps for a quick fix. First, clean the area around the tear with an alcohol wipe to remove dirt and moisture. Cut a piece of repair tape large enough to cover the tear with at least 1 inch of overlap on all sides. Round the corners of the tape to prevent peeling. Peel off the backing and press the tape firmly onto the fabric, smoothing out any air bubbles. For best adhesion, apply pressure for 30 seconds and warm the patch with your hands or body heat.
This method works well for both tarps and tent bodies. If the tear is in a high-stress area, apply tape to both the inside and outside of the fabric. Let the patch cure for at least 10 minutes before stressing it. For a more durable repair at home, consider using a liquid seam sealer around the edges of the tape to prevent water ingress.
- Round the corners of your patch to reduce peeling. Apply pressure and warmth for a stronger bond.
Permanent Repair: Stitching and Patching for Large Rips
For larger rips, especially those longer than 3 inches, a simple tape patch may not be enough. Start by trimming any frayed edges and cleaning the area. Cut a patch of similar fabric (nylon or polyester) that extends at least 2 inches beyond the tear on all sides. Use a sewing awl or needle and thread to stitch the tear closed with a simple running stitch or baseball stitch. Then apply the patch over the stitched area using a strong adhesive like Seam Grip or a heat-activated patch.
Once the adhesive is dry, apply seam sealer to the stitched line and around the patch edges to ensure waterproofness. This method is ideal for tent floors and tarp ridgelines where stress is highest. If you're repairing a tent, consider reinforcing the area with a second patch on the inside. For tarps, a single well-applied patch is usually sufficient. After the repair, test the area by gently pulling and spraying with water to confirm it's secure.
- For maximum strength, stitch the tear before applying a patch. Always seal stitches with seam sealer.
Preventing Future Tears: Gear Maintenance Tips
Prevention is always better than repair. To minimize the risk of tears, always pitch your tarp or tent on a clean, debris-free surface. Use a groundsheet or footprint to protect the tent floor from sharp rocks and sticks. When packing, avoid stuffing your shelter into a tight stuff sack—fold it loosely to reduce creasing and stress on the fabric. Regularly inspect your gear for worn spots or small holes and address them before they become bigger problems.
Storing your shelter properly also extends its life. Keep it dry and away from direct sunlight when not in use. If you frequently camp in rocky or sandy terrain, consider carrying a lightweight repair kit in a dedicated organizer. The Transit Line Sling Pocket XL is an excellent choice for keeping repair supplies handy without adding bulk. With a little care, your tarp or tent can last for many seasons of adventure.
- Use a groundsheet to protect your tent floor. Store your shelter loosely and avoid prolonged UV exposure.
Repairing a tear in your tarp or tent is a straightforward skill that saves you money and keeps your gear in action. By carrying a small repair kit and knowing the right techniques, you can handle most damage on the trail. For a reliable and organized way to store your repair essentials, check out the Carry Essentials Simple Pouch from Heimplanet. It's the perfect companion for keeping your outdoor gear ready for anything.