When You Need a Replacement Mount Head
Over time, the mount head of your car phone holder can wear out or break, especially if you frequently remove your phone. Instead of buying a whole new mount, ToughTested offers replacement heads that restore full functionality. This guide covers the two main types: the 4-Prong Wireless Charging Mount Head and the 4-Prong MagTough Magnetic Mount Head.
How to Replace the Mount Head
- 1. Remove the old mount head: Unscrew or detach the existing head from your mount arm. The exact method depends on your mount model, but most use a threaded collar or a locking mechanism.
- 2. Verify the prong style: Both replacement heads are designed for select 4-prong mount setups. Check that the prong pattern on your mount arm matches the replacement head before attaching it.
- 3. Attach the new head: Align the replacement head with the mount arm and secure it according to your mount's instructions. Tighten firmly but do not overtighten.
- 4. Test the connection: Place your phone on the mount to ensure a secure grip and, if using the wireless charging model, confirm that charging begins.
Replacement Head Options at a Glance
-
ToughTested 4-Prong Wireless Charging Mount Head Replacement: 4-prong wireless charging mount head replacement part for compatible ToughTested mounts Restores wireless charging functionality without buying a new mount.
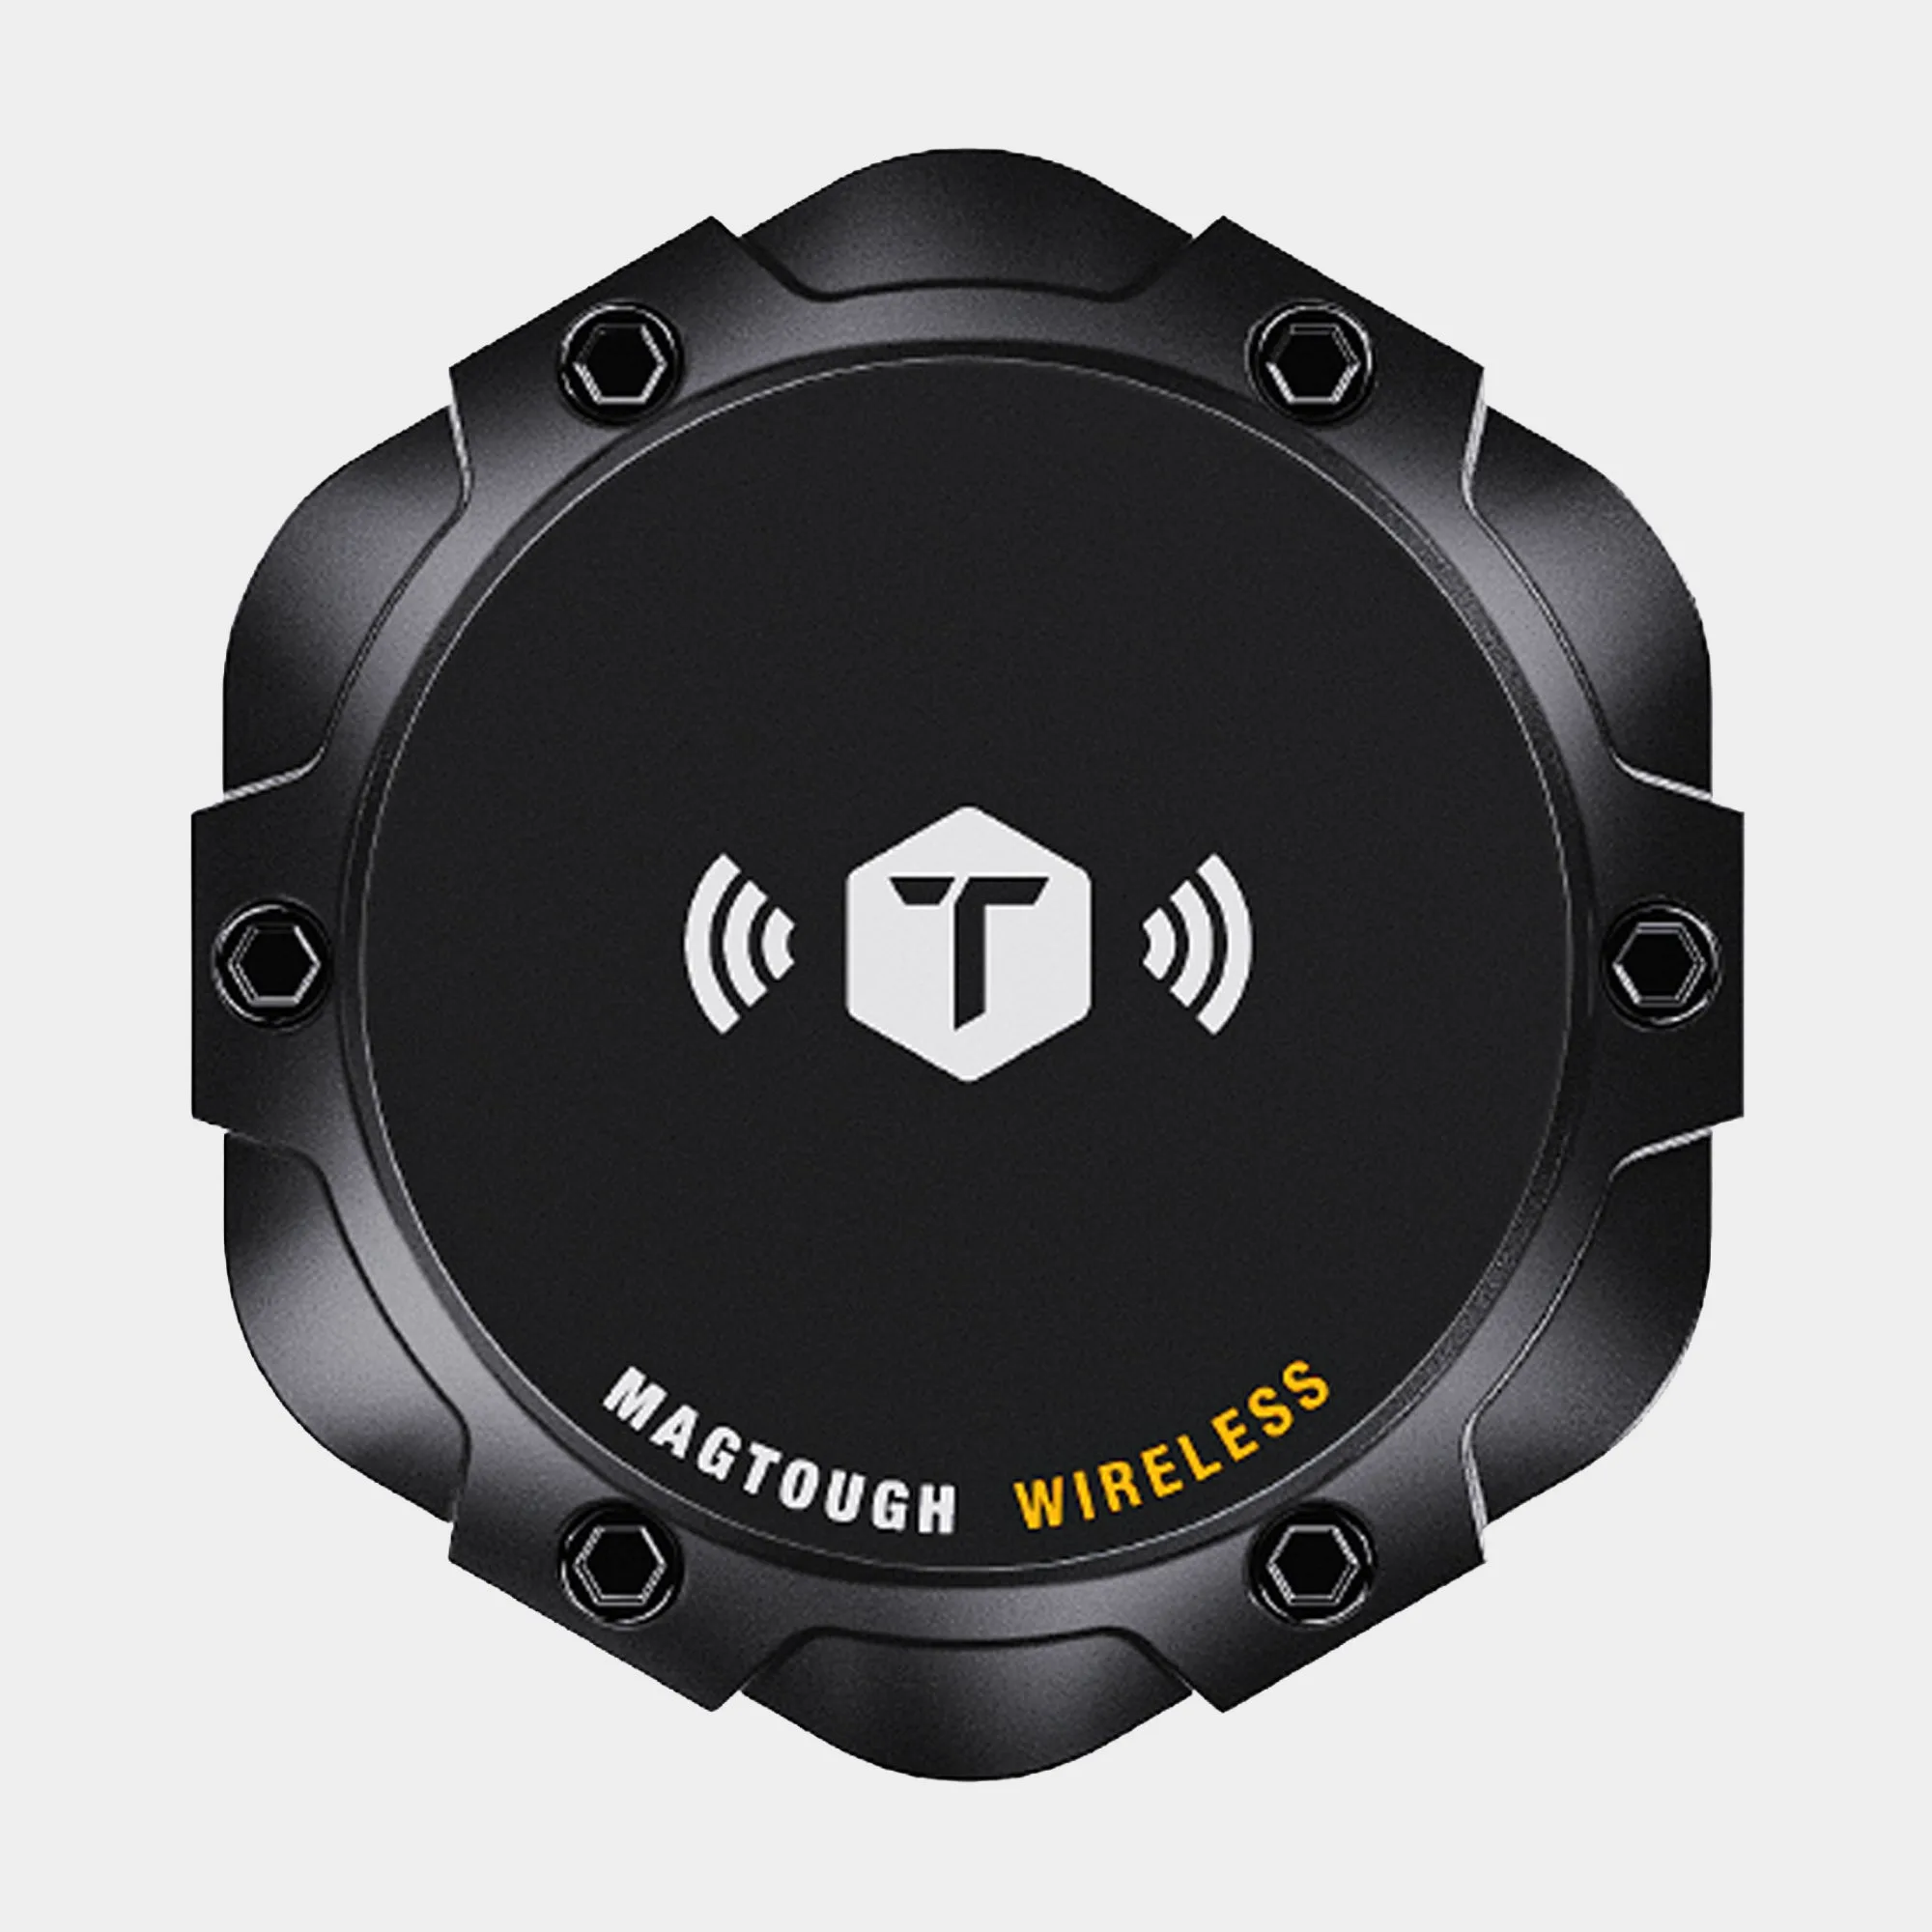
ToughTested 4-Prong Wireless Charging Mount Head Replacement
-
ToughTested 4-Prong MagTough Magnetic Mount Head Replacement: 4-prong MagTough magnetic mount head replacement part for compatible ToughTested mounts Restores magnetic phone mounting function for quick one-handed attachment.
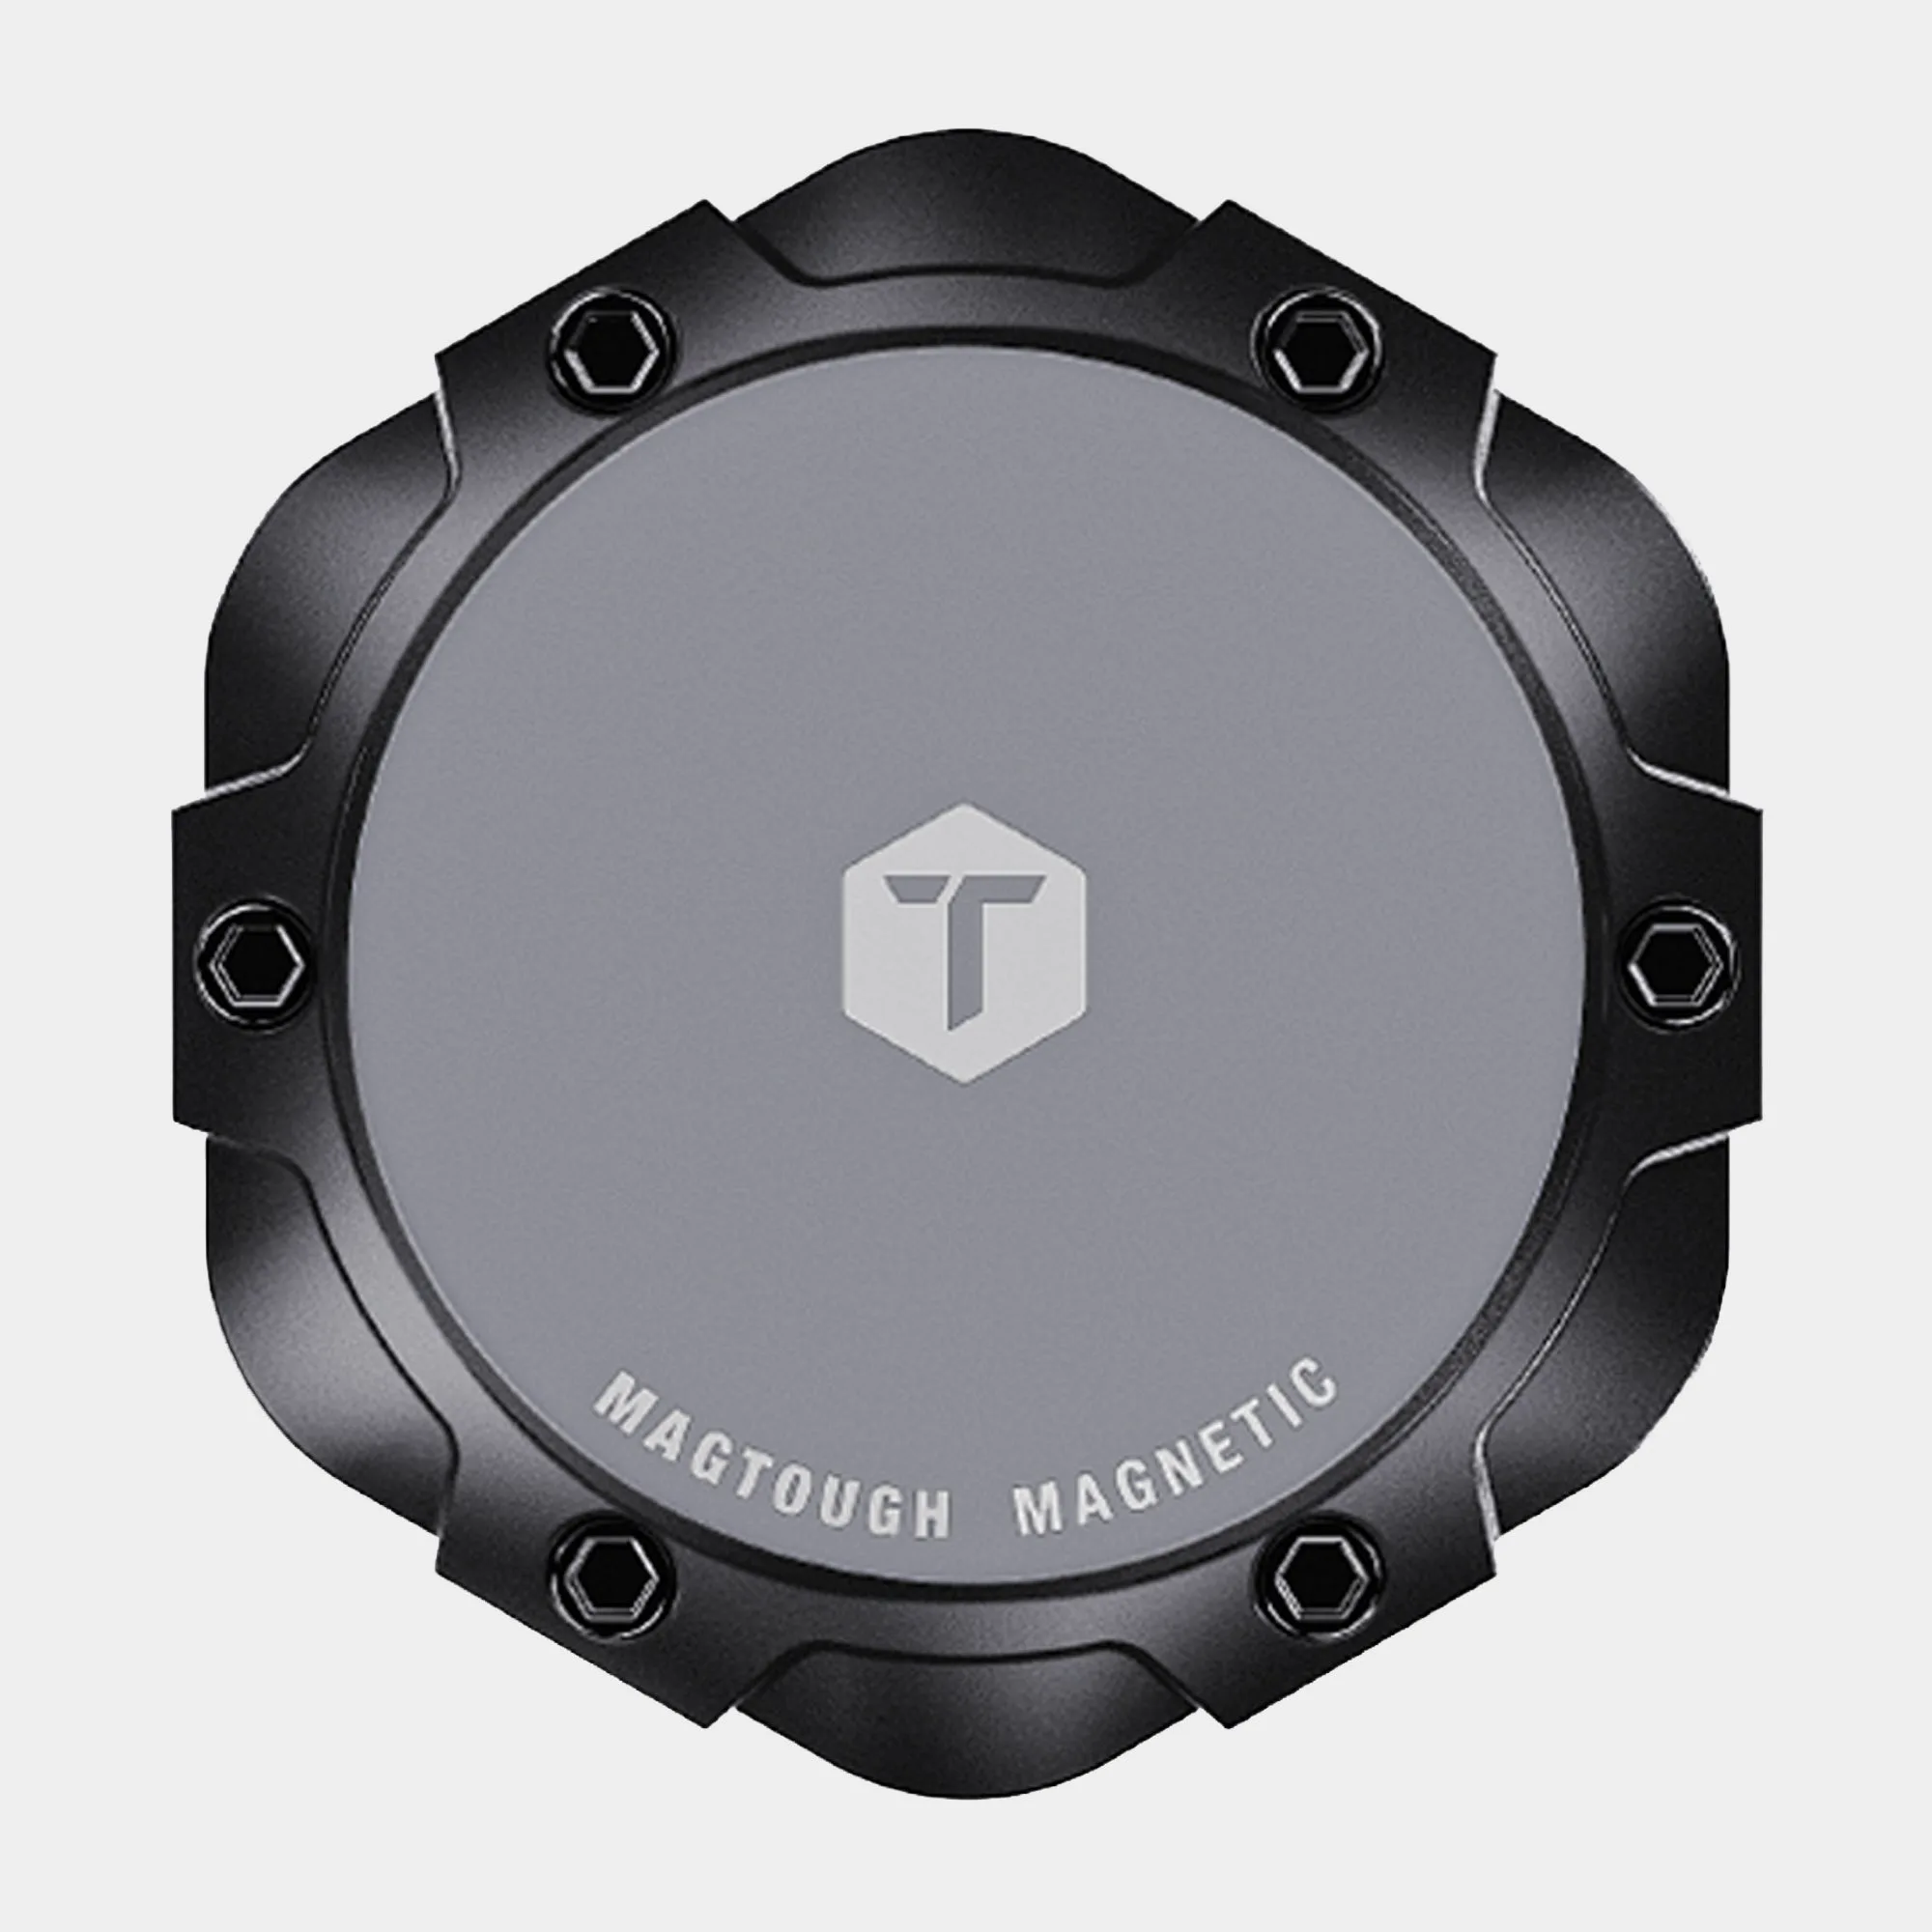
ToughTested 4-Prong MagTough Magnetic Mount Head Replacement
Compatibility Check Before You Buy
Both replacement heads are designed for select 4-prong mount setups. Before purchasing, verify that your existing mount uses a 4-prong connection. If you have a different prong configuration, these heads will not fit. The wireless charging head is ideal if you want to keep your phone charged while driving, while the MagTough magnetic head offers a simpler, no-wire attachment for quick access.