Quick answer
To replace and align clipper blades, power off and unplug the clipper, remove the old blade by loosening the screws or releasing the blade latch, clean the blade seat, then seat the new blade so it sits flat and centered. Tighten fasteners evenly and check alignment by hand before running the clipper. If the blade rattles, pulls hair, or gets hot quickly, stop and re-check the fit and tension.
Gather the right tools and clear your workspace
You need a clean, well-lit surface, a small screwdriver that matches your clipper's screws, a soft brush, and a cloth. If your clipper uses a blade latch instead of screws, no screwdriver is needed. Keep the old blade in a tray so small parts do not roll away. Work over a towel to catch screws and springs.
A common mistake is starting with the clipper still plugged in. Always unplug or remove the battery before touching the blade. Another mistake is using a screwdriver that is too small and stripping the screw head. Match the driver tip to the screw slot exactly.
Remove the old blade without forcing it
For screw-mounted blades, loosen the two screws just enough to slide the blade off the blade seat. Do not remove the screws completely unless your manual says to. For latch-style clippers, press the release and lift the blade away. If the blade feels stuck, check for hair packed around the blade seat and brush it out before pulling harder.
A common mistake is prying the blade with a screwdriver. That can bend the blade seat or scratch the cutter. If the blade does not move after loosening, stop and look for a hidden screw or a locking tab.
Clean the blade seat and check the new blade
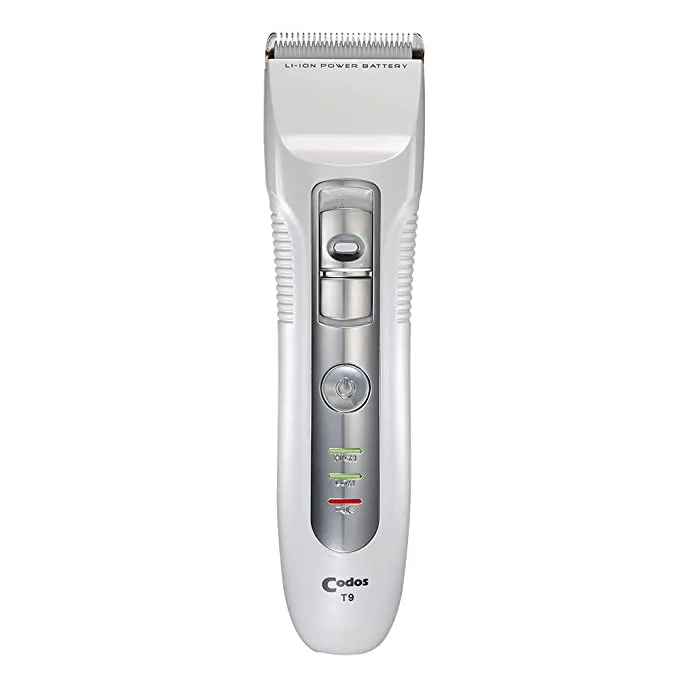
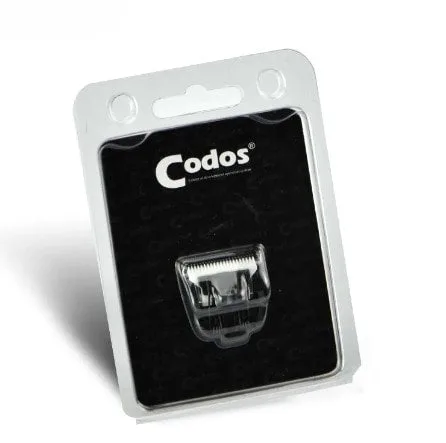
Brush hair and dander from the blade seat, the hinge area, and the screws. Wipe the seat with a dry cloth. Before fitting the new blade, compare it to the old one: the screw holes or latch notch should line up in the same place. If you are fitting a compact blade such as the Codo Mini Replacement Blade, confirm it is designed for your clipper model before you start.
A common mistake is fitting a blade that is not compatible with your clipper. The blade may sit crooked or not lock at all. Check the product listing or your clipper manual for the correct model fit.
Seat and align the new blade
Place the new blade on the blade seat so it sits flat and centered. For screw-mounted blades, start both screws by hand before tightening. Tighten them in small, even turns, alternating between screws so the blade does not shift. For latch-style blades, press the blade down until the latch clicks or the blade sits flush.
A common mistake is tightening one screw all the way before starting the other. That tilts the blade and causes uneven cutting. Another mistake is leaving the blade slightly off-center, which makes the cutter rub against the blade edge. Sight down the blade from the front to check that the cutter is centered in the blade slot.
Check tension and test the fit by hand
With the clipper still off, press the blade gently with your thumb. It should not wobble or lift easily. If it moves, tighten the screws a quarter turn at a time until it feels firm but not locked. For latch blades, check that the blade does not rock side to side. Then turn the clipper on for a few seconds and listen for rattling or grinding.
A common mistake is over-tightening. Too much tension can make the blade run hot and wear the cutter faster. Too little tension lets the blade chatter and pull hair. Aim for firm contact with no rattle.
Run a test pass and adjust if needed
Test the clipper on a small area of clean, dry coat or on a test patch of hair. The blade should cut smoothly without pulling or leaving lines. If it pulls, turn the clipper off and check alignment again. If it leaves a strip of uncut hair, the blade may be off-center or the cutter may not be seated in the blade slot.
A common mistake is continuing to use a blade that pulls or heats up. Stop and re-check the fit. If the blade still will not align, the blade or the clipper may need service.
Step-by-step blade replacement and alignment
- Power down and unplug: Turn the clipper off and remove the battery or unplug the cord. Wait for the blade to cool before touching it. Checkpoint: the clipper is completely off and cool.
- Remove the old blade: Loosen the screws or release the latch, then slide the blade off. Do not pry it with a tool. Checkpoint: the blade comes off without bending the seat.
- Clean the blade seat: Brush out hair and wipe the seat dry. Check that screws and threads are clean. Checkpoint: no hair or grit remains under the blade.
- Fit the new blade: Seat the blade flat and centered. Start screws by hand or press the latch until it clicks. Checkpoint: the blade sits flush and does not rock.
- Tighten evenly: Alternate small turns on each screw until firm. Do not over-tighten. Checkpoint: the blade is firm but not locked down.
- Check alignment by hand: Press the blade gently and look from the front to confirm the cutter is centered in the blade slot. Checkpoint: no wobble and no side-to-side shift.
- Run a test pass: Turn the clipper on and test on a small area. Listen for rattle and watch for pulling. Checkpoint: smooth cut with no pulling or heat buildup.
Blade and clipper facts that affect fitting
- Codo Mini Replacement Blade: The Codo Mini Replacement Blade is designed to fit the CHC-331 clipper and is a mini-size blade for detailed grooming work. If you use a CHC-331, this blade is a direct replacement option for touch-ups and precision trimming. Always confirm your clipper model before ordering.
- GSH #10WF: The GSH #10WF blade has a cut length of 3/32 inch (2.4 mm), is made of high-carbon steel with a chrome coating, and is heat treated and ice tempered for durability and rust resistance. It has a Rockwell Hardness rating of 62° and is designed to run cool. A blade that runs cool and holds an edge can reduce friction during grooming, but correct alignment and tension still determine how well it cuts. This blade is a practical choice when you need a specific cut length and want a durable replacement.
- Wahl KMX+ with choice of wide blade: The Wahl KMX+ with choice of wide blade is a cordless clipper with a quick charge feature that provides an extra 15 minutes of clipping time for every 10 minutes of charging. It comes with an 18-foot heavy-duty charging cord. If you are replacing blades on a KMX+, the cordless design and quick charge can help you finish touch-ups without waiting for a full charge. The long cord gives you room to work while charging.