Quick Answer
To replace Skull Shaver blades, turn off the shaver, remove the old blade assembly by pressing the release tabs or twisting counterclockwise, align the new blade with the drive pins, and snap it into place. For most models, this takes less than a minute. Always ensure the shaver is dry and clean before starting.
Keeping your Skull Shaver in top condition means replacing the blades when they start to dull. Dull blades can cause tugging, irritation, and an uneven shave. Fortunately, the replacement process is quick and straightforward, and this guide will walk you through it step by step.
Whether you own a Pitbull Platinum PRO PX5, a Baron, or a Carver, the basic principles are the same. We’ll cover preparation, removal, installation, and post-replacement care, along with common mistakes to avoid. By the end, you’ll be confident in swapping out blades in minutes.
Why Replace Your Skull Shaver Blades?
Over time, the blades on your electric shaver will wear down, leading to a less effective shave. You might notice more passes needed, increased skin irritation, or a pulling sensation. Replacing the blades restores performance and extends the life of your shaver.
For best results, Skull Shaver recommends replacing blades every 3 to 6 months, depending on usage. If you shave daily, you may need to replace them more frequently. Regular replacement ensures a smooth, comfortable shave and prevents skin problems.
- Check for signs of wear: tugging, redness, or uneven cutting.
- Keep spare blades on hand so you’re never caught without a sharp set.
Preparing Your Shaver for Blade Replacement
Before you begin, ensure your shaver is turned off and unplugged. If the shaver is wet, dry it thoroughly with a soft cloth. This prevents slipping and reduces the risk of damaging the shaver's internals.
Gather your new blades and a small brush for cleaning. A clean workspace helps you keep track of small parts. Also, check the model of your shaver to ensure you have the correct replacement blades. Most Skull Shaver models use compatible blades, but it's always good to verify.
- Use a soft brush to remove any hair or debris from the shaver head before removal.
Removing the Old Blades
Hold the shaver firmly with one hand. Depending on your model, either press the release buttons on the sides of the shaver head or twist the head counterclockwise to unlock it. Gently lift the head assembly away from the body.
Once the head is off, you'll see the blade assembly. In most models, the blades are held in place by a simple clip or magnetic connection. Carefully pull the blade assembly straight out. Avoid using excessive force, as this could damage the drive pins.
- If the blades are stuck, use a flathead screwdriver to gently pry them up, but be cautious.
Installing the New Blades
Take your new blade assembly and align it with the drive pins on the shaver. The blades should fit snugly over the pins. Press down firmly until you hear a click, indicating they are seated correctly.
Once the blades are in place, reattach the shaver head by aligning it with the body and pressing down or twisting clockwise until it locks. Turn on the shaver briefly to ensure the blades are spinning smoothly.
- Make sure the blades are oriented correctly; most have a notch that aligns with a corresponding tab.
Post-Replacement Care and Maintenance
After installing new blades, clean the shaver head with a brush to remove any residual hair or oil. Some models can be rinsed under water, but check your user manual for specific instructions.
Apply a drop of shaver oil to the blades to reduce friction and prolong their life. Store your shaver in a dry place. Regular cleaning and oiling will keep your new blades performing at their best.
- Set a reminder to replace blades every few months to maintain optimal performance.
Step-by-Step Blade Replacement Process
- Step 1: Prepare the shaver: Turn off and unplug the shaver. Clean the head area with a brush to remove loose hair and debris. Dry the shaver if it's wet. Checkpoint: The shaver is clean and dry, reducing the risk of slipping.
- Step 2: Remove the shaver head: Press the release buttons or twist the head counterclockwise to detach it from the body. Set the head aside carefully. Common mistake: Forcing the head off can break the locking mechanism. If it doesn't come off easily, double-check that you're pressing the right release.
- Step 3: Take out the old blades: Gently pull the blade assembly straight out from the shaver head. If it's stuck, use a flathead screwdriver to pry it up carefully. Checkpoint: Inspect the old blades for wear and dispose of them properly.
- Step 4: Install the new blades: Align the new blade assembly with the drive pins and press down firmly until you hear a click. Ensure it's seated securely. Common mistake: Incorrect alignment can damage the pins. If it doesn't click, remove and realign.
- Step 5: Reattach the shaver head: Align the head with the body and press down or twist clockwise until it locks. Turn on the shaver to test the blades. Checkpoint: The blades spin smoothly without unusual noise.
- Step 6: Clean and oil: Brush away any debris, and apply a drop of shaver oil to the blades. Store the shaver in a dry place. Common mistake: Skipping oiling can lead to premature wear. Make it a habit after each blade change.
Choosing the Right Replacement Blades
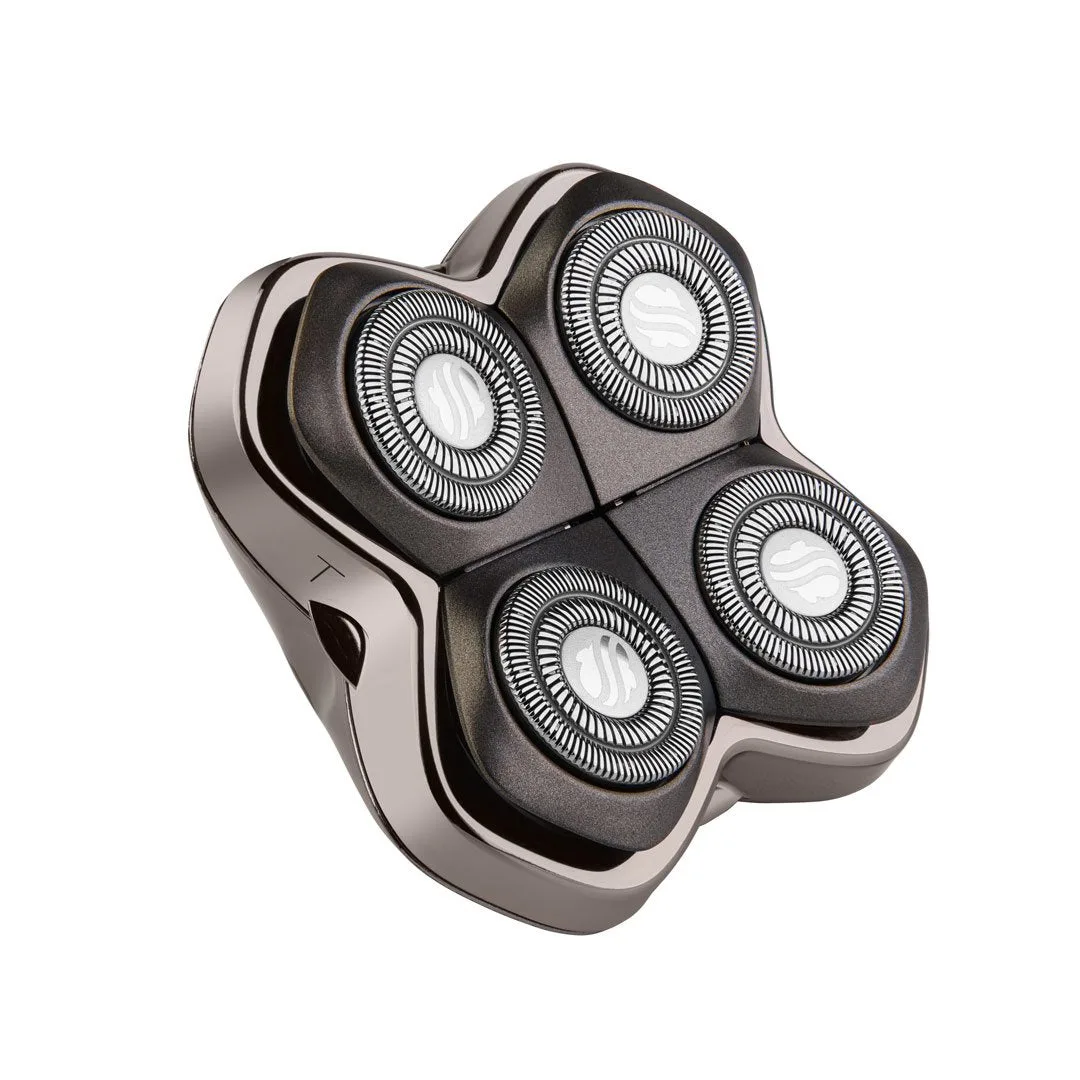
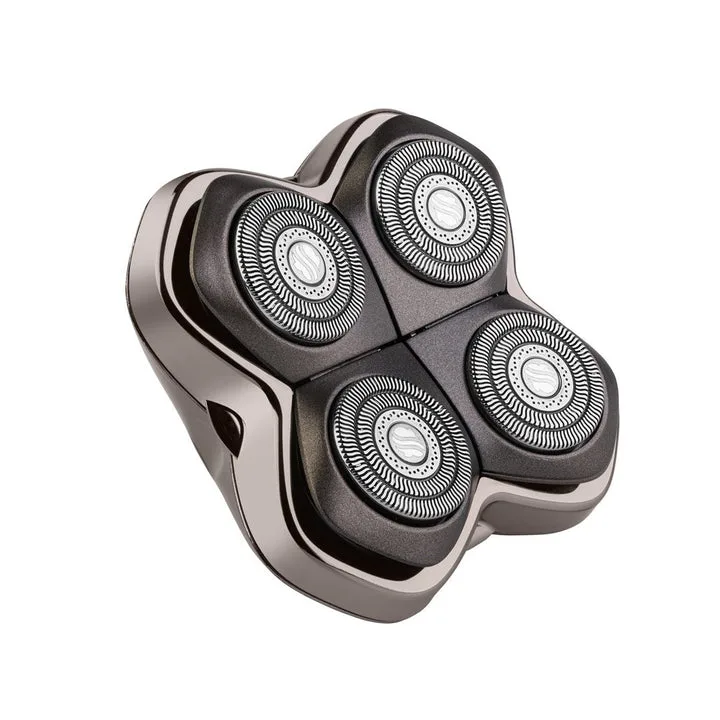
- Baron Blade PRO 4| Head Replacement Blade | Compatible with all Skull Shaver models: Skull Shaver PRO blades let you shave faster than previous designs. Multi directional rotary shaving heads let you shave in any direction. They have more blades per shaving head than previous generation blades. More blades and multi-directional heads mean a faster, more efficient shave, especially for larger areas like the scalp.
- Carver Blade PRO 4| Head Replacement Blade | Compatible with all Skull Shaver models: Skull Shaver PRO blades let you shave faster than previous designs. Multi directional rotary shaving heads let you shave in any direction. They have more blades per shaving head than previous generation blades. This 4-head blade offers similar benefits to the Baron but with four heads, providing a balance of coverage and maneuverability for both head and face.
- Chiseler Replacement Blade for One Lion PRO - For Sensitive Skin: Designed specifically for sensitive skin, these premium Japanese stainless steel blades will keep you looking your absolute best. Upgrade your shave with a full refresh of your shaver's foil and both blades. If you have sensitive skin, this blade is engineered to minimize irritation, making it a great choice for those prone to razor burn.
Replacing the blades on your Skull Shaver is a simple task that can dramatically improve your shaving experience. By following these steps, you'll ensure a smooth, comfortable shave every time. If you're due for a replacement, consider the Baron Blade PRO 4 for a fast, multi-directional shave, or the Chiseler Replacement Blade if you have sensitive skin. Keep your shaver in top shape and enjoy the best performance possible.