Quick Answer
Replacing concealable baton parts requires identifying the correct part from the drop-down menu, disassembling the baton section, and swapping the worn component without damaging the surrounding assembly.
Why Parts Wear and When to Replace Them
Concealable batons are compact duty tools that see regular impact, friction, and moisture exposure. The tip, spring, and retaining ring are the most common parts to wear. A loose tip or weak spring reduces extension reliability and can cause the baton to collapse during use. Replace any part that shows visible deformation, rust, or inconsistent lock-up.
Choosing the Right Replacement Part
Not all baton parts are interchangeable across models. Use the drop-down menu under “Option” on the product page to select the exact part you need—the price updates based on your selection. Exploded-view images are for general reference only; finishes and colors may differ. Read the drop-down descriptions carefully to avoid ordering the wrong component.
Step-by-Step Replacement Process
- 1. Identify the Worn Part and Order the Correct Replacement: Inspect the baton tip, spring, and retaining ring. If the tip is loose or the spring no longer holds tension, note the part. Go to the Concealable Baton Parts product page, open the drop-down menu, and select the exact part. Common options include tip assemblies, springs, and retaining rings. A common mistake is ordering a tip assembly when only the spring is worn—confirm which component is faulty before purchasing.
- 2. Disassemble the Baton Section: Extend the baton fully. Unscrew the tip cap or retaining ring using a small flathead screwdriver or a specialized baton tool. Some models require pushing the tip inward to release spring tension before unscrewing. Work over a soft surface so small parts don't bounce away. Forcing the tip cap without relieving spring tension can strip the threads. Always push the tip in slightly first.
- 3. Remove the Old Part and Clean the Interior: Take out the worn tip, spring, or retaining ring. Use a clean cloth to wipe away debris, old lubricant, and metal shavings from the inside of the baton section. Inspect the interior for cracks or burrs that could damage the new part. Skipping the cleaning step lets grit accelerate wear on the new part. A quick wipe is worth the extra minute.
- 4. Install the New Part: Place the new spring or tip assembly into the baton section. Ensure the spring seats evenly against the internal shoulder. For tip assemblies, align the tip with the opening and press it in until it clicks or sits flush. Reinstall the retaining ring or tip cap and tighten it hand-tight—do not overtighten. Overtightening the tip cap can crack the retaining ring or deform the tip. Snug is enough.
- 5. Test the Replacement: Extend and retract the baton several times. Confirm the tip locks firmly and the spring provides consistent resistance. If the baton fails to lock or feels loose, disassemble and check that the part is seated correctly and the retaining ring is fully threaded. If the baton still rattles after replacement, the retaining ring may be cross-threaded. Remove and reinstall it carefully.
Parts You May Need
-
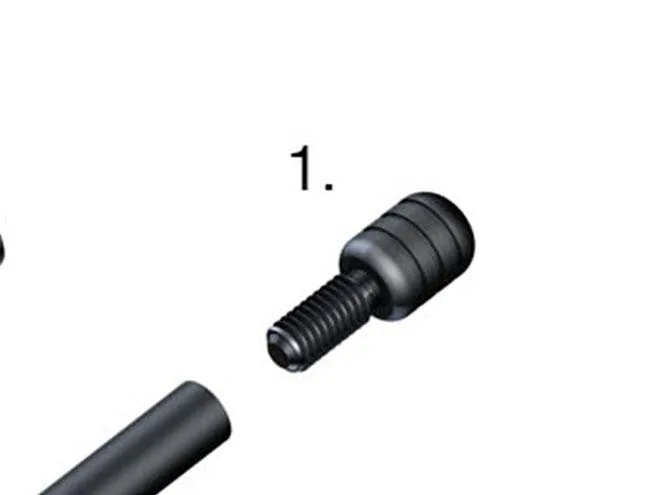
Concealable Baton Parts: Use the drop-down menu under “Option” to select the part(s) you need. Exploded views are for general reference and may not reflect options like different finishes and colors. Choosing the wrong option from the drop-down can delay your repair—always match the part description to your baton model before ordering.
Concealable Baton Parts