Quick answer
To replace a golf cart steering wheel, disconnect the battery, remove the center cap and retaining nut, use a steering wheel puller to free the wheel from the splined shaft, then install the new wheel with the correct adapter and torque the nut to your cart manufacturer's spec. The whole job usually takes 30 to 60 minutes with basic hand tools. The two things that decide success are matching the adapter to your cart's spline count and never hammering on the shaft.
A worn or oversized golf cart steering wheel is one of the easiest interior upgrades you can make, and it is also one of the easiest jobs to get wrong. The wheel sits on a splined shaft under a single retaining nut, so the work is simple in theory. In practice, most problems come from forcing a stuck wheel, losing track of the adapter, or reinstalling the nut without checking the splines.
This guide walks through the full process in order: prep, removal, adapter fit, installation, and a final safety check. It applies to common Club Car, E-Z-GO, and Yamaha carts, though the exact nut size and torque value vary by model, so confirm those in your service manual. If you are only swapping a wheel and reusing the factory hub, you can skip the adapter section.
Tools and parts to gather before you start
You need a socket set, a ratchet, a torque wrench, a steering wheel puller, and a small flathead screwdriver for prying the center cap. A marker or tape helps you note the wheel's straight-ahead position. If you are installing an aftermarket wheel, have the correct golf cart steering wheel adapter on hand before you take anything apart, because the factory hub and an aftermarket hub are rarely interchangeable.
Work on a level surface with the parking brake set and the front wheels pointed straight ahead. Take a photo of the column before disassembly. That single photo saves guesswork later when you are trying to remember which spacer or washer went where.
- Confirm your cart's make and model before ordering an adapter, since spline counts differ between Club Car, E-Z-GO, and Yamaha.
- A puller is not optional on a wheel that has been installed for years. Pry bars and hammers damage the column.
Disconnect power and remove the old wheel
Disconnect the negative battery cable first, then the positive, on electric carts. On gas carts, disconnect the battery ground. This prevents an accidental horn or turn-signal short while you work near the column wiring. Next, pry off the center cap, remove the retaining nut, and set the nut and any washer aside in a labeled cup.
Thread the puller bolts into the wheel's hub holes, center the puller, and tighten it gradually. The wheel should pop free with steady pressure. If it resists, stop and check that the puller is seated squarely rather than adding more force. Once the wheel is off, inspect the splines on the shaft for rust or flattening. Light surface rust cleans up with a wire brush; visibly rounded splines mean the shaft itself needs attention before a new wheel will stay tight.
- Never strike the steering shaft with a hammer. The impact can damage the steering box or collapse the column.
- Keep the retaining nut threaded a few turns while the wheel breaks loose so it does not fly off.
Match the adapter and test-fit the new wheel
Set the new wheel on the shaft without the nut and check how it seats. It should slide on with light hand pressure and sit flush against the hub or adapter. If it rocks or sits high, the adapter is wrong for your spline count or the hub is not fully seated. This is the moment to catch a fitment problem, not after you have torqued everything down.
Some aftermarket wheels use a six-bolt pattern and a separate adapter, while others are drilled for a specific cart. Either way, the adapter is what transfers steering load, so it needs full engagement on the splines. Do not file or grind splines to make a wheel fit; a loose wheel is a safety issue, not a cosmetic one.
- Test-fit with the wheels straight ahead so the new wheel's center spoke lines up correctly.
- If the adapter has a keyway or alignment mark, line it up before pressing the wheel on.
Install, torque, and check the wheel
Apply a thin film of grease to the splines, slide the wheel on, and start the retaining nut by hand to avoid cross-threading. Tighten it in stages with a torque wrench to your manufacturer's specification. If you cannot find a spec, use a conservative value for your nut size and recheck it after the first drive. Over-tightening can crack a thin aftermarket hub, while under-tightening lets the wheel work loose on the splines.
Reconnect the battery, then test the horn, turn signals, and any column-mounted controls before you drive. Take a slow test lap in a clear area and confirm the wheel returns to center and does not rub the column shroud. Recheck the nut after the first few drives, since a new installation can settle slightly.
- Recheck torque after the first 10 to 20 miles of use.
- If the wheel is off-center when driving straight, pull it and re-index it rather than adjusting the tie rods.
Steering wheel replacement steps at a glance
- Step 1: Park and disconnect the battery: Set the parking brake, point the wheels straight, and disconnect the negative cable first on electric carts or the ground on gas carts. Checkpoint: no power to the column before you touch any wiring.
- Step 2: Mark the wheel position: Use tape or a marker to note where the wheel sits when the front wheels are straight. This makes re-indexing the new wheel far easier.
- Step 3: Remove the center cap and retaining nut: Pry the cap gently, remove the nut, and keep the nut and washer together in a labeled container. Mistake to avoid: losing a spacer and reinstalling the wheel with the wrong stack height.
- Step 4: Pull the wheel with a steering wheel puller: Thread the puller bolts in squarely and tighten gradually until the wheel releases from the splines. Mistake to avoid: hammering the shaft, which can damage the steering box.
- Step 5: Inspect the splines: Clean light rust with a wire brush and check for flattened or rounded splines on the shaft. If splines are badly worn, stop and address the shaft before installing a new wheel.
- Step 6: Test-fit the adapter and new wheel: Slide the wheel on by hand and confirm it seats flush with no rocking or gap. Mistake to avoid: grinding splines to force a fit.
- Step 7: Torque the retaining nut: Grease the splines lightly, start the nut by hand, and tighten in stages to your cart manufacturer's spec. Checkpoint: recheck torque after the first few drives.
Parts that come up during a steering wheel job
- Universal 8" Golf Cart Hub Cap- Driver (Sand) | RHOX: This RHOX wheel cover works with any standard 8-inch golf cart wheel and is available as a set of 4 or as a single hub cap. If your cart still runs factory steel wheels, a hub cap set is a low-cost way to refresh the look while you have the front end apart for steering work.
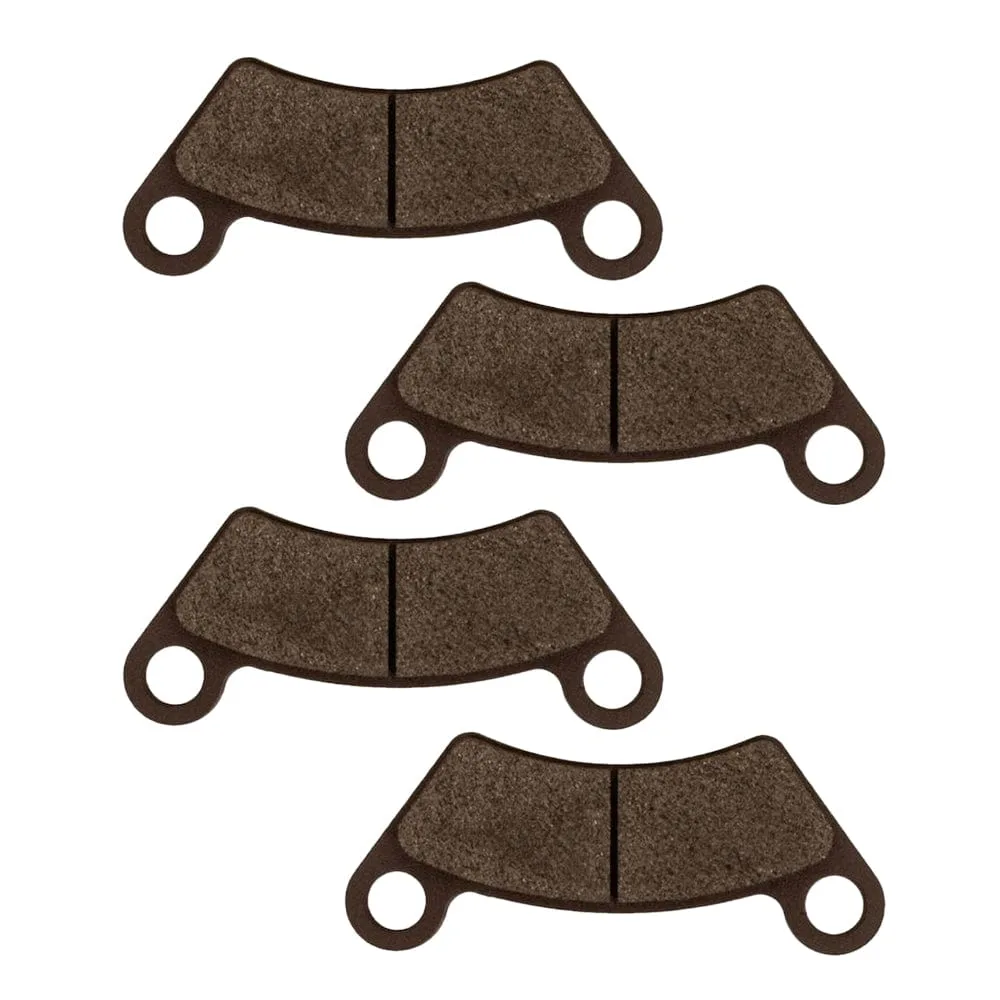
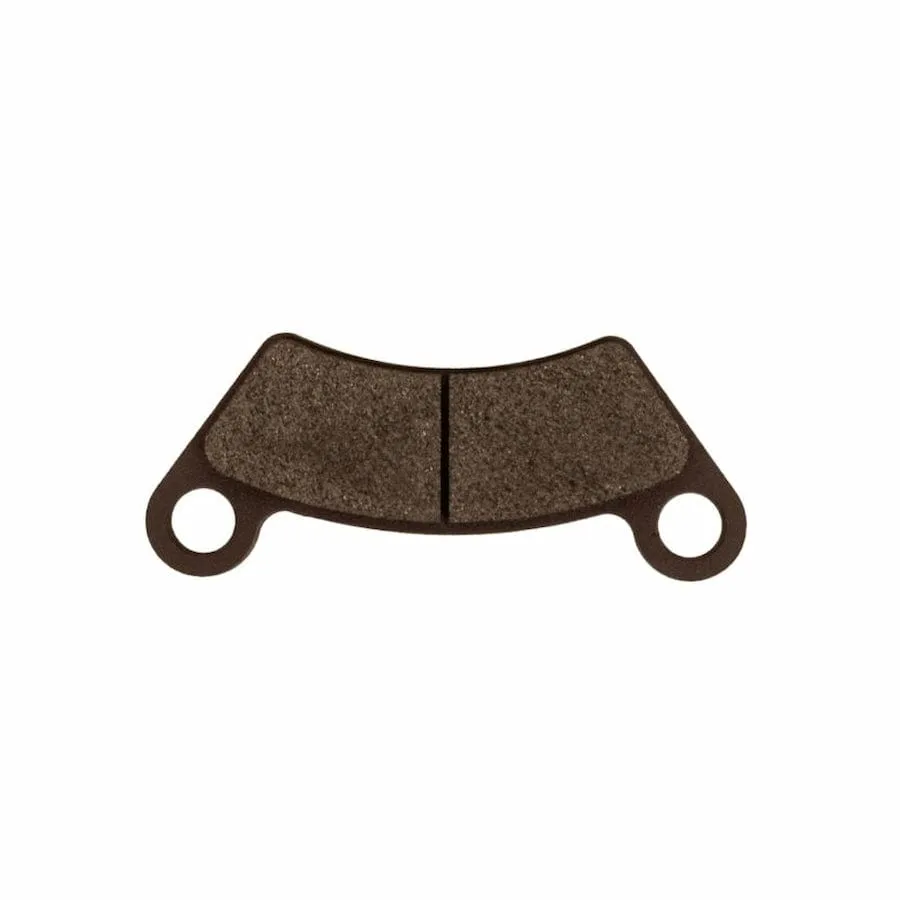
- https://golfcartstuffed.com/products/madjax-xseries-storm-front-brake-pad-replacement-set-of-798efb0698a2889f9e405e82-2725306MadJax XSeries Storm Front Brake Pad Replacement (Set of 4): This is a set of 4 OEM replacement front brake pads for the MadJax XSeries Storm golf cart, designed for quick installation. Steering and braking share the front end, so if you already have the wheels off for a steering job, it is a sensible time to check pad wear on an XSeries Storm.
Replacing a golf cart steering wheel is a straightforward job when you use a puller, match the adapter to your cart's splines, and torque the nut properly. Take your time on the removal step, test-fit before final assembly, and recheck the nut after your first drive. Done right, the new wheel should feel tight, centered, and free of play.