When to Replace Your Reformer Hook Cap
The hook cap is a small but essential part of your Pilates reformer. It secures and protects key components, helping ensure smooth and reliable operation during workouts. Over time, caps can wear, crack, or go missing, which may affect how securely other parts attach. If you notice a loose connection or a visible gap where the cap should sit, it is likely time for a replacement.
Replacing a hook cap is a straightforward maintenance task that restores the original fit and function. The part itself is inexpensive and easy to swap, making it a simple fix you can handle at home.
What the Hook Cap Replacement Part Includes
-
Hook cap: This Hook Cap is a replacement part designed for use with your reformer. It helps secure and protect key components, ensuring smooth and reliable operation during your workouts. Manufactured by Your Reformer USA as a genuine replacement part. Categorized under Parts and accessories for reformers. SKU SP0135 in the Standard size option. Knowing the exact SKU and size (Standard) ensures you order the correct cap for your reformer. The genuine part guarantee means it will match the original fit and durability.
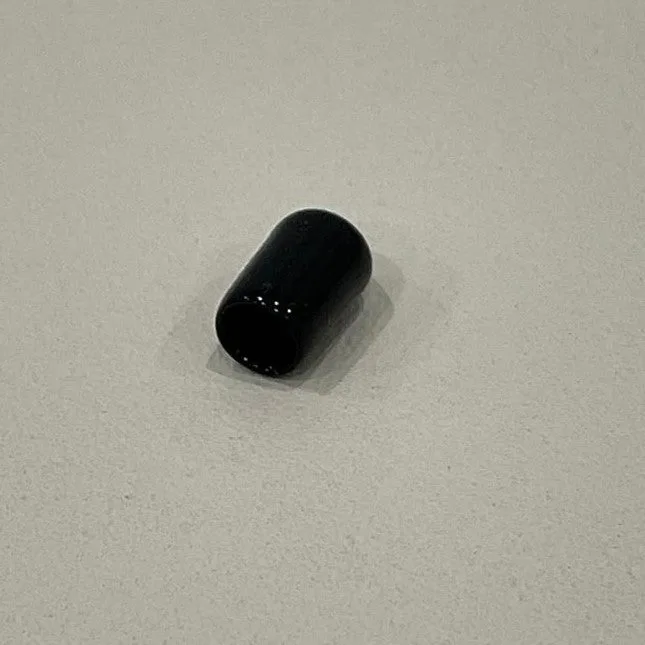
Hook cap
Step-by-Step Hook Cap Replacement
The catalog confirms the part is a standard-size cap designed for reformer use, but it does not include detailed installation instructions. The steps below are based on general best practices for replacing a similar push-fit or screw-on cap. Always check your reformer’s manual if you have one, and stop if you encounter resistance that suggests a different attachment method.
- 1. Remove the old cap: Gently pull or unscrew the worn hook cap from its mounting point. If it is stuck, use a flathead screwdriver wrapped in a cloth to pry it loose without scratching the frame.
- 2. Clean the area: Wipe the mounting post or socket with a dry cloth to remove dust or debris. A clean surface ensures the new cap seats properly.
- 3. Align the replacement cap: Take the new hook cap (SKU SP0135, Standard) and align it with the mounting point. The cap should fit snugly without forcing.
- 4. Press or screw into place: Push firmly until the cap clicks into place, or turn it clockwise if it uses threads. Confirm it is secure and does not wobble.
- 5. Test the fit: Gently tug on the cap to verify it is locked in. Then attach any component that uses the hook (such as a spring or strap) to ensure smooth operation.
What the Catalog Does Not Confirm
The supplied information does not include a specific installation guide or torque specifications for this hook cap. If your reformer uses a threaded mount, avoid overtightening. The Standard size option fits most reformers, but if you are unsure about compatibility, compare the cap diameter and shape with the original part before ordering. For non-standard frames, contacting the manufacturer is recommended.