A loose or cracked hatchet handle isn't just an annoyance—it's a safety hazard. Whether you're restoring a vintage head or fixing a well-used tool, knowing how to replace a hatchet handle will keep your field hatchet reliable for years. This guide walks you through each step, from choosing the right wood to securing the wedge, so you can get back to splitting kindling or clearing trail.
The process requires patience, a few basic tools, and attention to grain direction. The payoff is a snug, swing-ready connection that won't let go. If you maintain other handled tools like a Japanese Weeding Hoe or a Japanese Nata Tool, the same principles apply—making this skill useful across your outdoor gear.
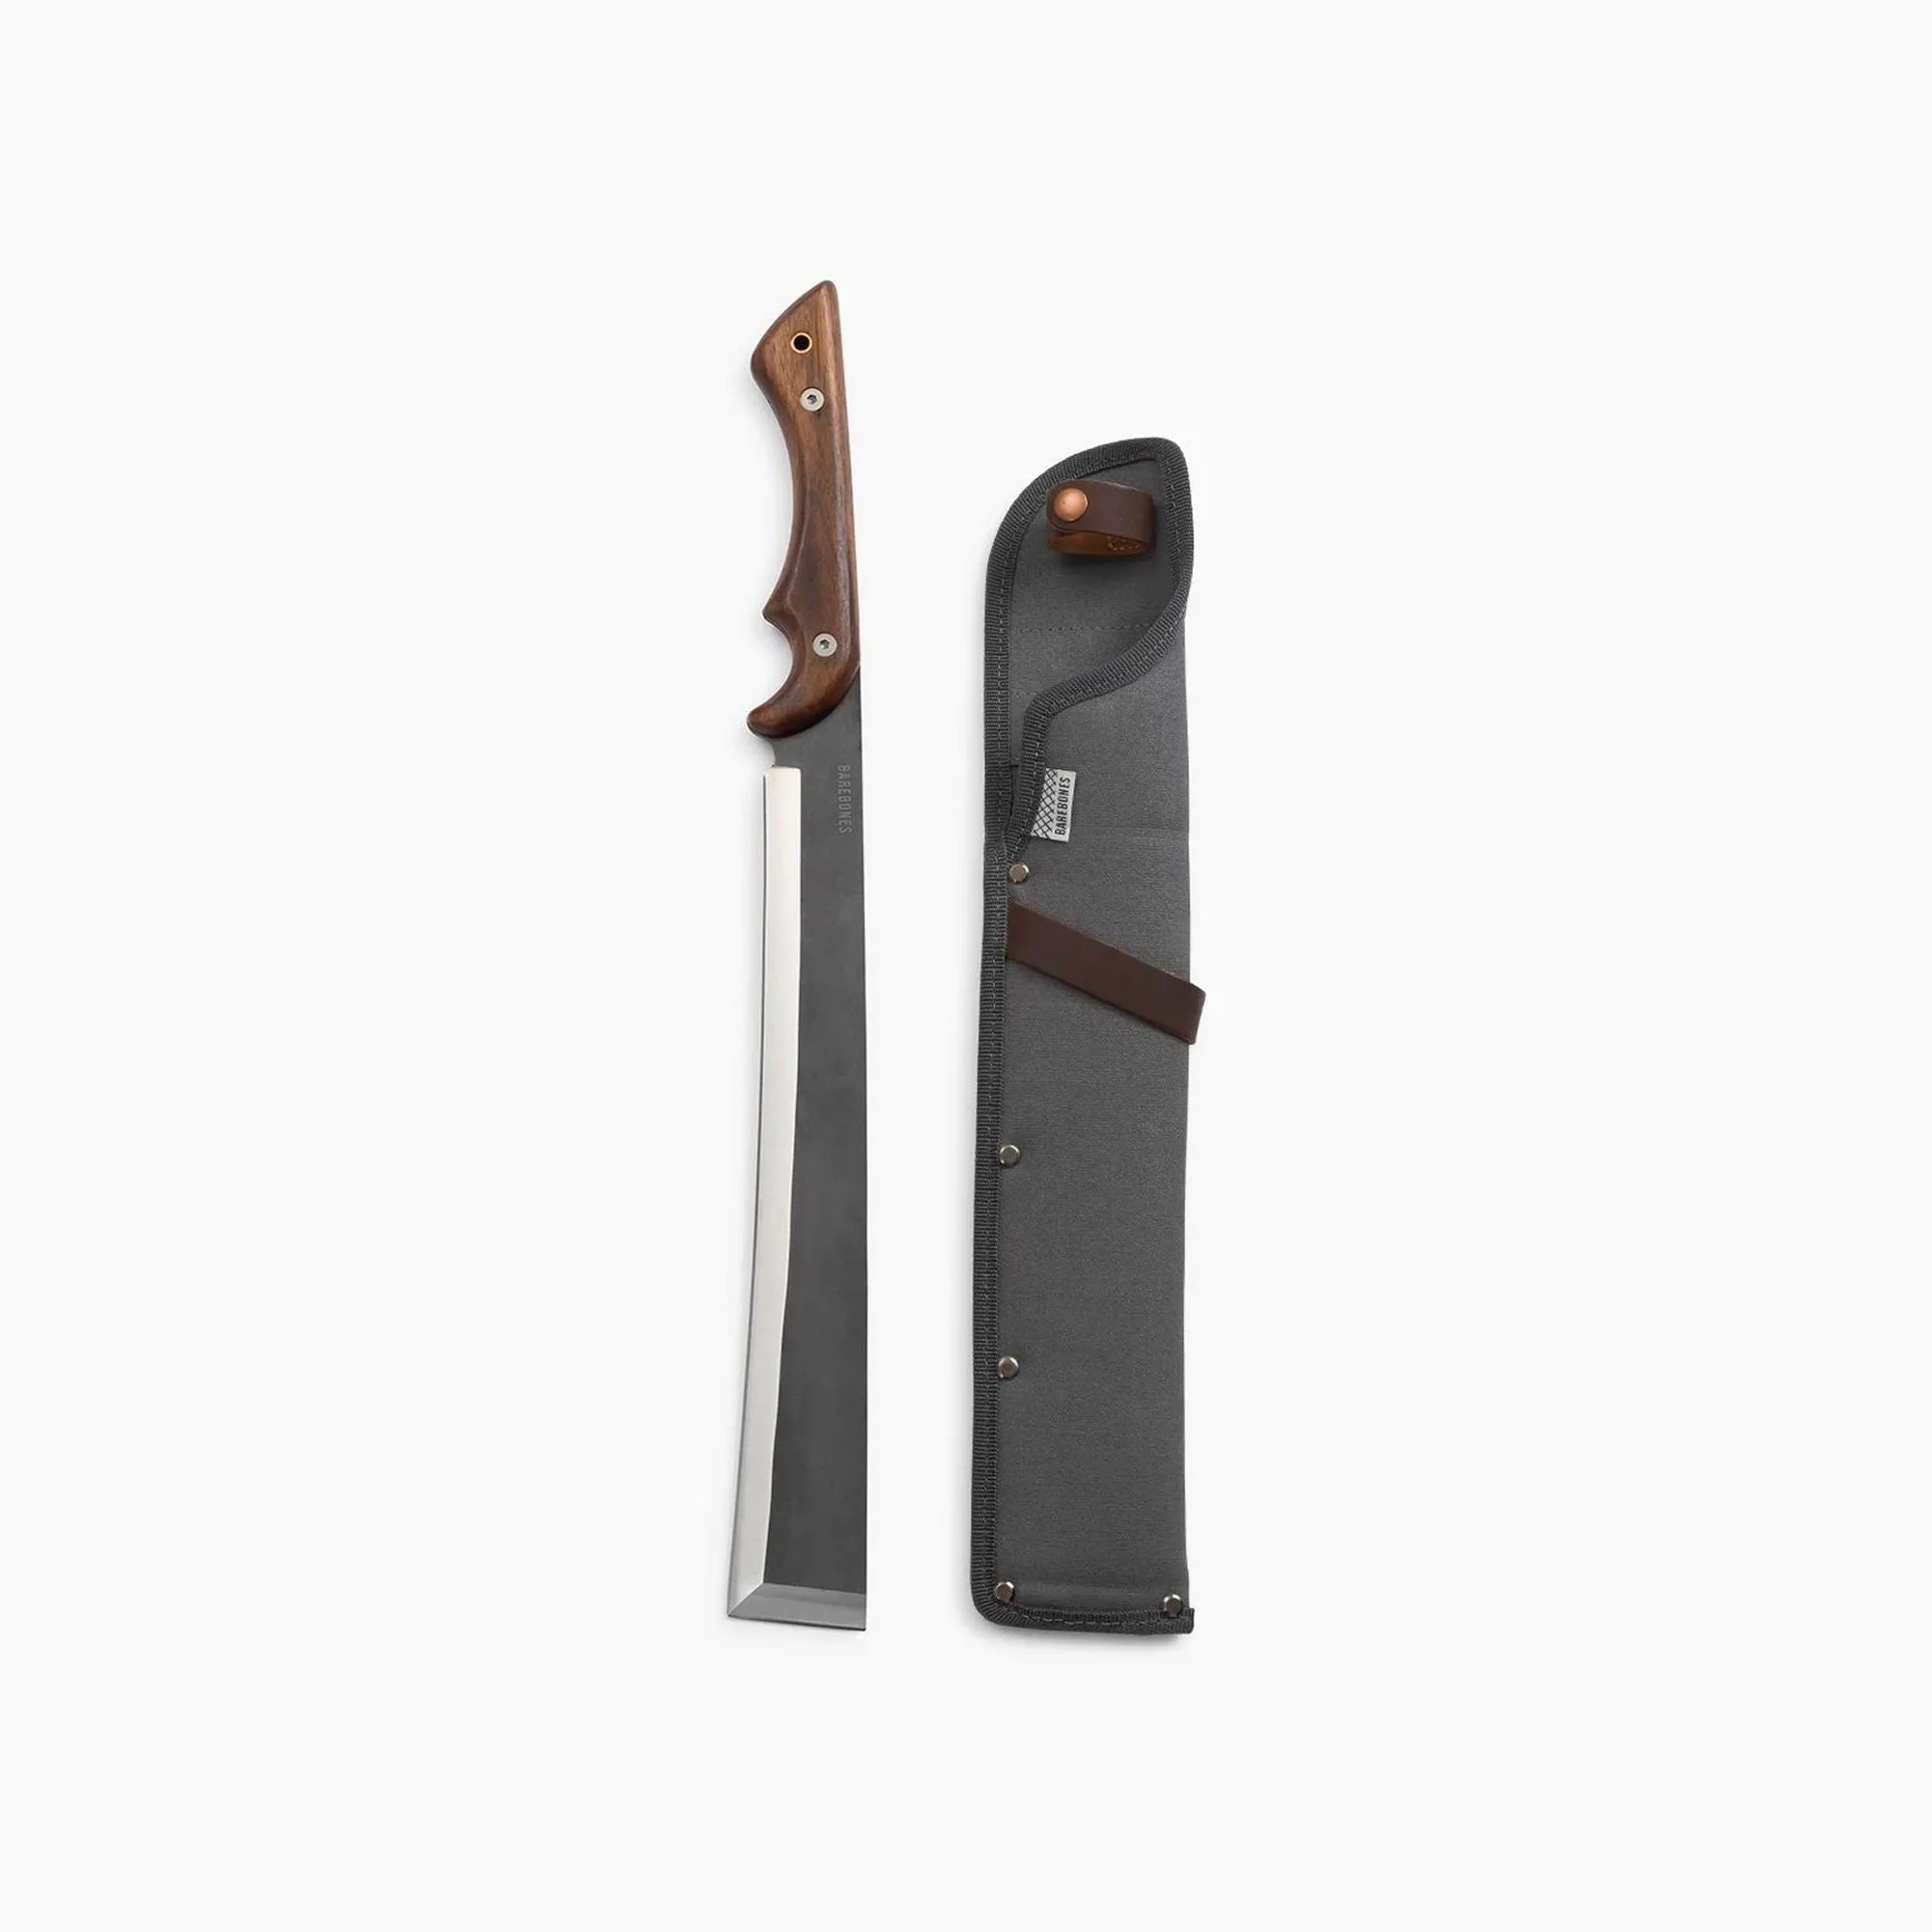
Japanese Nata Tool
Assessing the Damage and Choosing a New Handle
Before buying a replacement, inspect the eye of the hatchet head. If the eye is oval, bent, or cracked, the head itself may need professional attention. For solid heads, measure the eye length and width at both ends (the eye is usually tapered: wider at the top than the bottom). This taper is critical for a wedge-lock fit.
Select a handle made from straight-grained hardwood—hickory is the classic choice for its shock absorption. Avoid handles with knots, cross-grain, or large checks. The handle should be slightly oversized so you can shape it for a tight fit. Many hardware stores sell pre-shaped handles; just match the eye dimensions. For a field hatchet, a compact handle (12–16 inches) offers better control for one-handed use.
- Tip: Bring the old handle (or head) to the store to compare eye shape. A 1-2 mm difference can affect fit.
Removing the Old Handle
Lay the hatchet on its side and support the head on a solid surface. Use a drift punch and hammer to drive the wedge deeper into the handle—this loosens the grip. If the wedge is metal, drill a small pilot hole into it and tap it out. For wooden wedges, chisel the wood out until you can pull the wedge free.
Once the wedge is removed, strike the top of the handle (the part protruding above the head) with a wooden mallet to drive the head off. If the handle is stubborn, drill a series of holes into the wood through the eye to break it apart. Work carefully to avoid damaging the eye. After the head is free, clean any rust or debris from the eye with a wire brush.
- Tip: Soak the head in warm water for 10 minutes if the handle seems glued in with old wood resin.
Fitting the New Handle
Set the new handle upright on a workbench. Gently tap the head onto the handle’s shoulder (the wider part) using a wooden or rubber mallet. Do not hammer the head directly—instead, tap the bottom of the handle to drive it upward into the head. Check alignment: the handle’s long axis should line up with the bit (cutting edge).
If the head is hard to start, file or sand the handle’s shoulder in small increments. For a snug fit, the head should seat fully by hand pressure alone—no gaps. Once seated, the handle should protrude about 1/8 to 1/4 inch above the top of the eye. This excess will be cut off after wedging. Mark the point where the head sits for reference.
- Tip: Use a carpenter’s square to verify the bit is parallel to the handle. A misaligned head can make the hatchet unsafe to swing.
Securing the Wedge (Wood or Metal)
Choose a hardwood wedge (oak or hickory) for a traditional lock. Drive the wedge into the kerf (the slot cut into the handle’s top) so it expands the wood against the eye’s taper. Alternatively, a metal cross-wedge (thin steel bar) can be driven perpendicular to the handle’s grain for extra grip. For field use, a combination of a wooden wedge plus a metal cross-wedge provides the most secure hold.
After driving the wedge, saw off any handle protrusion above the head, but leave 1/8 inch proud. File the top smooth and tap it with a hammer to mushroom the wood slightly—this prevents the wedge from backing out. Check for movement by gripping the handle and twisting the head; any play means the wedge needs to be driven deeper or replaced.
- Tip: For a permanent repair, apply a thin layer of wood glue to the wedge before driving it in. This fills tiny gaps and resists moisture.
Finishing and Maintenance
Sand the handle smooth with 120-grit then 220-grit sandpaper, especially around the grip area. Apply a coat of boiled linseed oil or tung oil—warm the oil slightly so it penetrates better. Let it cure for 24 hours. Reapply once more if the wood soaks up the first coat quickly. Avoid varnish or polyurethane; they can become slippery when wet.
Store your hatchet in a dry place, or keep it in a protective sleeve or bag. A durable carry option like the Neelum Duffel - Denim can hold the hatchet along with other outdoor tools and gear. Periodically check the head tightness; if you feel any looseness, remove the wedge and re-drive it. With proper care, a handle replacement can extend the life of your field hatchet for decades.
- Tip: Mark the handle with a notch or paint dot to remind yourself which side faces the bit during use. This helps maintain consistent swing alignment.
Replacing a field hatchet handle is a straightforward task that rewards patience and precision. By matching grain, fitting tightly, and wedging properly, you'll restore a tool that feels safe and balanced. Whether you're maintaining a heirloom head or refreshing a garage-sale find, the skills you build here will serve you for every handled tool in your shed—from a Japanese Nata Tool to a garden hoe.