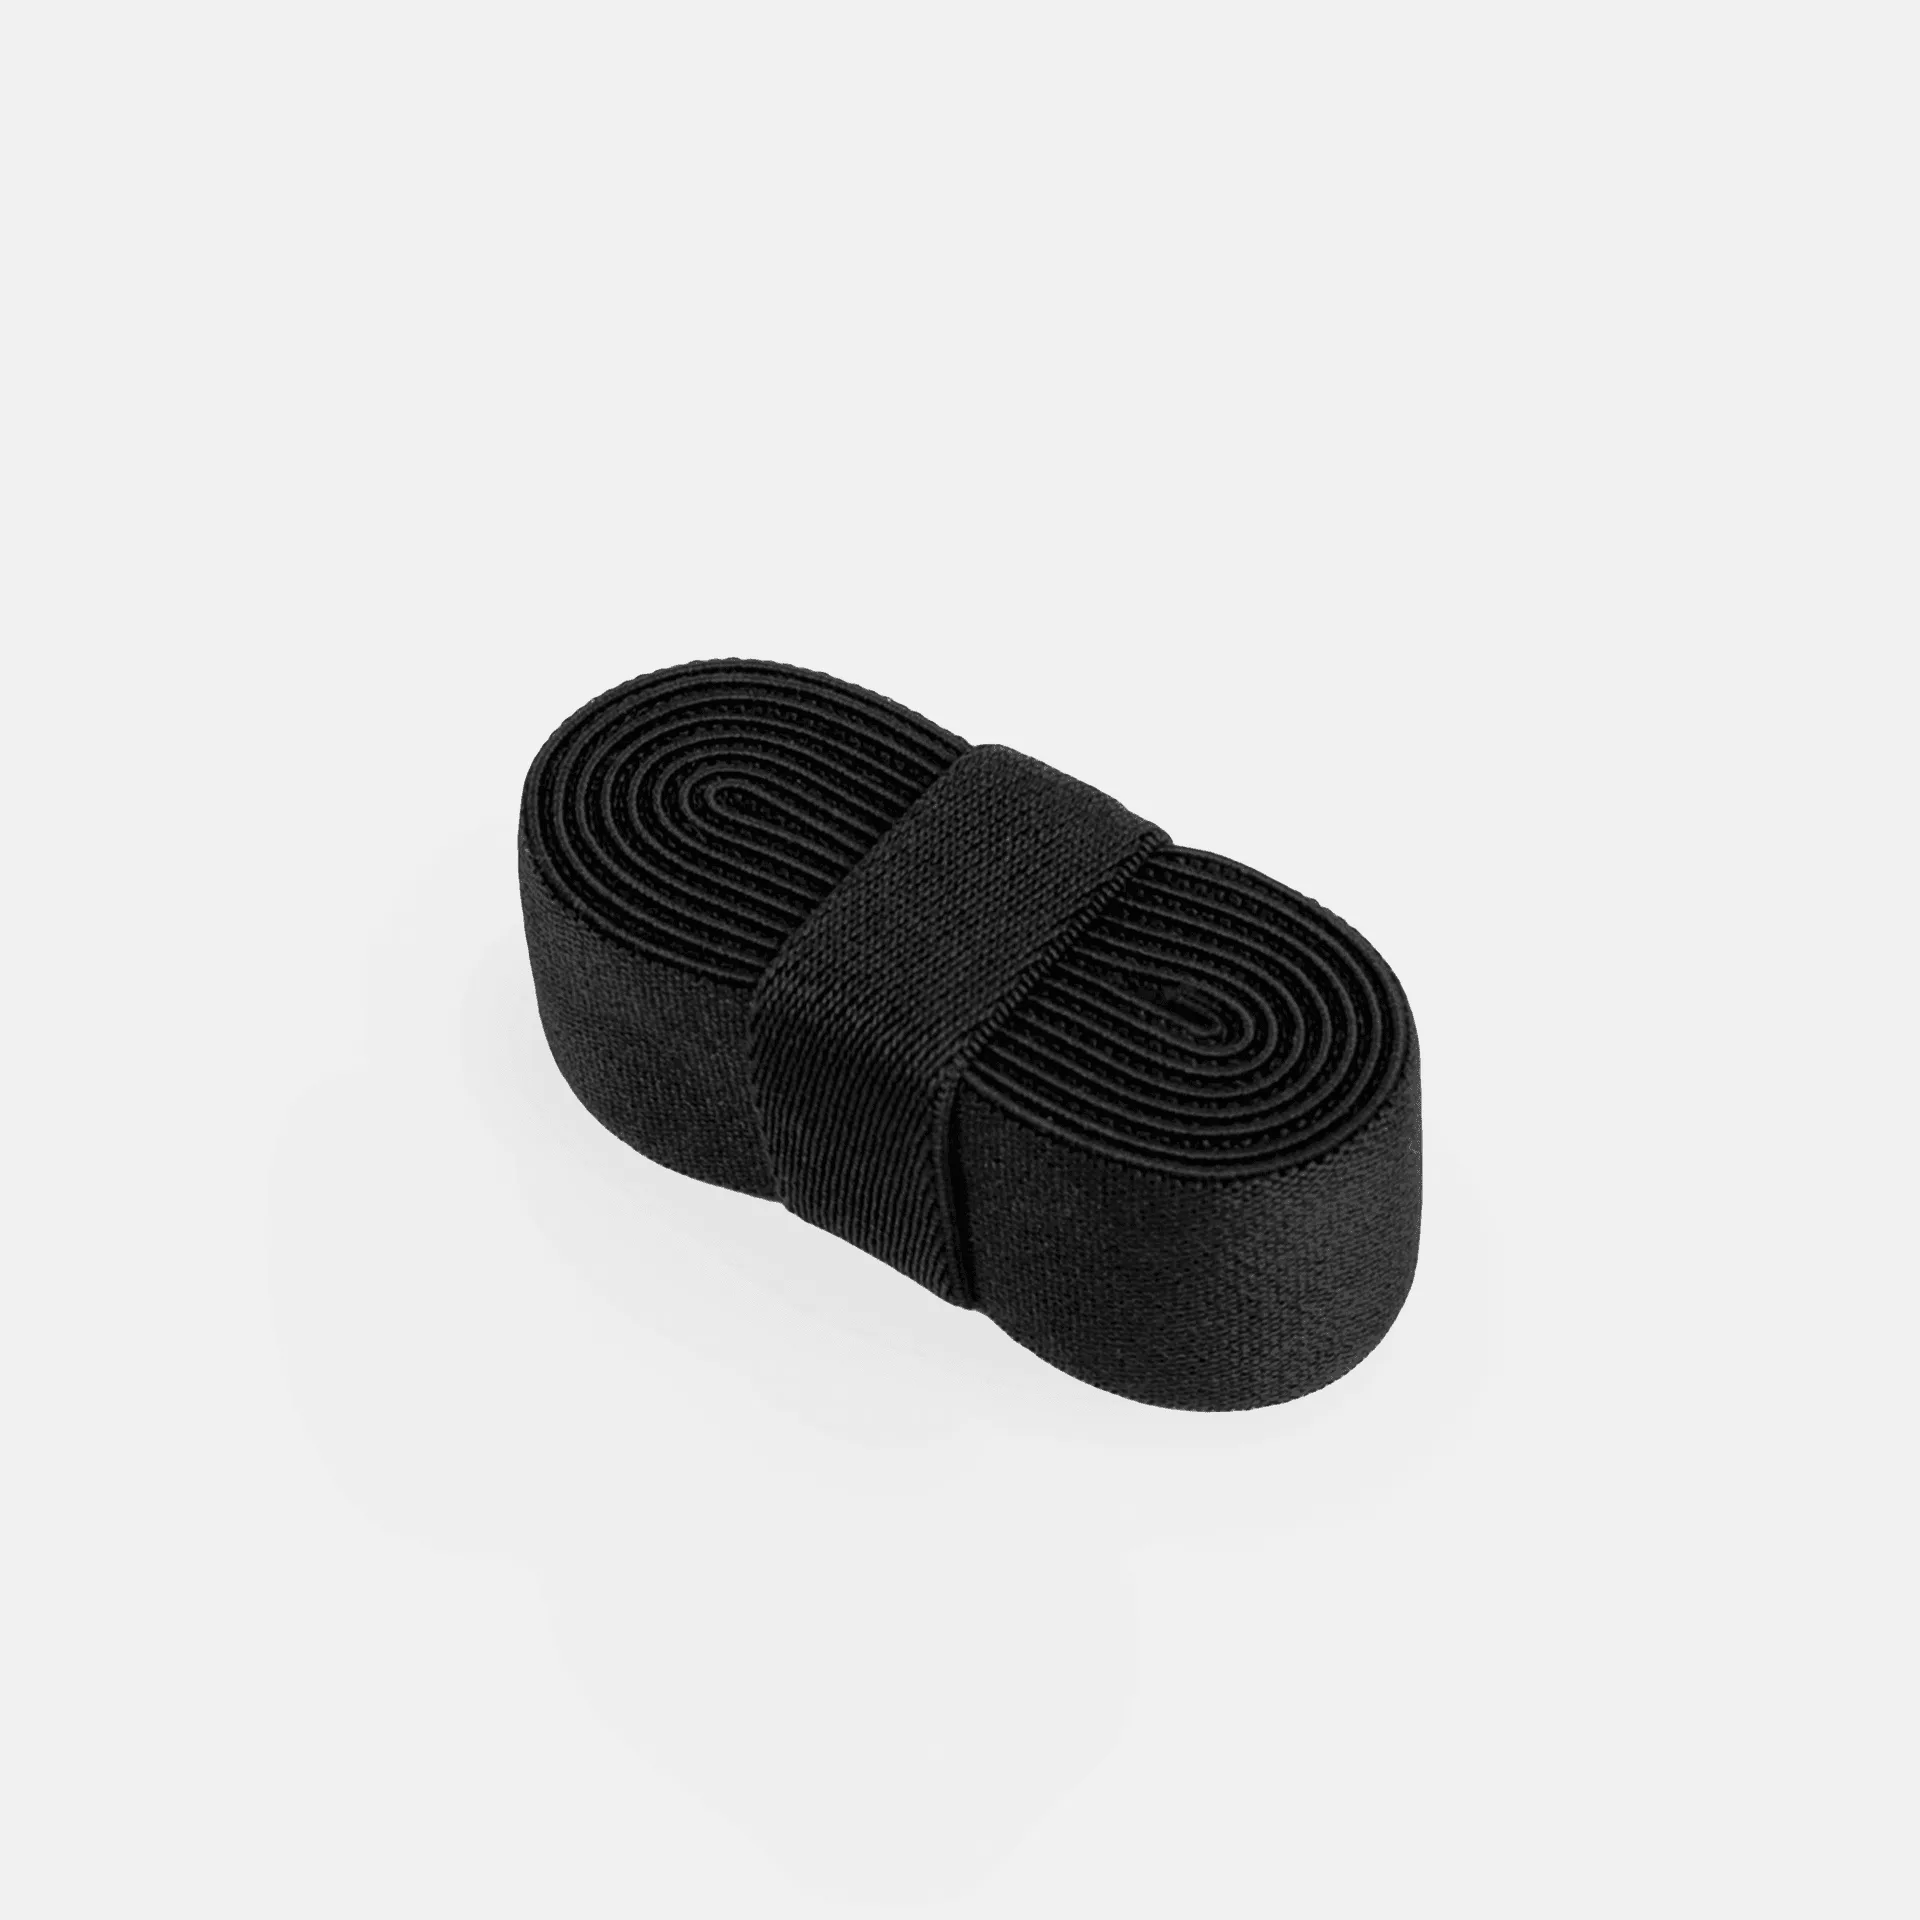
No-tie laces have revolutionized the way we wear sneakers, offering a perfect blend of convenience and style. Whether you use elastic laces for running, casual wear, or as part of a quick release lacing system, the small plastic or metal ends—called aglets—can wear out over time. When those tips fray or break, your laces can unravel, making it difficult to thread them through eyelets. Fortunately, replacing lace ends is a simple DIY fix that can restore your laces to like-new condition without needing to buy a whole new set.
In this guide, we’ll walk you through the step-by-step process of replacing lace ends on no-tie laces. You’ll learn about the tools you need, how to choose the right replacement aglets, and tips to prevent future damage. Whether you’re dealing with a frayed end on your favorite no-tie flat laces or round elastic laces, this tutorial will save you time and money. Let’s dive in.
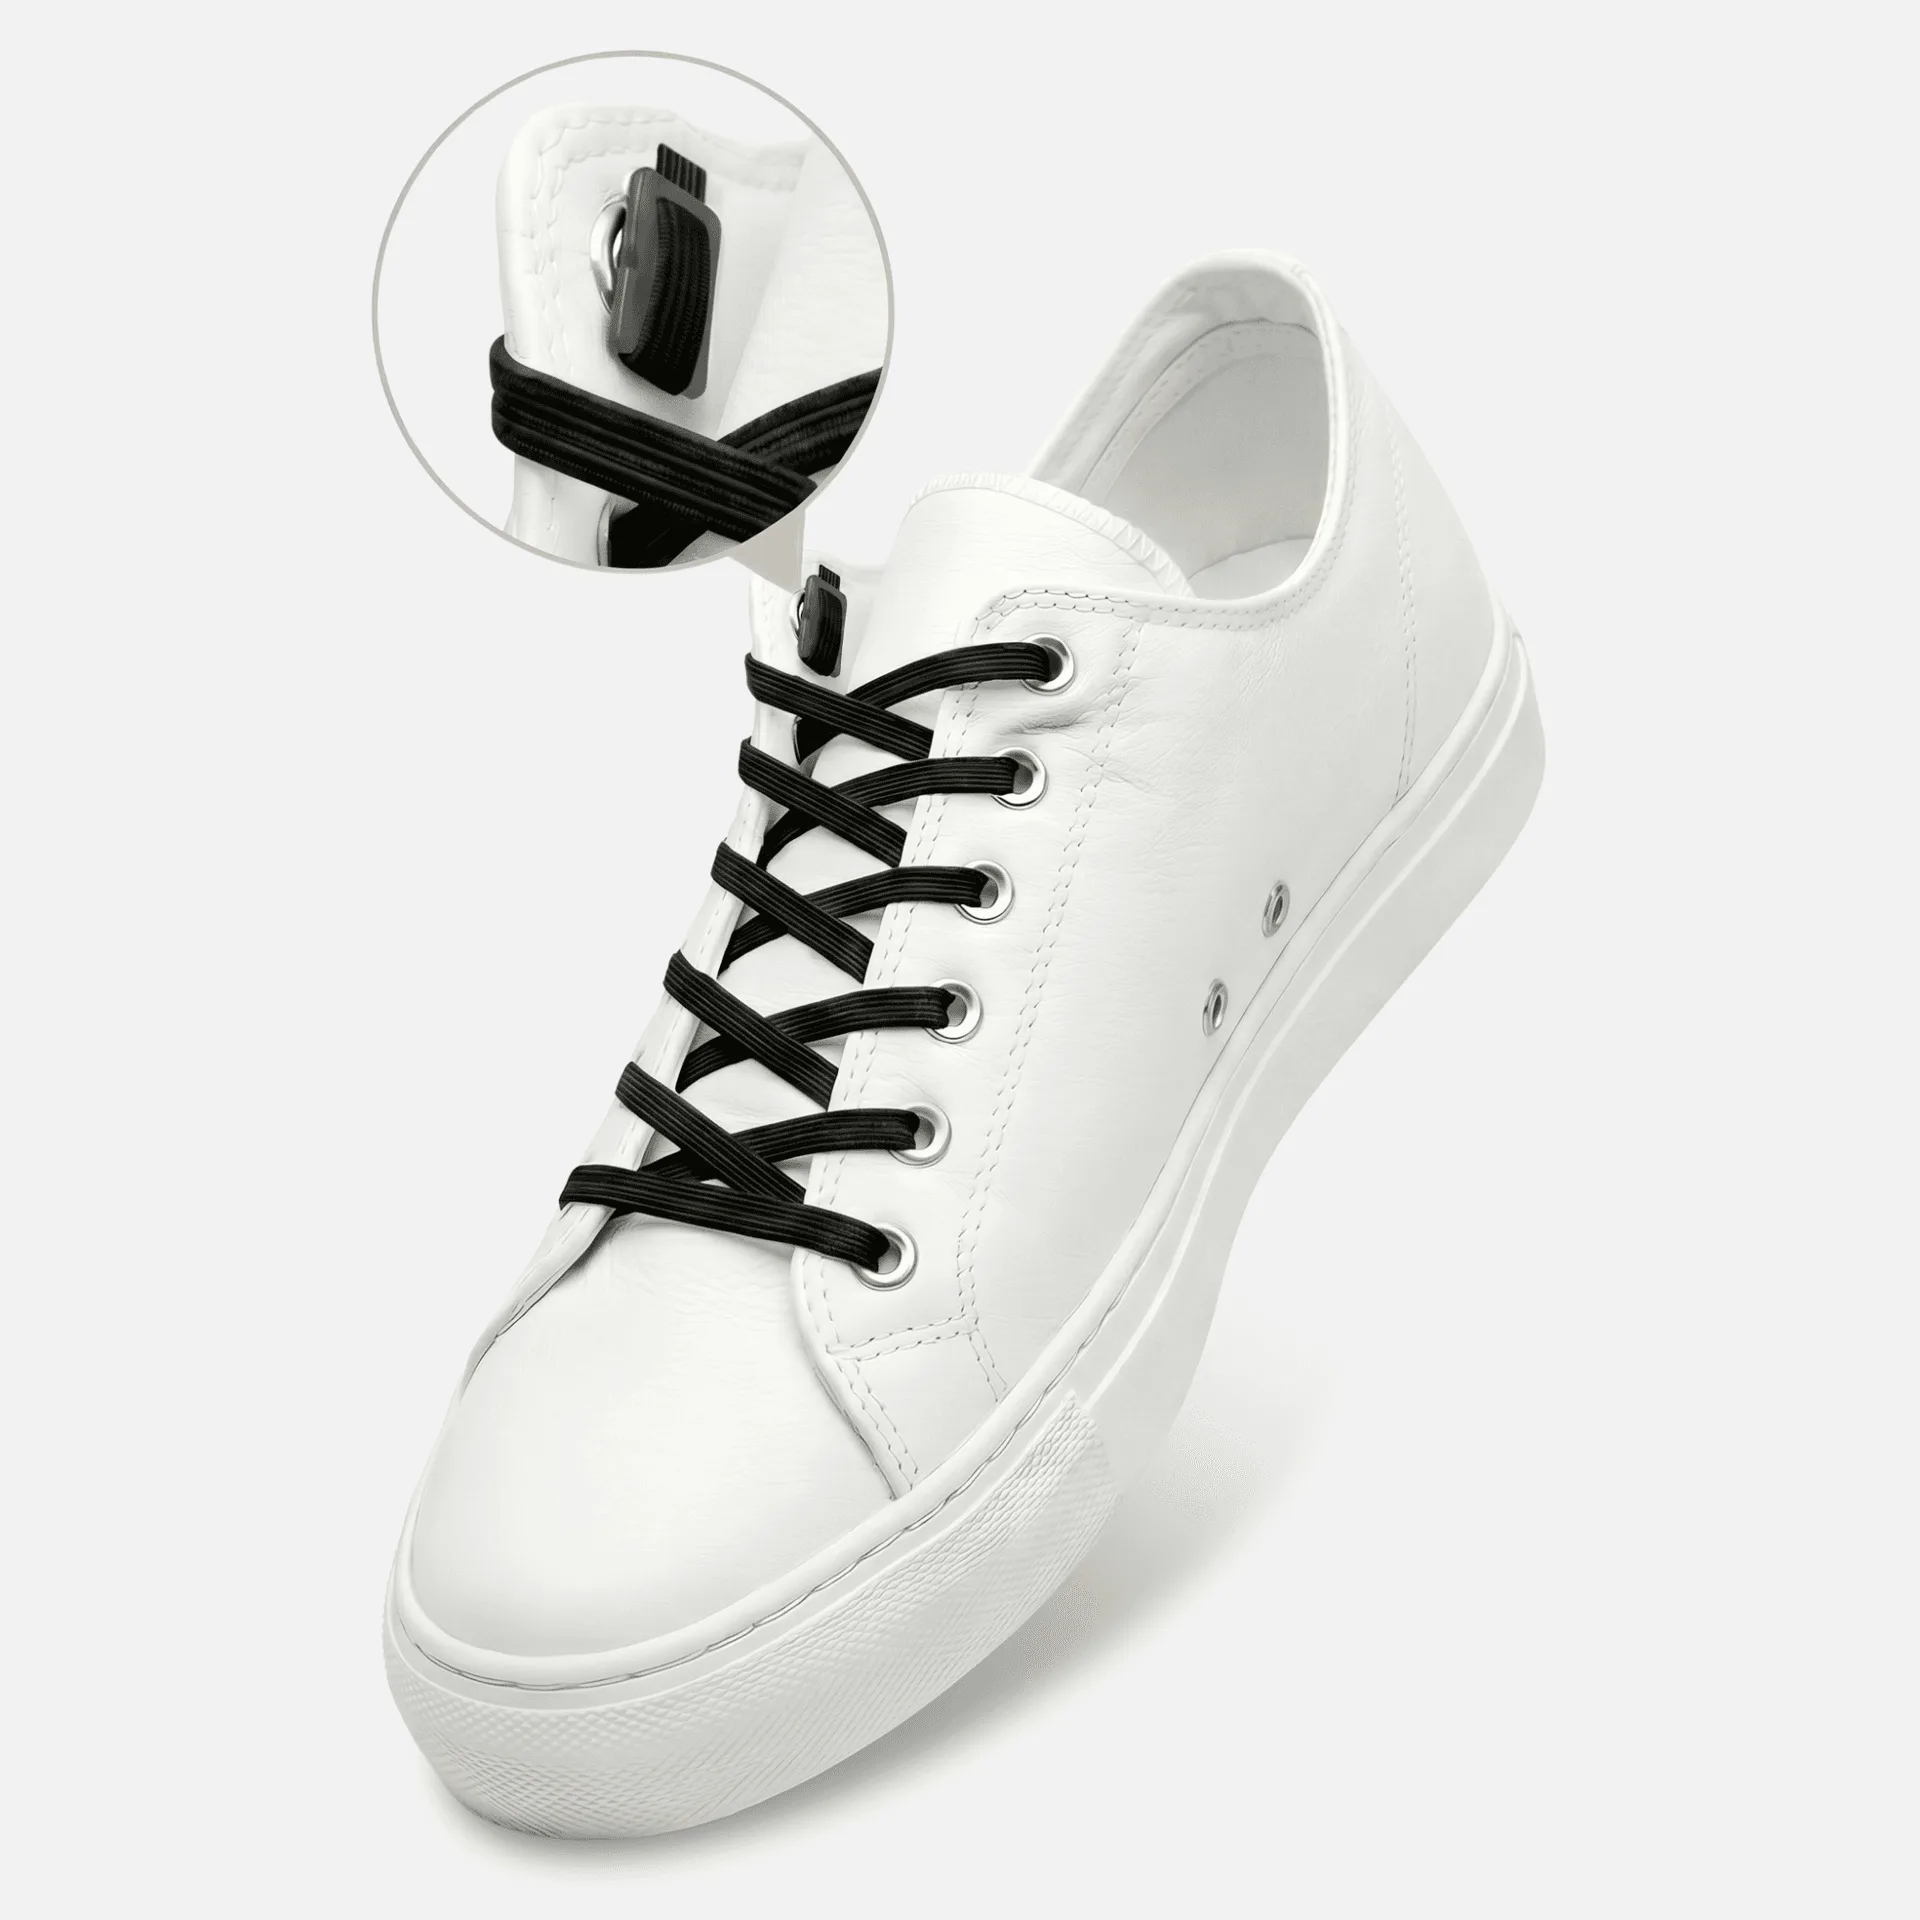
no-tie flat laces
Why Lace Ends Wear Out and When to Replace Them
Lace ends, or aglets, are the small sheaths that cap the tips of your shoelaces. On no-tie laces, these ends are especially important because they prevent the elastic cord from fraying and make it easier to thread the lace through eyelets. Over time, constant friction against shoe eyelets, washing, and general wear can cause these tips to crack, peel, or fall off. Once the aglet is damaged, the lace material begins to unravel, which can lead to a complete failure of the lacing system.
You should consider replacing lace ends as soon as you notice fraying, splitting, or if the tip becomes too soft to easily pass through eyelets. Ignoring the issue can make your laces unusable and may even damage your shoes. By catching the problem early, you can extend the life of your no-tie laces and keep your favorite sneakers looking sharp. Most replacement aglets are inexpensive and easy to install, making this a perfect DIY project for anyone.
- Inspect your lace ends monthly, especially if you wear your shoes daily or wash them frequently.
Tools and Materials You’ll Need
Before you start, gather a few simple tools and materials. The most important item is a set of replacement aglets designed for elastic laces. You can find these at craft stores, online, or even repurpose tips from old laces. You’ll also need a pair of sharp scissors to trim frayed ends, a lighter or heat source to seal synthetic lace ends (optional but recommended for round laces), and a small amount of clear nail polish or fabric glue to secure the new aglet if it’s a crimp-on type.
For no-tie laces specifically, look for aglets that match the diameter of your laces. Flat laces require wider, flatter tips, while round laces need tubular aglets. If you’re using a quick release lacing system, ensure the replacement tips are compatible with the locking mechanism. Many brands, including Xpand Laces, offer replacement parts that work seamlessly with their products. Having the right tools on hand will make the process smooth and frustration-free.
- Replacement aglets (crimp-on or adhesive styles work best for elastic laces)
- Sharp scissors
- Lighter or heat source (for synthetic laces)
- Clear nail polish or fabric glue (for extra security)
- Needle-nose pliers (optional, for crimping metal aglets)
Step-by-Step Guide to Replacing Lace Ends
Start by removing the damaged aglet from your no-tie lace. If the tip is already loose, you can simply pull it off. If it’s stuck, use scissors to carefully cut just above the aglet, making a clean cut. Trim any frayed fibers so the lace end is uniform. For synthetic laces like those used in the No-Tie Round Laces, you can briefly pass the cut end through a lighter flame to melt the fibers slightly, which prevents further fraying. Be careful not to burn the lace—just a quick pass will do.

No-Tie Round Laces
Next, insert the lace end into your new aglet. If you’re using a crimp-on aglet, slide it onto the lace until it covers about 1/4 inch of the tip. Use needle-nose pliers to gently crimp the metal aglet around the lace, ensuring it’s snug but not overly tight. For adhesive aglets, apply a drop of fabric glue or clear nail polish inside the tip before sliding it on. Hold it in place for 30 seconds to allow the adhesive to set. Once secure, test the lace by threading it through a shoe eyelet to ensure it glides smoothly.
Repeat the process for the other end of the lace. If both ends are damaged, replace them both for consistency. After installation, let any glue dry completely before using the shoes. Your no-tie laces should now function like new, with secure ends that won’t snag or unravel. This quick fix can breathe new life into your favorite footwear and save you from buying replacement laces prematurely.
- Always test the new aglet by threading it through an eyelet before finalizing the glue or crimp.
- If you don’t have replacement aglets, you can temporarily use clear tape wrapped tightly around the lace end as a stopgap.
Preventing Future Damage to Lace Ends
To extend the life of your newly replaced lace ends, adopt a few simple habits. Avoid yanking your laces when tightening or loosening them, as this puts stress on the tips. When washing your shoes, remove the laces and hand wash them gently with mild soap, or place them in a mesh laundry bag on a delicate cycle. Machine washing can cause aglets to loosen or break. After washing, air dry the laces completely before reinserting them.
Another tip is to rotate your shoes regularly so the same pair isn’t worn every day. This reduces cumulative wear on the laces. If you notice the lace ends starting to soften or crack, replace them promptly rather than waiting for a full break. Investing in high-quality laces, such as those from Xpand Laces, can also reduce the frequency of replacements because they are designed with durable materials and reinforced tips. By taking these precautions, you can keep your quick release lacing system in top condition for months or even years.
- Store your shoes with laces loosely tied to avoid constant tension on the aglets.
- Consider using lace locks or anchors to minimize friction on the tips.
When to Consider Replacing the Entire Lace Set
While replacing lace ends is a great fix for minor damage, there are times when it’s better to replace the entire lace set. If the elastic has lost its stretch, the laces are frayed along their length, or multiple aglets have failed, a full replacement is more practical. No-tie laces are designed to provide consistent tension, and worn-out elastic can compromise the fit and comfort of your shoes. Additionally, if the color has faded significantly, new laces can refresh the look of your footwear.
Xpand Laces offers a variety of replacement options, including the No-Tie Flat Laces and No-Tie Round Laces, which are easy to install and come with durable aglets pre-attached. Upgrading to a fresh set can also give you a chance to try a different style or length. For example, if you’ve been using round laces but want a sleeker look, switching to flat laces can transform the appearance of your sneakers. Evaluate the overall condition of your laces every few months to decide whether a simple end replacement or a full swap is the best move.
- Signs you need new laces: loss of elasticity, visible fraying along the length, or multiple broken aglets.
- Replacing the entire set is often faster and ensures consistent performance.
Replacing lace ends on no-tie laces is a straightforward DIY task that can save you money and keep your favorite shoes in rotation. With just a few tools and a little patience, you can restore your quick release lacing system to full functionality. If you prefer a hassle-free solution, explore the durable and pre-finished options available at Xpand Laces, such as the No-Tie Round Laces, which come with sturdy aglets already attached. Take care of your laces, and they’ll take care of your steps.