Why Replace the Vent in Your Petmate Husky Shelter?
Over time, the vent on your Petmate Husky Outdoor Shelter may crack, clog, or simply wear out. A working vent keeps fresh air moving through the shelter, which helps regulate temperature and reduces stuffiness. Replacing it is a straightforward task that can restore proper airflow and extend the life of the shelter.
The Petmate Husky Shelter Vent Kit is designed specifically for this shelter, so you don't need to modify the wall or hunt for a universal part. The kit includes one vent, screws, and an instruction sheet.
What the Vent Kit Includes
-
Petmate Husky Shelter Vent Kit: This Vent Kit is designed specifically for the Petmate® Husky Outdoor Shelter. You can be confident the vent will fit the existing opening without extra cutting or adapters.
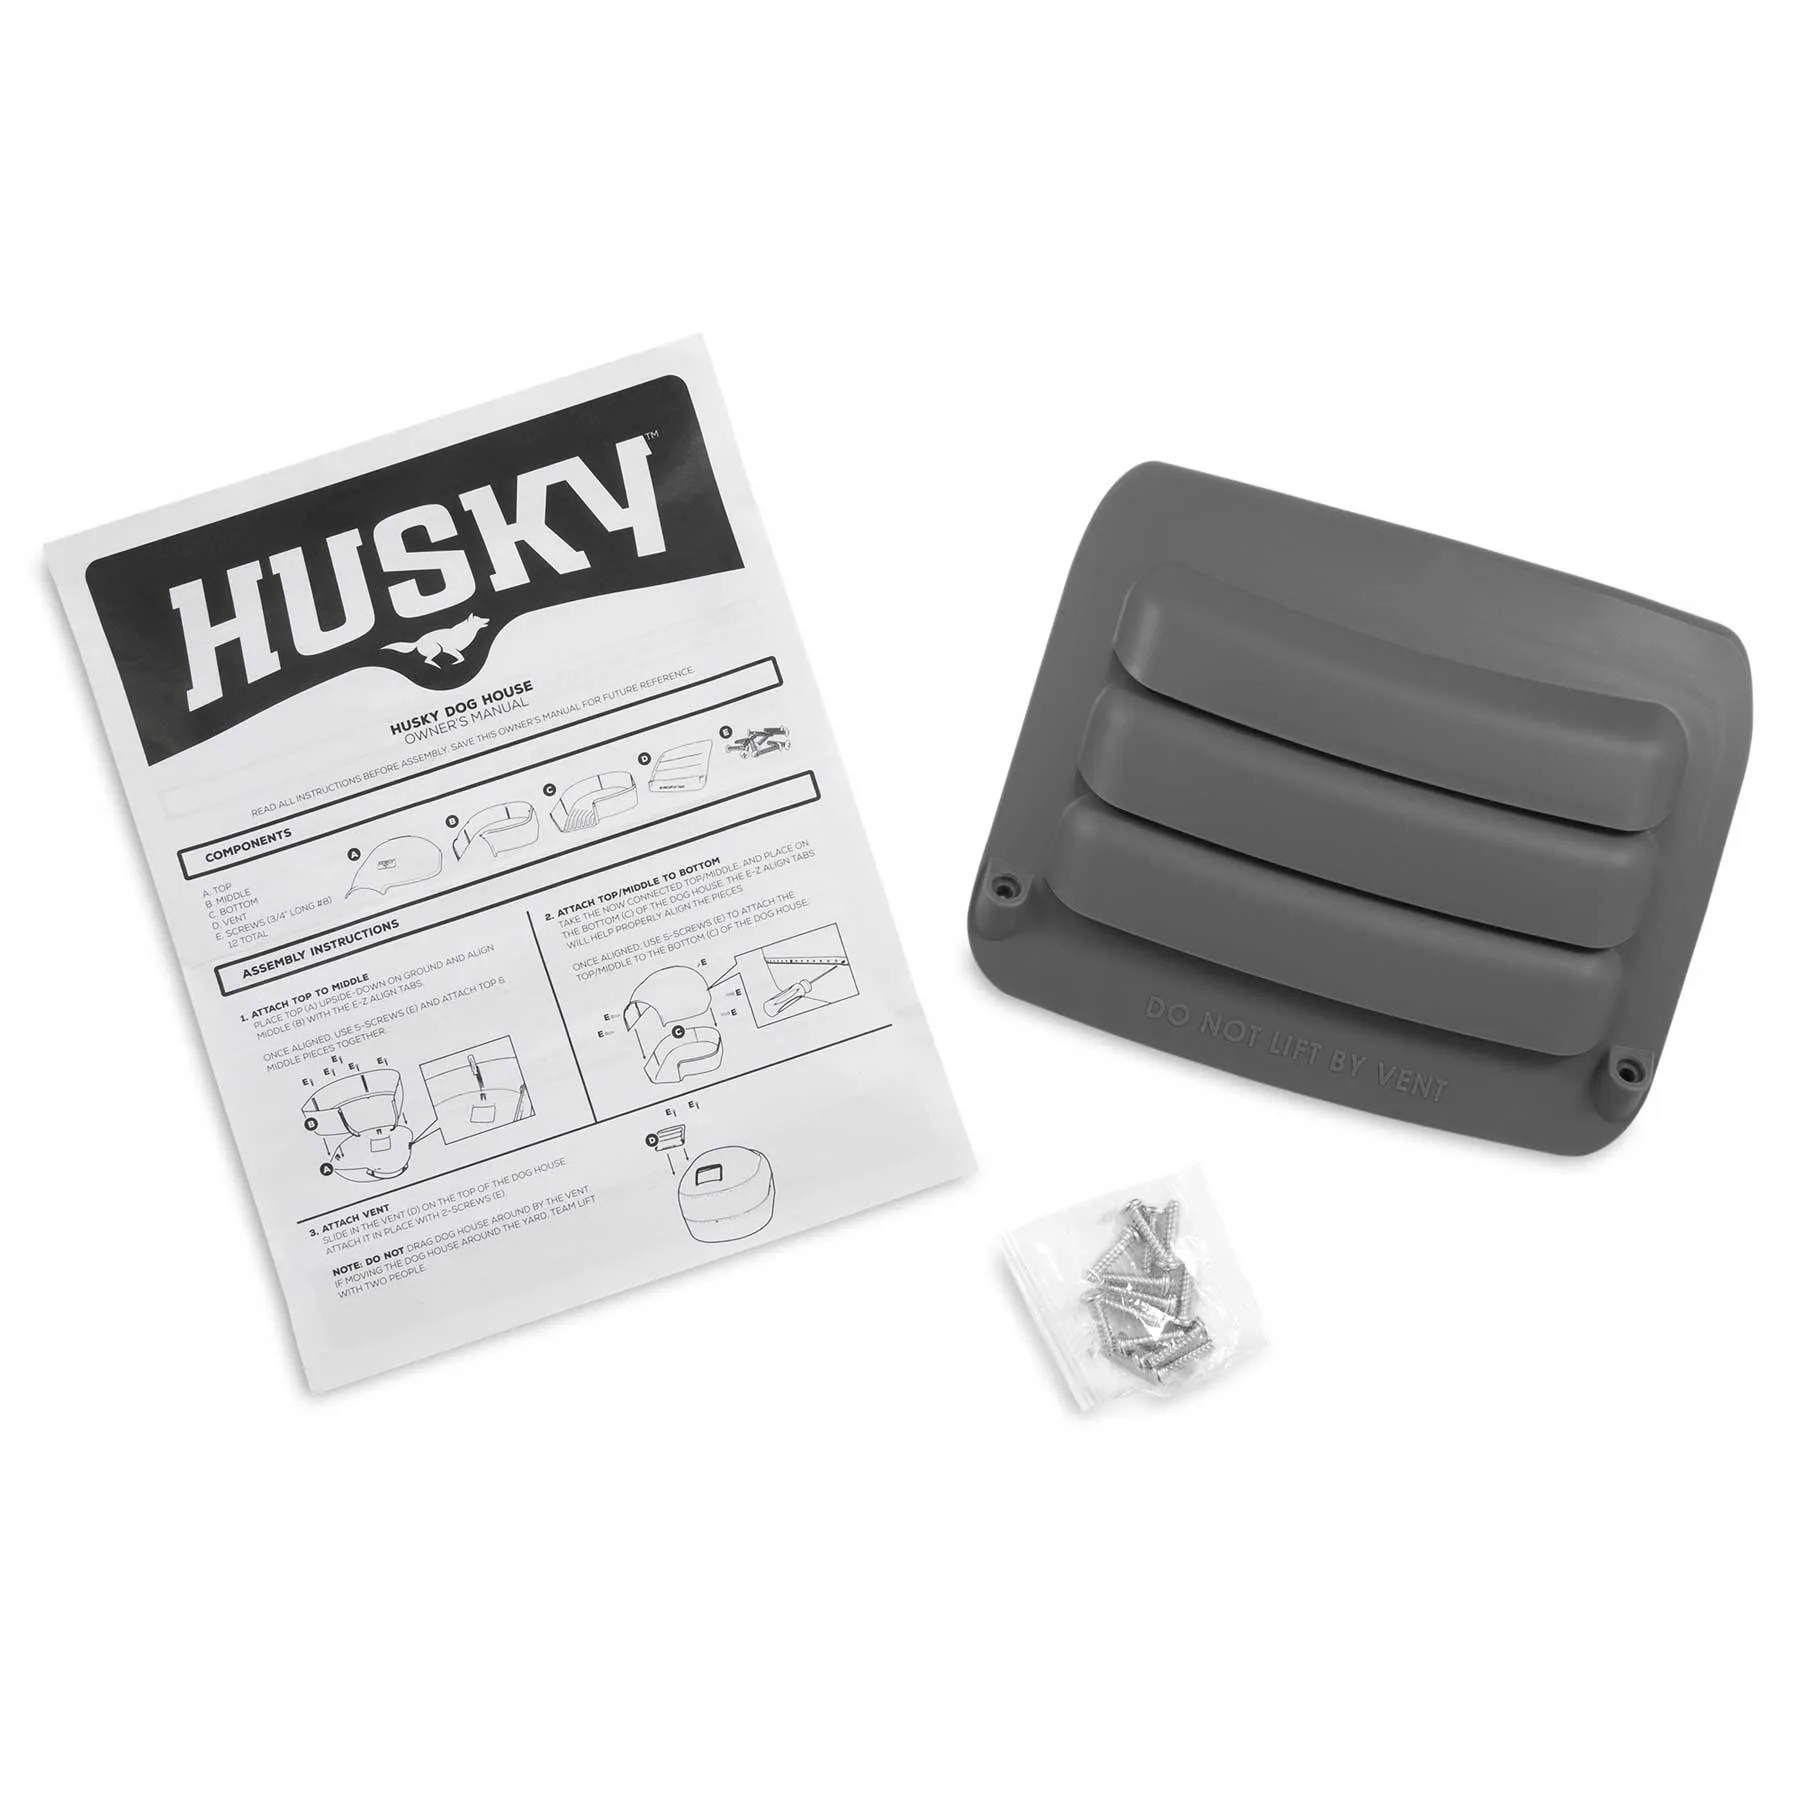
Petmate Husky Shelter Vent Kit
-
Petmate Husky Shelter Vent Kit: This Vent Kit comes with one vent, screws, and an instruction sheet. Everything needed for the swap is in the box, so you won't have to buy additional hardware.
Step-by-Step Installation
The following steps are based on the supplied product information. Always refer to the included instruction sheet for your specific shelter model.
- 1. Remove the old vent: Unscrew the existing vent from the shelter wall. Keep the old screws only if they are in good condition and match the new kit's screws. Discard any damaged hardware.
- 2. Clean the opening: Wipe away dirt, debris, or cobwebs around the vent hole. A clean surface helps the new vent seat properly and prevents air leaks.
- 3. Position the new vent: Place the new vent over the opening, aligning the screw holes. The vent should sit flush against the shelter wall.
- 4. Secure with supplied screws: Insert the screws from the kit and tighten them evenly. Do not overtighten, as this could crack the plastic.
- 5. Check for secure fit: Gently tug on the vent to confirm it is firmly attached. A loose vent may rattle or fall off in windy conditions.
Regular Inspection Keeps the Shelter Safe
The product information advises: "For your pet's safety, regularly inspect your pet's outdoor shelter to make sure all parts are working as they should." After installation, check the vent periodically for cracks, loose screws, or blockages. A quick visual check every few weeks helps catch small issues before they become problems.
If you notice the vent is hard to open or close, or if airflow seems reduced, inspect the vent and the surrounding shelter wall. Simple maintenance can often restore proper function without needing a replacement.
What the Product Information Does Not Cover
The supplied catalog facts do not include detailed installation instructions, torque specs, or recommended inspection intervals beyond the general safety statement. The instruction sheet that comes with the kit may contain additional steps or warnings specific to your shelter model.
If your shelter shows signs of water damage, rust, or structural wear, the vent replacement alone may not solve the underlying issue. In that case, consider inspecting the entire shelter or contacting Petmate support for further guidance.