Quick answer
Replacing the radiator cap on a 2022+ Civic Si or Type R is a simple DIY job that improves cooling system reliability. Use a 1.3 bar cap like PRL Motorsports Type-A or Type-B depending on your expansion tank setup.
Why upgrade the radiator cap?
The factory radiator cap on a 2022+ Civic Si or Type R is designed for stock cooling demands. Upgrading to a 1.3 bar cap raises the system's pressure threshold, which raises the coolant's boiling point and reduces the risk of vapor lock or overheating during spirited driving or in hot climates.
A higher-pressure cap also helps maintain consistent coolant flow, which is especially beneficial if you've added a performance intercooler or upgraded radiator. However, it's important to match the cap to your specific expansion tank.
Type-A vs Type-B: Which one fits?
PRL Motorsports offers two versions of their 1.3 bar radiator cap. Type-A fits most factory Honda/Acura radiators and works with factory and PRL expansion tanks on 2016-2021 Civic 1.5T/2.0L, 2017+ Civic Type R FK8/FL5, and 2023+ Integra Type-S. Type-B also fits most factory radiators but does NOT fit factory or PRL expansion tanks.
For a 2022+ Civic Si or Type R, check your expansion tank setup. If you're using the factory expansion tank or a PRL unit, choose Type-A. If you've removed the expansion tank or use a non-standard setup, Type-B may work. When in doubt, verify fitment with your specific vehicle.
Step-by-step replacement guide
- 1. Cool the engine completely: Park the car on a level surface and let the engine cool for at least 30 minutes after the last drive. A hot cooling system is under pressure and can cause severe burns. Never open the cap on a hot engine; wait until the radiator is cool to the touch.
- 2. Locate the radiator cap: Open the hood and find the radiator cap on top of the radiator or expansion tank (usually marked with a pressure warning). On the 2022+ Civic Si and Type R, the cap is near the front of the engine bay on the driver's side. If you have trouble finding it, refer to your owner's manual for the exact location.
- 3. Remove the old cap: Place a rag over the cap to catch any residual pressure or coolant. Turn the cap counterclockwise slowly until you hear a hiss (pressure release). Wait for the hissing to stop, then continue turning to remove it completely. Common mistake: turning too fast can cause hot coolant to spray; always release pressure gradually.
- 4. Inspect the sealing surface: Check the radiator neck and old cap's rubber gasket for cracks, debris, or wear. A damaged gasket or dirty sealing surface can cause leaks even with a new cap. Wipe the radiator neck clean with a lint-free cloth before installing the new cap.
- 5. Install the new 1.3 bar cap: Align the new PRL Motorsports cap (Type-A or Type-B as needed) with the radiator neck. Press down firmly and turn clockwise until it clicks or stops. Do not overtighten. If the cap doesn't seat easily, double-check that you have the correct type for your expansion tank.
- 6. Test for leaks: Start the engine and let it idle for a few minutes with the heater on low. Check for coolant seepage around the cap. Rev the engine gently to 2000-3000 RPM and watch for leaks. A small drip means the cap isn't seated properly or the gasket is misaligned; re-seat or replace if needed.
Product facts
-
PRL Motorsports High Performance 1.3 Bar Radiator Cap - Type-A: Fits factory & PRL expansion tanks on 2016-2021 Civic 1.5T & 2.0L, 2017+ Civic Type R FK8 & FL5, 2023+ Integra Type-S. If your Civic Si or Type R retains the factory expansion tank, this cap is the direct-fit upgrade without modifications.
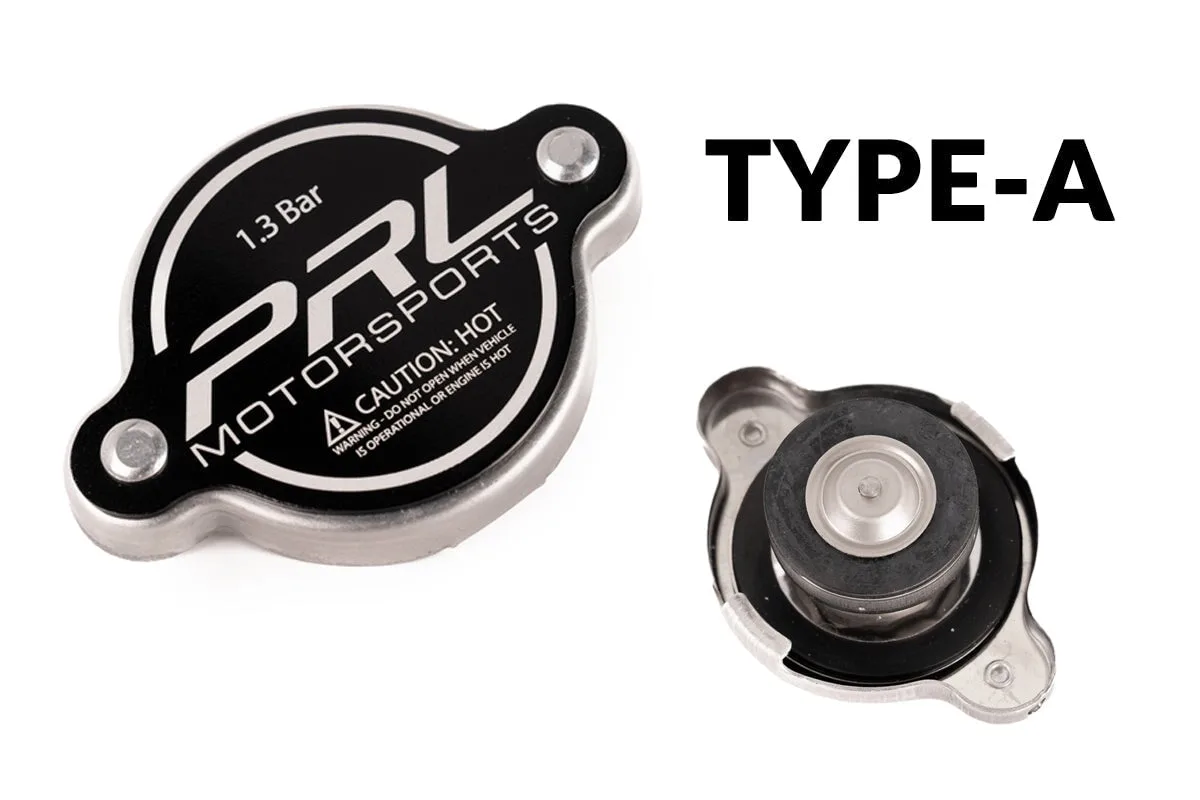
PRL Motorsports High Performance 1.3 Bar Radiator Cap - Type-A
-
PRL Motorsports High Performance 1.3 Bar Radiator Cap - Type-B: Does NOT fit the factory or PRL expansion tanks. Choose this only if you have removed the expansion tank or run a custom cooling setup; otherwise, it will not seal properly.
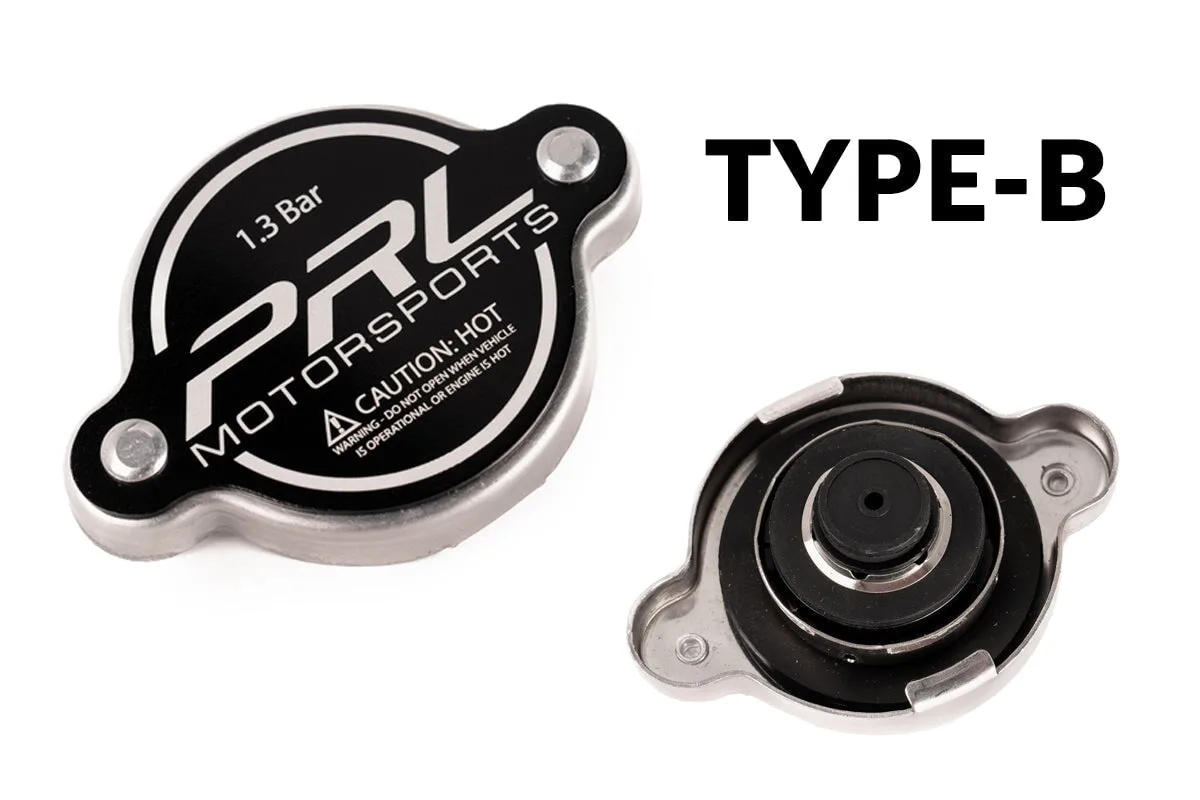
PRL Motorsports High Performance 1.3 Bar Radiator Cap - Type-B