Quick answer
To replace the rod and spring in your Motorbunny Original, order the Replacement Rod and Spring Pack, then follow the step-by-step process below to swap out the worn parts safely and restore smooth performance.
Why rod and spring wear matters
Over time, the rod and spring in your Motorbunny Original can wear out from regular use, leading to a less stable ride or unusual noises. Replacing these parts promptly helps keep the machine performing consistently and prevents further strain on the motor.
Before you start: what you need
Gather the Replacement Rod and Spring Pack, which includes 2 plastic rods and 2 springs, and a Phillips-head screwdriver. Make sure your Motorbunny is unplugged and the attachment is removed before beginning.
Step-by-step replacement
- Unplug and remove the attachment: Unplug your Motorbunny Original and remove any attachment currently in place. This ensures safety and gives you clear access to the rod and spring assembly. Check that the machine is completely powered off before touching any parts.
- Locate the rod and spring: Look at the top of the machine where the attachment connects. You'll see the rod (a plastic shaft) and the spring around it. If the rod is bent or the spring looks compressed or damaged, it's time to replace them. If the rod appears bent or the spring is misshapen, do not continue using the machine until replaced.
- Remove the old rod and spring: Gently pull the old rod out of its housing. If it's stuck, use a twisting motion while pulling. Then slide the spring off the rod or out of its seat. Do not force any part—if it resists, check for a locking clip or screw. If you encounter resistance, inspect for a locking mechanism before applying force.
- Install the new rod and spring: Place the new spring over the new rod, then insert the rod into the housing. Press down firmly until it clicks or sits flush. Ensure the spring is seated correctly around the rod and not twisted. The rod should move freely up and down after installation—test with your hand.
- Reattach and test: Reattach your chosen Motorbunny attachment, plug in the machine, and run it at a low speed to confirm smooth movement. Listen for any unusual squeaks or grinding sounds. If you hear any abnormal noise, stop and re-check the rod and spring seating.
Replacement parts
-
Replacement Rod and Spring Pack: This pack includes 2 plastic rods and 2 springs, designed for Motorbunny Original models. Having a spare set on hand means you can quickly swap out worn parts and avoid downtime in your riding routine.
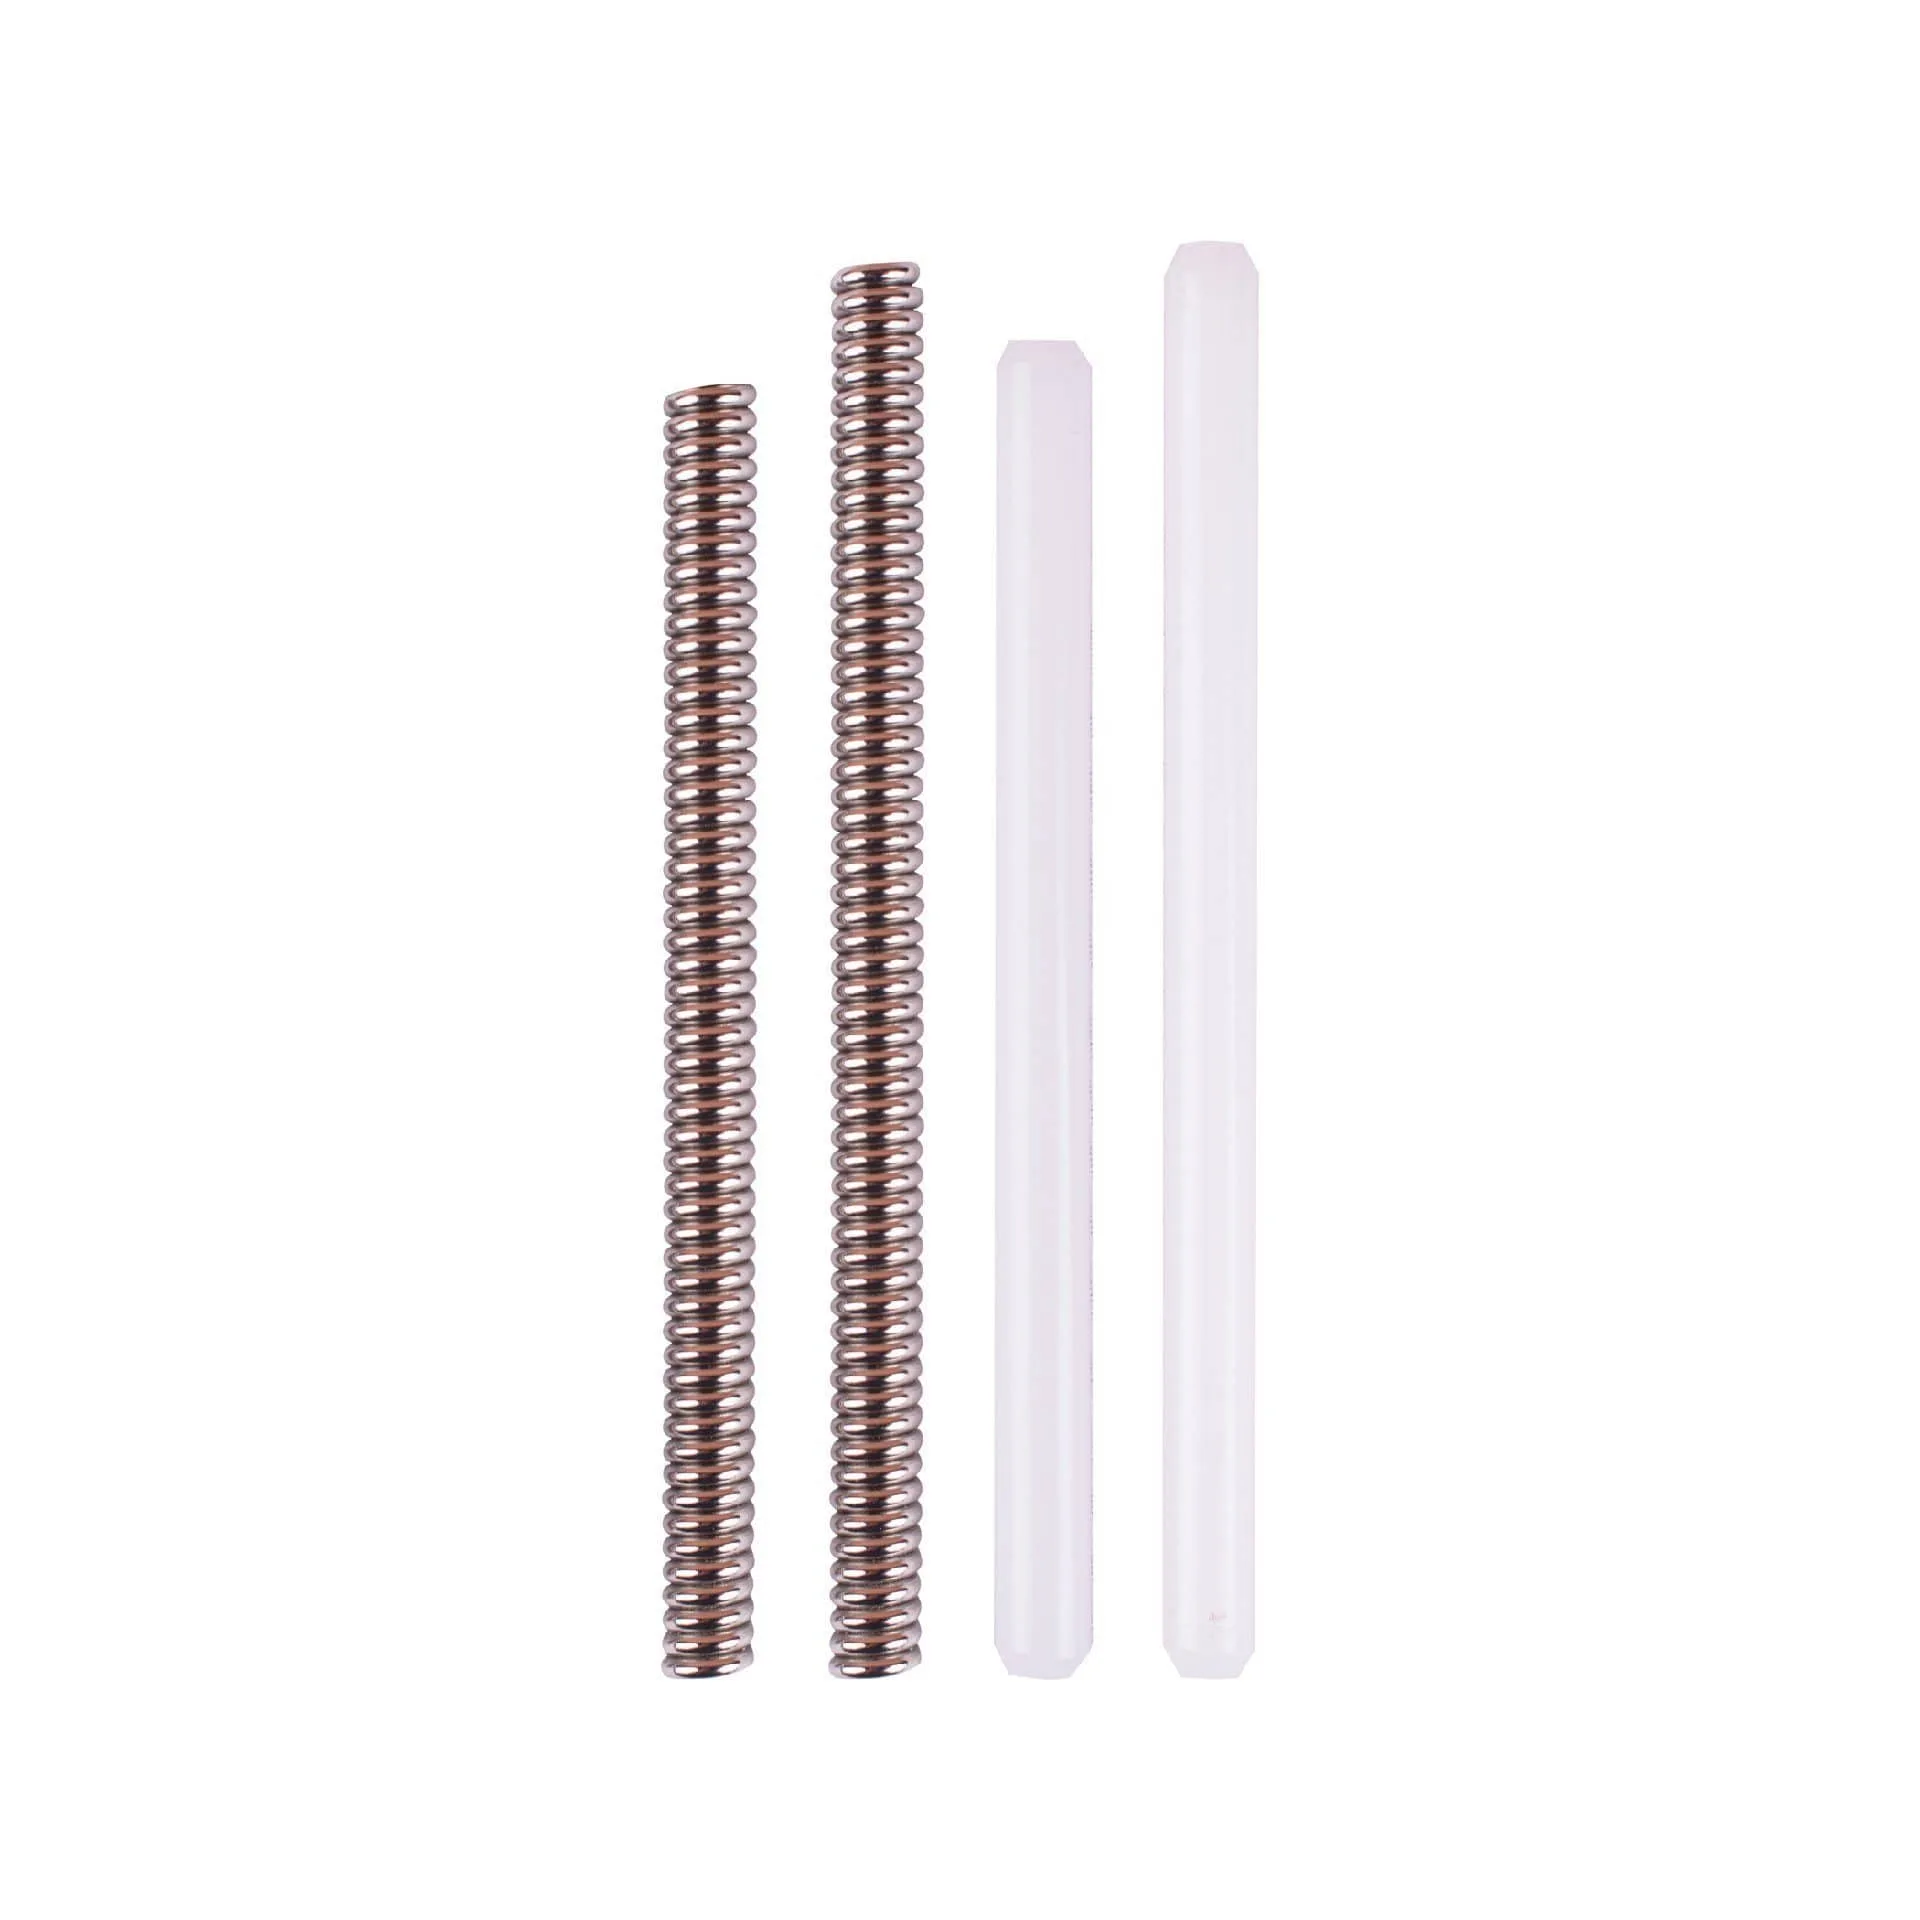
Replacement Rod and Spring Pack