Quick Answer
To replace your swing set canopy or tarp, first remove the old fabric, measure the frame, then install the new canopy using the existing hardware or ties. This guide walks you through each step for a secure, weather-resistant fit.
Why Replace Your Swing Set Canopy?
Over time, sun exposure and weather can fade, tear, or weaken your swing set canopy. A worn tarp not only looks tired but also offers less UV protection. Replacing it restores shade and extends the life of the play structure.
Vinyl canopies, like the replacement for the Clatter Bridge Tower, are designed to block harmful rays and keep the play area cooler. They are a practical upgrade when the original fabric has seen better days.
Choosing the Right Replacement
Before you start, confirm that the replacement canopy matches your swing set model. Measure the frame length and width, and note the attachment method—some use straps, grommets, or snap buttons.
For Clatter Bridge owners, the dedicated replacement canopy ensures a precise fit. If your set is a different brand, check the manufacturer's specifications or contact customer support for compatibility.
Step-by-Step Replacement Guide
- Step 1: Remove the Old Canopy: Unfasten all straps, ties, or bungee cords securing the old canopy to the swing set frame. If using snap buttons, press the center to release. Carefully lower the fabric to avoid tearing it further. Common mistake: pulling too hard can damage the frame's attachment points. Work slowly.
- Step 2: Measure and Prepare the Frame: Measure the length and width of the frame where the canopy will sit. Clean the frame with a damp cloth to remove dirt or debris that could abrade the new fabric. Checkpoint: if the frame has sharp edges, file them down or cover with protective tape before installing the new canopy.
- Step 3: Position the New Canopy: Drape the new canopy over the frame, aligning the front and back edges. For a Clatter Bridge replacement, ensure the tarp sits evenly over the tower section. Common mistake: installing the canopy backward. Verify any printed logos or labels face outward.
- Step 4: Secure the Canopy: Attach the canopy using the provided hardware—straps, ties, or bungee cords. Start at one corner and work your way around, pulling the fabric taut but not overly tight to avoid stress on seams. Checkpoint: double-check that all attachment points are fastened. Loose corners can flap in the wind and cause wear.
- Step 5: Test for Stability: Gently shake the canopy to ensure it is secure. Check for any sagging areas that might collect rainwater. Adjust tension as needed. Common mistake: leaving the canopy too loose can lead to pooling water and premature failure. Aim for a snug fit.
Product Facts
-
Replacement Canopy/Tarp for Clatter Bridge: Vinyl canopies offer protection from the sun and provide shade and cooler temperatures. This replacement tarp is for the Clatter Bridge Tower. Choosing a vinyl canopy like this one ensures durable UV protection and a cooler play environment for your children.
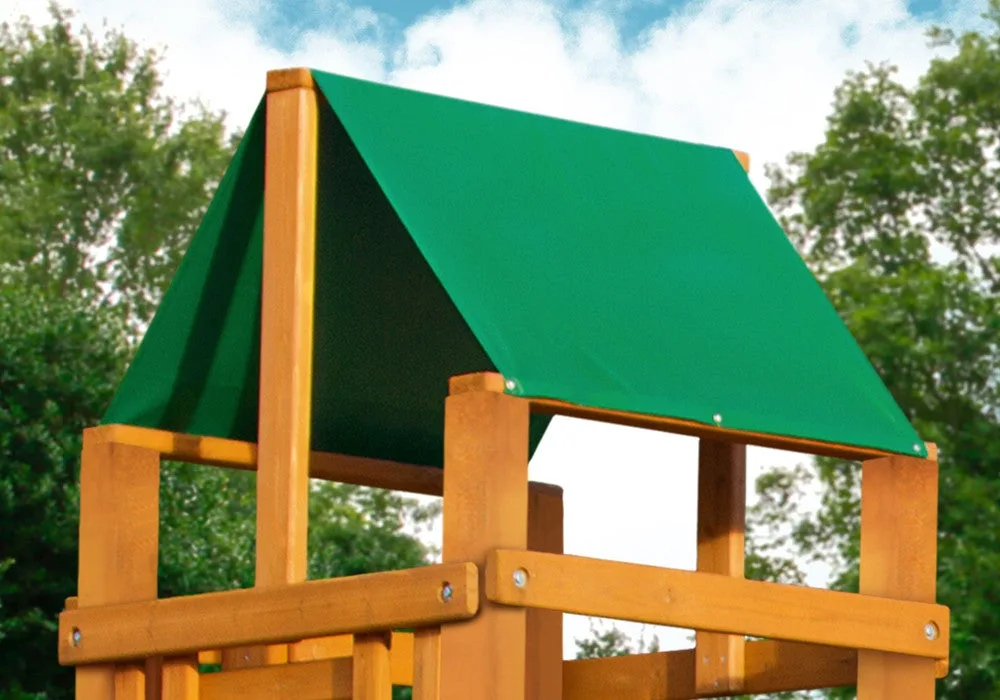
Replacement Canopy/Tarp for Clatter Bridge