Why the Screw and Lock Nut Matter
The screw and lock nut on your ratchet pruners hold the blade and handle assembly together. Over time, normal use can loosen or wear this pin, making cuts less precise or causing the pruners to feel unstable. Replacing just this small part restores the original cutting action without needing a whole new tool.
What You Need for the Repair
-
Ratchet Pruners - Screw and Lock Nut: This replacement pin is for use with Hoselink's Ratchet Pruners (SKU 6540). Ensures you get the correct spare designed specifically for your pruner model.
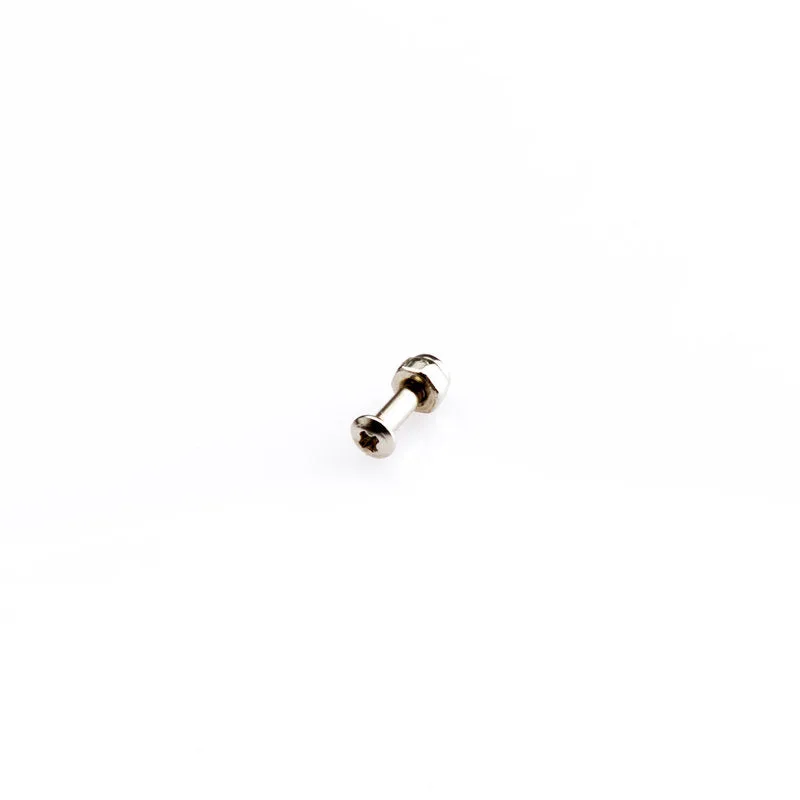
Ratchet Pruners - Screw and Lock Nut
-
Ratchet Pruners - Screw and Lock Nut: If purchasing this product only, free shipping is included in the price. Makes the repair affordable—just the cost of the part with no extra shipping.
How to Replace the Screw and Lock Nut
The process is straightforward. Watch the video that comes with the product for a quick visual walkthrough. Here are the general steps:
- 1. Remove the old screw and nut: Use a suitable screwdriver or pliers to unscrew the old lock nut and remove the screw. Keep any washers or spacers that may come off.
- 2. Align the pruner handles and blade: Position the handles and blade so the pivot holes line up. Insert the new screw through the hole.
- 3. Secure with the new lock nut: Thread the lock nut onto the screw and tighten until the blade moves freely without excess play. Avoid overtightening.
- 4. Test the action: Open and close the pruners a few times to ensure smooth ratcheting. Adjust tension if needed.
When to Replace the Screw and Lock Nut
If your ratchet pruners feel loose, make uneven cuts, or the pivot pin has visible wear, it's time for a replacement. This spare part restores the original tension and precision, keeping your pruners in working order for many more seasons.