Tupperware Modular Mates containers are beloved for their stackable design and airtight seals that keep food fresh for longer. Over time, however, the square seals can wear out, lose their elasticity, or become misshapen, compromising the container's ability to seal properly. Fortunately, replacing these seals is a straightforward DIY task that can breathe new life into your favorite storage containers. In this guide, we'll walk you through the process of replacing Tupperware Modular Mates square seals, from identifying when a seal needs replacement to installing a new one correctly.
Whether you're a longtime Tupperware user or new to the brand, knowing how to maintain your containers is key to maximizing their lifespan. With a few simple steps and the right replacement seal, you can restore your Modular Mates to like-new condition. Let's get started.
When to Replace Your Square Seals
Tupperware Modular Mates square seals are designed to be durable, but they are not indestructible. Common signs that a seal needs replacement include visible cracks, tears, or warping. If you notice that the lid no longer clicks securely onto the container, or if food odors linger even after washing, the seal may have lost its airtight integrity. Another telltale sign is condensation inside the container when stored in the fridge, which indicates that moisture is entering or escaping.
Regular inspection of your seals can help you catch issues early. We recommend checking your seals every few months, especially if you use your containers daily. For containers that hold wet or oily foods, seals may degrade faster. Keeping a few replacement seals on hand ensures you can swap them out as needed without interrupting your meal prep routine.
- Check for cracks, tears, or loss of elasticity every 3-6 months.
- Replace seals if the lid feels loose or doesn't snap shut firmly.
- If food odors persist after cleaning, the seal may be compromised.
Tools and Materials You'll Need
Replacing a Tupperware Modular Mates square seal requires minimal tools. You'll need a new replacement seal that matches the size and shape of your container, a soft cloth or sponge, mild dish soap, and warm water. Optionally, a small flathead screwdriver or a butter knife can help gently pry out the old seal if it's stuck. Avoid using sharp objects that could damage the lid or the seal groove.
Before starting, ensure you have the correct replacement seal. Tupperware offers a variety of seal sizes for different container models. For example, if you own the Tupperware® Modular Mates® Oval | Pour-All Seal | Food Storage, note that its seal is different from the square ones. Always verify the part number or measure the groove width to ensure a proper fit. Having the right seal on hand makes the replacement process quick and frustration-free.
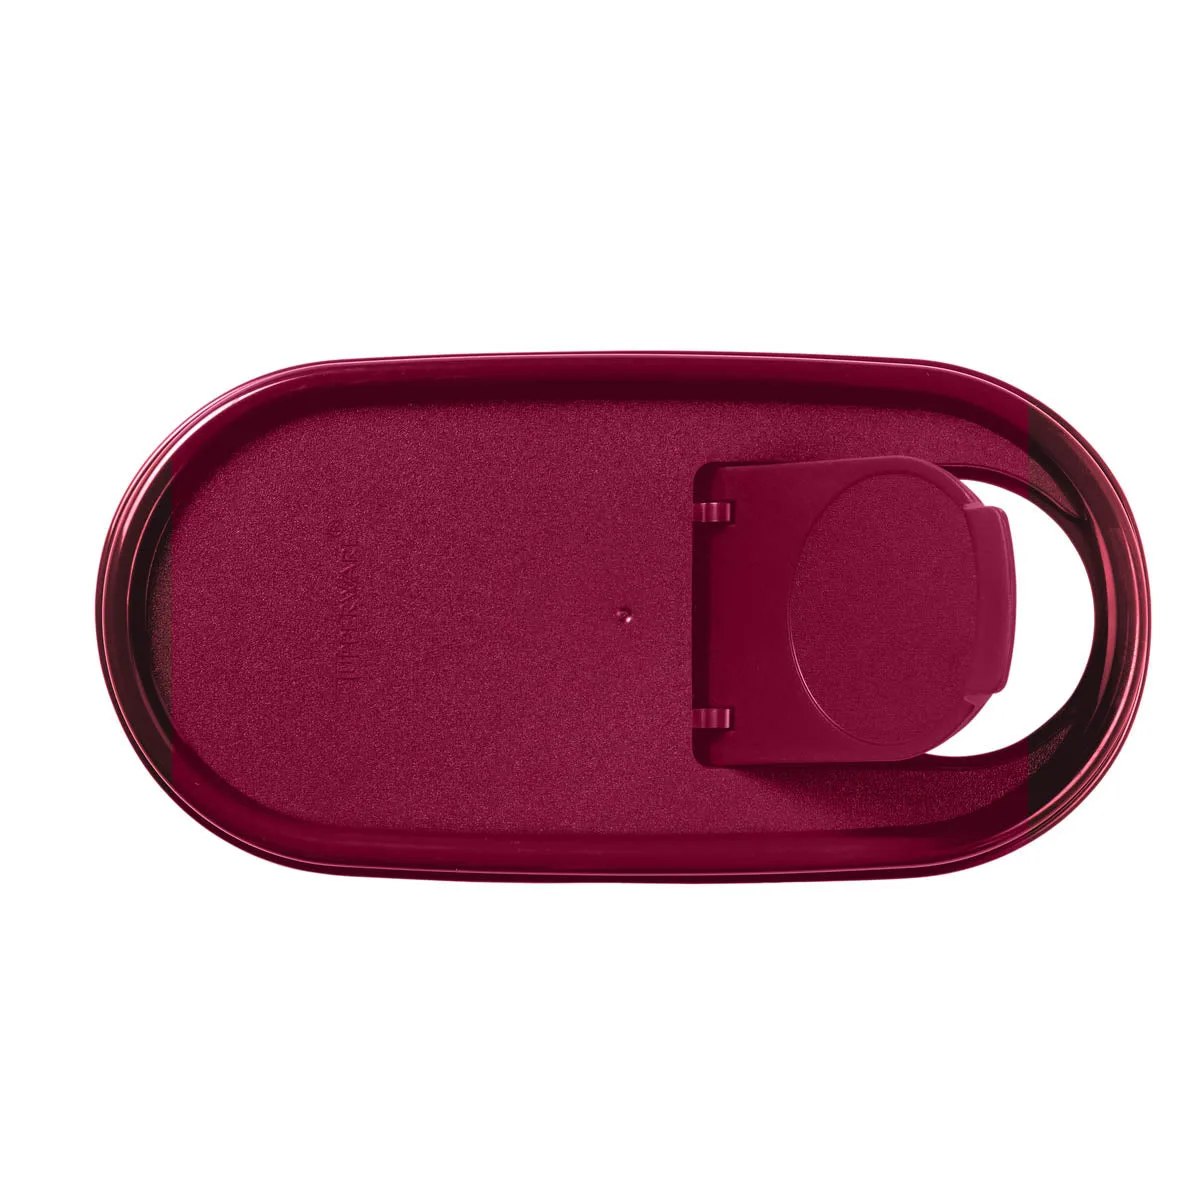
Tupperware® Modular Mates® Oval | Pour-All Seal | Food Storage
- New replacement seal (size-matched to your container).
- Soft cloth and mild dish soap for cleaning.
- Optional: a blunt tool (e.g., butter knife) to assist removal.
Step-by-Step Seal Replacement Process
Step 1: Remove the old seal. Gently lift the edge of the seal from the lid's groove using your fingers or a blunt tool. Work your way around the entire perimeter, taking care not to tear the seal. If the seal is brittle, it may break into pieces—remove all fragments to ensure the new seal sits flush. Dispose of the old seal responsibly.
Step 2: Clean the lid groove thoroughly. Use warm, soapy water and a soft cloth to remove any residue, dust, or food particles from the groove where the seal sits. Rinse with clean water and dry completely. A clean surface allows the new seal to seat properly and form an airtight barrier.
Step 3: Install the new seal. Starting at one corner, press the new seal into the groove, working your way around the lid. Ensure the seal is evenly seated and not twisted. Run your finger along the seal to confirm it's fully embedded. For square seals, pay extra attention to the corners, as they can sometimes pop out if not pressed firmly.
Step 4: Test the seal. Place the lid onto the corresponding container and press down until you hear a click. Gently lift the container by the lid to ensure it holds securely. You can also perform a simple water test: fill the container with water, seal it, and turn it upside down over a sink. If no water leaks out, the seal is installed correctly.
- Work slowly around the groove to avoid damaging the new seal.
- Test the seal immediately after installation to catch any issues.
- If the seal feels loose, remove and reinstall, ensuring it's fully seated.
Maintenance Tips for Long-Lasting Seals
To extend the life of your replacement seals, avoid exposing them to extreme heat or direct sunlight, which can cause rubber to dry out and crack. Store your containers with lids slightly ajar or removed when not in use to prevent compression of the seals. Hand wash lids with mild detergent and avoid abrasive scrubbers that can scratch the seal surface.
For containers used frequently, such as the Tupperware® Snack-Stor® Large Storage Container with 3 Egg Tray Inserts, consider rotating seals between lids to distribute wear evenly. If you notice any stiffness, a light application of food-grade silicone lubricant can restore flexibility. However, avoid oil-based products as they may degrade the seal material over time.
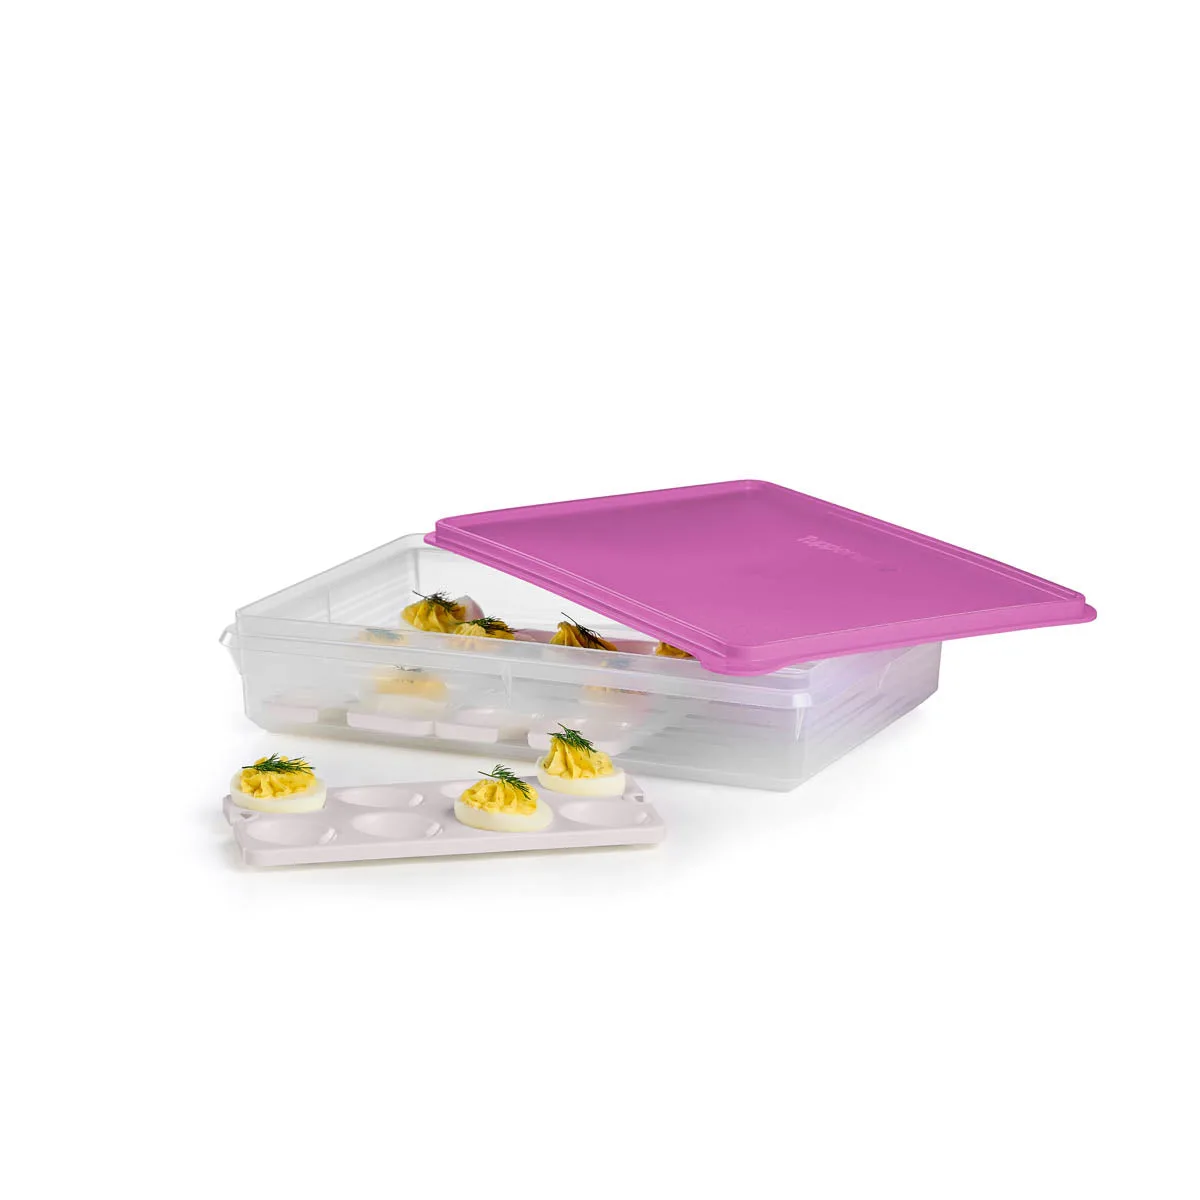
Tupperware® Snack-Stor® Large Storage Container with 3 Egg Tray Inserts
- Hand wash seals; avoid dishwasher cycles that may warp them.
- Store lids separately or with lids slightly open to relieve pressure.
- Replace seals every 1-2 years depending on usage frequency.
Replacing the square seals on your Tupperware Modular Mates containers is a simple, cost-effective way to extend the life of your kitchen storage system. With just a few minutes and a new seal, you can restore airtight freshness and stackable convenience. For high-quality replacement seals and compatible containers, explore the full range of Tupperware storage solutions, including the versatile Tupperware® Modular Mates® Oval | Pour-All Seal | Food Storage, to keep your pantry organized and your food fresh longer.