Your mala beads are more than just jewelry—they are a tool for meditation and a symbol of your spiritual practice. Over time, the cord can wear out, stretch, or even break. When that happens, don't despair. Restringing your mala is a simple DIY project that can breathe new life into your beloved beads. With a few tools and a little patience, you can have your mala looking and feeling as good as new.
In this guide, we'll walk you through the entire process of restringing a mala, from gathering the right materials to tying the final knot. Whether you're repairing a broken strand or simply replacing the cord for a fresh look, these step-by-step instructions will help you do it with confidence.
Why Restring Your Mala?
Malas are traditionally made with 108 beads, plus a guru bead, and are used for counting mantras during meditation. Frequent use can cause the cord to stretch or fray, especially if the beads are made of heavier materials like gemstones or wood. Restringing your mala not only extends its life but also gives you the opportunity to cleanse and recharge the beads, refreshing your connection to the piece.
Some people choose to restring their mala to customize it—adding new beads, adjusting the length, or incorporating a new tassel. Whatever your reason, learning to restring your mala is a valuable skill that keeps your practice tools in top condition.
- Extends the life of your mala
- Allows for customization and personalization
- Provides a chance to cleanse and recharge your beads
Materials You'll Need
Before you begin, gather the following materials: a new cord (waxed cotton or nylon cord works well), scissors, a beading needle or a thin wire, a bead board or a cloth to keep beads organized, and a lighter (optional, for sealing the ends). You may also want a small pair of pliers to help pull the cord through tight beads.
When choosing a cord, consider the size of the holes in your beads. The cord should fit through the holes easily but be thick enough to hold the beads securely. Waxed cotton cord is a popular choice because it is durable and easy to knot, and it comes in a variety of colors to match your beads.
- New cord (waxed cotton or nylon)
- Scissors
- Beading needle or thin wire
- Bead board or cloth
- Lighter (optional)
- Pliers (optional)
Step-by-Step Instructions
Start by removing the old cord. Carefully cut the cord near the guru bead and slide the beads off, keeping them in order on your bead board or cloth. If the cord is tangled, work slowly to avoid losing beads. Once all beads are removed, inspect them for any damage and clean them if needed.
Next, cut a new piece of cord about 24 inches longer than the finished length you want. This extra length will make knotting easier. Thread the cord through the beading needle or wire. If using a needle, make sure it is thin enough to pass through the beads but strong enough to handle the cord.
Begin stringing the beads onto the cord in your desired order. For a traditional 108-bead mala, you will string 108 beads, followed by the guru bead. As you string, pull the cord through each bead gently to avoid fraying. Once all beads are on the cord, you are ready to tie the knots.
- Remove old cord carefully
- Cut new cord with extra length
- String beads in order
- Include guru bead at the end
Tying the Knots
Tying secure knots between each bead is essential to keep your mala intact. Use an overhand knot, pulling it tight against the bead. To ensure the knot is snug, use your fingers to push the knot close to the bead before tightening. Some people prefer to use a half-hitch knot for extra security, but an overhand knot is sufficient for most malas.
After tying the knot between each bead, finish the mala by tying a knot after the guru bead. Then, attach a tassel if desired. To prevent the cord from unraveling, you can melt the ends slightly with a lighter and press them flat, but be careful not to burn the cord or beads.
- Use overhand knots between beads
- Push knots close to beads
- Finish with a knot after the guru bead
- Seal ends with a lighter if needed
Tips for a Successful Restring
If you're restringing a mala made with delicate beads, such as those in our Wisdom Whispers Mala, handle them with extra care. Place a soft cloth on your work surface to prevent scratches. Also, work in a well-lit area so you can see the knots clearly.
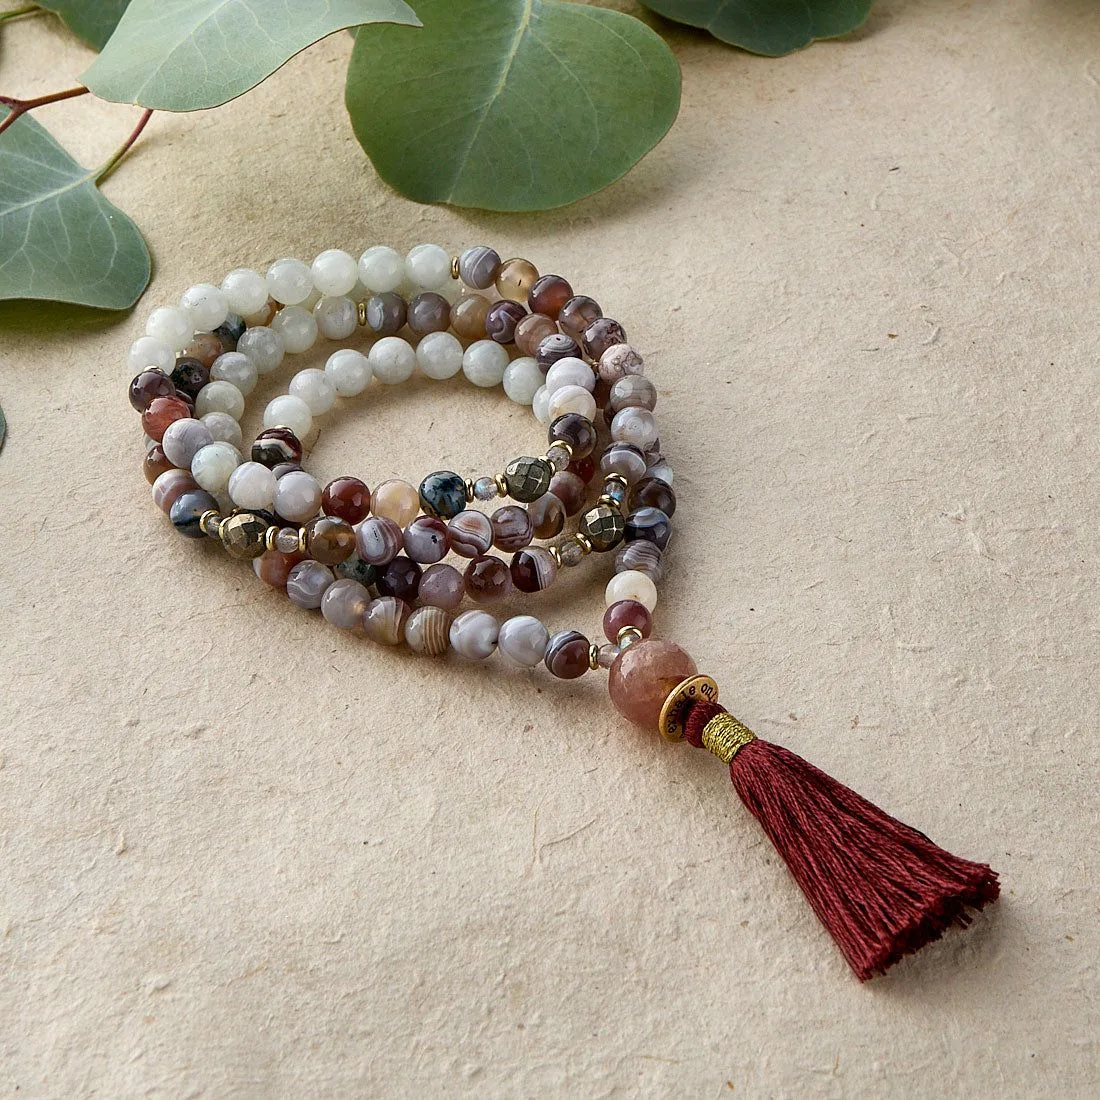
Wisdom Whispers Mala
For a smooth finish, consider using a cord conditioner or wax to help the cord slide through the beads more easily. If you're adding new beads or changing the design, take the opportunity to infuse your intention into the new mala. Many people find that restringing their mala is a meditative practice in itself.
- Handle delicate beads with care
- Use a cord conditioner for easier threading
- Work in a well-lit area
- Infuse your intention while restringing
Restringing your mala is a rewarding DIY project that can save you money and deepen your connection to your practice. With the right tools and a little patience, you can repair and refresh your favorite mala in no time. If you're looking for a new mala to inspire your practice, explore our collection of handcrafted malas, such as the Wisdom Whispers Mala, and find the perfect piece to support your journey.