Quick answer
Set a beautiful Christmas table by working in layers: linen first, then a low centrepiece, then plates, crackers, and place cards, and finally candles and glassware. Keep the centrepiece below eye level and give every guest roughly 40cm of width. Ornaments and crackers should finish the setting, not crowd it.
A Christmas table works when it looks generous but still leaves room to eat. The trick is order: build the base, then the centrepiece, then each place setting, and only add ornaments and candles once the practical layout is settled.
These eight steps assume a standard dining table and a mix of pieces you may already own. Adjust quantities to your guest count, and treat each checkpoint as a pause to check the table still functions before you add the next layer.
Before you start: measure the table and count the seats
Measure the usable length and width of the table, then divide the length by your guest count. Aim for at least 40cm of width per person so plates, glasses, and crackers do not collide. If the table is tight, drop a course or move drinks to a sideboard rather than squeezing everyone in.
Decide the colour story before you open any storage boxes. Two or three colours plus a metallic reads calmer than five competing shades, and it makes it easier to reuse what you own. Note what you already have, then buy only the gaps.
- Checkpoint: if guests cannot sit without touching elbows, remove a chair before you style anything.
Step 1: Lay the base linen and protect the surface
Start with a tablecloth or runner that reaches the floor or sits neatly at the edge, then add placemats if you prefer a bare-table look. Press the linen first; creases show up far more under candlelight than in daylight. If you are using a patterned cloth, keep plates and centrepiece pieces plain so the pattern stays the feature.
Add a heatproof mat or trivet under any hot serving dish before you build anything on top. This is the one layer you cannot easily fix later, so get it right at the start.
- Common mistake: layering a runner over a busy tablecloth, which makes the setting look noisy rather than styled.
Step 2: Build a low centrepiece that leaves sightlines open
A centrepiece should sit below eye level when guests are seated, roughly under 25cm tall, so people can talk across the table. Group three to five elements of different heights rather than one tall arrangement. A cluster of ornaments on a tray, a small vase, and a couple of candlesticks is usually enough.
If you want height, put it at the two ends of the table instead of the middle. That keeps the centre clear for serving dishes and gives the table a deliberate shape.
- Checkpoint: sit in a chair and look across. If you cannot see the person opposite, lower the arrangement.
Step 3: Place plates, cutlery, and glassware in that order
Set each place with the plate centred, forks to the left, knife and spoon to the right, and the knife blade facing the plate. Place glasses just above and to the right of the knife. Work around the table one seat at a time so spacing stays consistent rather than drifting as you go.
Only set the glassware you will actually use for the first course. Extra glasses crowd the setting and get knocked over when crackers are pulled.
- Common mistake: setting the full cutlery service for every course, which leaves no room for crackers or serving dishes.
Step 4: Add crackers so they sit straight and stay pullable
Place one cracker per guest, either on the plate or just above it, angled to match the plate edge. For a christmas crackers table setting, the key is leaving a clear diagonal path between each pair of guests so the cracker can be pulled without dragging the setting. If crackers are long, lay them parallel to the table edge rather than pointing into the centre.
Check that each cracker has a partner within reach. Odd numbers at a long table usually mean someone has to lean across, which is the moment glasses get spilled.
- Checkpoint: gently tug each cracker to confirm it moves freely before guests sit down.
Step 5: Use ornaments as place markers, not filler
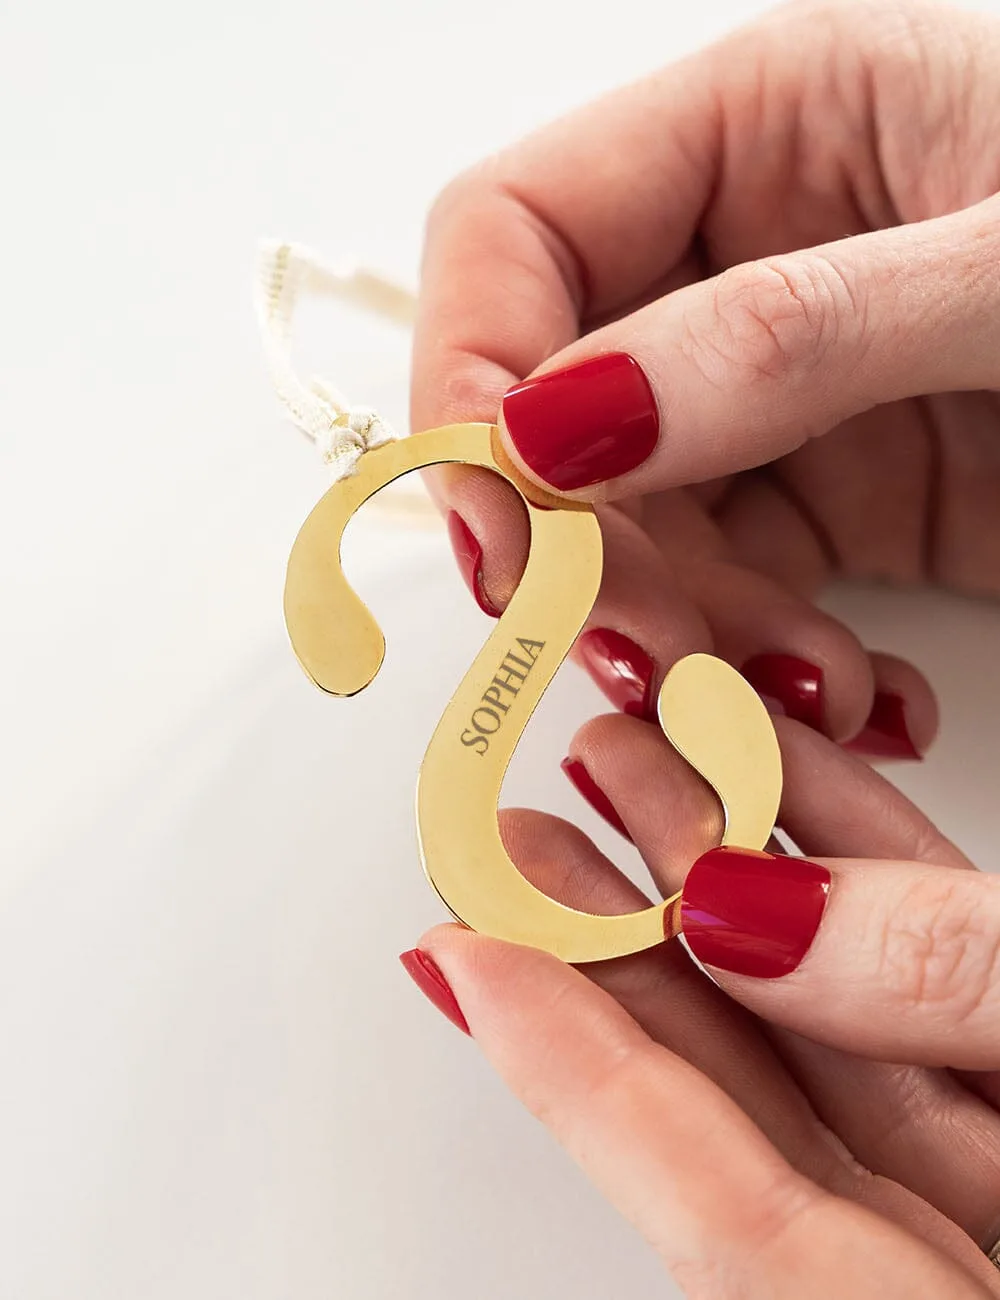
A single ornament resting on a folded napkin or beside the plate does two jobs: it marks the seat and adds christmas table ornaments without extra clutter. Keep them similar in size so the setting looks even, and vary only the colour or finish. Small ornaments also double as take-home gifts at the end of the meal.
If you are using personalised ornaments, sort them into seat order before you place them. Doing it at the table with guests waiting is the most common way this step goes wrong.
- Common mistake: scattering loose ornaments down the centre as well, which competes with the centrepiece and blocks serving space.
Step 6: Write place cards and check the spelling
Write place cards in advance and lay them out in seating order on a tray before you set the table. Use first names unless the group is formal, and keep the card size small enough to sit above the plate without hiding the ornament. A simple handwritten card in a metallic pen looks more considered than a printed one at a mixed table.
If you are mixing families or friend groups, place cards give you quiet control over who sits where without announcing a seating plan.
- Checkpoint: read every name aloud once. Misspelled names are the detail guests notice most.
Step 7: Light the table in layers, then finish with ribbon
Use candles at two or three heights and keep flames away from ribbon, paper crackers, and anything that hangs. Add a low lamp or dim the overhead light so the candles read as the main source. Never leave lit candles unattended, and place them where sleeves and serving dishes cannot pass over them.
Finish with ribbon only where it adds structure: a band around a napkin, a bow on a cracker, or a tie on a favour. Ribbon on every element starts to look busy and makes the table harder to use.
- Common mistake: lighting candles before the food is ready, so they burn down before anyone sits.
Step 8: Do a final walk-around before guests arrive
Walk the full table once and check three things: every seat has the same number of items, nothing blocks a serving dish, and no candle is within reach of paper or fabric. Top up water glasses and remove anything that does not earn its place. A table with fewer, better-placed pieces always photographs and functions better than a crowded one.
If you are short on time, prioritise the base, the centrepiece, and the place settings. Ornaments, ribbon, and place cards can be added in the last ten minutes.
- Checkpoint: stand at the doorway and look at the table as a guest would. If your eye has nowhere to rest, remove one layer.
Your Christmas table checklist
- Measure and count: Confirm at least 40cm of width per guest and settle on two or three colours before you open any boxes. If the table is tight, remove a chair rather than crowding the setting.
- Lay the base: Press the cloth or runner, add placemats, and put a heatproof mat under any hot dish. Creases and missing trivets are the two faults guests notice first.
- Build low, not tall: Keep the centrepiece under about 25cm and put any height at the ends of the table. Sit down and check you can see the person opposite.
- Set each place in order: Plate, then cutlery, then only the glassware you need for the first course. Work seat by seat so spacing stays even.
- Position crackers: One per guest, angled with the plate, leaving a clear diagonal path for pulling. Tug each cracker gently to confirm it moves freely.
- Mark seats with ornaments: One ornament per setting, similar in size, sorted into seat order before you place them. Skip loose ornaments down the centre; they compete with the centrepiece.
- Add cards and ribbon: Write place cards in advance, then use ribbon only on napkins, crackers, or favours. Read every name aloud once before guests arrive.
Useful pieces for this table
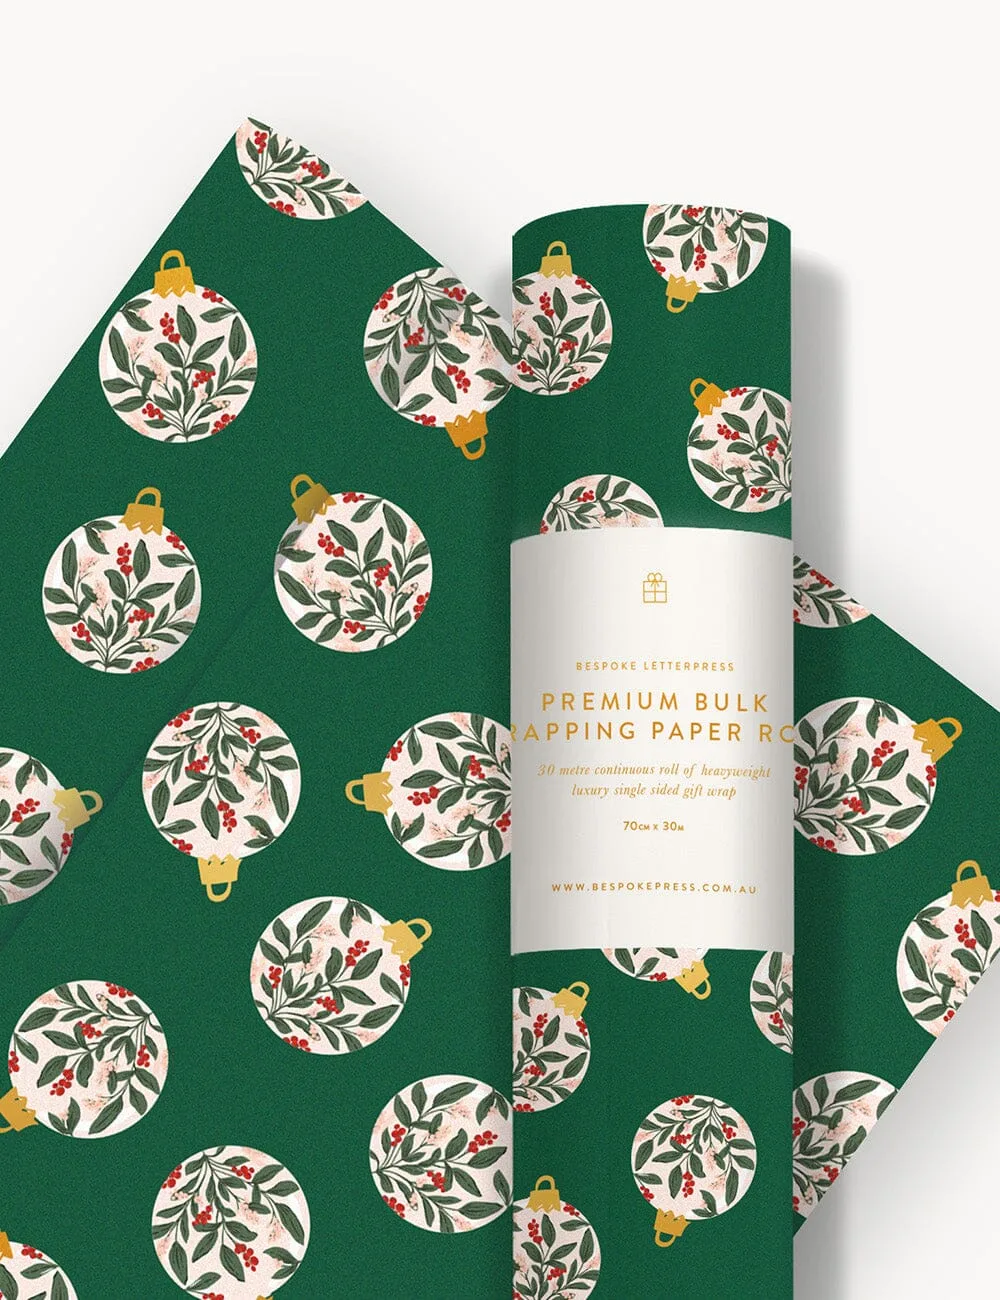
- Gift Wrap 30m Roll - Christmas Ornaments: A 30 metre roll of single-sided gift wrap, 70cm wide, printed on 100gsm environmentally responsible 100% recycled paper, with artwork by Sally Murphy. A continuous roll means you can wrap odd-shaped gifts without running out mid-task, and the recycled stock holds a crease well for crisp corners.
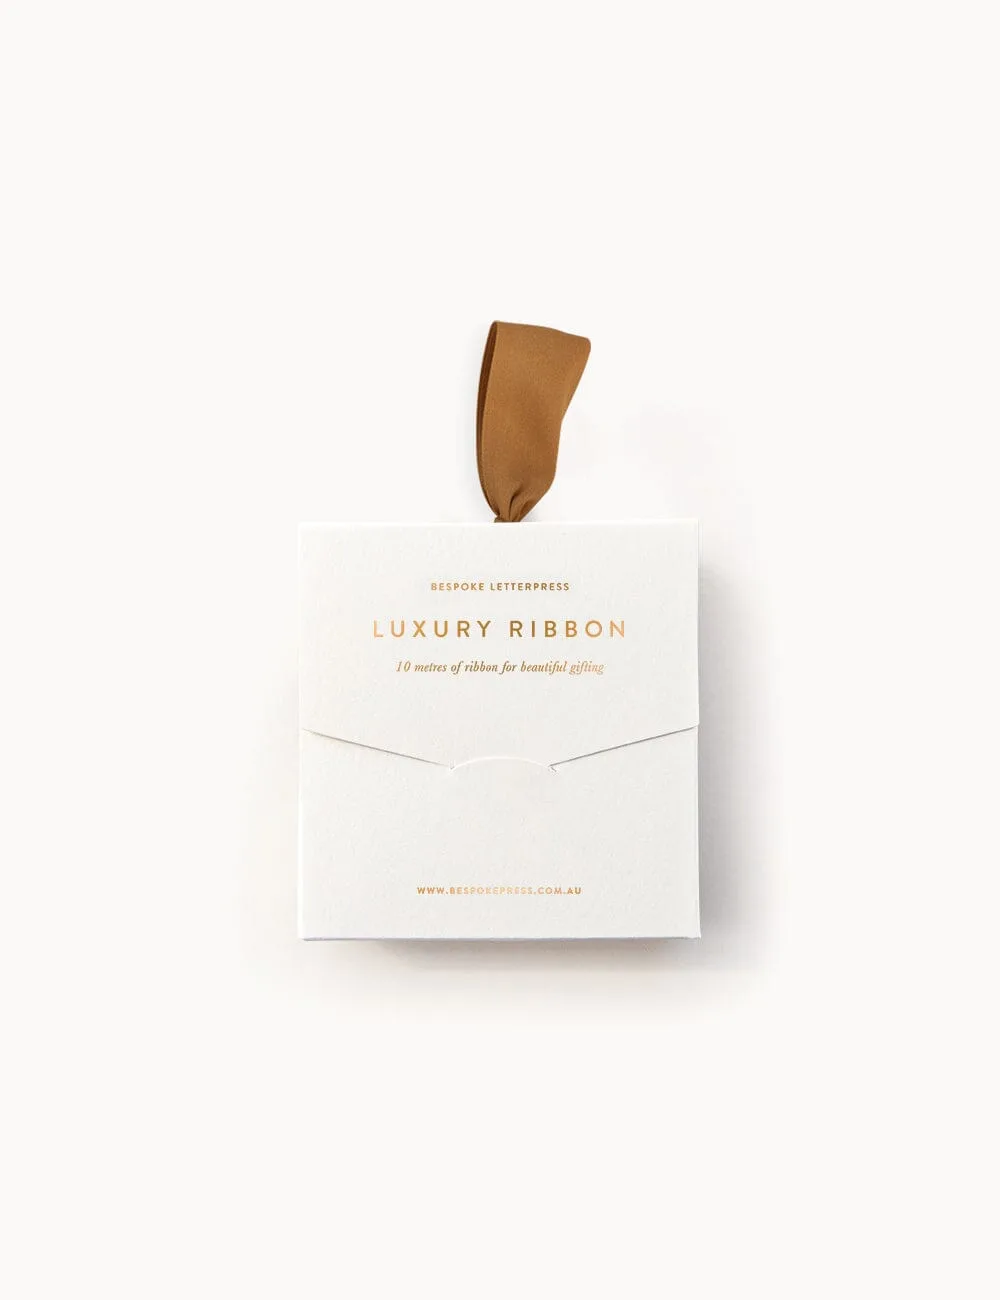
- Pale Gold Luxury Satin Ribbon - 10 metres: 10 metres of soft double-faced silky satin ribbon in a self-dispensing gold foil printed FSC box, with instructions to pull the ribbon end through the side spine window. The dispenser keeps the ribbon flat and untangled, which matters when you are tying napkins or crackers in a hurry.
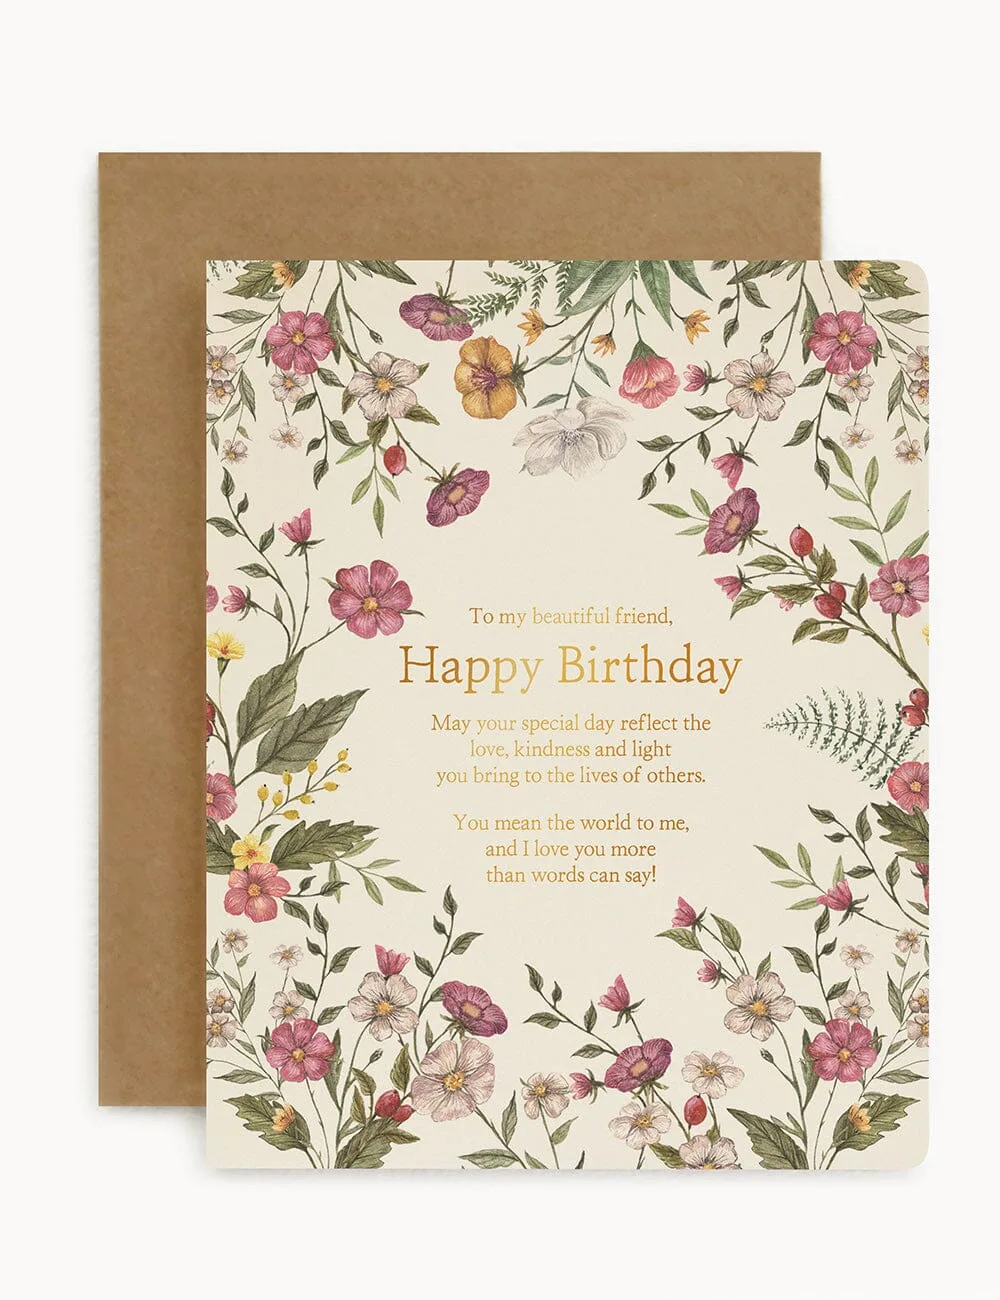
- To My Beautiful Friend - Happy Birthday: A letterpress hot foil printed card illustrated by Vicky Lastra, printed in gold hot foil on heavyweight environmentally responsible card stock, 108x135mm folded, with an Australian made kraft envelope. If your Christmas table doubles as a birthday celebration, this card matches the gold and kraft tones of a classic table setting.
- Laser Engraving Charge (per Alphabet Ornament): A per-ornament laser engraving service charge. Personalised ornaments work as place markers, so budget one engraving charge for each guest you want to name.
A Christmas table looks best when it is built in order and edited at the end. Get the base, centrepiece, and place settings right, add crackers and ornaments with restraint, and leave the candles until last.