Quick answer
Set depth by measuring the actual stock with calipers, not the nominal size, then raise the bit in small increments and confirm with a test cut on scrap. For dados, set depth to the mating panel thickness plus a few thousandths for adhesive clearance. For rabbets, set the cutter so the remaining shoulder equals the panel thickness you need to hide.
Measure the stock, not the label
Plywood sold as 3/4 inch is often 0.70 to 0.73 inch thick, and the same nominal size can vary between sheets and brands. A dado router bit setup that assumes the label will leave a joint that is either too loose or too tight. Measure the mating panel in at least three spots with calipers and use the largest reading for the cut. If you are cutting a rabbet router bit depth for a back panel, measure that panel the same way. Write the number on the workpiece with pencil so you do not have to re-measure after the first pass.
Choose a bit that matches the joint, then set the router
Straight bits cut flat-bottomed dados and rabbets, while down-cut spirals are a better match when the top face is plywood, melamine, or laminate and you need a clean shoulder. The bit diameter also sets how much material you remove per pass. A 1/2 inch cut diameter down-cut with a 1/4 inch shank lets a Makita or Dewalt-class trim router remove more width per pass than a 1/4 inch bit, while still fitting the smaller collet. Set the router on a flat surface, unlock the plunge, and zero the depth rod against the base before you touch the bit height.
Sneak up on depth with a test cut
Cut a scrap of the same material and measure the groove floor with calipers. For a dado, the target is the mating panel thickness plus roughly 0.002 to 0.005 inch so glue has somewhere to go. For a rabbet, the target is the distance from the shoulder to the outer face. If the first pass is shallow, raise the bit in 1/32 inch steps and re-cut the same scrap until the measurement matches. Do not adjust depth by feel or by counting turns on the depth rod, because backlash and base flex will throw the number off.
Control the cut so depth holds across the joint
Depth is only reliable if the router stays flat and the workpiece does not move. Clamp a straightedge or guide rail so the router base has continuous support on both sides of the cut, and keep the base flat through the whole pass. Feed at a steady rate and let the bit cut rather than forcing it. If the router tips or the workpiece shifts, the floor of the dado will not be parallel to the face, and no depth setting will fix that after the fact. For deep cuts, take two or three passes at increasing depth rather than one heavy pass.
Step-by-step depth setting for dados and rabbets
- Measure the mating panel: Use calipers on the actual panel that will sit in the joint, checking three spots and taking the largest reading. Common mistake: trusting the nominal 3/4 inch label, which can be off by 0.03 inch or more. Write the measurement on the scrap before you touch the router.
- Zero the router and set a starting depth: With the router unplugged, seat the bit, unlock the plunge, and zero the depth rod against the base. Set a starting depth slightly shallower than your target. Checkpoint: confirm the bit is fully seated in the collet and the collet is tight before plugging back in. A shallow first pass is easier to correct than a deep one.
- Cut scrap and measure the result: Make a test cut in the same material and measure the groove floor or shoulder with calipers. For a dado, target the panel thickness plus 0.002 to 0.005 inch. For a rabbet, target the remaining shoulder thickness you need. Common mistake: measuring the bit height instead of the finished cut. If the number is off, adjust and re-cut the same scrap.
- Raise in small increments until it matches: Increase depth in 1/32 inch steps and re-test until the measurement matches your target. Do not count turns on the depth rod, because backlash and base flex make that unreliable. Checkpoint: re-measure after every adjustment, not just at the end. Stop when the calipers agree, not when it looks close.
- Cut the real joint with support on both sides: Clamp a straightedge or guide so the router base stays flat through the pass, and feed at a steady rate. For deep cuts, take two or three passes at increasing depth. Common mistake: letting the router tip at the start or end of the cut, which makes the floor uneven. A flat base and steady feed protect the depth you just set.
Bits that fit this process
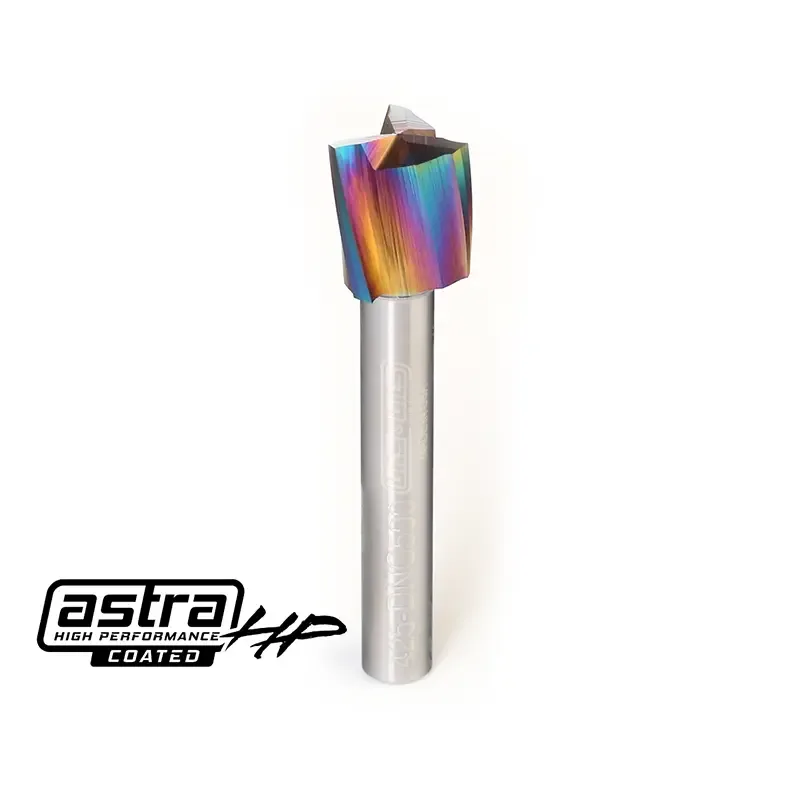
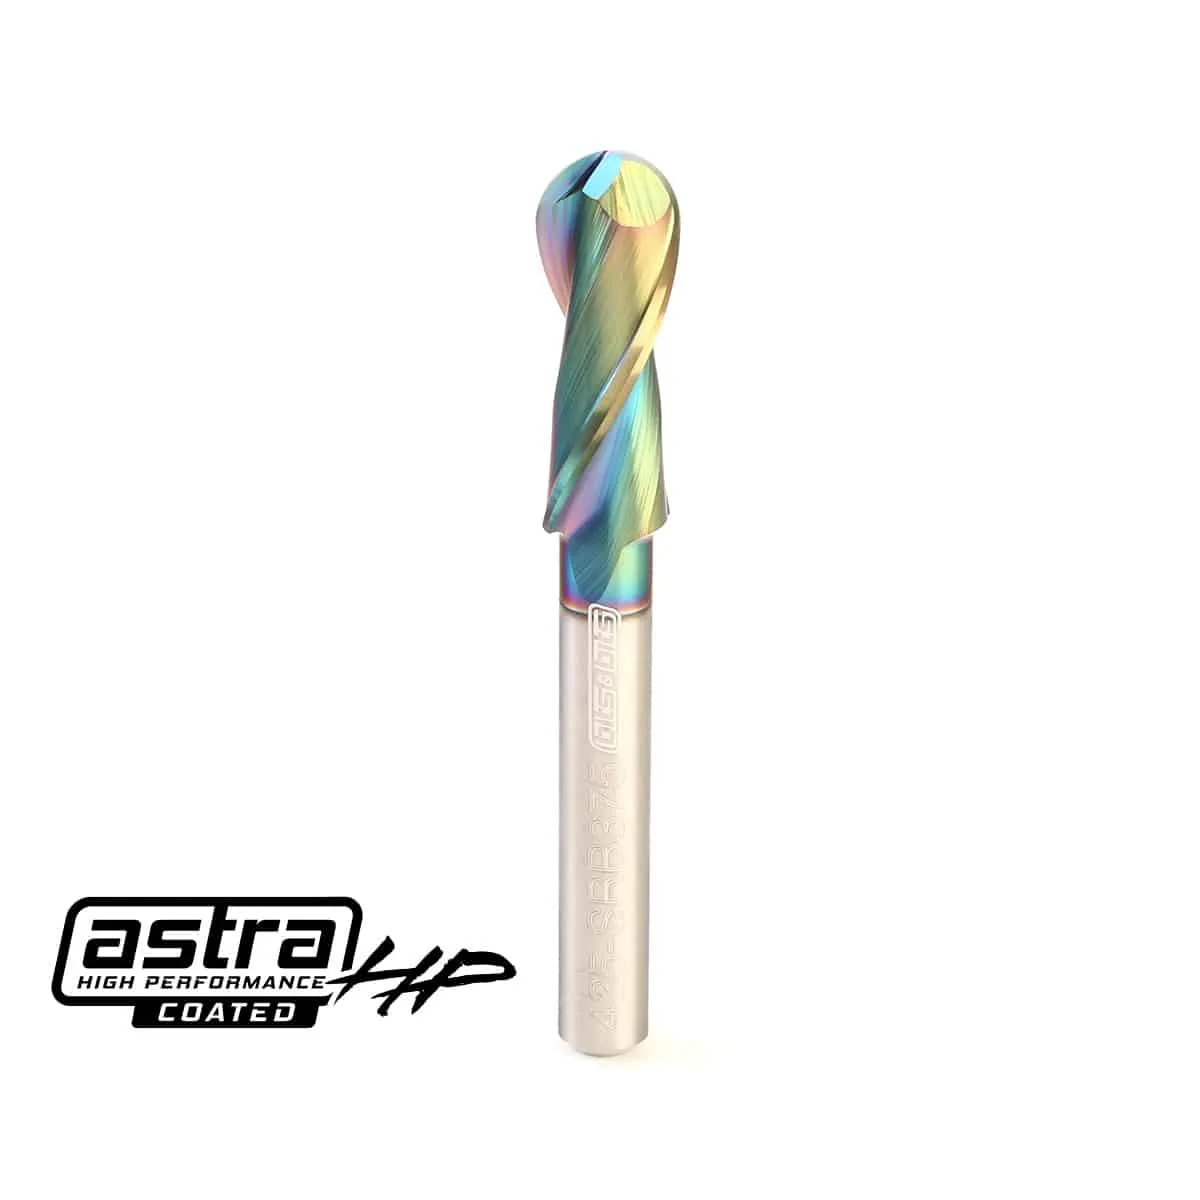
- 1/2″ Triple Flute Down-Cut Spiral Bit – 1/4″ Shank (AstraHP Coated): 1/2 inch triple flute down-cut spiral bit with a 1/4 inch shank and AstraHP coating, built for small-spindle CNCs and trim routers that need more cut width without a 1/2 inch shank. The down-cut geometry keeps the top edge clean in plywood, melamine, and laminated material, which is exactly where a dado or rabbet shoulder is most visible. The 1/2 inch cut diameter removes more material per pass than a 1/4 inch bit on a Makita or Dewalt-class machine.
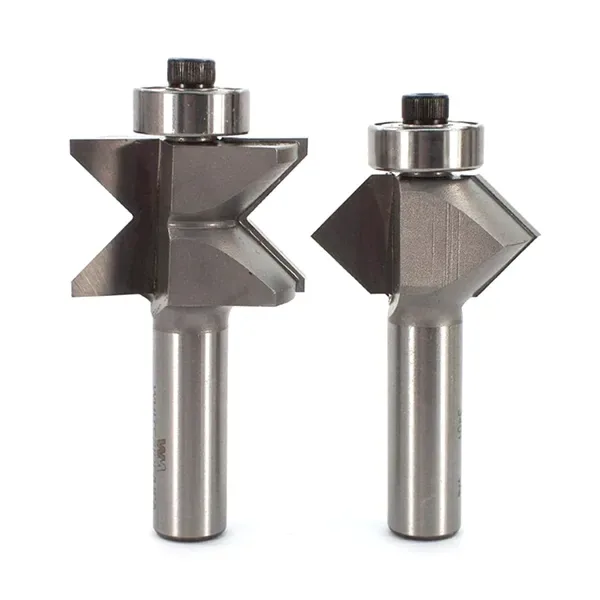
- Edge Banding Router Bits – Whiteside 3400: Whiteside 3400 edge banding router bits, a two-piece set with a 1/2 inch shank, 3/4 inch cut length, and 1-1/2 inch cut diameter, made in the USA. The first bit cuts a groove into the plywood edge and the second shapes solid wood to fit it. If your rabbet or groove work is part of an edge-banding setup, matching the groove depth to the banding thickness is the same measuring discipline used for dado depth.