Quick answer
Start by charging the keyboard with the included USB-C cable, then choose your connection: Bluetooth for multi-device switching, 2.4G for low-latency desktop use, or wired for zero-latency. Pair it once, and you can map the dual Super Buttons to your most-used shortcuts.
Bluetooth vs. 2.4G vs. wired: which should you use?
The M Edition supports all three connection modes, but they suit different setups. Bluetooth is ideal if you switch between a Windows PC, Mac, and Android tablet, because you can pair up to three devices and toggle between them. The 2.4G dongle gives you a more stable, lower-latency link for a single desktop or laptop, which matters for gaming or fast typing. Wired USB-C is the simplest option if you want to avoid charging and don't need wireless freedom.
One trade-off: 2.4G uses a USB-A port, so on newer laptops with only USB-C you'll need an adapter. Bluetooth pairing can occasionally be finicky on older Windows machines, so keep the 2.4G dongle handy as a backup.
What the dual Super Buttons can do for you
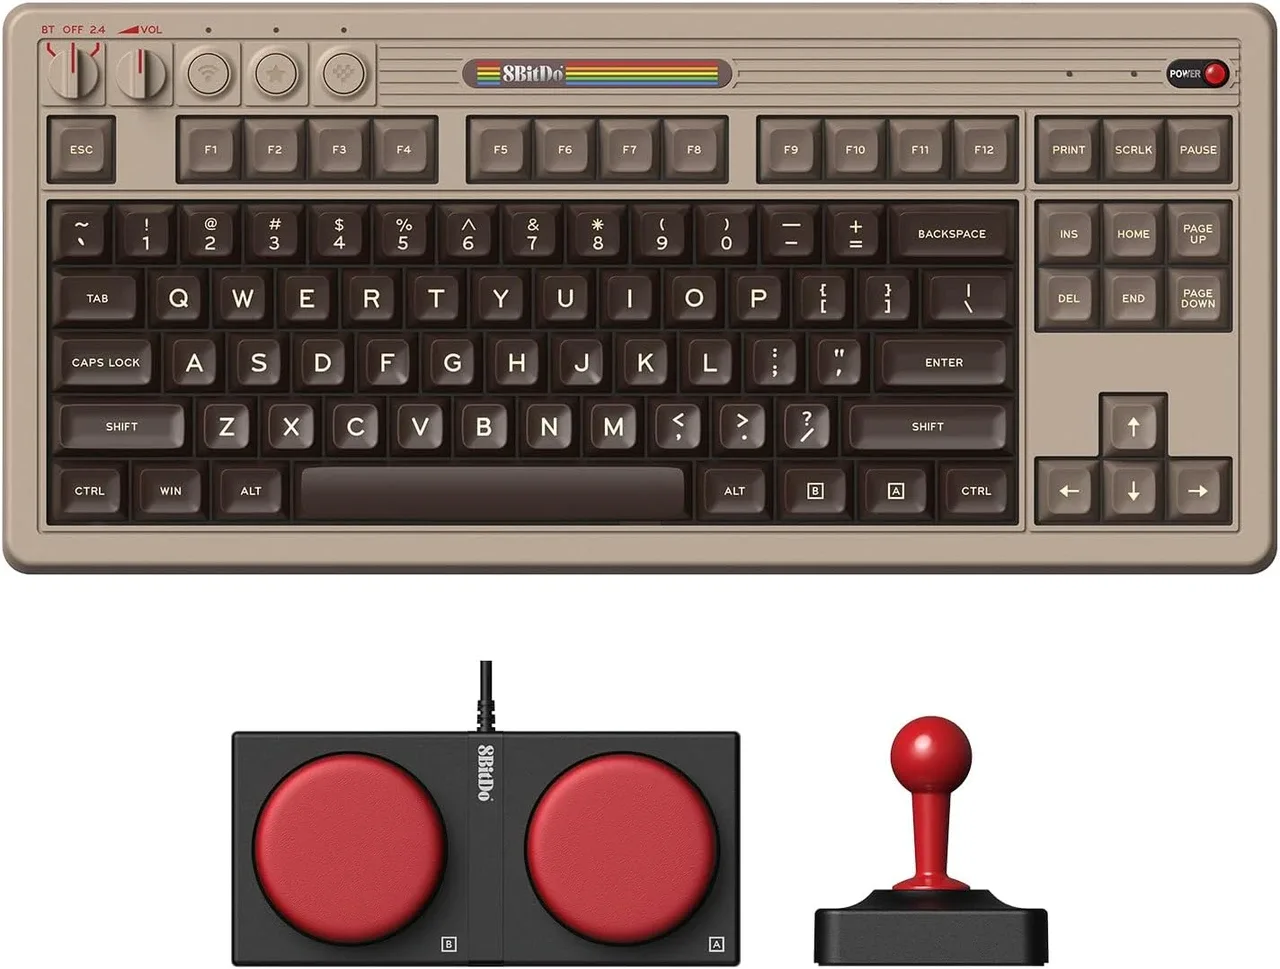
The two large, programmable Super Buttons are the M Edition's standout feature. You can map them to almost any key combination without installing software—handy for push-to-talk, screenshot shortcuts, or macros in retro emulators. They're especially useful if you often reach for awkward key combos.
Just note that the Super Buttons are extra keys, not replacements for your main keyboard, so plan your mappings around tasks you repeat often.
Setup steps for the 8BitDo Retro Mechanical Keyboard M Edition
- Charge the keyboard: Connect the included USB-C cable to the keyboard and a powered USB port or charger. Charge until the battery indicator shows full (usually 2–3 hours). A full charge before first use prevents dropouts during Bluetooth pairing.
- Choose your connection mode: Slide the power switch to ON, then press the connection mode button to cycle between Bluetooth, 2.4G, and wired. For Bluetooth, the indicator will blink; for 2.4G, plug in the dongle first. If the indicator doesn't blink, the keyboard may be off or already paired—toggle the switch off and on again.
- Pair via Bluetooth (Windows, Mac, or Android): On your device, open Bluetooth settings and look for '8BitDo Retro Keyboard' (or similar). Select it to pair. On Windows, you may need to click 'Add Bluetooth or other device' first. On Mac, go to System Settings > Bluetooth. On Android, go to Settings > Connected devices > Pair new device. If pairing fails, remove any previous 8BitDo entries from your device's Bluetooth list and retry. Keep the keyboard within 1 meter during pairing.
- Connect via 2.4G: Plug the 2.4G dongle into a USB-A port on your computer. Set the keyboard to 2.4G mode—it should connect automatically. If not, press the pairing button on the dongle (if present) or re-insert it. 2.4G is plug-and-play on most systems, but avoid USB 3.0 ports if you experience interference—use a USB 2.0 port or an extension cable.
- Connect via USB-C (wired): Plug the USB-C cable into the keyboard and your computer. Set the keyboard to wired mode (usually the same mode button cycles to a wired icon). The keyboard will charge while in use. Wired mode bypasses battery concerns entirely—use it for long sessions or if wireless interference is an issue.
- Map the Super Buttons: Press and hold the Super Button you want to map (A or B) for about 3 seconds until the indicator flashes. Then press the key combination you want to assign (e.g., Ctrl+Shift+M). The indicator will stop flashing to confirm. Repeat for the other button. To reset a Super Button to its default, hold it for 8 seconds until the indicator flashes rapidly.
- Verify key rollover and switch response: Open a text editor and type a sentence with multiple keys pressed simultaneously (e.g., hold Shift and type letters). The keyboard supports N-key rollover, so all keys should register. If not, check that you're in the correct mode—some modes may limit rollover. Test in wired mode first to rule out wireless latency; if rollover fails there, contact support.
Product facts
-
8Bitdo Retro Mechanical Keyboard BT / 2.4G / USB-C for Windows / Mac / Android - M Edition: Compatible with Windows 10 (1903) or above and Android 9.0 or above, with Bluetooth, 2.4G, and wired connectivity. Check your OS version before pairing; older systems may need the 2.4G dongle or a wired connection.
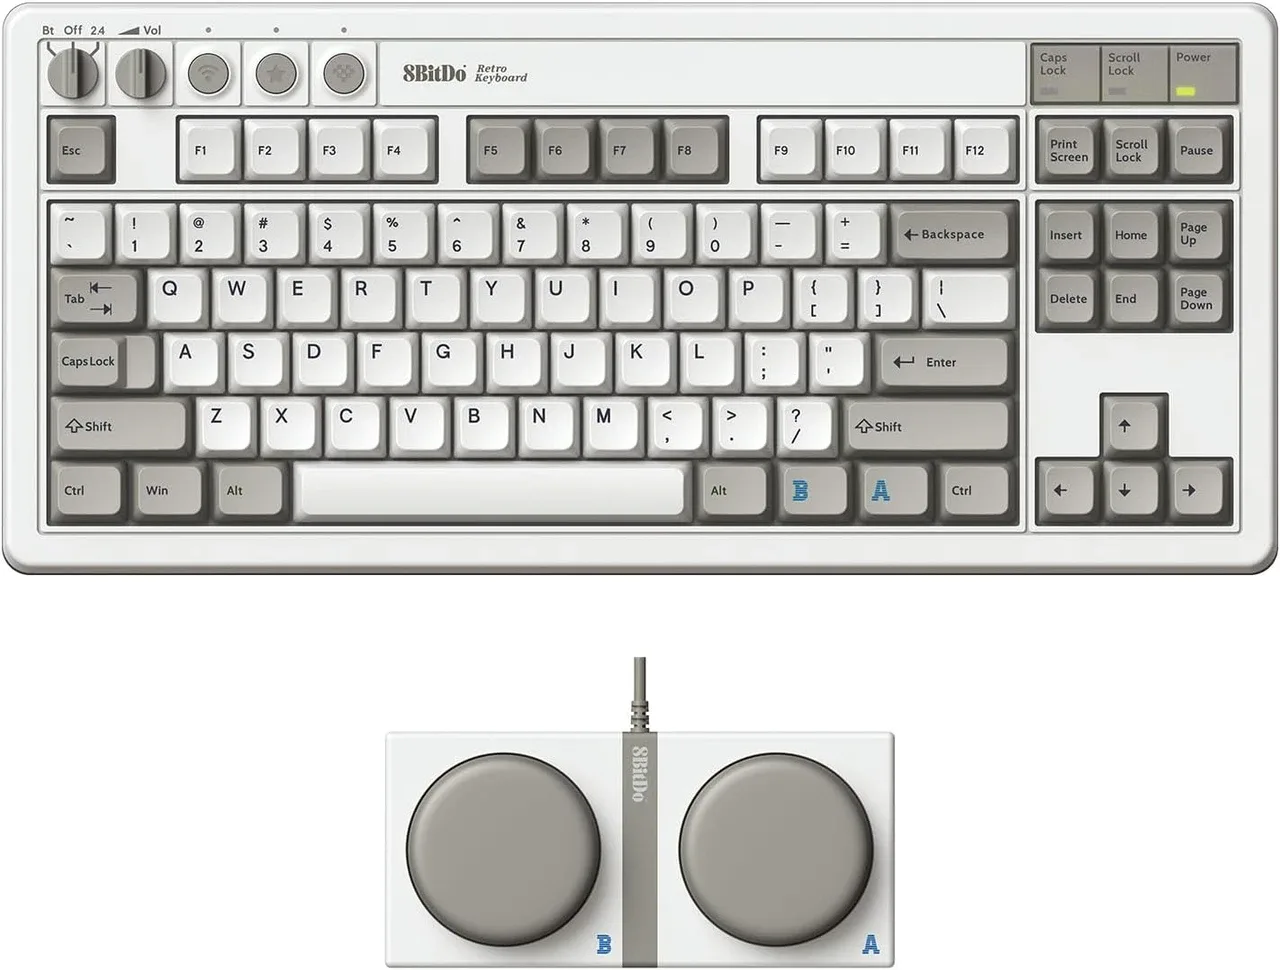
8Bitdo Retro Mechanical Keyboard BT / 2.4G / USB-C for Windows / Mac / Android - M Edition
-
8Bitdo Retro Mechanical Keyboard BT / 2.4G / USB-C for Windows / Mac / Android - M Edition: Features Kailh Box Switch V2 White, dye-sub PBT keycaps, and a hot-swappable PCB. You can swap switches later without soldering, and the PBT keycaps resist shine from heavy typing.
-
8Bitdo Retro Mechanical Keyboard BT / 2.4G / USB-C for Windows / Mac / Android - M Edition: Dual Super Buttons are programmable on the fly without using software. You can set up macros or shortcuts instantly, even on a machine where you can't install apps.