Quick Answer
Assemble a stable cardboard backdrop by selecting a flat, level spot, attaching the stand correctly, and using weights to prevent tipping. Check alignment before guests arrive.
Why Proper Setup Matters
A wobbly cardboard cutout can ruin the party vibe or fall over and tear. Taking a few minutes to set it up correctly saves frustration and keeps your backdrop looking great for photos all event long.
Step-by-Step Setup Guide
- Check Your Stand or Support: Most cardboard cutouts come with a fold-out stand on the back. Open the stand fully and ensure the locking tabs click into place. If your cutout lacks a stand, lean it against a wall or prop it with a chair. A missing stand? Use a backing board or tape the cutout to a wall.
- Level the Base: Place the cutout on a flat, non-carpeted floor. If the floor is uneven, slide a thin piece of cardboard under one side of the stand to balance it. Check with a spirit level if possible. Even a slight tilt makes the cutout look crooked.
- Add Weights for Stability: Attach small sandbags, beanbags, or water bottles to the lower edges of the stand using tape or string. This prevents the backdrop from tipping over if bumped. Do not over-weight it, or the stand may collapse.
- Smooth Out Wrinkles and Creases: Gently unroll or unfold the cardboard. Flatten any bends by pressing from the center outward. Use a low-heat iron (no steam) on the reverse side if stubborn creases remain. Do not iron the printed side—always work on the back.
- Position for Best Visibility: Stand the backdrop where it is the first thing guests see, but away from high-traffic areas. Ensure good lighting from the front for photos and avoid direct sunlight that can fade colors. A hallway corner often works best to protect the cutout.
Product Highlights
-
SC4329 Halloween Backdrop Single Cardboard Cut Out Height 194cm: Height 194cm, crafted by Star Cutouts, known for realistic creations. This tall backdrop is impressive for Halloween parties but requires a sturdy stand or leaning surface to stay upright.
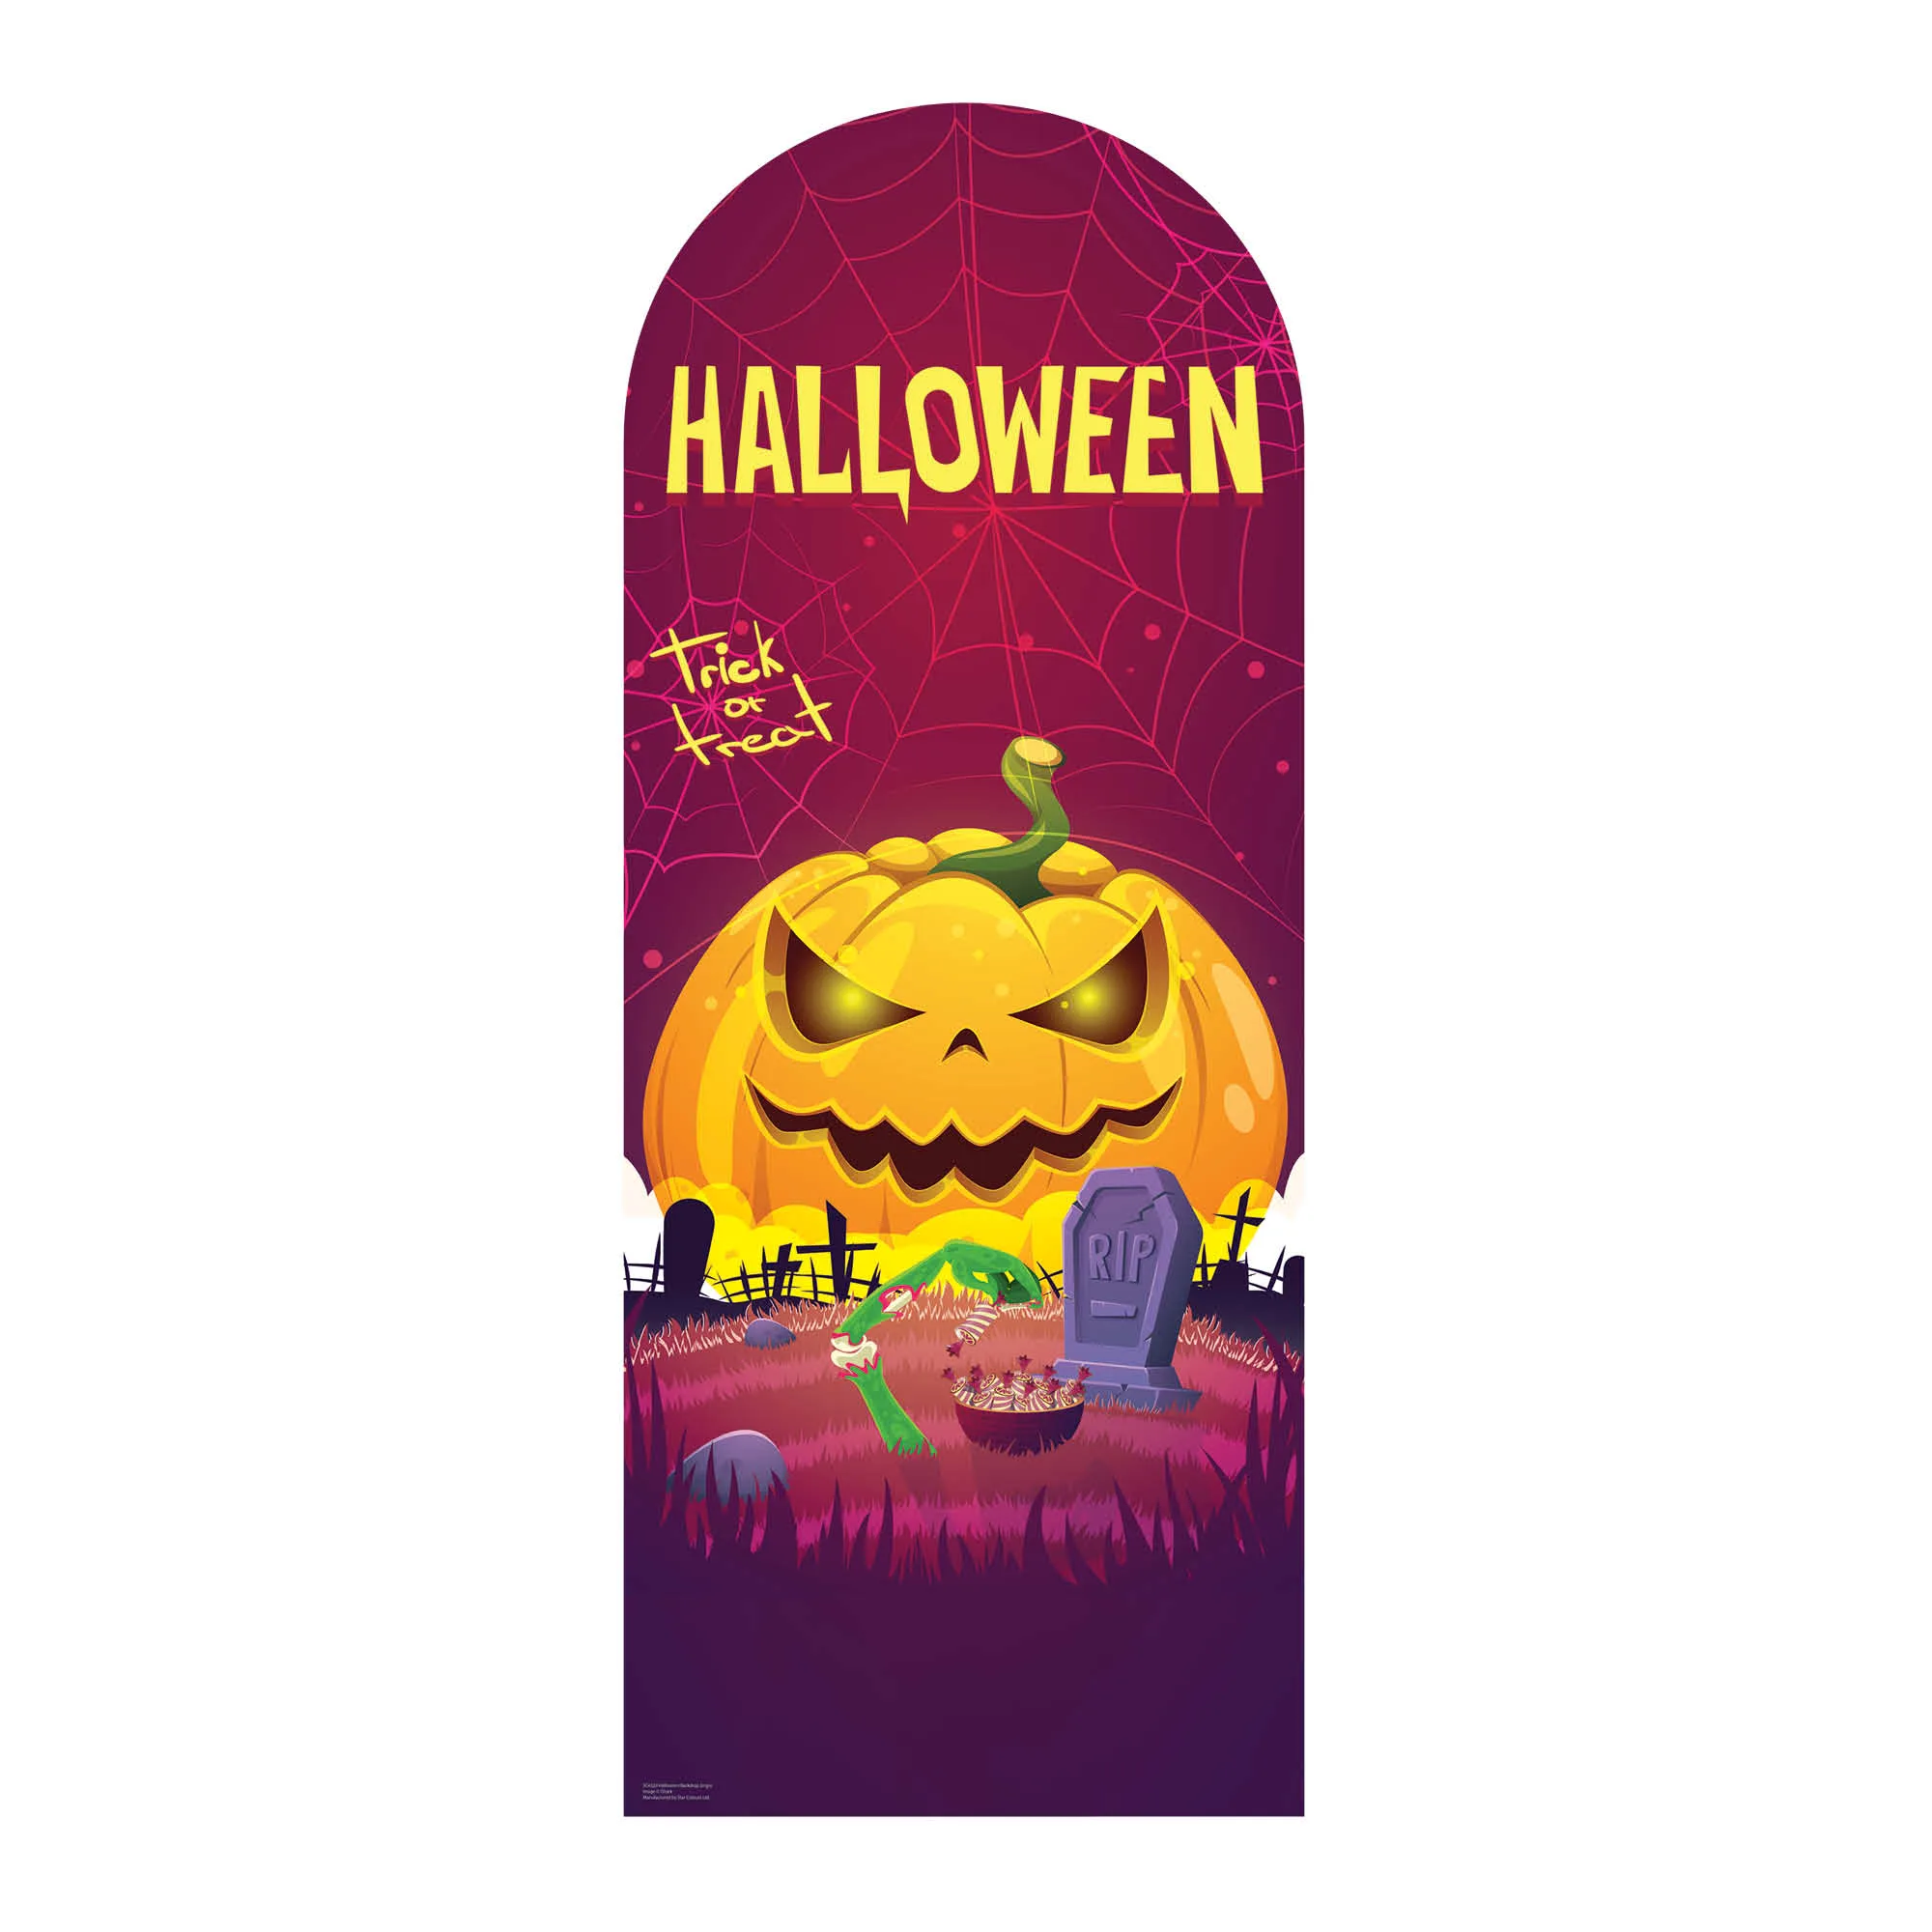
SC4329 Halloween Backdrop Single Cardboard Cut Out Height 194cm
-
SC4560 Lord of the Rings Logo Backdrop Single Cardboard Cut Out Height 185cm: Height 185cm, features a sleek black design with minimalist silver Lord of the Rings logo. Its elegant color works well for themed parties, but the lightweight cardboard may need additional support to avoid sliding.
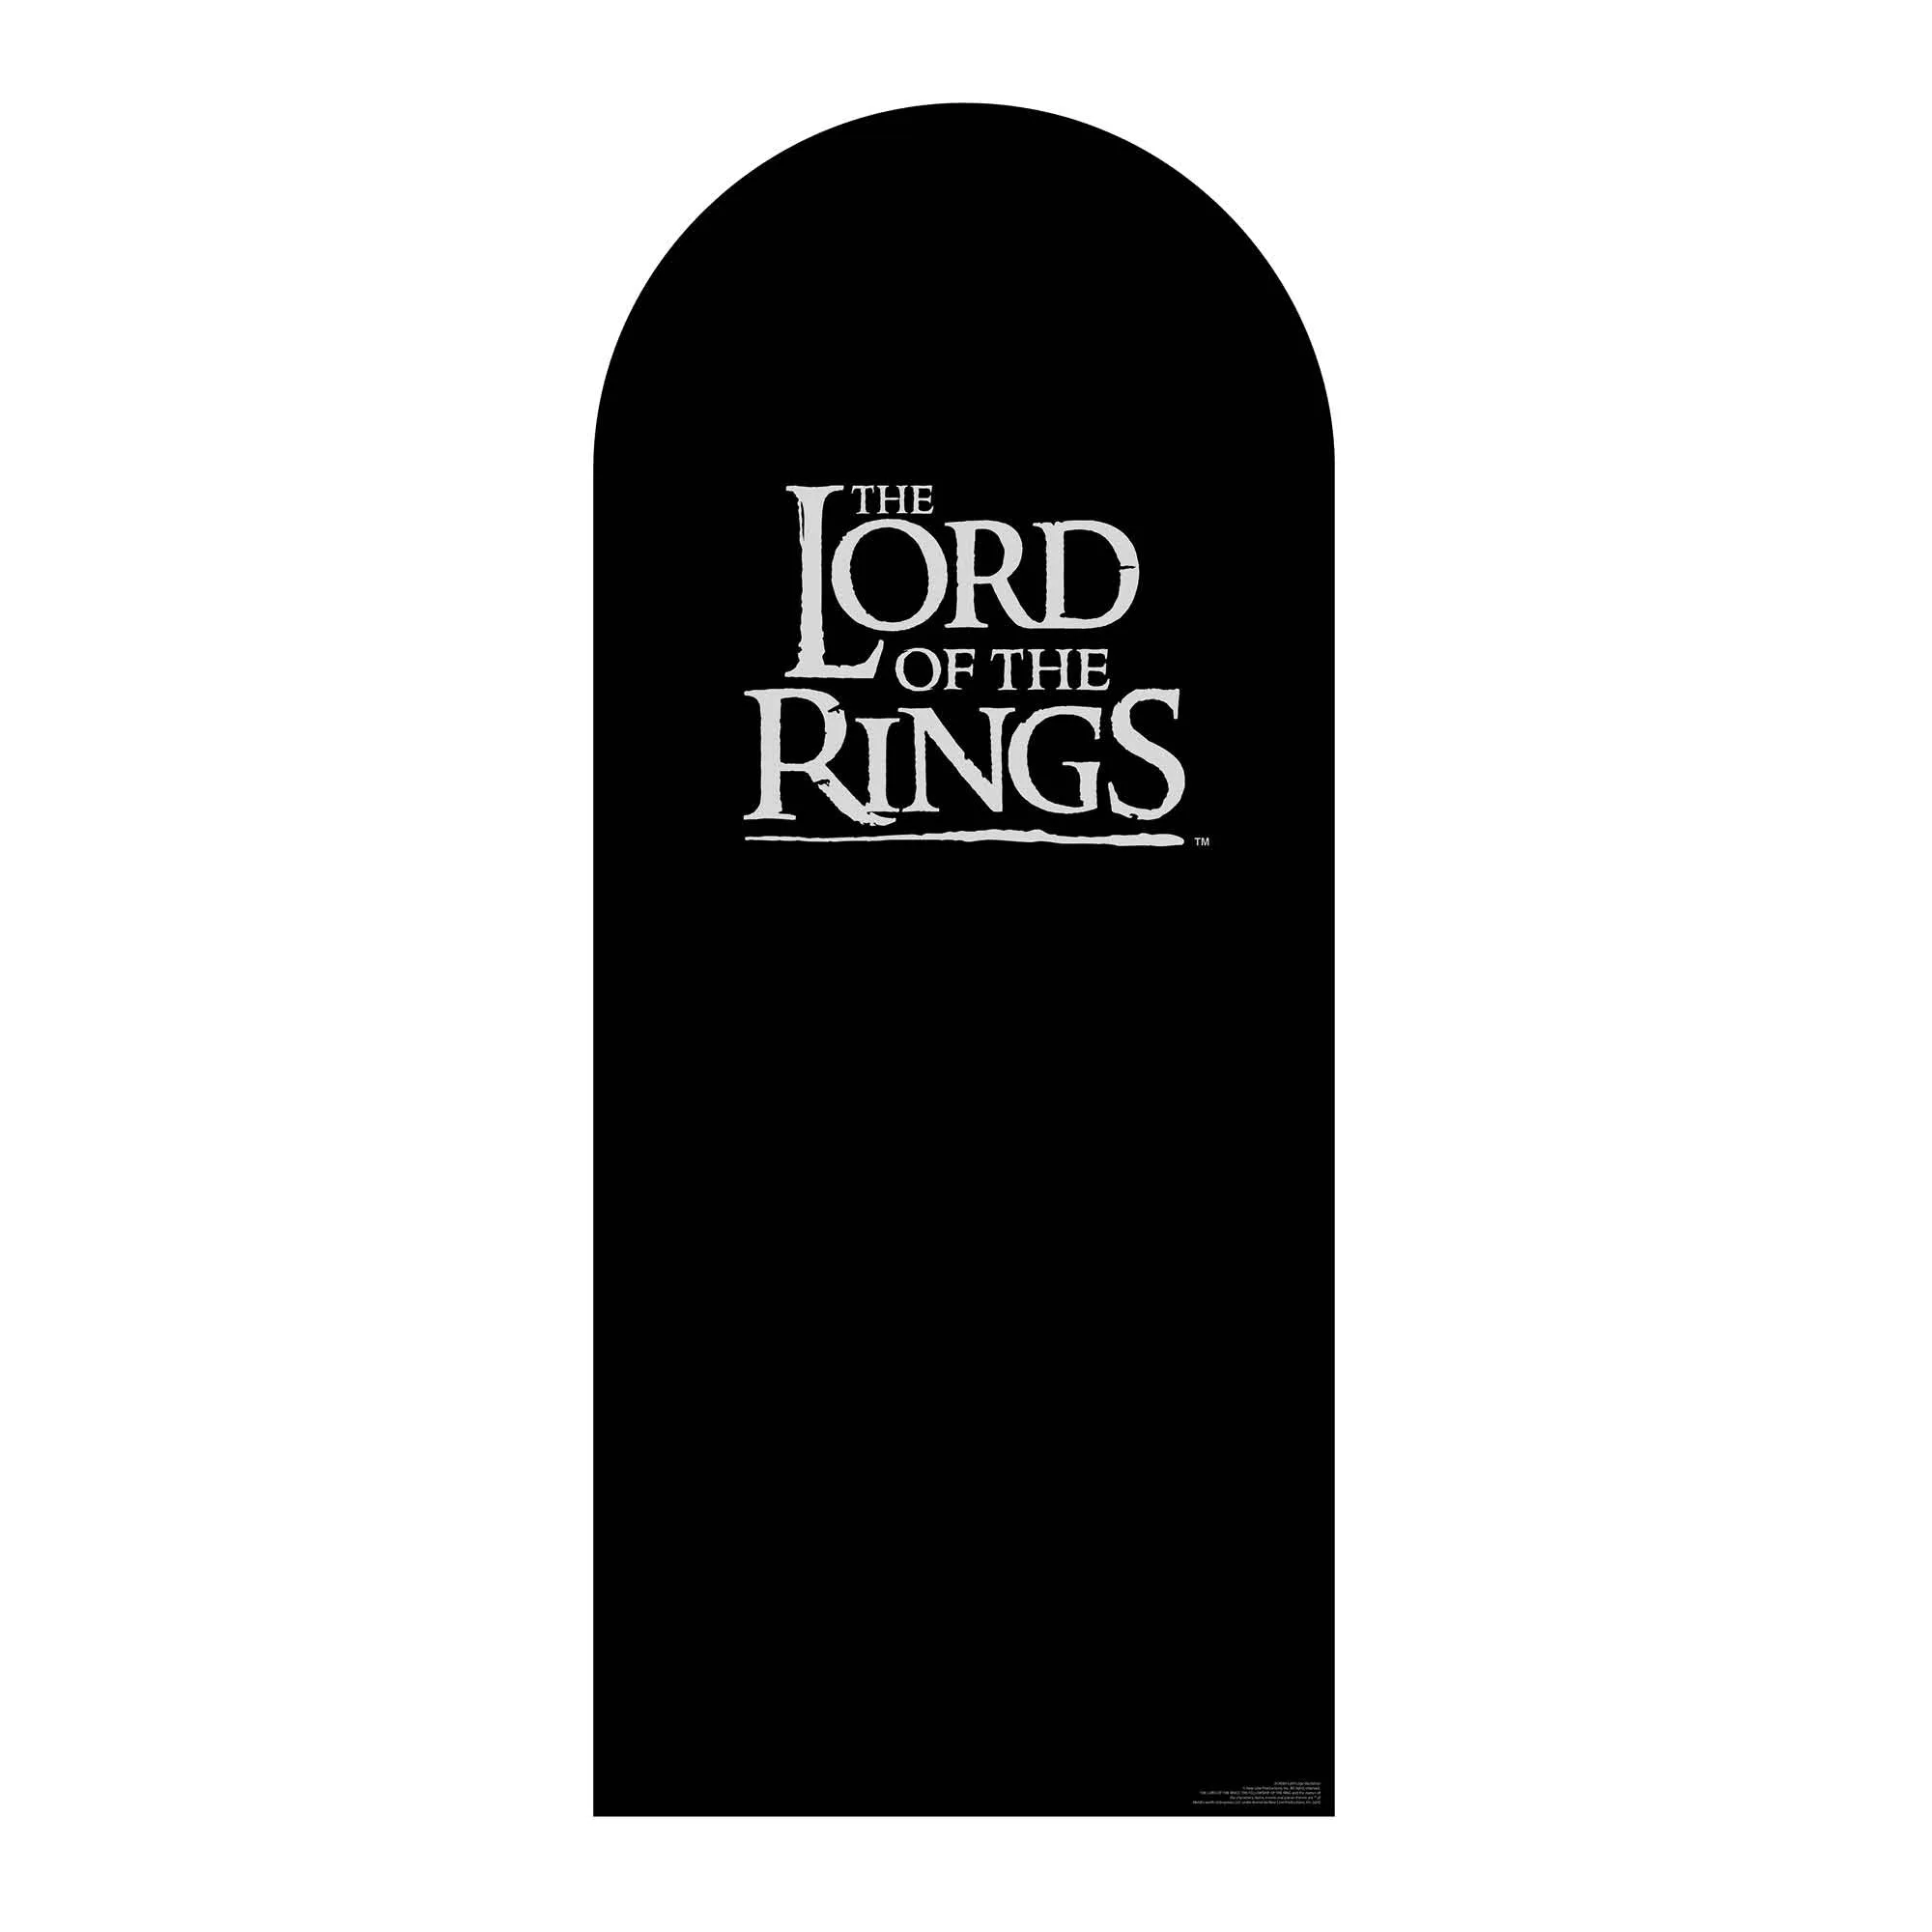
SC4560 Lord of the Rings Logo Backdrop Single Cardboard Cut Out Height 185cm