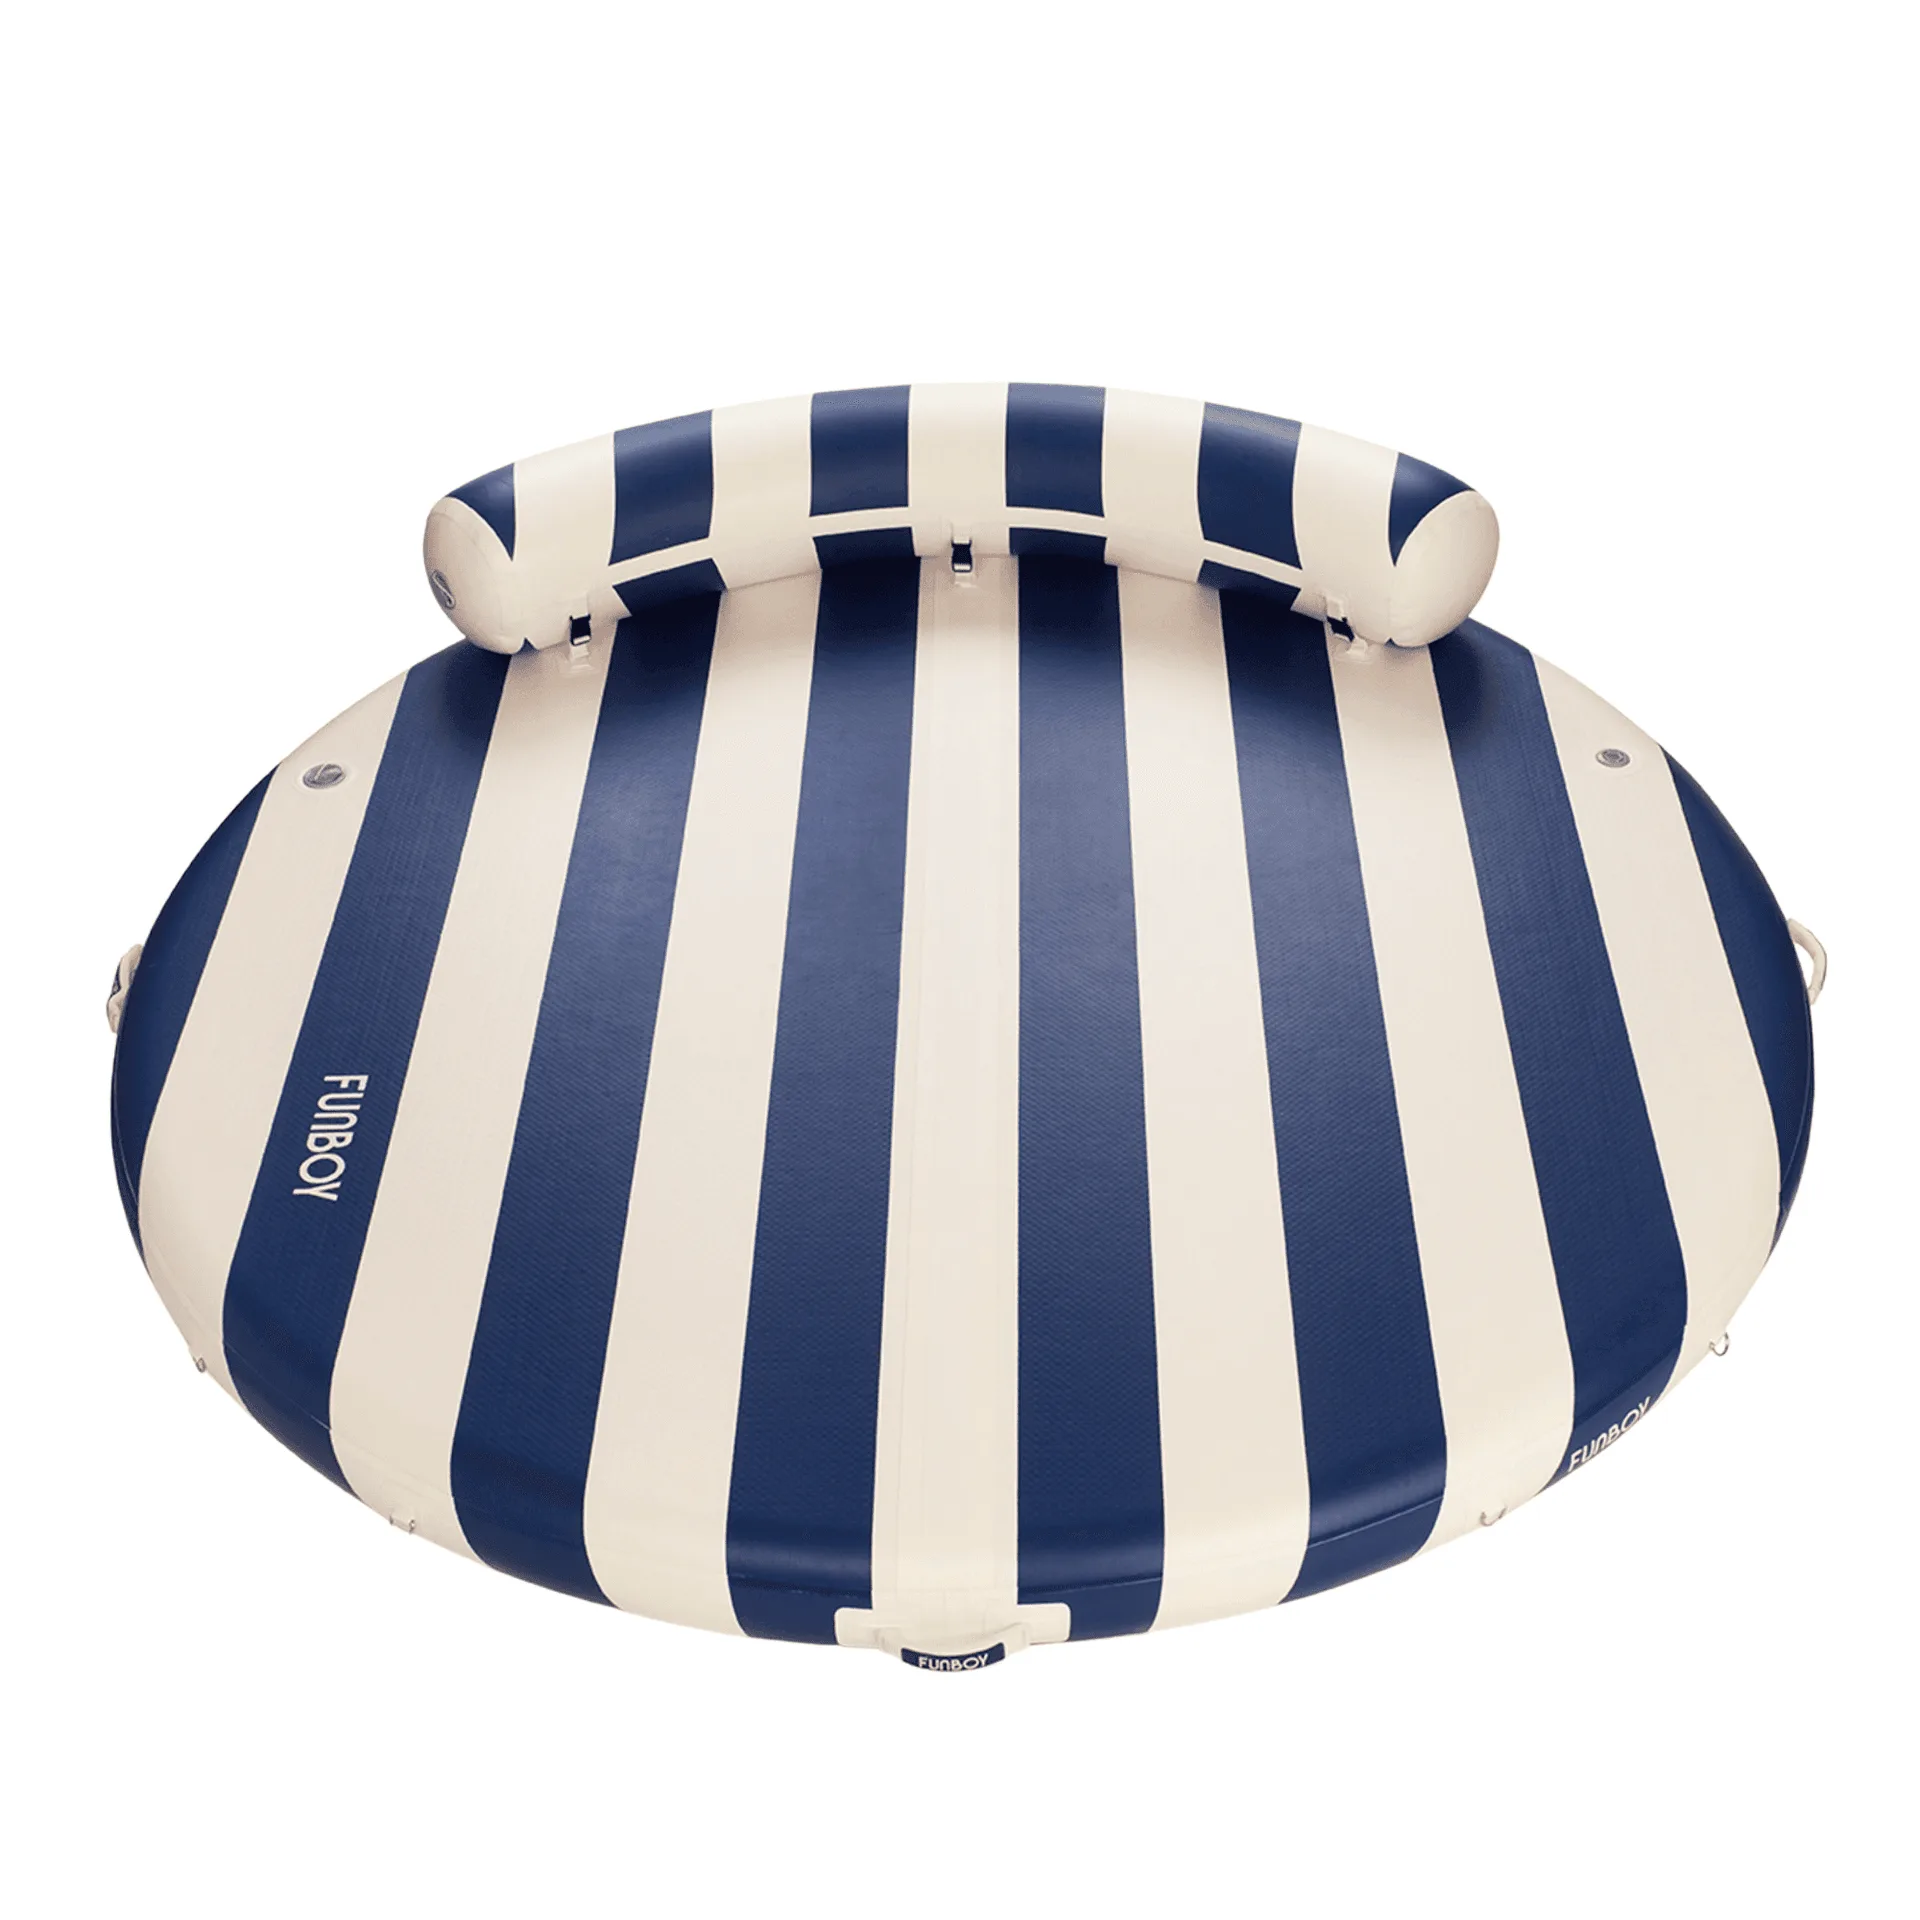
A https://pickkind.shop/products/floating-cabana-bar-113312https://pickkind.shop/products/floating-cabana-bar-113313https://pickkind.shop/products/floating-cabana-bar-113314https://pickkind.shop/products/floating-cabana-bar-113315floating cabana bar turns your pool into the ultimate party hub. Whether you're hosting a backyard get-together or a poolside celebration, having a stable, anchored drink station keeps everything organized and within reach. But without proper setup, your inflatable bar can drift away or tip over, turning fun into frustration.
This guide walks you through the entire process—from choosing the right spot to securing your floating bar so it stays put all afternoon. We'll cover the gear you need, common mistakes to avoid, and how to keep your setup stable even when the pool gets busy.
Choose the Right Location for Your Floating Bar
Before inflating anything, pick a spot that balances convenience and stability. Ideally, place your floating bar near the shallow end or along a pool wall so guests can easily reach drinks without swimming far. Avoid areas with strong water currents from pool jets or filters, as these can push your bar around even after anchoring.
If your pool has steps or a built-in bench, positioning the bar nearby gives swimmers a natural resting place. Also consider sun exposure—keeping the bar partially shaded helps drinks stay cool longer. For larger pools, you might want the bar closer to the center of activity, but always within easy reach of a seating area or lounge float.
- Place the bar near the shallow end or pool wall for easy access.
- Avoid direct water currents from jets or filters to reduce drifting.
- Consider shade or partial cover to keep beverages cool.
Inflate and Assemble Your Floating Cabana Bar
Start by laying the inflatable bar on a clean, dry surface away from sharp objects. Most models, like the Floating Cabana Bar, come with multiple air chambers—inflate each one fully using an electric air pump for best results. Hand pumps work but take longer and may not achieve the firmness needed for stability.
Once inflated, check all valves are sealed tightly. Attach any accessories like cup holders, shade canopy poles, or detachable countertops. If your bar includes a built-in drink holder, make sure it's securely fastened. A fully assembled bar should feel rigid to the touch—if it's squishy, add more air. Overinflation is rarely an issue with quality inflatables, but follow the manufacturer's pressure guidelines.
- Use an electric air pump for fast, even inflation.
- Check all valves and seams for leaks before launching.
- Attach cup holders and canopy poles securely.
How to Anchor Your Inflatable Bar for Stability
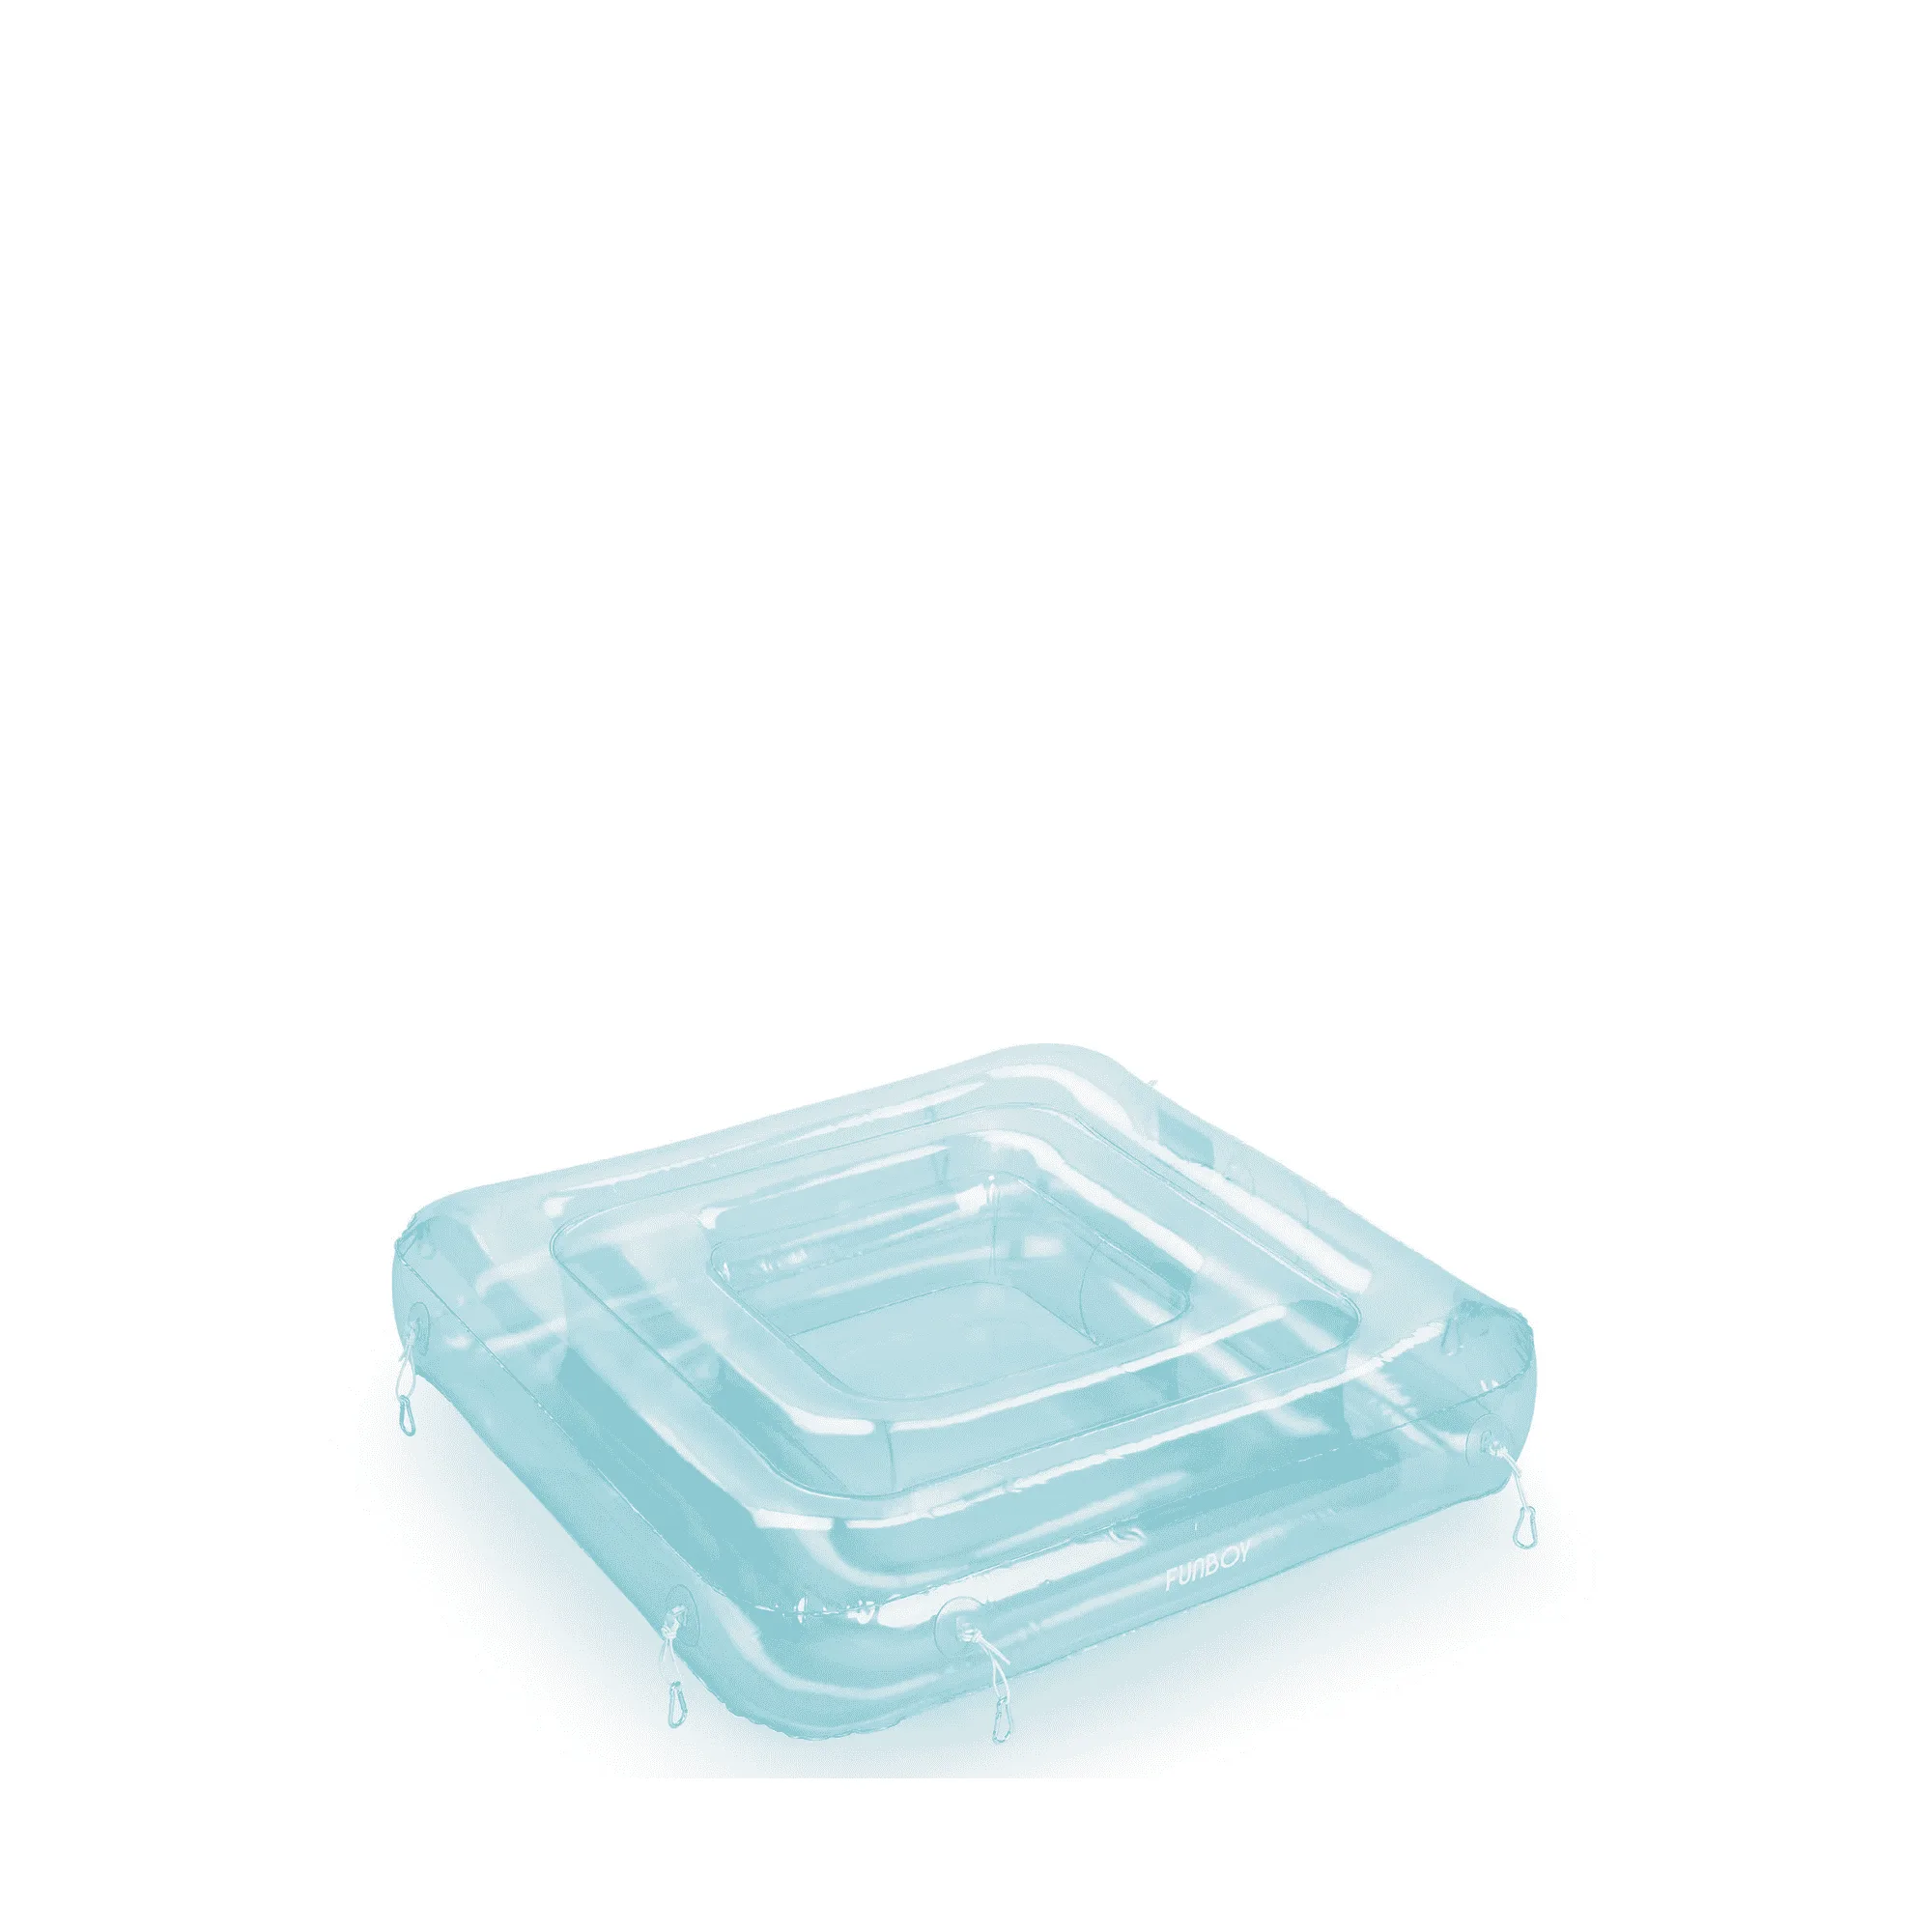
Anchoring is the most important step for keeping your floating bar in place. The simplest method is to use weighted anchors designed for pool floats. These are small, sand-filled bags or plastic weights that attach to D-rings on your bar via ropes or bungee cords. Place one anchor on each side of the bar, then lower them to the pool floor.
If your pool doesn't have D-rings, you can tie the bar to a pool ladder, handrail, or deck cleat using a soft rope or bungee. Avoid using metal chains or sharp hooks that could puncture the vinyl. For extra stability in windy conditions, attach two anchors on the windward side and one on the leeward side. This triangle pattern prevents the bar from swinging or tipping.
Another option is to fill small mesh bags with pool sand or pebbles and tie them to the bar's corners. These DIY anchors work just as well as store-bought ones and can be adjusted for weight. Just make sure the bag material is smooth to avoid abrasion.
- Use weighted pool anchors or sand-filled bags attached to D-rings.
- Tie to a ladder or deck cleat if D-rings are unavailable.
- Use a triangle anchor pattern for windy conditions.
Keep Your Drink Station Organized and Accessible
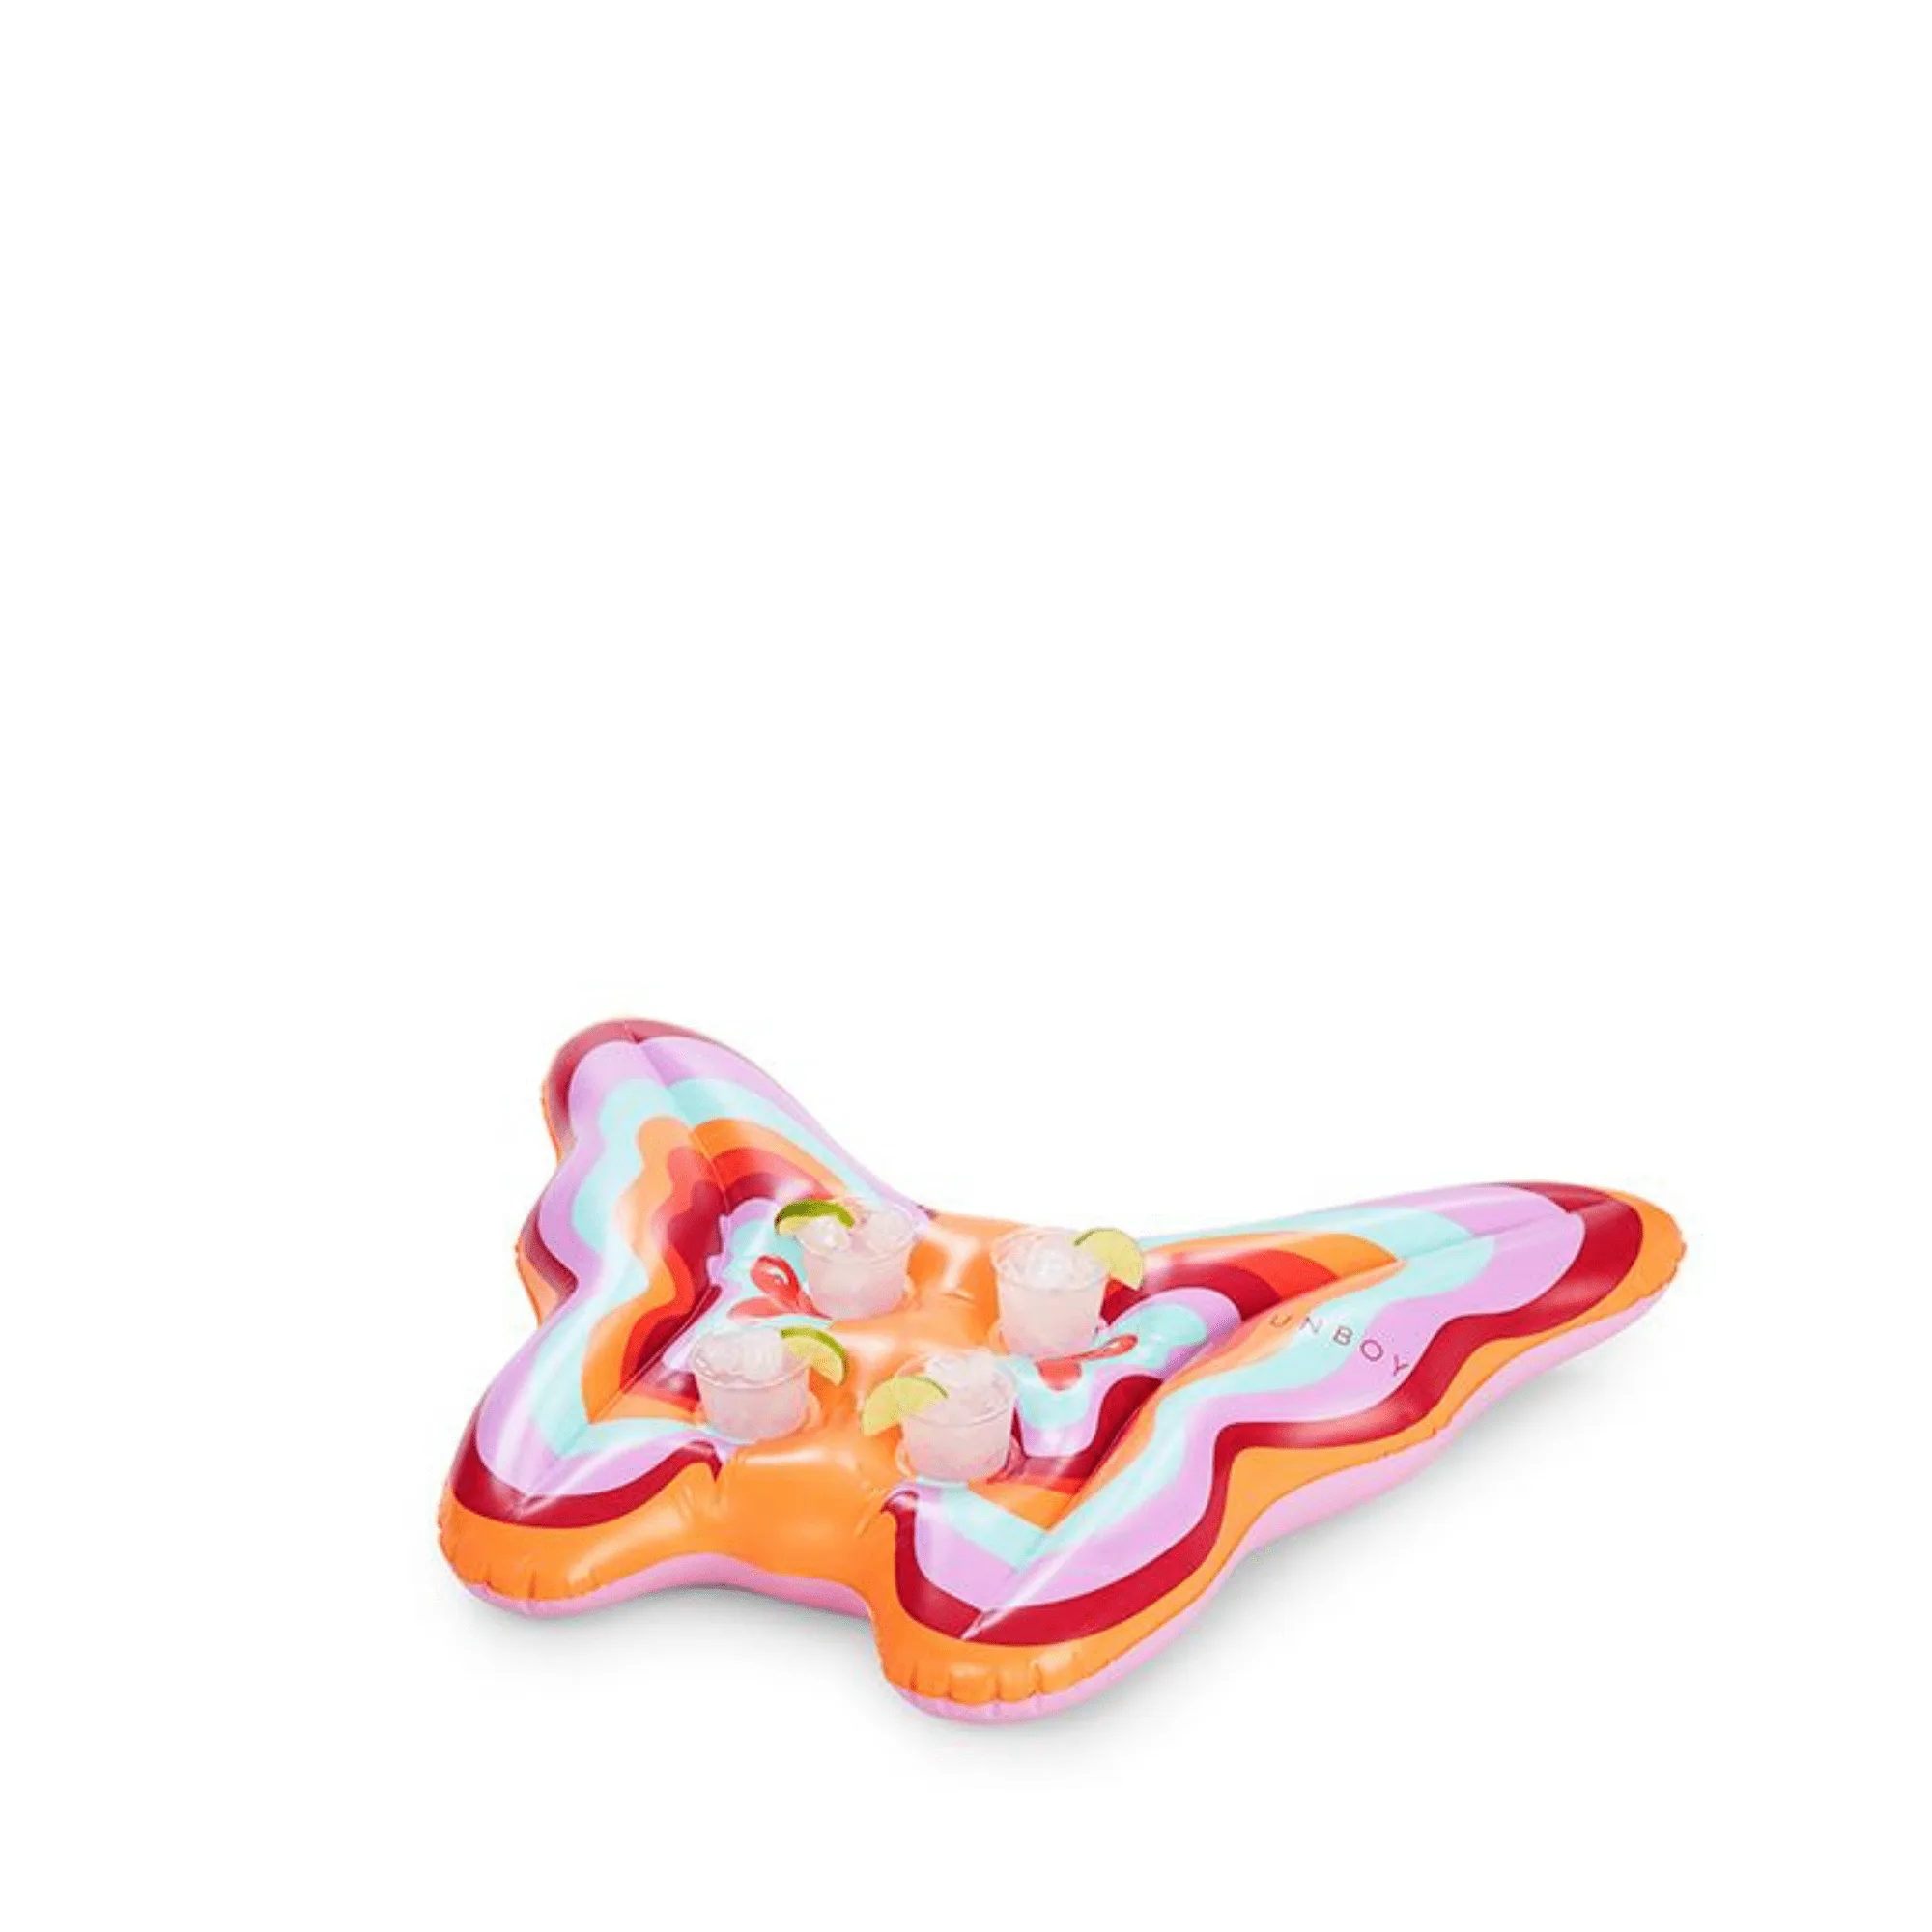
Once anchored, stock your floating bar with drinks, cups, and ice. Use lightweight, unbreakable cups or cans to avoid spills and punctures. If your bar has built-in drink holders, place beverages there first. For extra storage, consider adding a small mesh bag or floating cooler nearby.
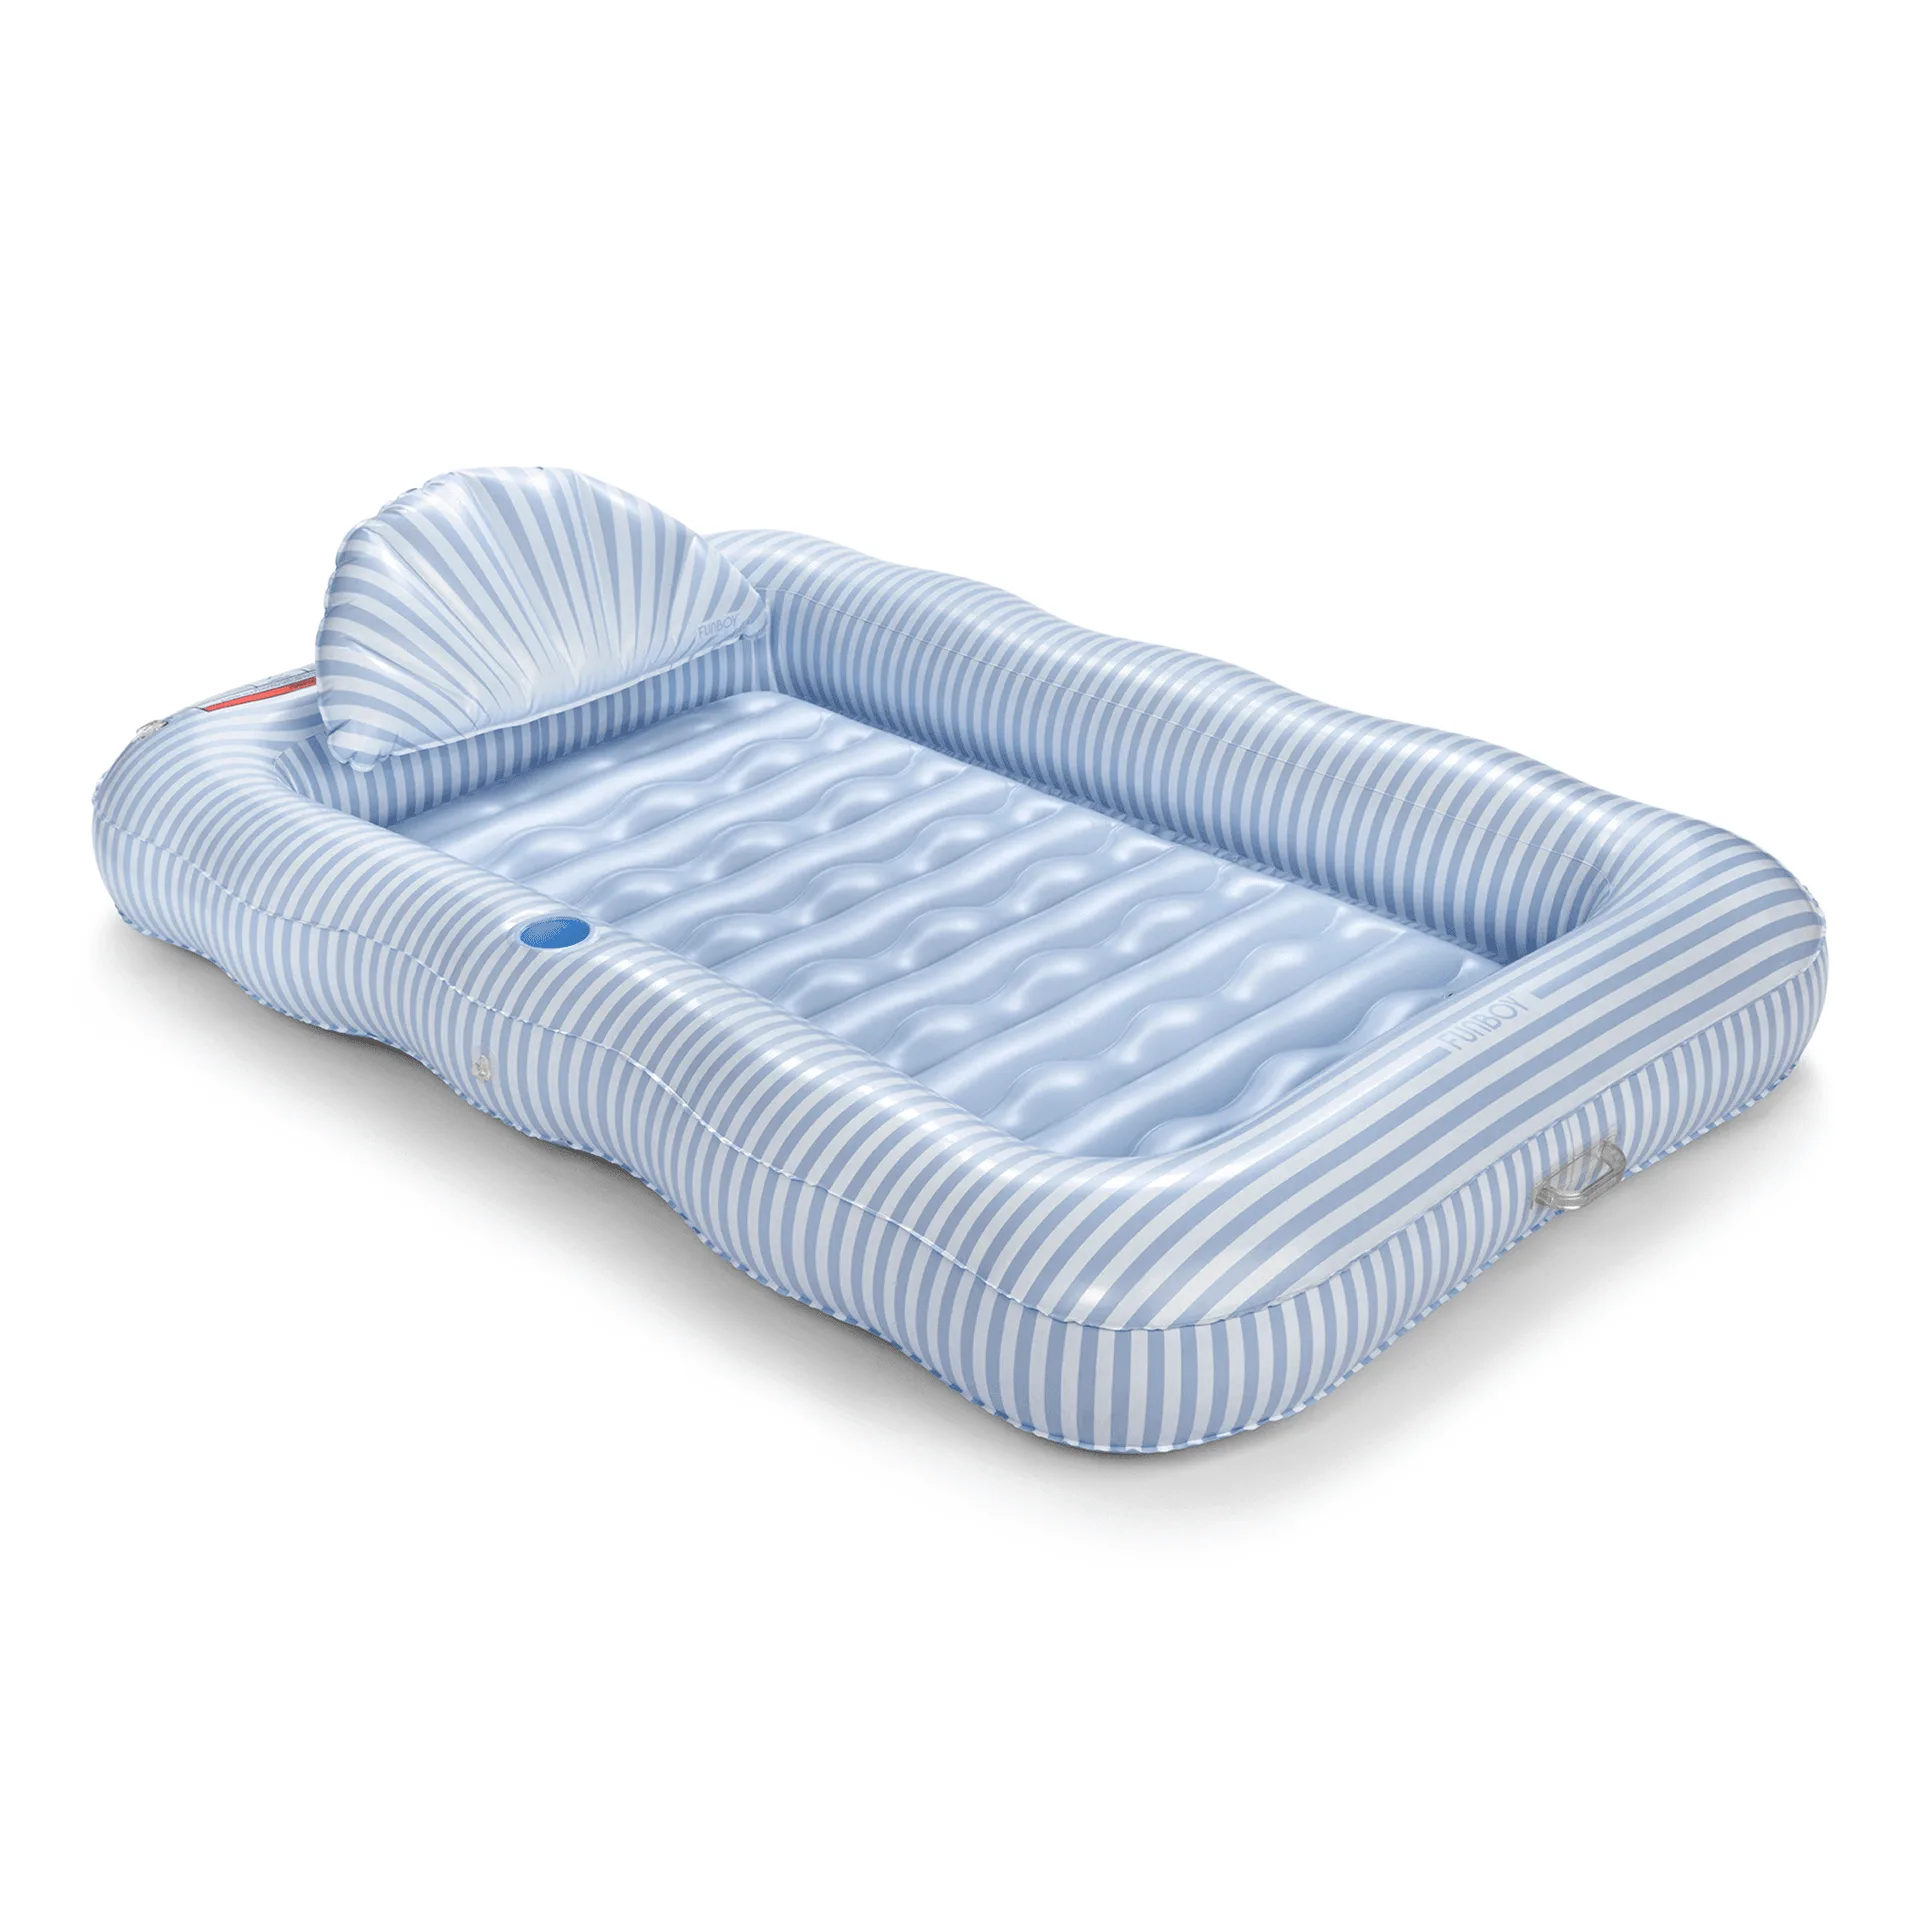
Position a few pool floats like the Leisure Island or Tanning Pool Lounger around the bar so guests can lounge while they sip. This creates a natural social hub without crowding the bar itself. Remind guests not to lean heavily on the bar or use it as a climbing platform, as this can cause tipping or damage.
- Use unbreakable cups and cans to prevent spills and punctures.
- Arrange lounge floats around the bar for easy access.
- Avoid leaning or climbing on the bar to maintain stability.
With the right setup and anchoring, your floating cabana bar becomes the centerpiece of any pool party. Take a few minutes to position it well, inflate fully, and secure it properly—then relax and let the good times flow. Whether you're using a Floating Cabana Bar or another inflatable drink station, these steps will keep your party running smoothly from start to finish.