Quick answer
Attach stabilizer wings to the side panels first for a solid base, then install the upper deck divider on top. Always check for level before tightening hardware.
Why stabilizer wings matter first
The stabilizer wings connect to a panel or storage unit and increase overall stability without blocking visibility. Installing them before the upper deck divider ensures the entire structure doesn't wobble when children reach for items.
A common mistake is skipping the wings to save time. Without them, the upper deck divider can tip forward when loaded unevenly. The wings are medium-sized and designed to work with all Create-A-Space components.
Upper deck divider needs a solid base
The see-thru upper deck divider includes a 48-inch panel, upper posts, and hardware. It requires a 48-inch wide storage unit underneath. If you attach it to a unit that isn't level or lacks stabilizer wings, the acrylic panel may sit crooked.
Pairing it with stabilizer wings is recommended by the manufacturer for safety and alignment. The divider increases functionality by adding an upper shelf without taking extra floor space.
Assembly steps
- Attach stabilizer wings to the storage unit: Position one stabilizer wing on each side of the storage unit or panel. Align the pre-drilled holes with the side connectors and tighten the screws firmly. Do not overtighten, as acrylic can crack under excessive pressure. Check that both wings sit flush against the side before moving on.
- Level the base unit: Use a spirit level on top of the storage unit after the wings are attached. Adjust the feet or shim the base until the bubble is centered. An unlevel base will cause the upper divider to lean. Skip this step and the acrylic panel may sit crooked or stress the hardware.
- Install the upper deck posts: Insert the supplied upper deck posts into the pre-drilled holes on top of the storage unit. Hand-tighten the bolts first, then use a wrench for a snug fit. Do not fully tighten until the panel is in place. Leaving bolts loose now makes final alignment easier.
- Mount the 48-inch acrylic panel: Slide the see-thru panel onto the installed posts. Align the holes on the panel with the post brackets. Insert and tighten all screws. Check that the panel sits evenly from left to right. If the panel rocks, you may need to loosen the posts, adjust, and retighten.
- Final stability check: Gently push the top of the divider from different angles. If it wobbles, verify that the stabilizer wings are fully tightened and the base is level. Add a second set of wings if the unit is unusually tall. A stable unit should not move more than a quarter inch when pushed at the top.
Products used in this guide
-
Create-A-Space™ Stabilizer Wings - Set of 2: Set of two medium stabilizer wings that connect to a panel or storage unit. Works with all Create-A-Space components. Adding these wings first prevents the entire storage unit from wobbling, especially when children access upper shelves.
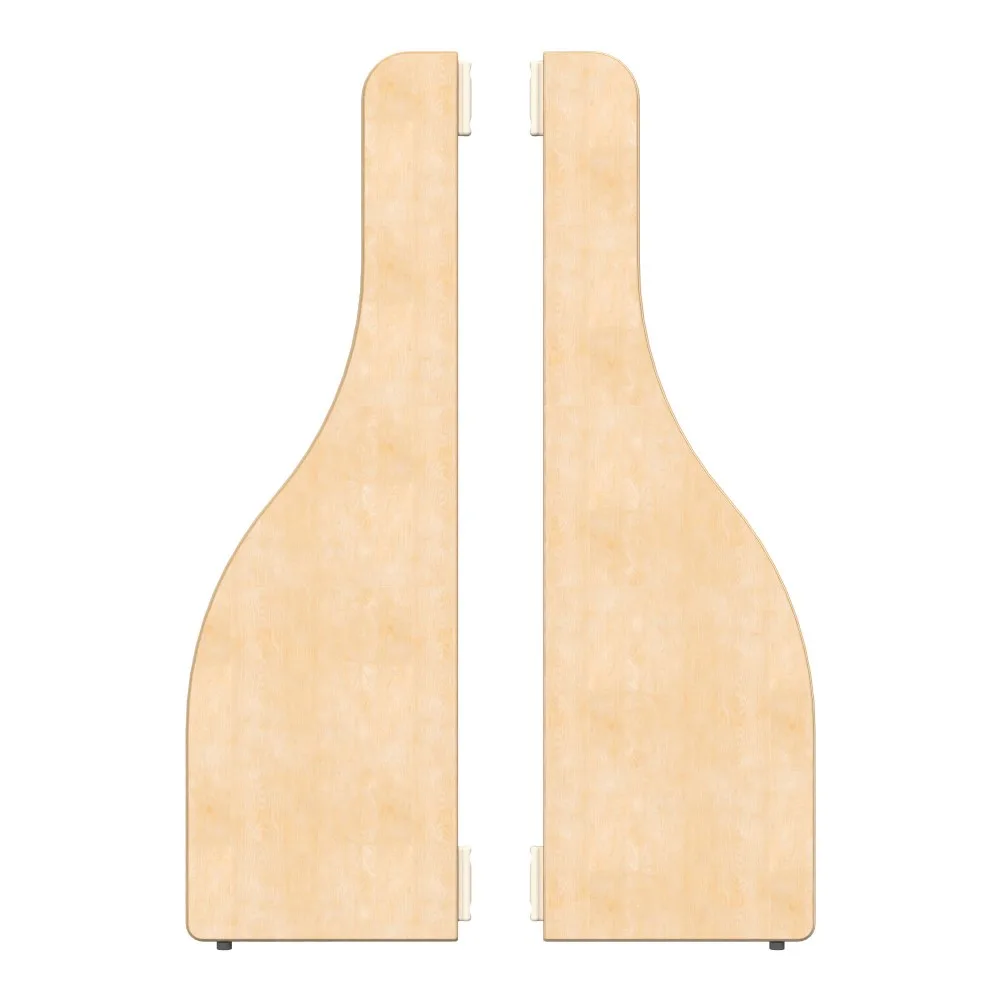
Create-A-Space™ Stabilizer Wings - Set of 2
-
Create-A-Space™ See-Thru Upper Deck Divider: Includes 48-inch acrylic panel, upper posts, and hardware. Requires a 48-inch wide storage unit. Manufacturer recommends pairing with stabilizer wings. The see-thru design lets you display materials without blocking sight lines, but only if the base is stable and level.
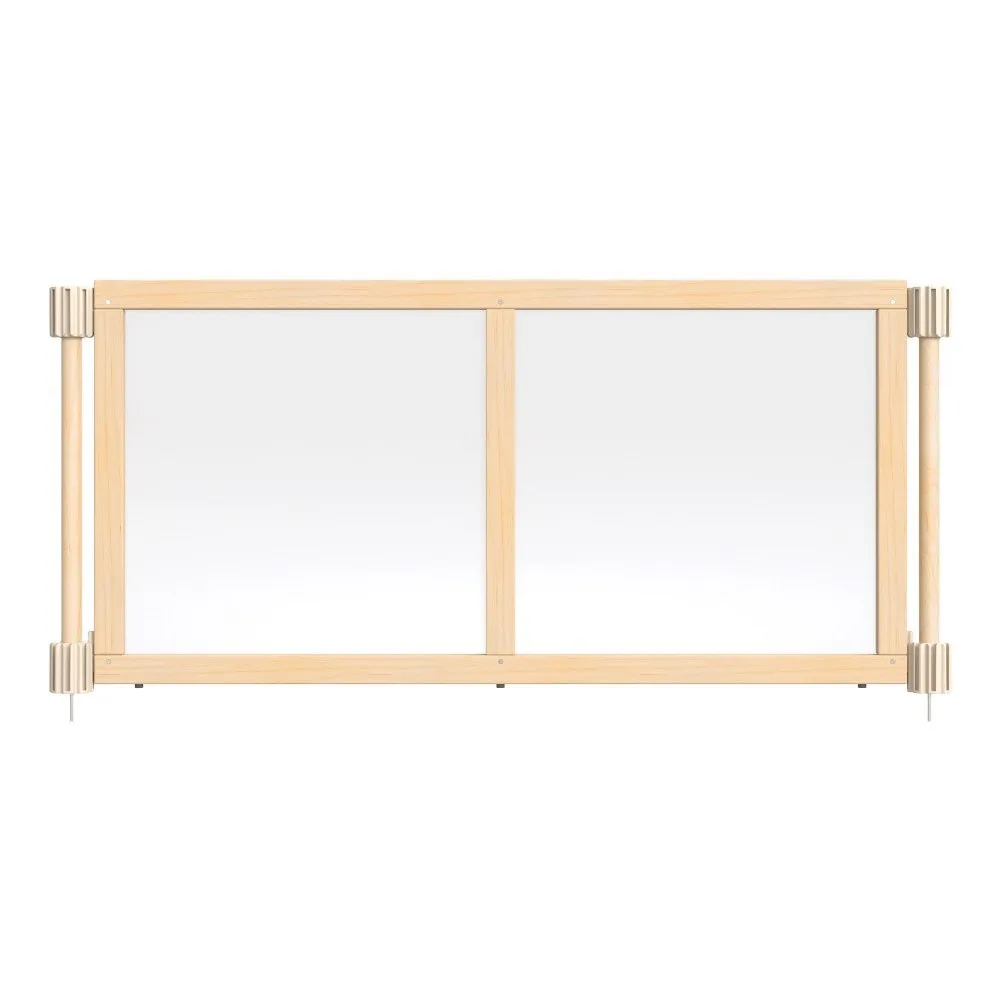
Create-A-Space™ See-Thru Upper Deck Divider