Start with one board and one marker per child
A small-group dry-erase station works best when each child has a personal board and marker within reach. That removes the scramble at the start of a lesson and keeps the group focused on the activity rather than on sharing supplies.
The Magnetic Dry Erase Boards - Set of 10 gives you ten individual boards, each measuring 9" x 12". The boards are dual-functioning: dry-erase on both sides and magnetic on both sides, so children can write, wipe, and use magnetic letters or counters on the same surface. The set is rated for ages 3 years and up.
For markers, the Thin Dry-Erase Markers - 12 Count provides a dozen thin markers, also rated for ages 3 years and up. Thin barrels suit smaller hands and allow more precise writing and drawing than broad markers. Twelve markers cover a group of ten with two spares, or you can split them across two smaller groups.
Set up the station in five steps
- 1. Choose a stable surface at child height: A low table or a dedicated shelf keeps boards and markers accessible without children climbing. Keep the station near your small-group teaching area so you can supervise use.
- 2. Count your boards against your group size: The set of 10 boards supports a group of up to ten children. If your small group is larger, plan to rotate or add another set. If it is smaller, the extra boards can stay in reserve for replacements or parallel activities.
- 3. Assign a home for each board: A simple vertical file, a labeled slot, or a stackable tray keeps the 9" x 12" boards organized and makes cleanup part of the routine. Because the boards are slim, they store easily in narrow spaces.
- 4. Pair each board with a marker: Distribute the 12 thin markers so each child has one, with two kept as spares. Decide in advance where markers live between sessions—a shallow cup or a divided tray works—so they do not roll onto the floor.
- 5. Add the missing extras before the first session: The boards are magnetic, but magnets are not included. If your activity uses magnetic letters or counters, gather those separately. The marker set also does not include an eraser or a board, so supply erasers or wipes for each table. The marker listing notes that the board and eraser are sold separately.
What the board set gives you
-
Magnetic Dry Erase Boards - Set of 10: Set of 10 boards, each 9" x 12", dry-erase and magnetic on both sides. Ten individual boards match a typical small-group size, and the double-sided magnetic surface lets you switch between writing and magnet activities without swapping materials.
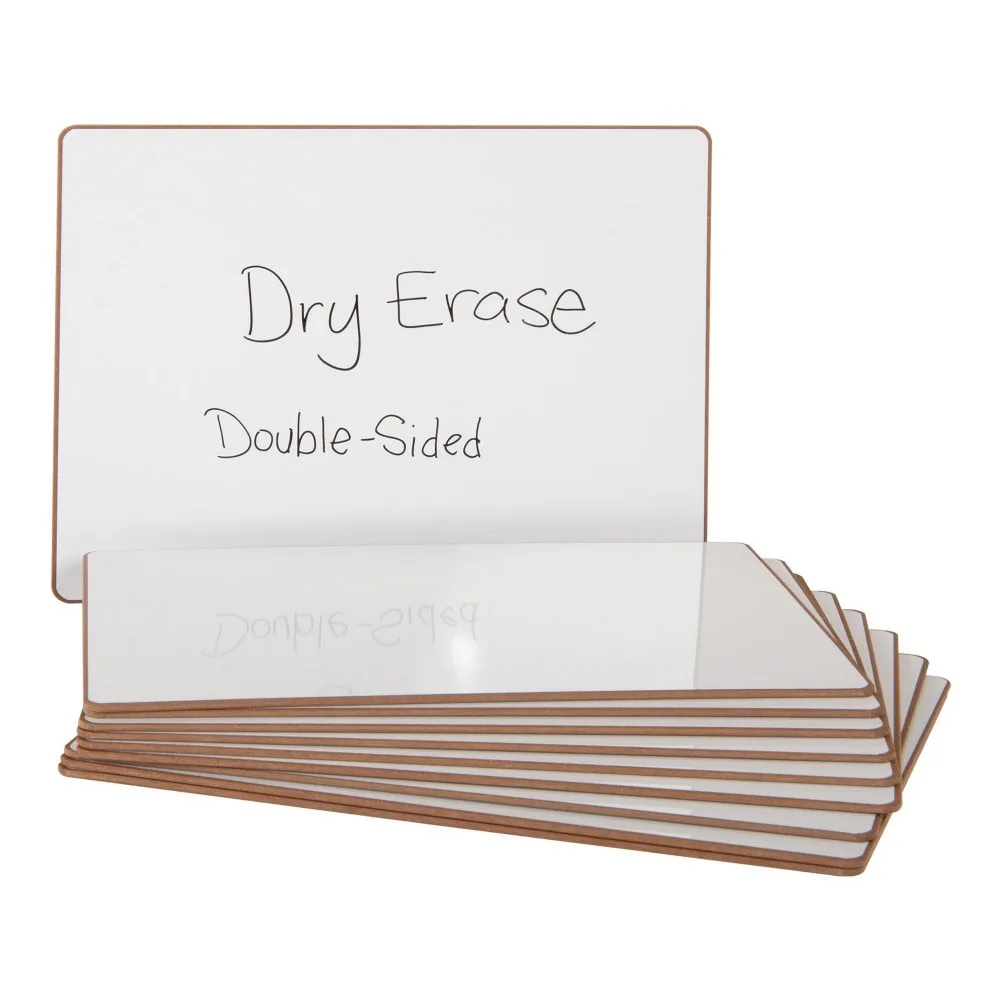
Magnetic Dry Erase Boards - Set of 10
-
Magnetic Dry Erase Boards - Set of 10: Rated for ages 3 years and up; magnets are not included. The age rating fits preschool and early elementary groups, but you must supply your own magnetic letters or counters if you plan to use the magnetic side.
What the marker set covers
-
Thin Dry-Erase Markers - 12 Count: 12 thin dry-erase markers, rated for ages 3 years and up. Twelve markers give you one per child for a group of ten plus two spares, and the thin size is suited to individual whiteboard work.
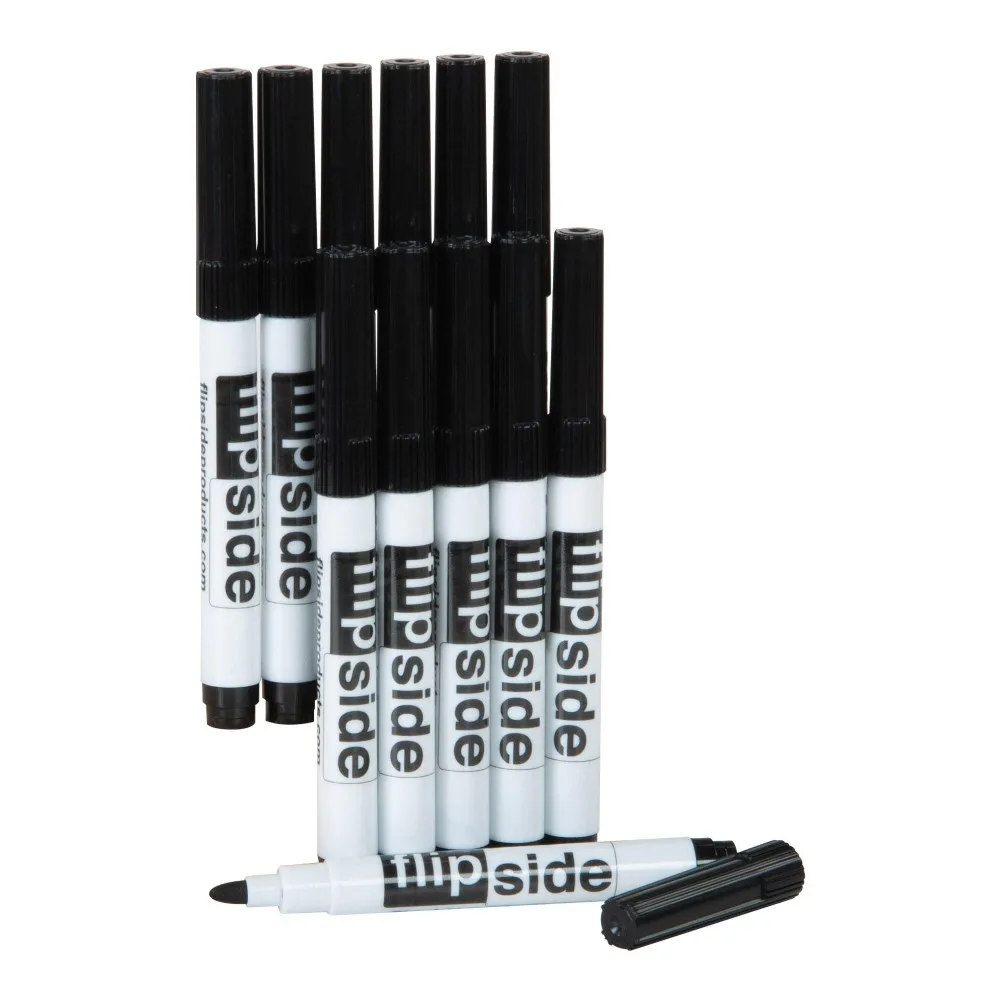
Thin Dry-Erase Markers - 12 Count
-
Thin Dry-Erase Markers - 12 Count: Board and eraser are sold separately. Budget for erasers or wipes alongside the markers so the station is ready to use on day one.
Organize the station so cleanup is quick
A small-group whiteboard station stays usable when every item has a visible home. These choices keep transition time short and reduce lost supplies.
- Label board slots by group or child: Permanent labels or name cards help children return boards to the right place and make it easy to see at a glance if one is missing.
- Keep markers in a shallow tray: A tray with dividers prevents markers from rolling and lets you count them at the end of each session. Store caps on tightly to keep thin markers working.
- Place erasers or wipes at each table: Since erasers are not included with either product, set out one eraser or a stack of wipes per table so children can reset their boards independently.
- Store magnetic accessories in a closed bin: If you add magnetic letters or counters, keep them in a labeled container near the boards. Check the bin after each session so small pieces do not migrate.
Decisions the catalog does not answer
The supplied product information does not specify marker ink type, whether the markers are low-odor or washable, or the exact materials of the board surface. It also does not include a recommended cleaning procedure beyond the dry-erase and magnetic functions. Check the packaging or manufacturer guidance for those details before relying on a particular cleaning product or ink type.
The boards are described as having impressive durability, but no warranty or lifespan is supplied. Treat that as a general quality note rather than a guarantee. The marker set does not state an ink volume or expected lifespan, so plan your reorder point by watching how quickly your group uses them.
Which setup fits your group?
- One set of 10 boards plus 12 markers: Best for a single small group of up to ten children. You get a board for each child and two spare markers. Add erasers and any magnetic accessories separately.
- Two sets of boards plus one marker set: Useful if you run two small groups back to back or want reserve boards. The single marker set gives 12 markers total, so you would need to decide whether to split markers between groups or add a second marker set.
- One board set with a mixed-age group: The 3 years and up rating applies to both products. For groups that include children under 3, keep the station out of reach and use it only with older children unless your own supervision plan says otherwise.