Quick answer
Put the rack on a stable, ventilated counter within arm's reach of the sink, set the pegs to match what you wash most often, and load bottles upside down with small parts on the pegs so water drains instead of pooling.
Why placement decides how well the rack works
A drying rack only performs as well as the air around it. A spot beside the sink keeps the wash-to-dry handoff short, so you are less tempted to leave bottles sitting in the sink basin. Direct sunlight and open counter space help moisture leave the rack, while a closed corner or a spot under upper cabinets traps humid air.
Keep the rack out of the splash zone. Water flicked from the faucet or splashed from a soaking pan can land on supposedly clean gear. A few inches of separation from the sink edge is enough, and it also stops the rack's base from sitting in a puddle.
Match the peg layout to what you actually wash
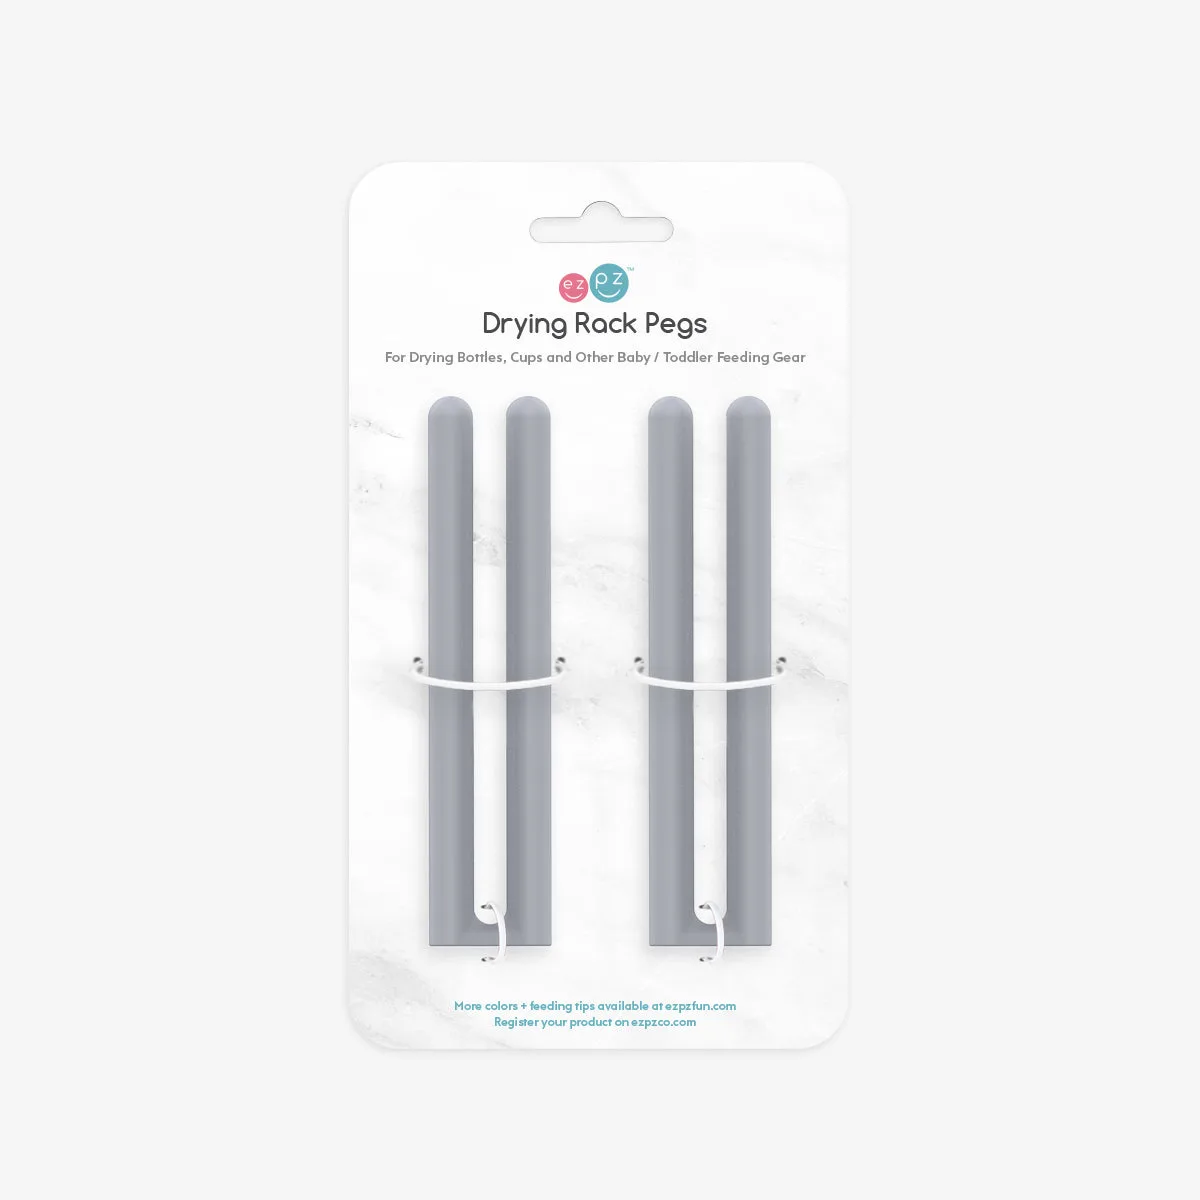
Removable pegs are the feature that makes a rack useful beyond one bottle brand. Bottle nipples, collars, and valves need short upright pegs; wide bowl rims and plate edges need open space or a flat drying surface. If you rearrange every time you wash, the rack is set wrong for your routine.
Think about your daily load rather than the occasional big wash. A household that washes four bottles a day needs four stable bottle positions and a handful of peg spots for small parts. A household mostly washing plates and cups needs more flat area and fewer tall pegs.
When a counter rack is the wrong choice
A counter rack is a poor fit if your kitchen has almost no free counter space or if you routinely wash gear in a bathroom or utility sink. In those cases, a rack that fits inside the sink or a hanging drainer may suit you better. Also skip an open rack if you need gear fully enclosed between washes; an open rack keeps air moving but does not seal contents away.
Step-by-step rack setup
- Clear and level the counter spot: Choose a stable, ventilated area near the sink but outside the splash zone. Wipe the counter dry and set the rack mat down flat. Check that the mat does not overhang the counter edge. Common mistake: placing the rack on a dish towel, which stays damp and keeps the base wet. Press the mat at each corner; any rocking means the spot is not level enough.
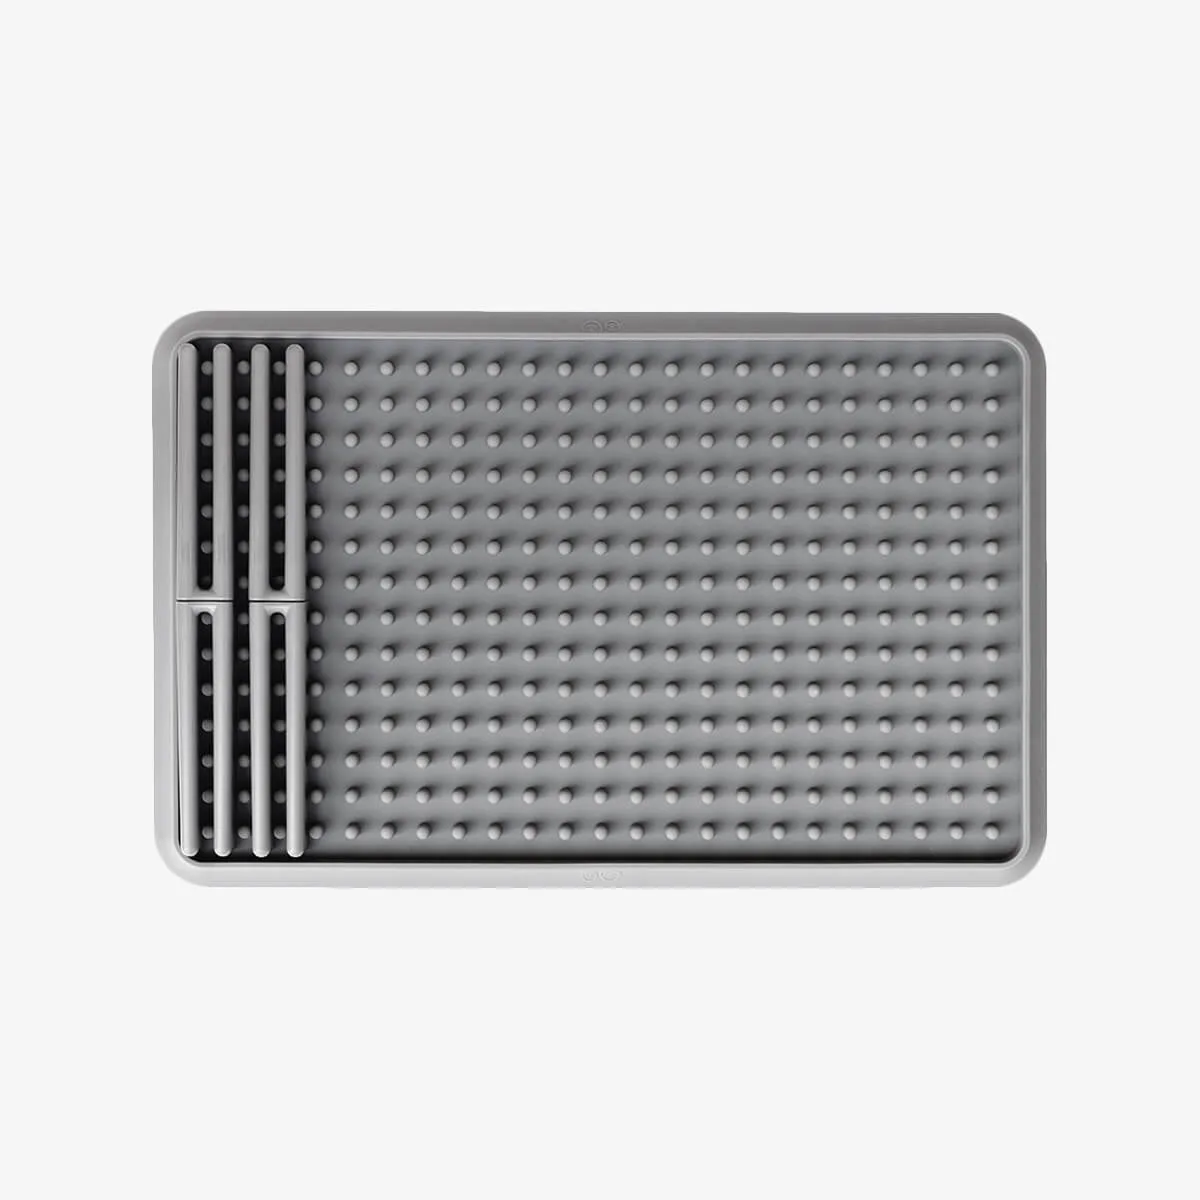
- Install only the pegs you need: Insert pegs into the mat positions that match your daily load: upright pegs for nipples, valves, and collars, open mat space for bowls and plates. Leave gaps between pegs so items do not touch. Common mistake: filling every peg slot, which crowds parts and blocks airflow. If two items touch while drying, remove a peg and respace.
- Load bottles upside down first: Place washed bottles mouth-down over a peg or in a bottle position so water drains out. Keep bottle bodies apart from each other. Common mistake: standing bottles upright to save space, which traps water inside and slows drying. Check that no bottle mouth is resting flat against the mat, which seals off drainage.
- Add small parts on the pegs: Push nipples, collars, and valves onto pegs so openings face down or sideways and water can run off. Keep valves and other tiny pieces from nesting inside each other. Common mistake: stacking small parts in a pile on the mat, where water pools between them. Give each small part its own peg or its own clear patch of mat.
- Leave breathing room and check after an hour: Do not pack the rack tight against a wall, backsplash, or other appliances. After about an hour, tilt any item that still holds a visible water bead and reposition it. Common mistake: leaving gear on the rack indefinitely once it looks dry on top. Turn bottles and thick parts once during drying so trapped moisture escapes.
- Reset the station after each wash: Once gear is fully dry, move it to storage and wipe the mat and pegs dry before the next load. Wash the mat and pegs with dish soap regularly, and check peg holes for trapped residue. Common mistake: letting the mat stay wet between loads, which leaves a film and a damp base. A dry mat at the start of each load is the simplest sign your station is working.
Product facts
-
Drying Rack (Single Pack): The ezpz Drying Rack includes one mat and four removable pegs, and it is designed to dry and store essential baby and toddler gear, including ezpz products. Four pegs cover a typical small load of nipples, valves, and collars, and the removable design lets you clear peg space when you need to dry plates or bowls flat.
Drying Rack (Single Pack)