Sitting for long hours has become the norm in many offices and home setups, but it comes with a hidden cost: back pain, neck strain, and reduced energy. An ergonomic workspace is not just a luxury—it’s a necessity for anyone who spends significant time at a desk. By integrating a standing desk into your routine, you can transform your work environment into a healthier, more productive space.
This guide will walk you through the essential steps of standing desk setup, from monitor height to foot support, and highlight accessories that make the transition seamless. Whether you are a remote worker or a seasoned office professional, these desk ergonomics tips will help you build a workspace that supports your body and your workflow.
Why Ergonomic Workspace Matters
An ergonomic workspace is designed to fit your body's natural posture, reducing strain on muscles, joints, and the spine. Poor ergonomics can lead to chronic pain, carpal tunnel syndrome, and decreased productivity. By adjusting your desk, chair, and equipment to align with your body, you can prevent discomfort and maintain focus throughout the day.
Standing desks offer a dynamic alternative to traditional seated desks. They allow you to alternate between sitting and standing, which improves blood circulation, burns more calories, and reduces the risk of sedentary-related health issues. However, simply owning a standing desk is not enough—you must set it up correctly to reap the full benefits.
- Reduce back and neck pain by aligning your spine
- Improve energy and concentration with movement
- Lower risk of obesity, heart disease, and diabetes
Step 1: Positioning Your Standing Desk at the Correct Height
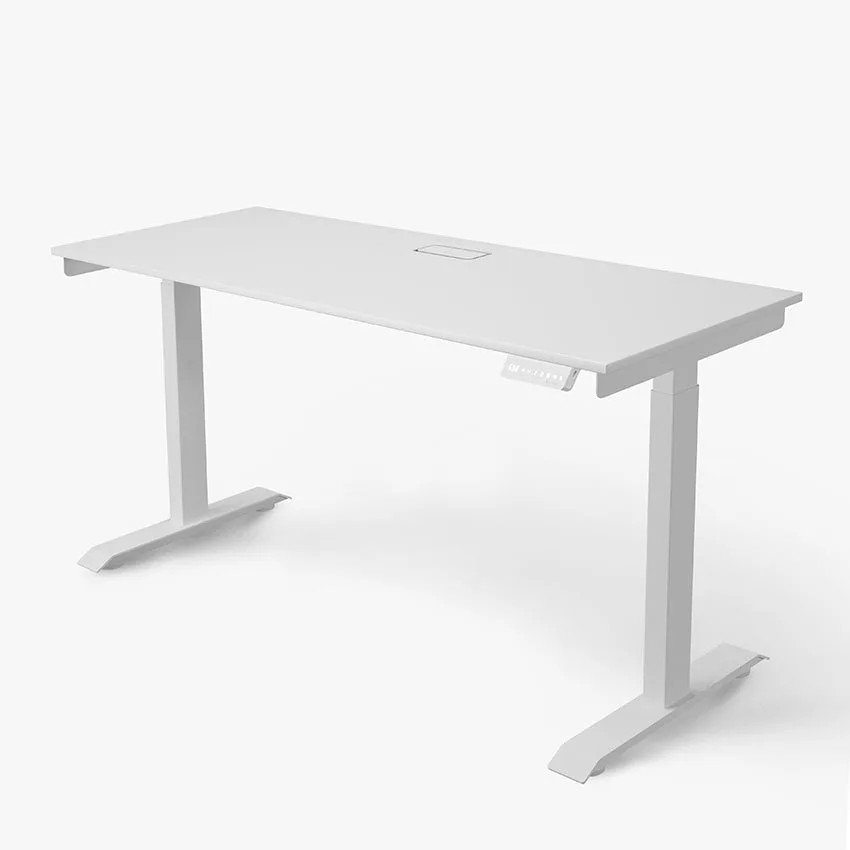
The foundation of any standing desk setup is the desk height. When standing, your elbows should be bent at a 90-degree angle, with your forearms parallel to the floor. Your wrists should remain straight while typing. For most people, this means the desk surface should be at or slightly below elbow height.
If you are using a fixed height desk, ensure it matches your standing elbow height. For adjustable models, start with the desk at a height where your hands rest comfortably on the keyboard. Remember to adjust when switching between sitting and standing—your seated elbow height will be different.
- Measure elbow height while standing with relaxed shoulders
- Use a tape measure to find the ideal desk height
- Adjust the desk in small increments until comfortable
Step 2: Monitor and Screen Placement for Neutral Neck Posture
Your monitor should be positioned directly in front of you, about an arm's length away. The top of the screen should be at or slightly below eye level. This prevents you from tilting your head up or down, which can strain the neck and shoulders. If you use a laptop, consider a separate monitor or a laptop stand.
For dual-monitor setups, place the primary screen directly in front and the secondary screen at a slight angle. Use monitor arms or risers to achieve the correct height. A good rule is to keep your gaze slightly downward—about 15 to 20 degrees—to maintain a neutral cervical spine.
- Position the monitor at arm's length to reduce eye strain
- Use a monitor stand or riser if needed
- Keep the screen brightness comfortable for your environment
Step 3: Keyboard and Mouse Position for Healthy Wrists
Your keyboard and mouse should be placed on the same surface, close enough to avoid reaching. When typing, keep your wrists straight and your hands at or slightly below elbow level. A negative tilt (keyboard sloping away from you) can help maintain a neutral wrist position.
Consider using a wrist rest or a gel pad to reduce pressure on the carpal tunnel. The mouse should sit beside the keyboard, at the same height. If you find yourself extending your arm to reach the mouse, bring it closer. An ergonomic mouse can also help reduce strain.
- Keep keyboard and mouse at the same height
- Use a wrist rest to support your palms
- Avoid bending your wrists up or down while typing
Step 4: Foot Support and Anti-Fatigue Mats
When standing for long periods, your feet and lower back can become fatigued. An anti-fatigue mat provides cushioning and encourages micro-movements that improve circulation. Place the mat on the floor where you stand, and ensure it is large enough to allow shifting weight from one foot to the other.
If you use a footrest, position it under your desk so you can alternate between resting one foot on it and standing flat. This helps reduce pressure on the lower back. Avoid locking your knees—keep them slightly bent to maintain blood flow.
- Invest in a high-quality anti-fatigue mat
- Use a footrest to vary your posture
- Stand on a firm, level surface for stability
Step 5: Essential Accessories for a Complete Ergonomic Setup
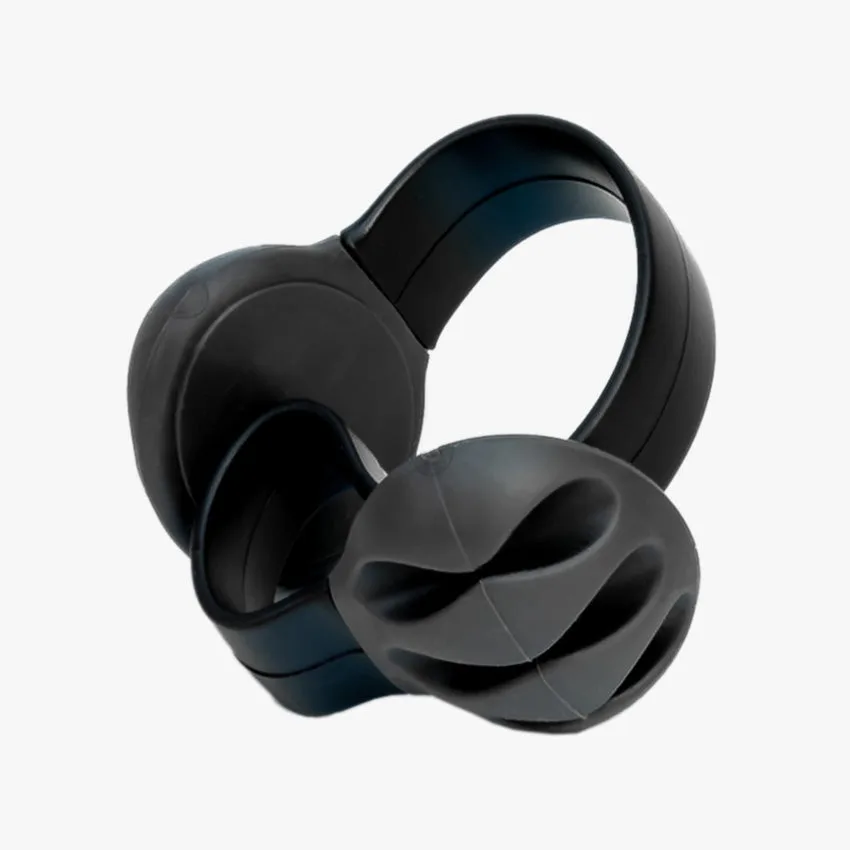
To truly optimize your ergonomic workspace, consider adding accessories that enhance comfort and organization. Cable management tools, such as the Omnidesk Cable Clip, keep cords tidy and prevent tripping hazards. For audio needs, the Creative Stage V2 offers clear sound without cluttering your desk, while the Edifier MR4 Powered Studio Monitor Speakers deliver studio-quality audio for immersive work sessions.
If you need more screen real estate, a monitor arm or a desk riser like the Lift Classic Desk Riser can elevate your display to the perfect height. A PC Mount helps free up floor space by securing your tower under the desk. These additions make your setup more efficient and reduce clutter, allowing you to focus on your tasks.
- Use cable clips to manage wires
- Add a monitor arm for flexible screen positioning
- Consider a desk riser for easy height adjustment
Step 6: Movement and Posture Habits Throughout the Day
Even with the best ergonomic setup, staying in one position for too long can cause discomfort. Alternate between sitting and standing every 30 to 60 minutes. Use a timer or a smart reminder to prompt you to change posture. While standing, shift your weight, take small steps, or stretch your arms and shoulders.
Incorporate simple desk stretches: roll your shoulders, turn your head side to side, and extend your wrists. Standing desk converters or risers can help if you have a fixed desk. Remember, movement is key to a healthy workspace.
- Set a timer to remind you to switch positions
- Do shoulder rolls and neck stretches every hour
- Take a short walk during breaks to reset posture
Building an ergonomic workspace with a standing desk is an investment in your long-term health and productivity. By following these steps—adjusting desk height, monitor placement, and adding the right accessories—you can create a setup that keeps you comfortable and focused. Start your journey today by exploring the Creative Stage V2 for crisp audio that complements your workspace, and enjoy a healthier, more dynamic work routine.