Quick answer
To set up the Itsuka Tarp in different configurations, start by clearing a flat area and laying the tarp out. Attach guy lines to all reinforced points, then raise the ridge line using two poles for an A-frame, or anchor one end low for a lean-to. Adjust stake angles and tension as you go. The key is to pitch the tarp according to the weather and your space, not to force one shape.
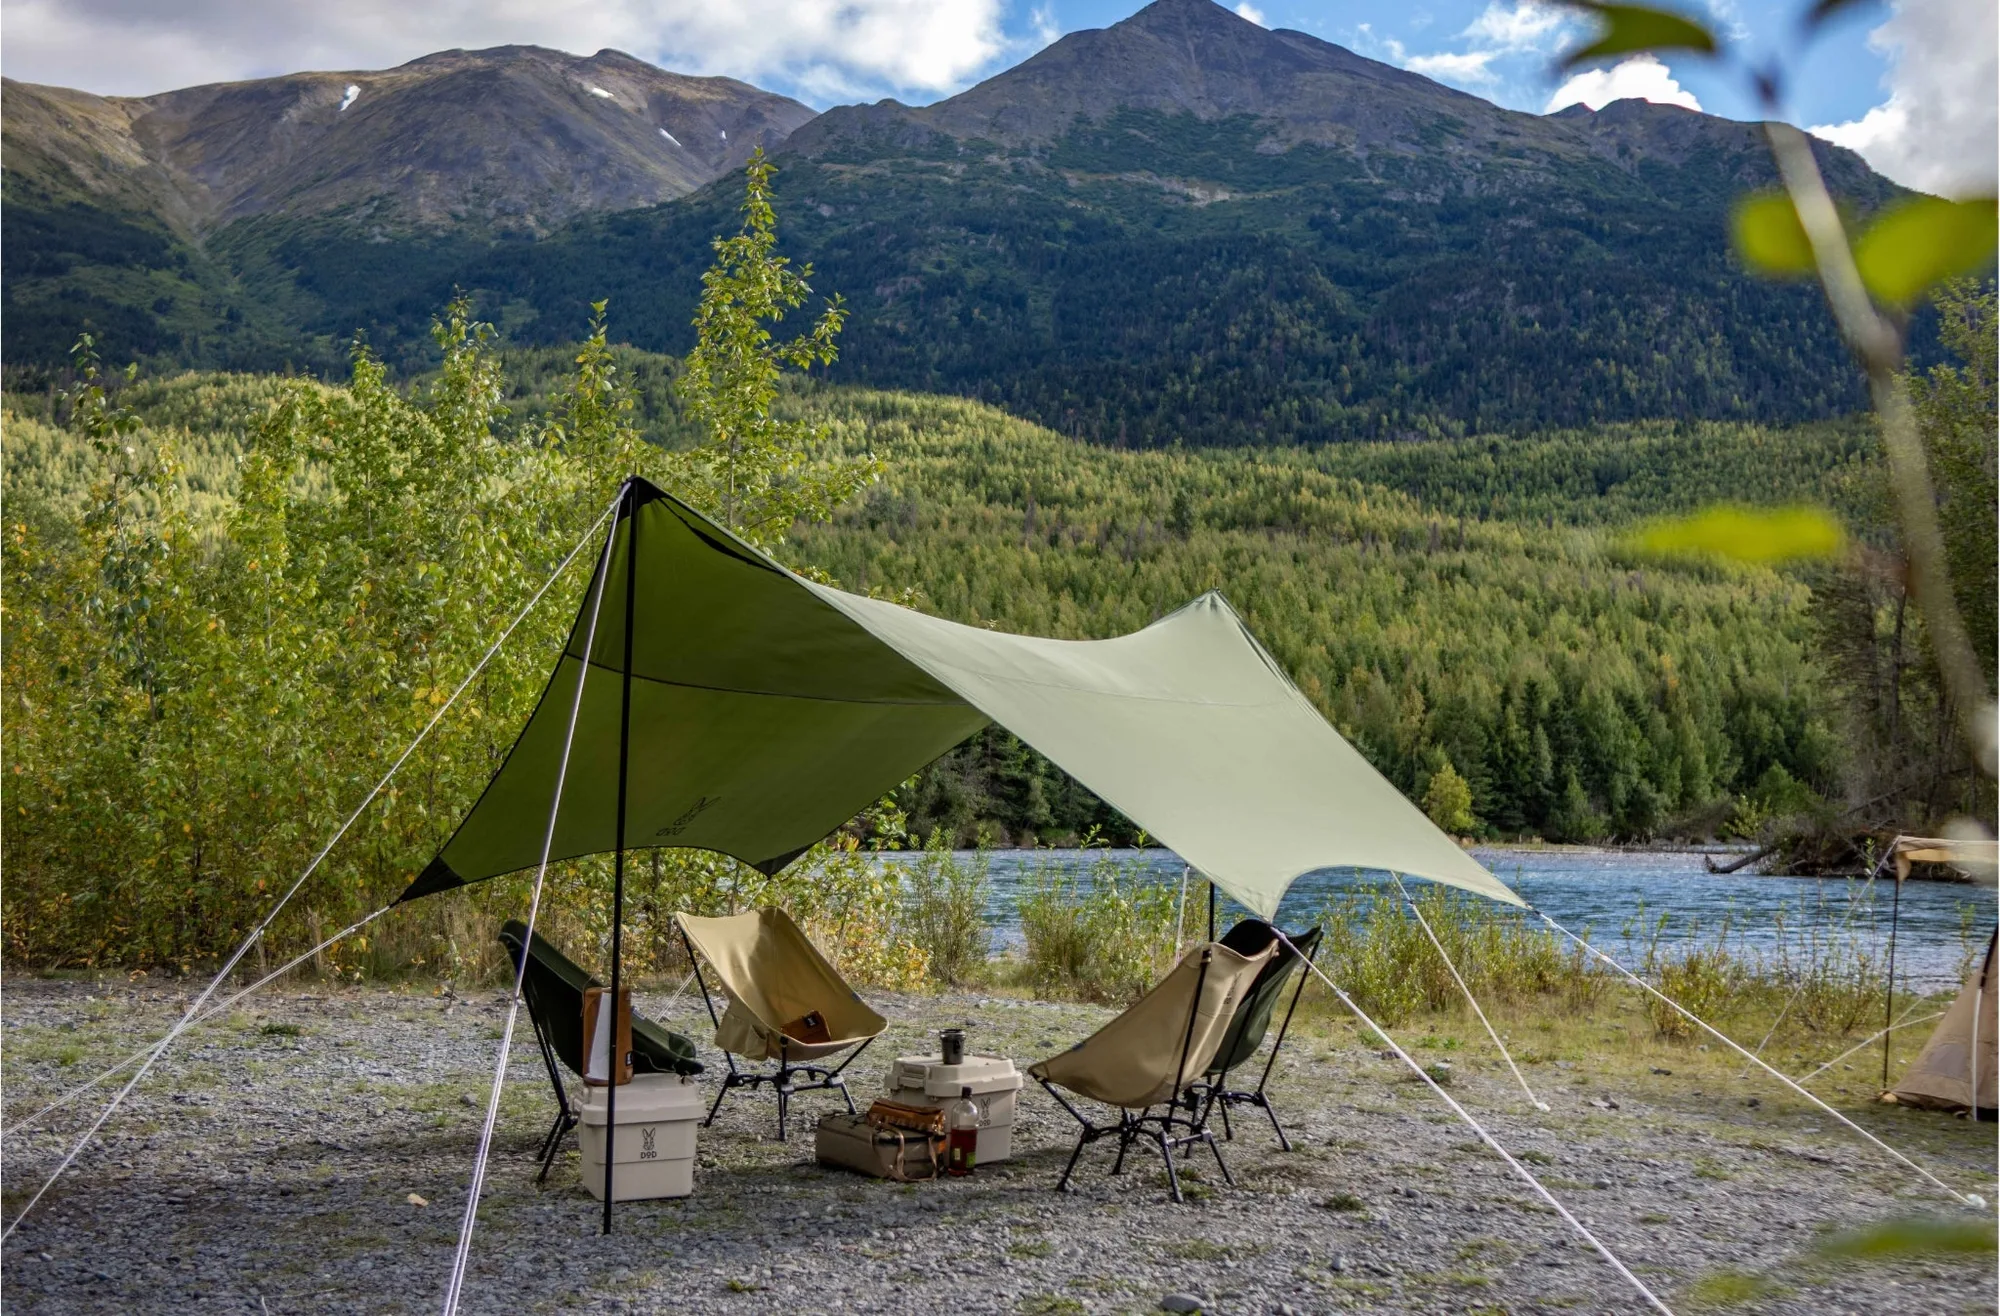
Itsuka Tarp
The Itsuka Tarp is a versatile shelter, but its real value comes from how you pitch it. Different configurations handle sun, rain, and wind in different ways, and the right setup depends on your campsite and the conditions. This guide walks you through the process step by step, so you can adapt the tarp to your needs instead of struggling with a single fixed shape.
Before you start, gather your tarp, poles, guy lines, and stakes. A good stake set makes a noticeable difference: the Shakeen Peg Set includes 8 pegs in either Large (11 inches) or Medium (8 inches) sizes, made from high-hardness stainless steel. They are lightweight but strong enough for most ground, and having enough pegs means you can anchor every point properly.

Shakeen Peg Set
Choose your configuration before you unpack
The Itsuka Tarp can be pitched in several ways, but the two most common are the A-frame and the lean-to. The A-frame uses two upright poles at the center or ends, creating a peaked roof that sheds rain well and gives you headroom. The lean-to uses one raised side and one side staked low to the ground, which blocks wind and offers shade from a low sun.
Think about what you need most: rain protection, shade, or wind blocking. An A-frame is the most weather-resistant for rain, while a lean-to is better for wind and low-angle sun. If you are expecting changing conditions, you can also pitch a modified A-frame with one side lower to the ground. Decide before you start hammering stakes, because moving a fully pitched tarp is more work than starting with the right shape.
- Check the wind direction first; pitch the lowest edge into the wind.
- For rain, make sure the roof slope is steep enough to shed water.
Prepare the ground and lay out the tarp
Clear the area of rocks, sticks, and sharp objects that could damage the tarp. Lay the Itsuka Tarp flat with the inside facing up, so you can see the attachment points. If the ground is uneven, position the tarp so the lowest point is where water would naturally drain away, not toward your sleeping area.
Attach guy lines to all reinforced points before you raise the tarp. Use a simple taut-line hitch or a loop that you can adjust later. At this stage, do not tighten anything fully; you want room to adjust as the shape comes together. If you are using the Shakeen Peg Set, have the pegs ready but do not drive them in yet, because you may need to reposition them.
- Lay the tarp out on a groundsheet or clean surface to avoid picking up debris.
- Keep guy lines untangled by daisy-chaining or wrapping them loosely.
Raise the main poles for an A-frame
For an A-frame, place one pole at each end of the ridge line, or at the center if you are using a single pole. Insert the pole tips into the grommets or reinforced points at the ridge. If you are using two poles, have a helper hold one while you raise the other, or stake the corners loosely first to keep the tarp from blowing away.
Once both poles are upright, adjust the height. A higher pitch gives more headroom but less rain protection; a lower pitch sheds rain better but you may need to crouch. A common mistake is to extend the poles fully before attaching the guy lines, which can make the tarp flap and twist. Raise the poles partway, attach the lines, then extend to your desired height.
- If you are alone, stake the four corners loosely before raising the poles.
- Keep the pole tips from punching through the tarp by using the correct grommet.
Stake out the corners and tension the guy lines
Start with the corners that are furthest from the wind, then work your way around. Drive stakes at a 45-degree angle away from the tarp, so the guy lines pull against the stake's length rather than pulling it out. For the Shakeen Peg Set, the Large 11-inch pegs work well in soft or loose ground, while the Medium 8-inch pegs are fine for firmer soil.
Tension the guy lines gradually, alternating sides to keep the tarp centered. Do not over-tension one line before the others are attached, as this can distort the shape and put stress on a single point. The tarp should be taut but not drum-tight; a little give helps it shed wind. Check that the ridge line is straight and the roof panels are smooth, not wrinkled.
- Use a stake driver or a rock to set pegs without bending them.
- If a stake pulls out, move it further out and angle it more.
Adjust for a lean-to or other configurations
To switch to a lean-to, lower one entire side of the tarp to the ground and stake it down, while keeping the opposite side raised on poles. This creates a sloped wall that blocks wind and rain from one direction. You can also pitch a modified A-frame by lowering one side to the ground and keeping the other side raised, which gives you a covered area with an open view.
If you need a more open shelter for shade, raise both sides and leave the ends open. For a fully enclosed option, stake all sides low and use the tarp as a groundsheet or emergency bivy. The Itsuka Tarp is designed to adapt, so experiment with different angles. A common mistake is to stake everything down before testing the shape; leave the final tensioning until you have the basic form.
- For strong wind, pitch the lowest edge into the wind and reinforce with extra guy lines.
- In hot weather, raise the sides for maximum airflow.
Check stability and make final adjustments
Walk around the tarp and check every guy line and stake. Look for any line that is slack or any stake that is loose. Tighten as needed, but keep the tarp's shape symmetrical. If rain is expected, make sure water will run off and not pool in a low spot. You can also add a drip line or a small trench around the perimeter if the ground allows.
Finally, test the shelter by gently pushing on the poles and the roof. It should feel solid but not rigid. If it moves too much, add extra guy lines or stakes. If it feels overly tight, loosen the lines slightly to avoid damaging the tarp. Once you are satisfied, you can set up your sleeping area or seating underneath. The Sugoi Chair is a good option for inside a larger tarp setup, because its height and angle adjust to different seating positions, so you can sit comfortably whether you are cooking, eating, or relaxing.
- After a few hours, re-tension the guy lines as the tarp settles.
- In windy conditions, check stakes periodically and add more if needed.
Step-by-step Itsuka Tarp setup
- Pick your pitch: Decide between A-frame, lean-to, or a modified shape based on weather and space. Checkpoint: The lowest edge should face the wind.
- Lay out and attach lines: Clear the ground, lay the tarp flat, and attach guy lines to all reinforced points. Do not tighten anything yet.
- Raise the poles: Insert pole tips into the ridge grommets and raise partway before attaching lines. A common mistake is extending poles fully before lines are attached.
- Stake and tension: Drive stakes at a 45-degree angle and tension guy lines gradually, alternating sides. Checkpoint: The tarp should be taut but not drum-tight.
- Adjust for conditions: Lower one side for wind, raise sides for airflow, or add extra lines for stability. Re-tension after a few hours as the tarp settles.
Gear that helps with tarp setups
- Shakeen Peg Set: Available in Large (11 inches) and Medium (8 inches) sizes, each set includes 8 pegs made from high-hardness stainless steel, providing strength while remaining lightweight. Having the right stake length for your ground conditions keeps your tarp anchored, and the lightweight stainless steel is easy to carry.
- Sugoi Chair: The Sugoi Chair adjusts to all seating positions, so you can change the height and angle to suit different activities. Inside a tarp shelter, being able to adjust your seating position means you can sit comfortably for meals, reading, or tending a fire without moving the chair.
Setting up the Itsuka Tarp in different configurations is mostly about reading the conditions and adjusting as you go. Start with the shape that matches the weather, stake it out properly, and fine-tune the tension. With a little practice, you can pitch it quickly and enjoy a reliable shelter for any camping trip.