Quick answer
Set up your Keter Unity XL outdoor kitchen cart by choosing a level, shaded spot near your grill, assembling it on a soft surface, then organizing tools and accessories so everything you need is within arm's reach. The cart's weather-resistant resin and stainless steel top are built for outdoor use, but a little planning during setup makes it far more useful. Follow the steps below to avoid common mistakes and get cooking faster.
Pick a level, shaded spot close to your grill
Place the cart on a flat, stable surface like a concrete patio or composite deck. Avoid grass or dirt, which can shift and make the cart wobble. Position it within a step or two of your grill so you can move food and tools without walking back and forth. If your patio gets full afternoon sun, consider a spot with partial shade to keep the stainless steel top from getting too hot to touch. Also check that the cart won't block walkways or doors. A good rule: leave at least 3 feet of clearance around all sides for easy access.
Assemble on a soft surface and follow the manual order
Unbox the cart on a blanket or cardboard to protect the resin panels from scratches. Lay out all parts and hardware before you start. The Unity XL uses a click-together or screw-together design (check your specific manual), so follow the sequence exactly. A common mistake is tightening all screws at the beginning; instead, leave them loose until the frame is square, then tighten fully. This prevents misalignment. If you're assembling alone, ask a helper for the top section—the stainless steel top can be awkward to lift and position. Set aside 45–60 minutes for assembly.
Organize the cart for your cooking style
The Unity XL has a storage cabinet and a stainless steel work surface. Use the cabinet for larger items like propane tanks (if sized appropriately), grill tools, or a small cooler. Keep frequently used tools—tongs, spatulas, grill gloves—on the top or in a nearby caddy. If you often prep vegetables, add a small cutting board that fits the top. For outdoor cart storage organization, group items by task: one shelf for grilling, one for prep, one for cleanup. This reduces trips inside. Avoid overloading shelves; check the manual for weight limits. A simple bungee cord can secure lighter items on windy days.
Add practical accessories without overcomplicating
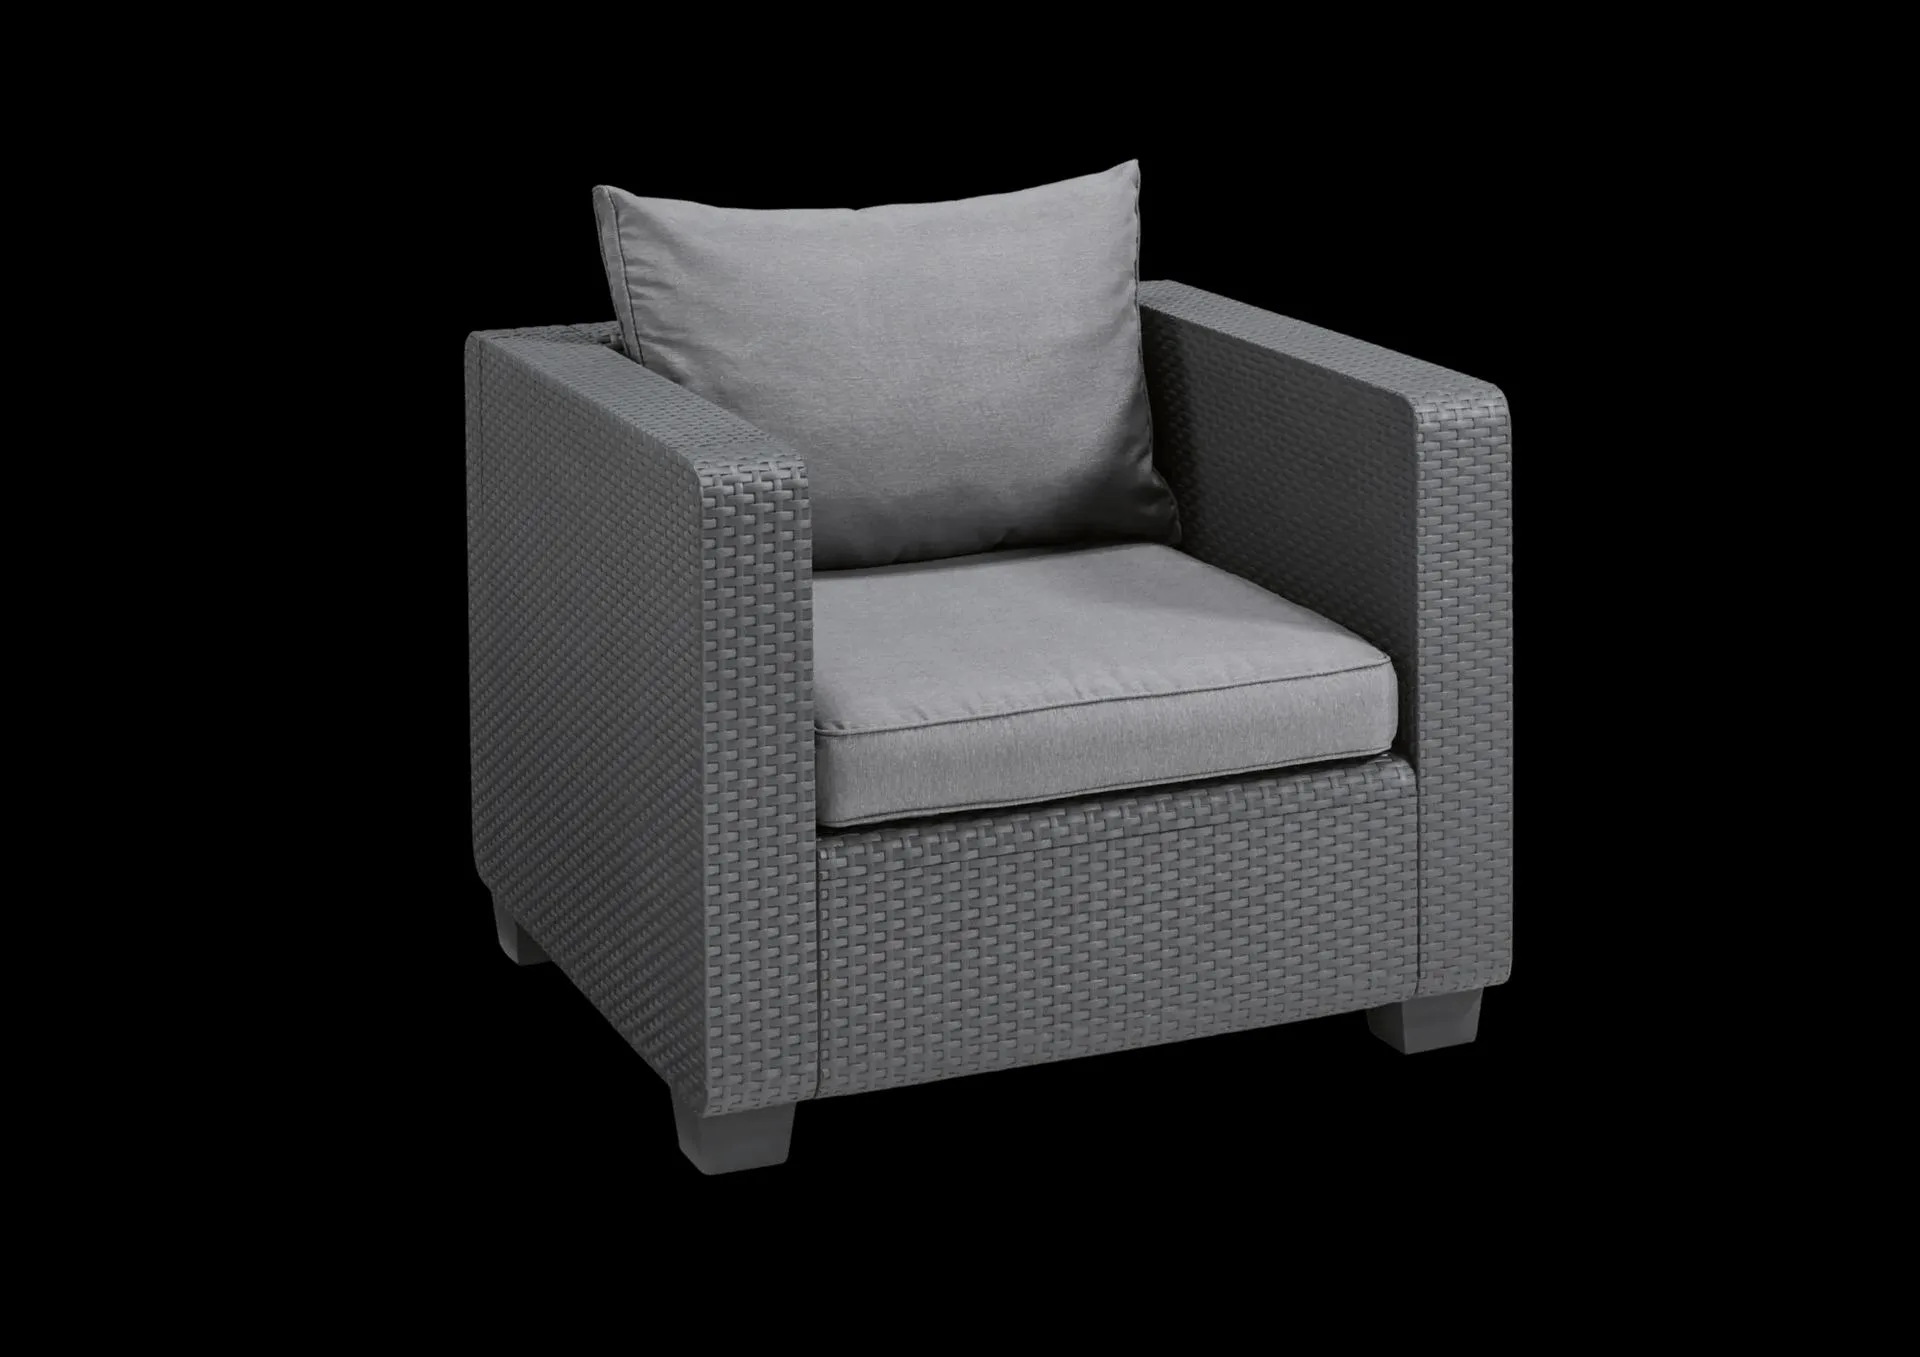
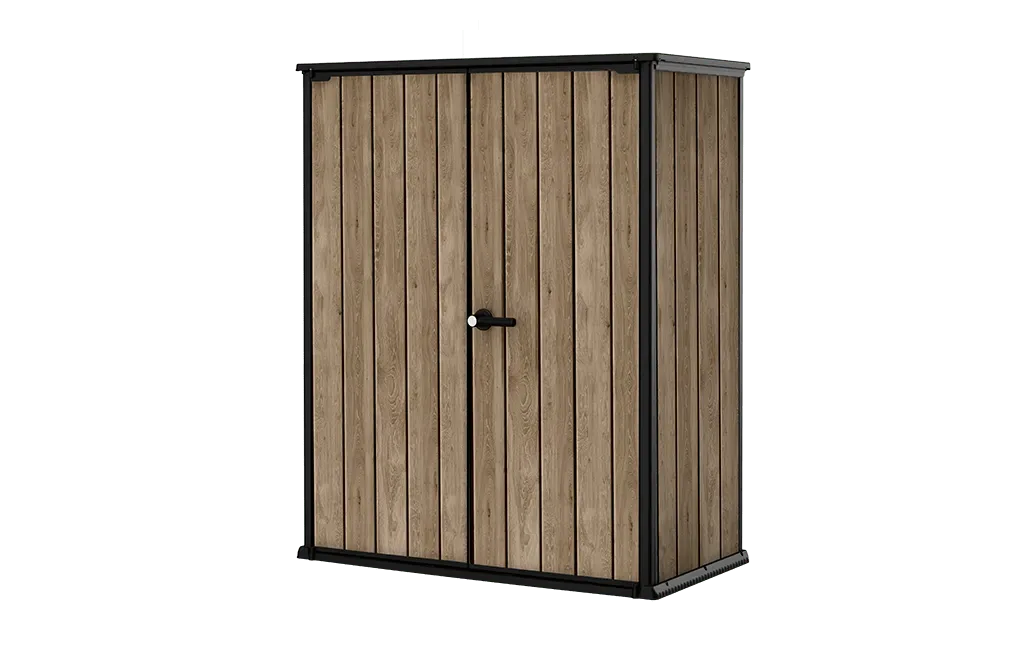
You don't need many extras, but a few help. A magnetic strip or small hooks on the side can hold tools. A weather-resistant cover protects the cart when not in use, especially if you live in a rainy or snowy area. If you want to expand your outdoor kitchen, consider the Keter Salta Outdoor Lounge Chair for seating nearby, or the Signature 1400L High Store Storage Cabinet for larger garden tools. But keep the cart itself uncluttered. The goal is a functional patio cooking station setup, not a storage unit. Test your layout by cooking a simple meal—if you're reaching over things or walking away often, adjust.
Setup steps at a glance
- Choose and clear the site: Pick a level, shaded spot near your grill with at least 3 feet of clearance. Clear away debris and check for overhead branches. Checkpoint: The cart should sit flat without wobbling when you press down on one corner.
- Unbox and sort parts: Lay out all panels and hardware on a soft surface. Read the manual fully before starting. Common mistake: Skipping this step leads to missing parts and frustration later.
- Assemble loosely, then tighten: Follow the manual order. Leave screws loose until the frame is square, then tighten all connections. Checkpoint: The cart should feel solid and the doors should open and close smoothly.
- Position and level: Move the assembled cart to its final spot. Adjust feet if needed to eliminate any rocking. If the cart still wobbles, place a small shim under one leg—but only as a temporary fix.
- Organize storage and top: Group tools by task. Put heavy items on lower shelves. Keep the stainless steel top clear for prep. Test: Cook a simple meal and see if you need to move anything for better flow.
- Add a cover and accessories: Use a weather-resistant cover when not in use. Add hooks or a magnetic strip for tools if needed. Next step: Enjoy your patio cooking station—adjust as you learn what works for you.
Product facts
- Signature Unity XL Outdoor Kitchen Cart with Storage - Rosewood Brown: Signature Unity XL Outdoor Kitchen Cart with Storage - Rosewood Brown features weather-resistant resin with a premium wood-look finish thanks to DecoCoat technology and includes a 201-grade stainless steel top. The stainless steel top gives you a clean, durable prep surface that resists stains and is easy to wipe down after cooking.
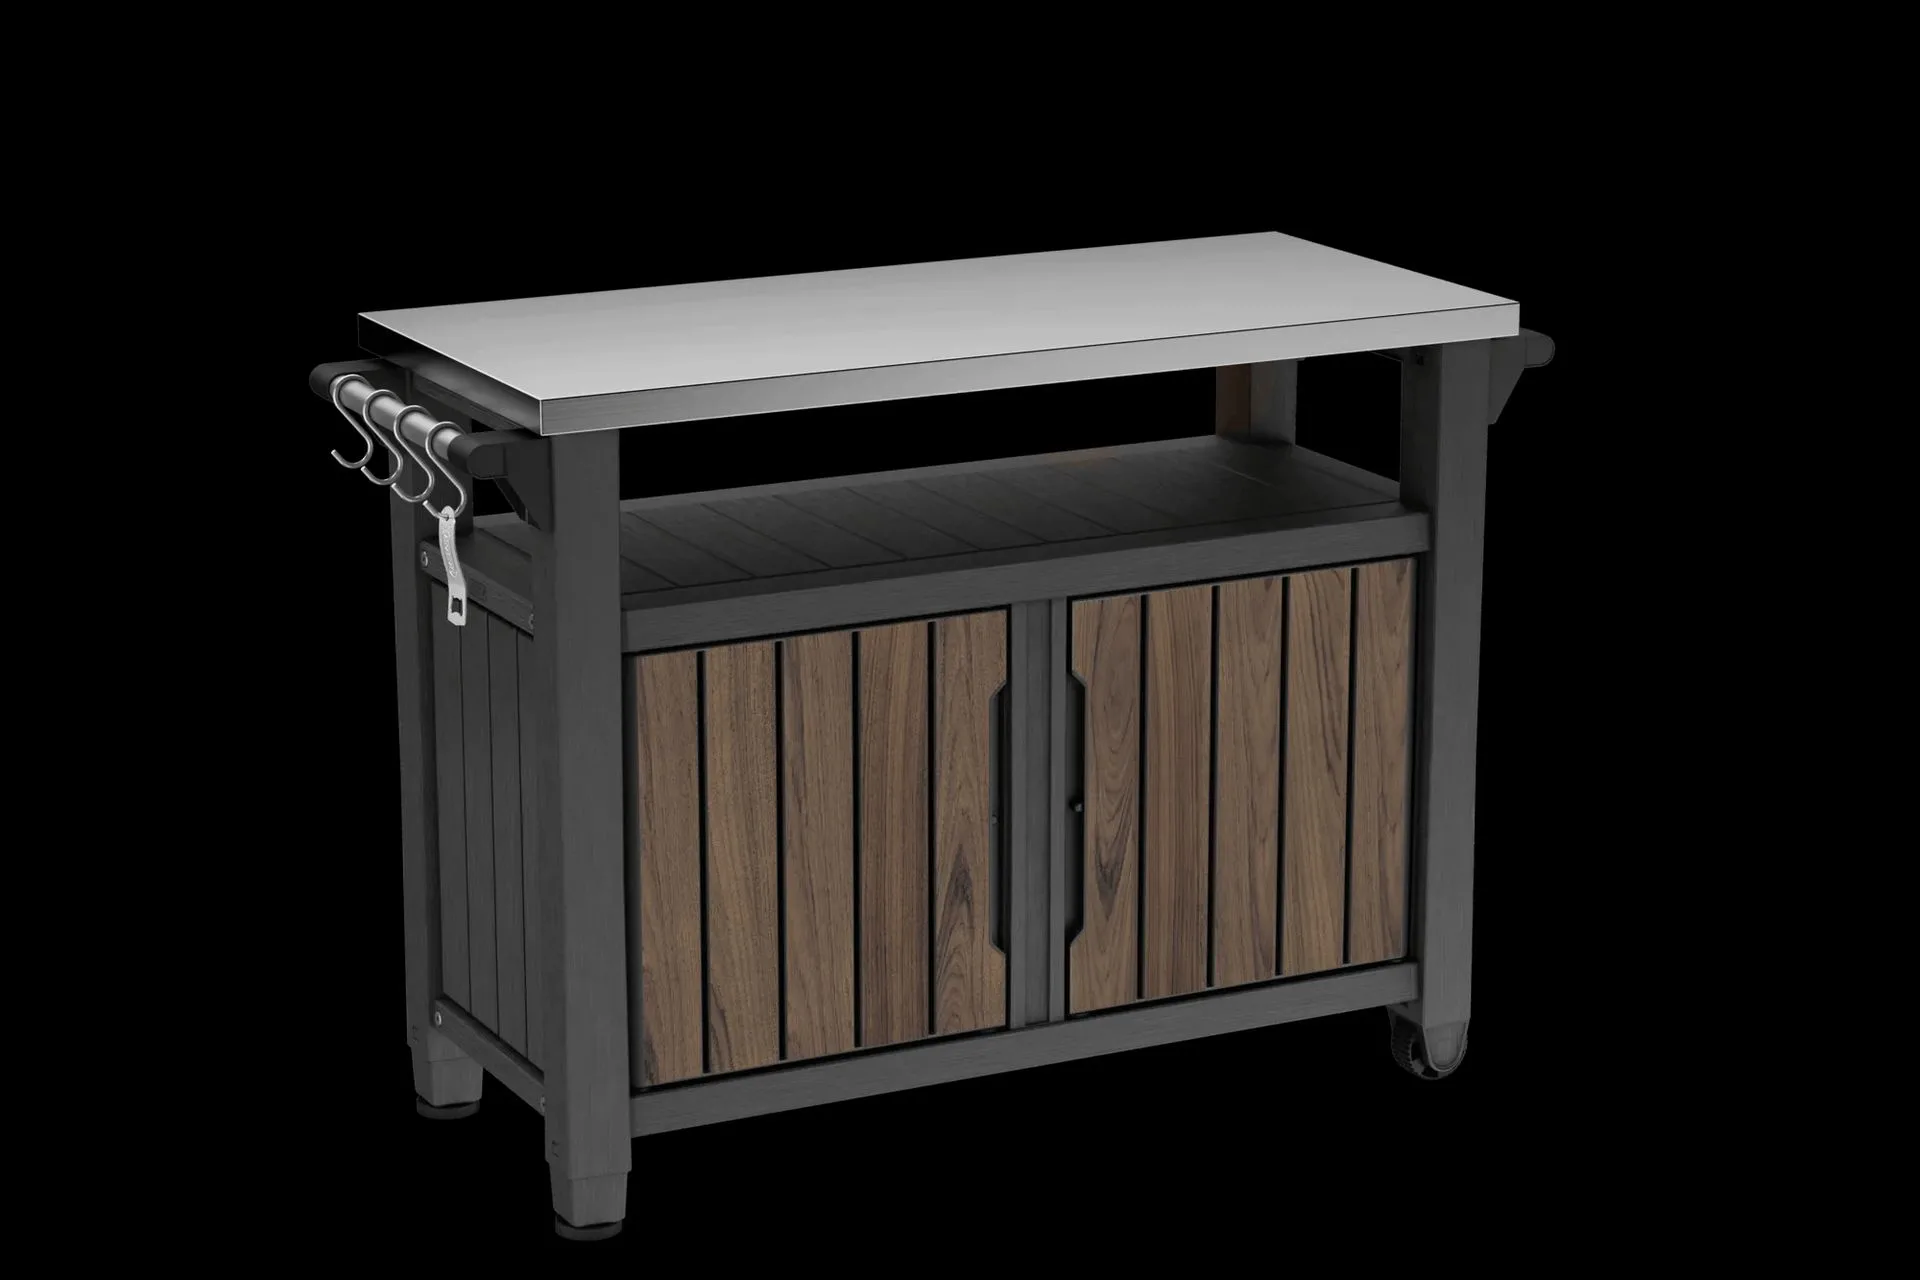
Signature Unity XL Outdoor Kitchen Cart with Storage - Rosewood
- Signature 1400L High Store Storage Cabinet - Ashwood Brown: Signature 1400L High Store Storage Cabinet - Ashwood Brown offers 1400 litres of vertical storage, two built-in shelving units, and double lockable doors. If you need to store larger outdoor items like cushions or garden tools, this cabinet keeps them secure and organized nearby.
- Salta Outdoor Lounge Chair - Graphite: Salta Outdoor Lounge Chair - Graphite has a rounded, rattan-look frame and a graphite finish. A comfortable chair nearby lets guests relax while you cook, making your patio a more social space.