Quick answer
Anchor the dresser to the wall, attach the topper so it cannot slide, and keep every diaper item within arm's reach of the changing pad. Then check the topper and pad before each change.
Why a three-drawer dresser changes the setup
A three-drawer dresser gives you one drawer for diapering supplies, one for clothes, and one for bedding or backup items. That split keeps you from turning around mid-change, but it also means the top drawer becomes the busiest one. Put the items you touch every change there, and reserve lower drawers for things you reach less often.
A removable topper lets the dresser return to standard furniture once diapering ends. The trade-off is that any removable topper needs a firm attachment and a flat, stable top. If the dresser top is uneven or crowded, fix that before adding the topper.
What changes when the topper is removable
Removable toppers are convenient, but they can shift if they are simply set on top. Follow the topper's own instructions for straps, brackets, or non-slip surfaces, and test the topper by hand before trusting it. A topper that moves more than a fraction of an inch needs adjustment or a different mounting method.
The changing pad also needs attention. A pad that slides inside the topper tray is a common oversight; check that the pad sits flat and does not lift at the edges.
Step-by-step nursery dresser setup
- Anchor the dresser to the wall: Use the dresser's anti-tip kit and secure it into a wall stud or approved anchor. Common mistake: skipping the anchor because the dresser feels stable empty; it becomes far more top-heavy once drawers and a topper are loaded. Test the anchor by gently pulling the top toward you before loading any drawers.
- Place and secure the topper: Set the topper centered on the dresser top and follow its attachment instructions. Checkpoint: press down on each corner; if the topper slides or rocks, stop and fix the attachment before adding a pad.
- Fit the changing pad: Lay the pad inside the topper tray and confirm it sits flat with no edge lift. Common mistake: using a pad that is larger than the tray, which creates gaps where a baby can roll. The pad should not move independently of the topper.
- Stock the top drawer as your diaper station: Fill the top drawer with diapers, wipes, cream, and a change of clothes so everything is reachable without stepping away. Keep the lower drawers for clothes and backup bedding. Restock the top drawer at the end of each day, not mid-change.
- Clear the floor and set your stance: Remove rugs, toys, and clutter from the changing area, and stand square to the dresser with one hand free to stay on the baby. Common mistake: approaching from the side, which makes it easy to lose contact.
- Run a pre-change check: Before each change, confirm the topper is seated, the pad is flat, and supplies are within reach. Checkpoint: if anything is missing, secure the baby first, then retrieve it. A ten-second check before every change prevents most topper accidents.
Product facts
-
Harmony 3-Drawer Dresser with Changing Table Topper, Matte White: Three spacious drawers plus a removable baby changing table topper. The drawer count sets your supply zones, and the removable topper lets the dresser serve as standard storage later.
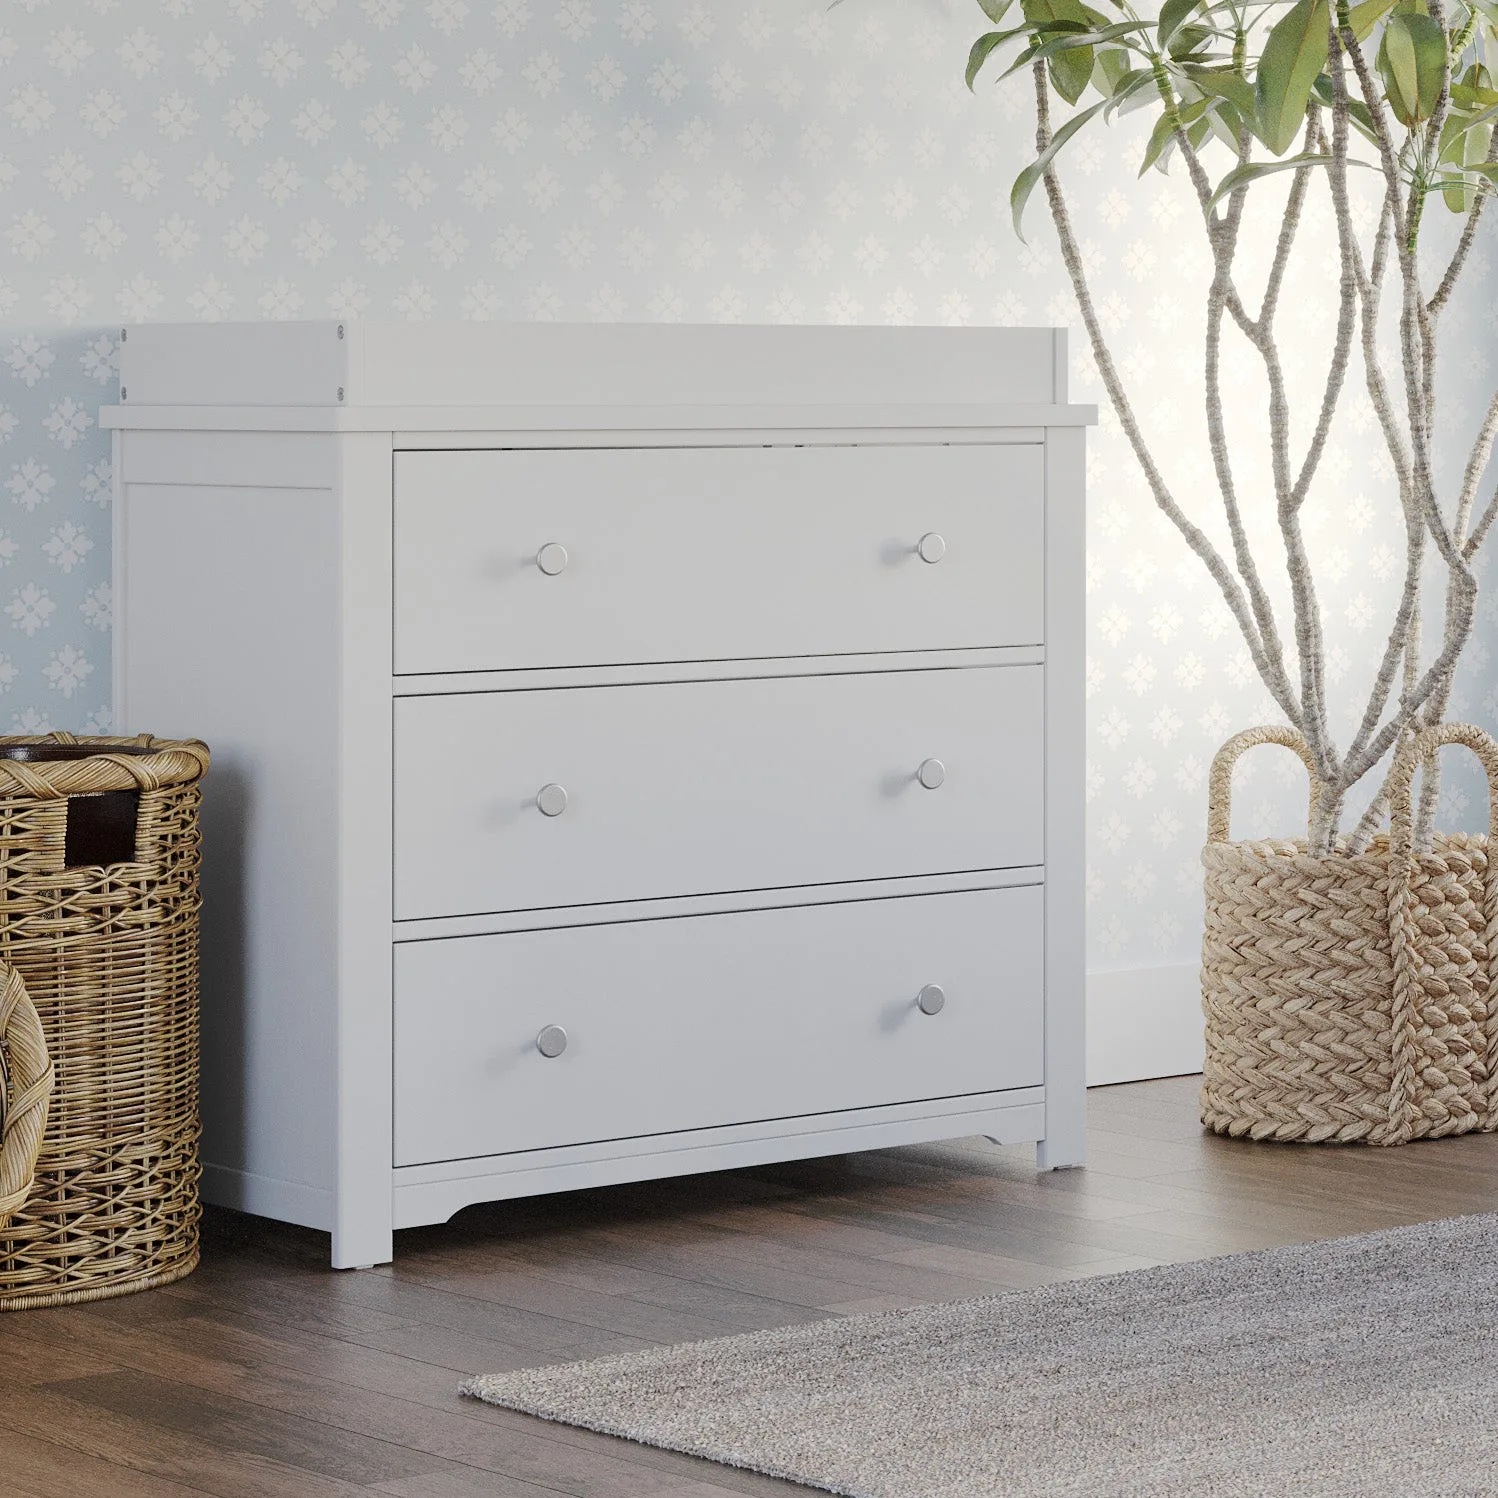
Harmony 3-Drawer Dresser with Changing Table Topper, Matte White