Quick Answer
To set up a racing simulator cockpit for beginners, start by assembling the frame according to the manufacturer's instructions, then securely mount your seat, steering wheel, and pedals. Position your monitor or TV at the correct height and distance, and finally manage cables neatly. Use a sturdy desk mount for your monitor to ensure stability during intense racing sessions.
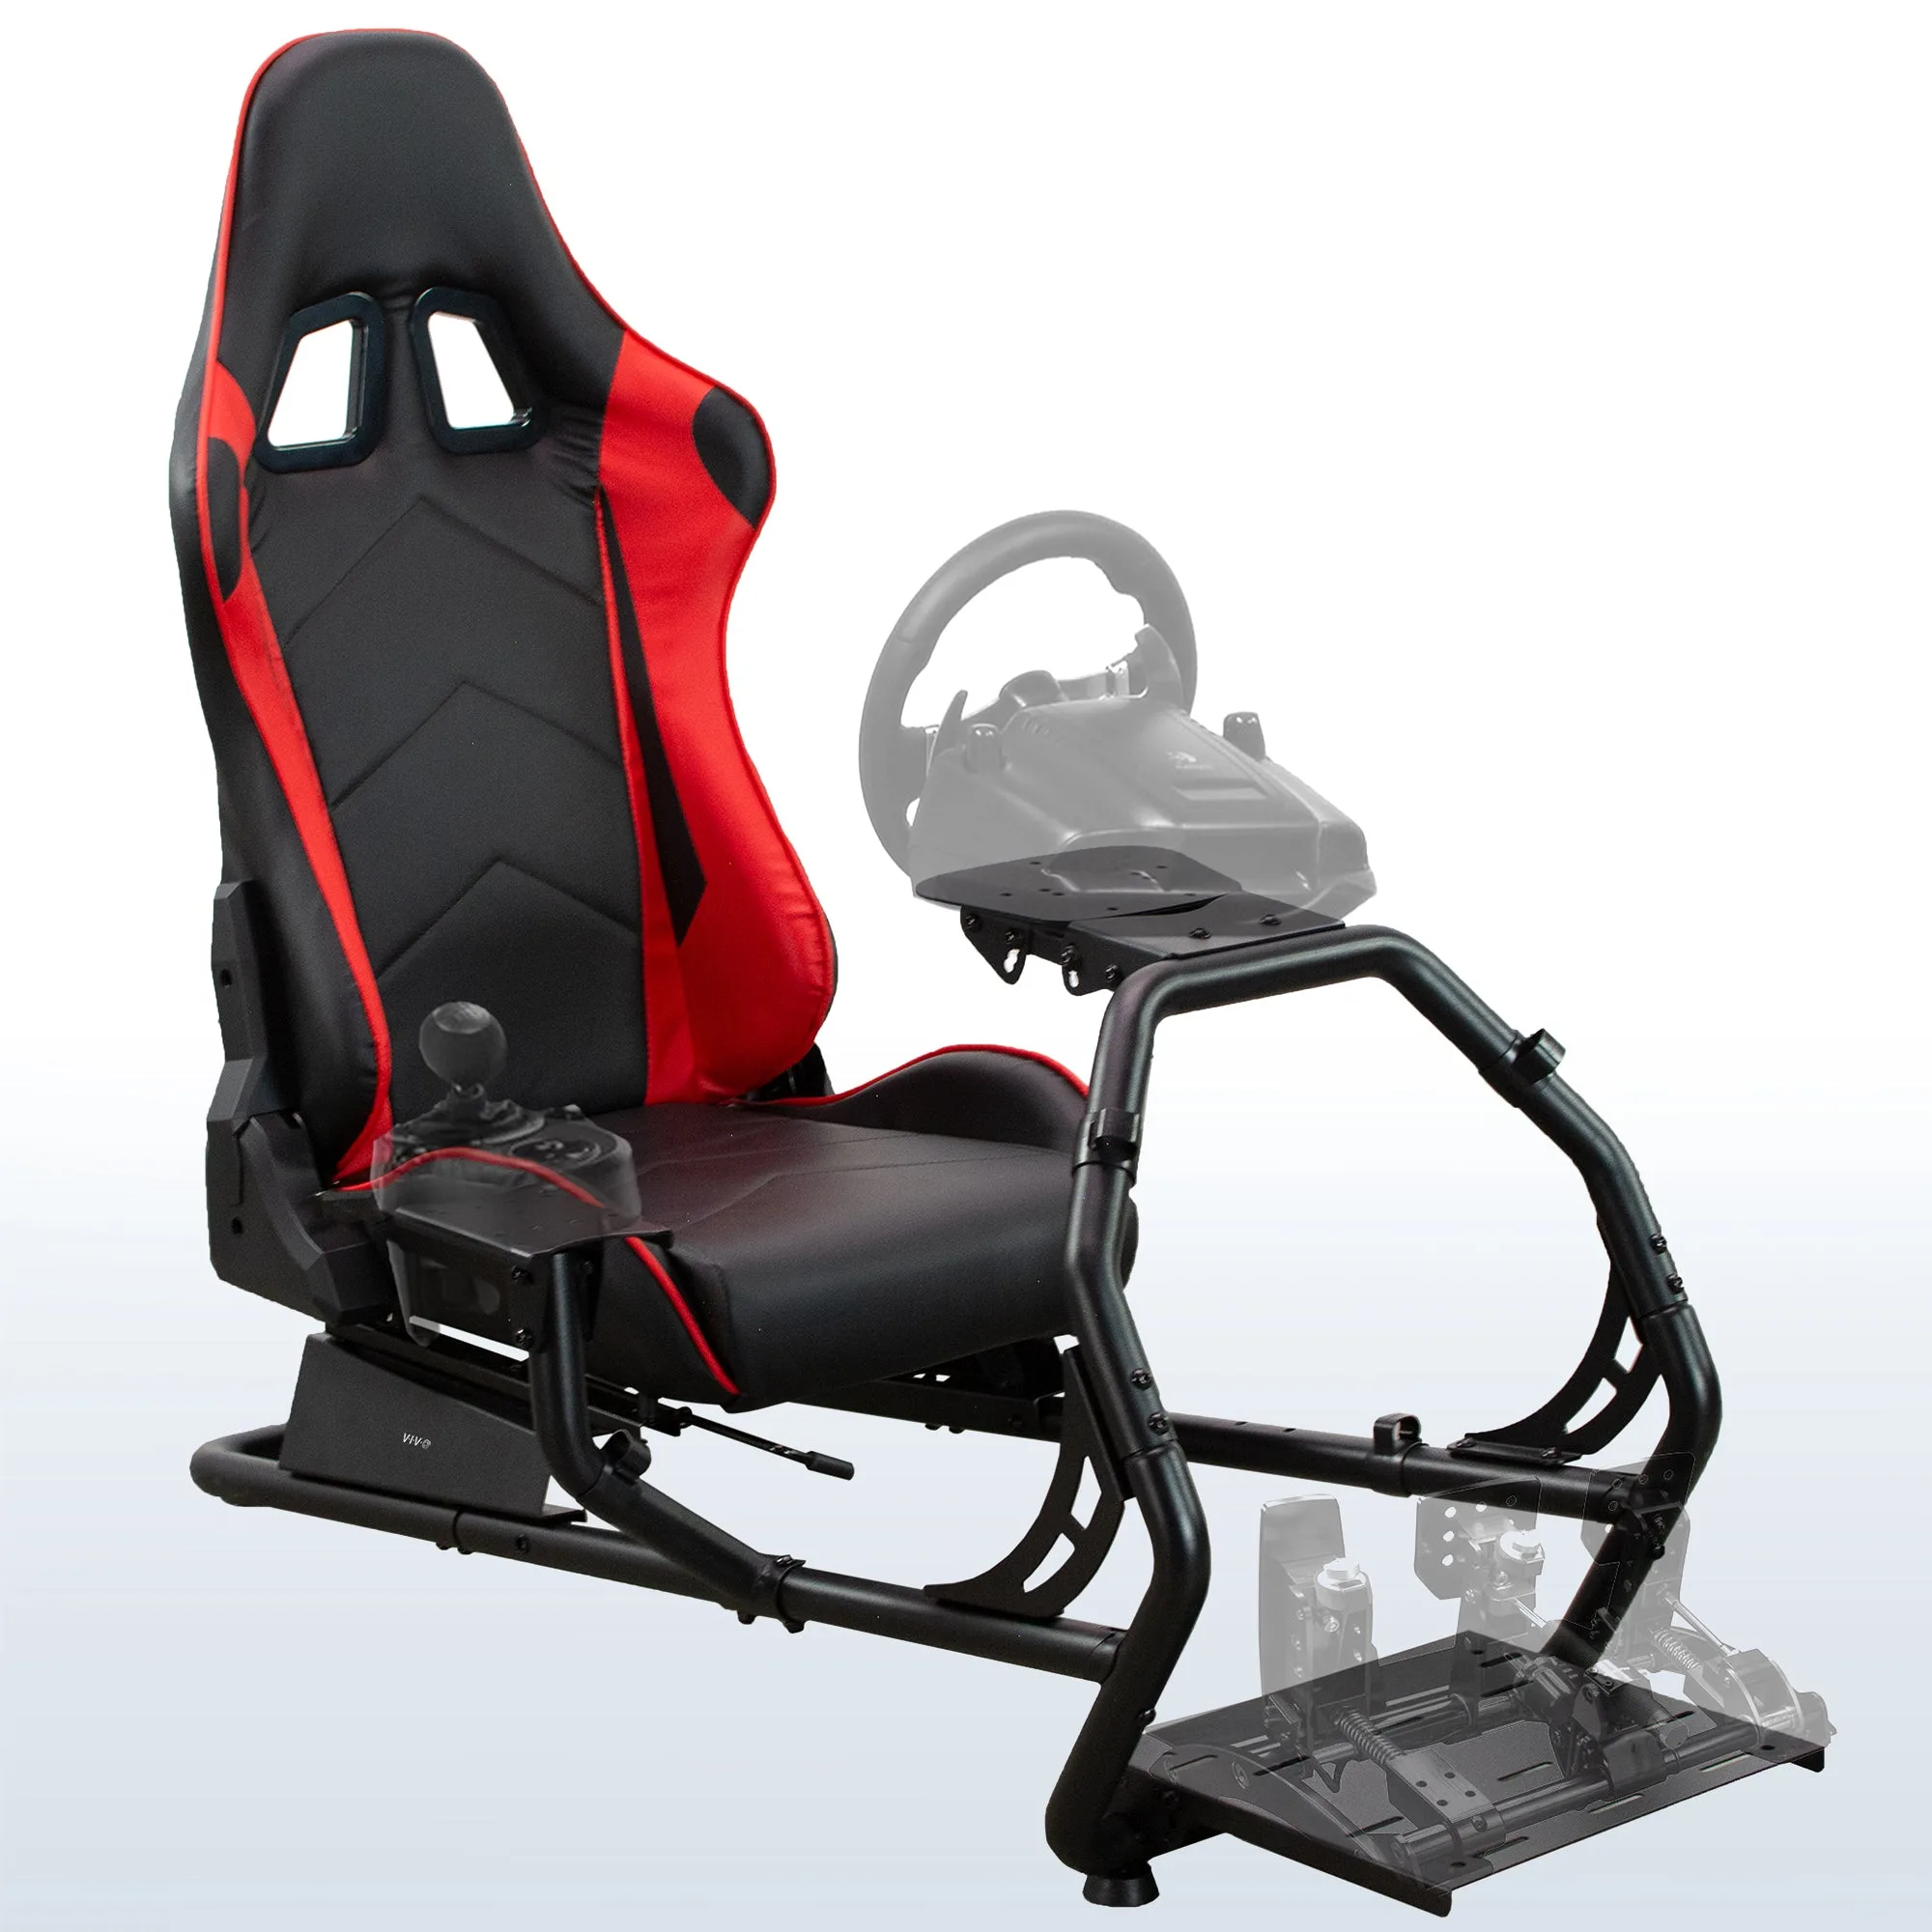
racing simulator cockpit
Setting up your first racing simulator cockpit can feel overwhelming with all the pieces and adjustments. But with a clear plan, you can have a functional rig in an afternoon. This guide walks you through each stage, from unpacking the frame to fine-tuning your monitor position.
Whether you're building a rig from scratch or upgrading an existing desk setup, the goal is stability and comfort. A wobbly monitor or awkward seat angle can ruin the experience. We'll cover common mistakes and checkpoints so you avoid them.
Plan Your Space and Layout
Before you start assembling, measure the area where your cockpit will live. Racing rigs can be wide, especially with triple monitors. Ensure you have enough room to get in and out comfortably. Also, consider the distance from your screen to your eyes—typically 20 to 30 inches for a single monitor.
Think about cable access. You'll need power outlets for your PC, monitors, and wheel base. Plan a route for cables to avoid tangling later. If you're using a desk-mounted monitor arm, check that your desk can support the clamp and the monitor's weight.
- Leave at least 2 feet of clearance behind the seat for easy entry and exit.
- Use a tape measure to confirm your desk thickness if you plan to use a clamp-on mount.
Assemble the Frame and Seat
Start by laying out all frame components and identifying them against the manual. Most rigs use aluminum profiles or steel tubing. Tighten bolts gradually, but don't fully tighten until the frame is square. This prevents binding and ensures a level base.
Attach the seat next. Whether you're using a racing bucket seat or an OEM car seat, ensure the slider works smoothly. Position the seat so your legs have a slight bend at the knees when pedals are fully pressed. If the seat is too far or close, adjust before locking it down.
- Use a spirit level to check the frame is flat on the floor.
- Common mistake: over-tightening bolts before the frame is aligned, causing stress on joints.
Mount Your Steering Wheel and Pedals
Attach the wheel base to the wheel deck, using the provided bolts. Adjust the deck angle to mimic a real car—usually 15 to 30 degrees from horizontal. The wheel should be at chest height when you sit, allowing your arms to bend slightly at the elbows.
Mount the pedals on the pedal plate. Position them so your heel can rest on the floor or pedal plate, and you can press the pedals fully without stretching. If your pedals have a load cell brake, make sure the plate doesn't flex—tighten all bolts securely.
- Check that the wheel base is centered with your seat position.
- Common mistake: mounting pedals too far away, leading to leg strain.
Position Your Monitor or TV
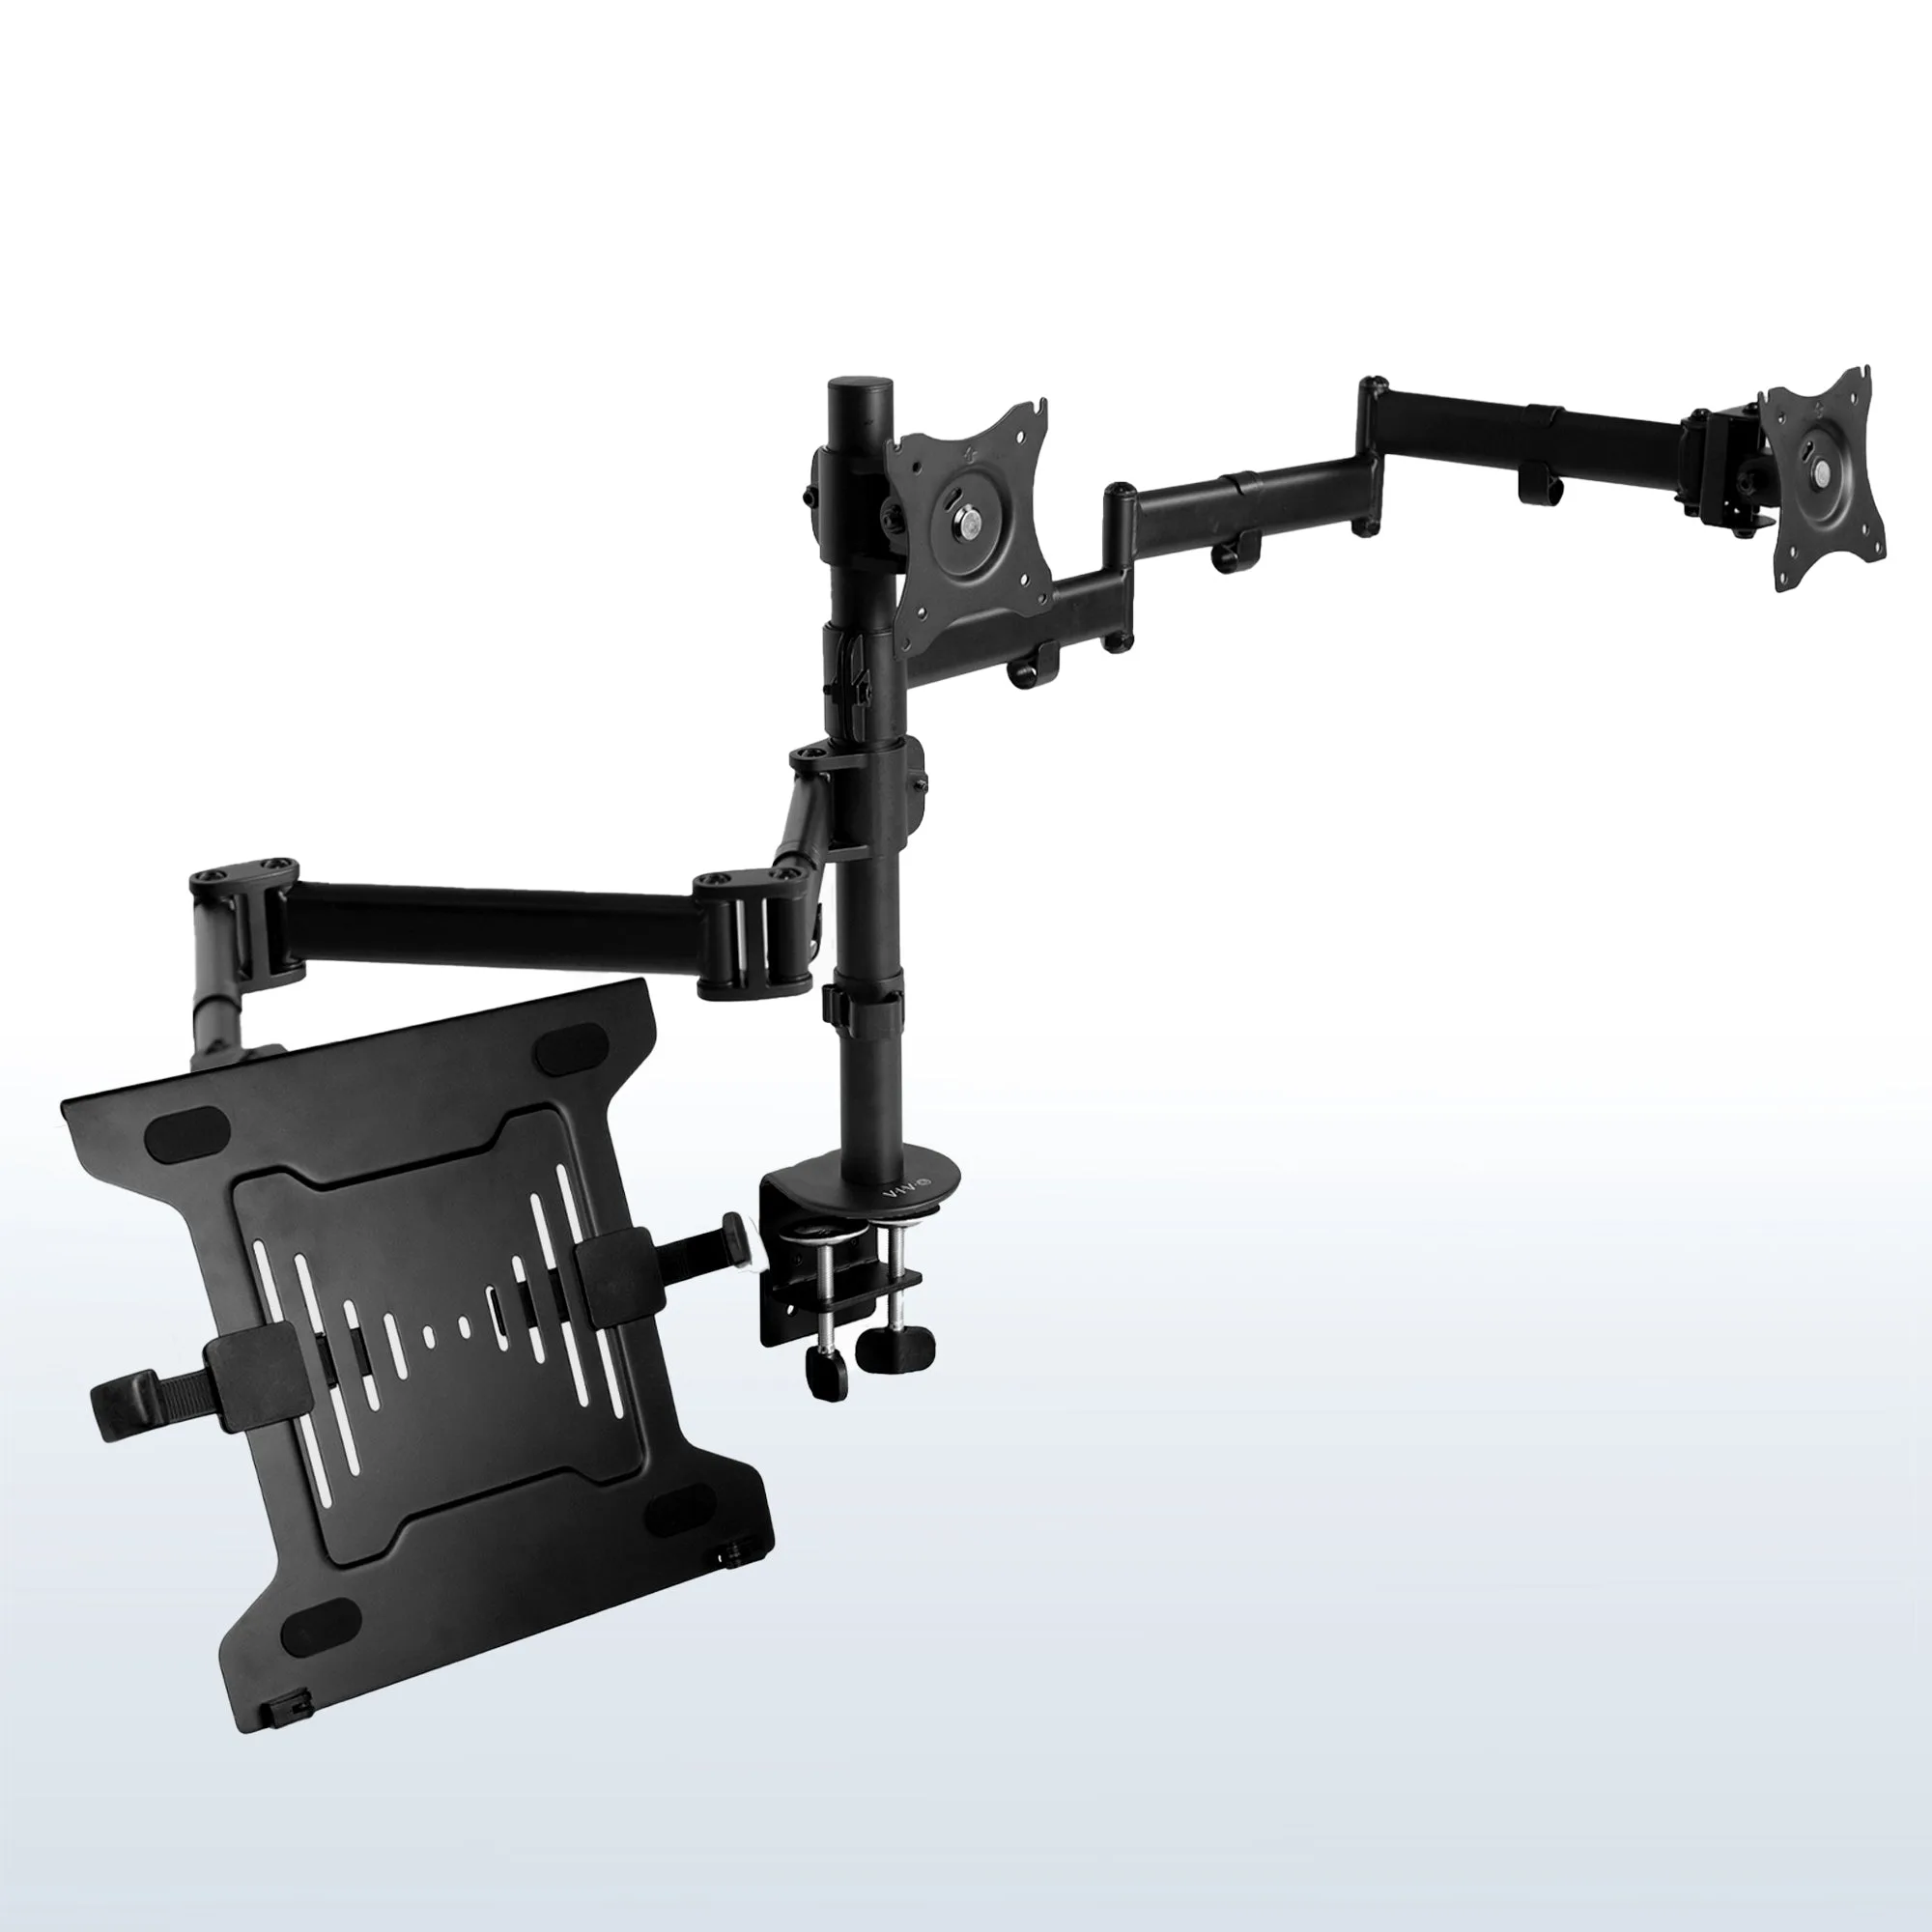
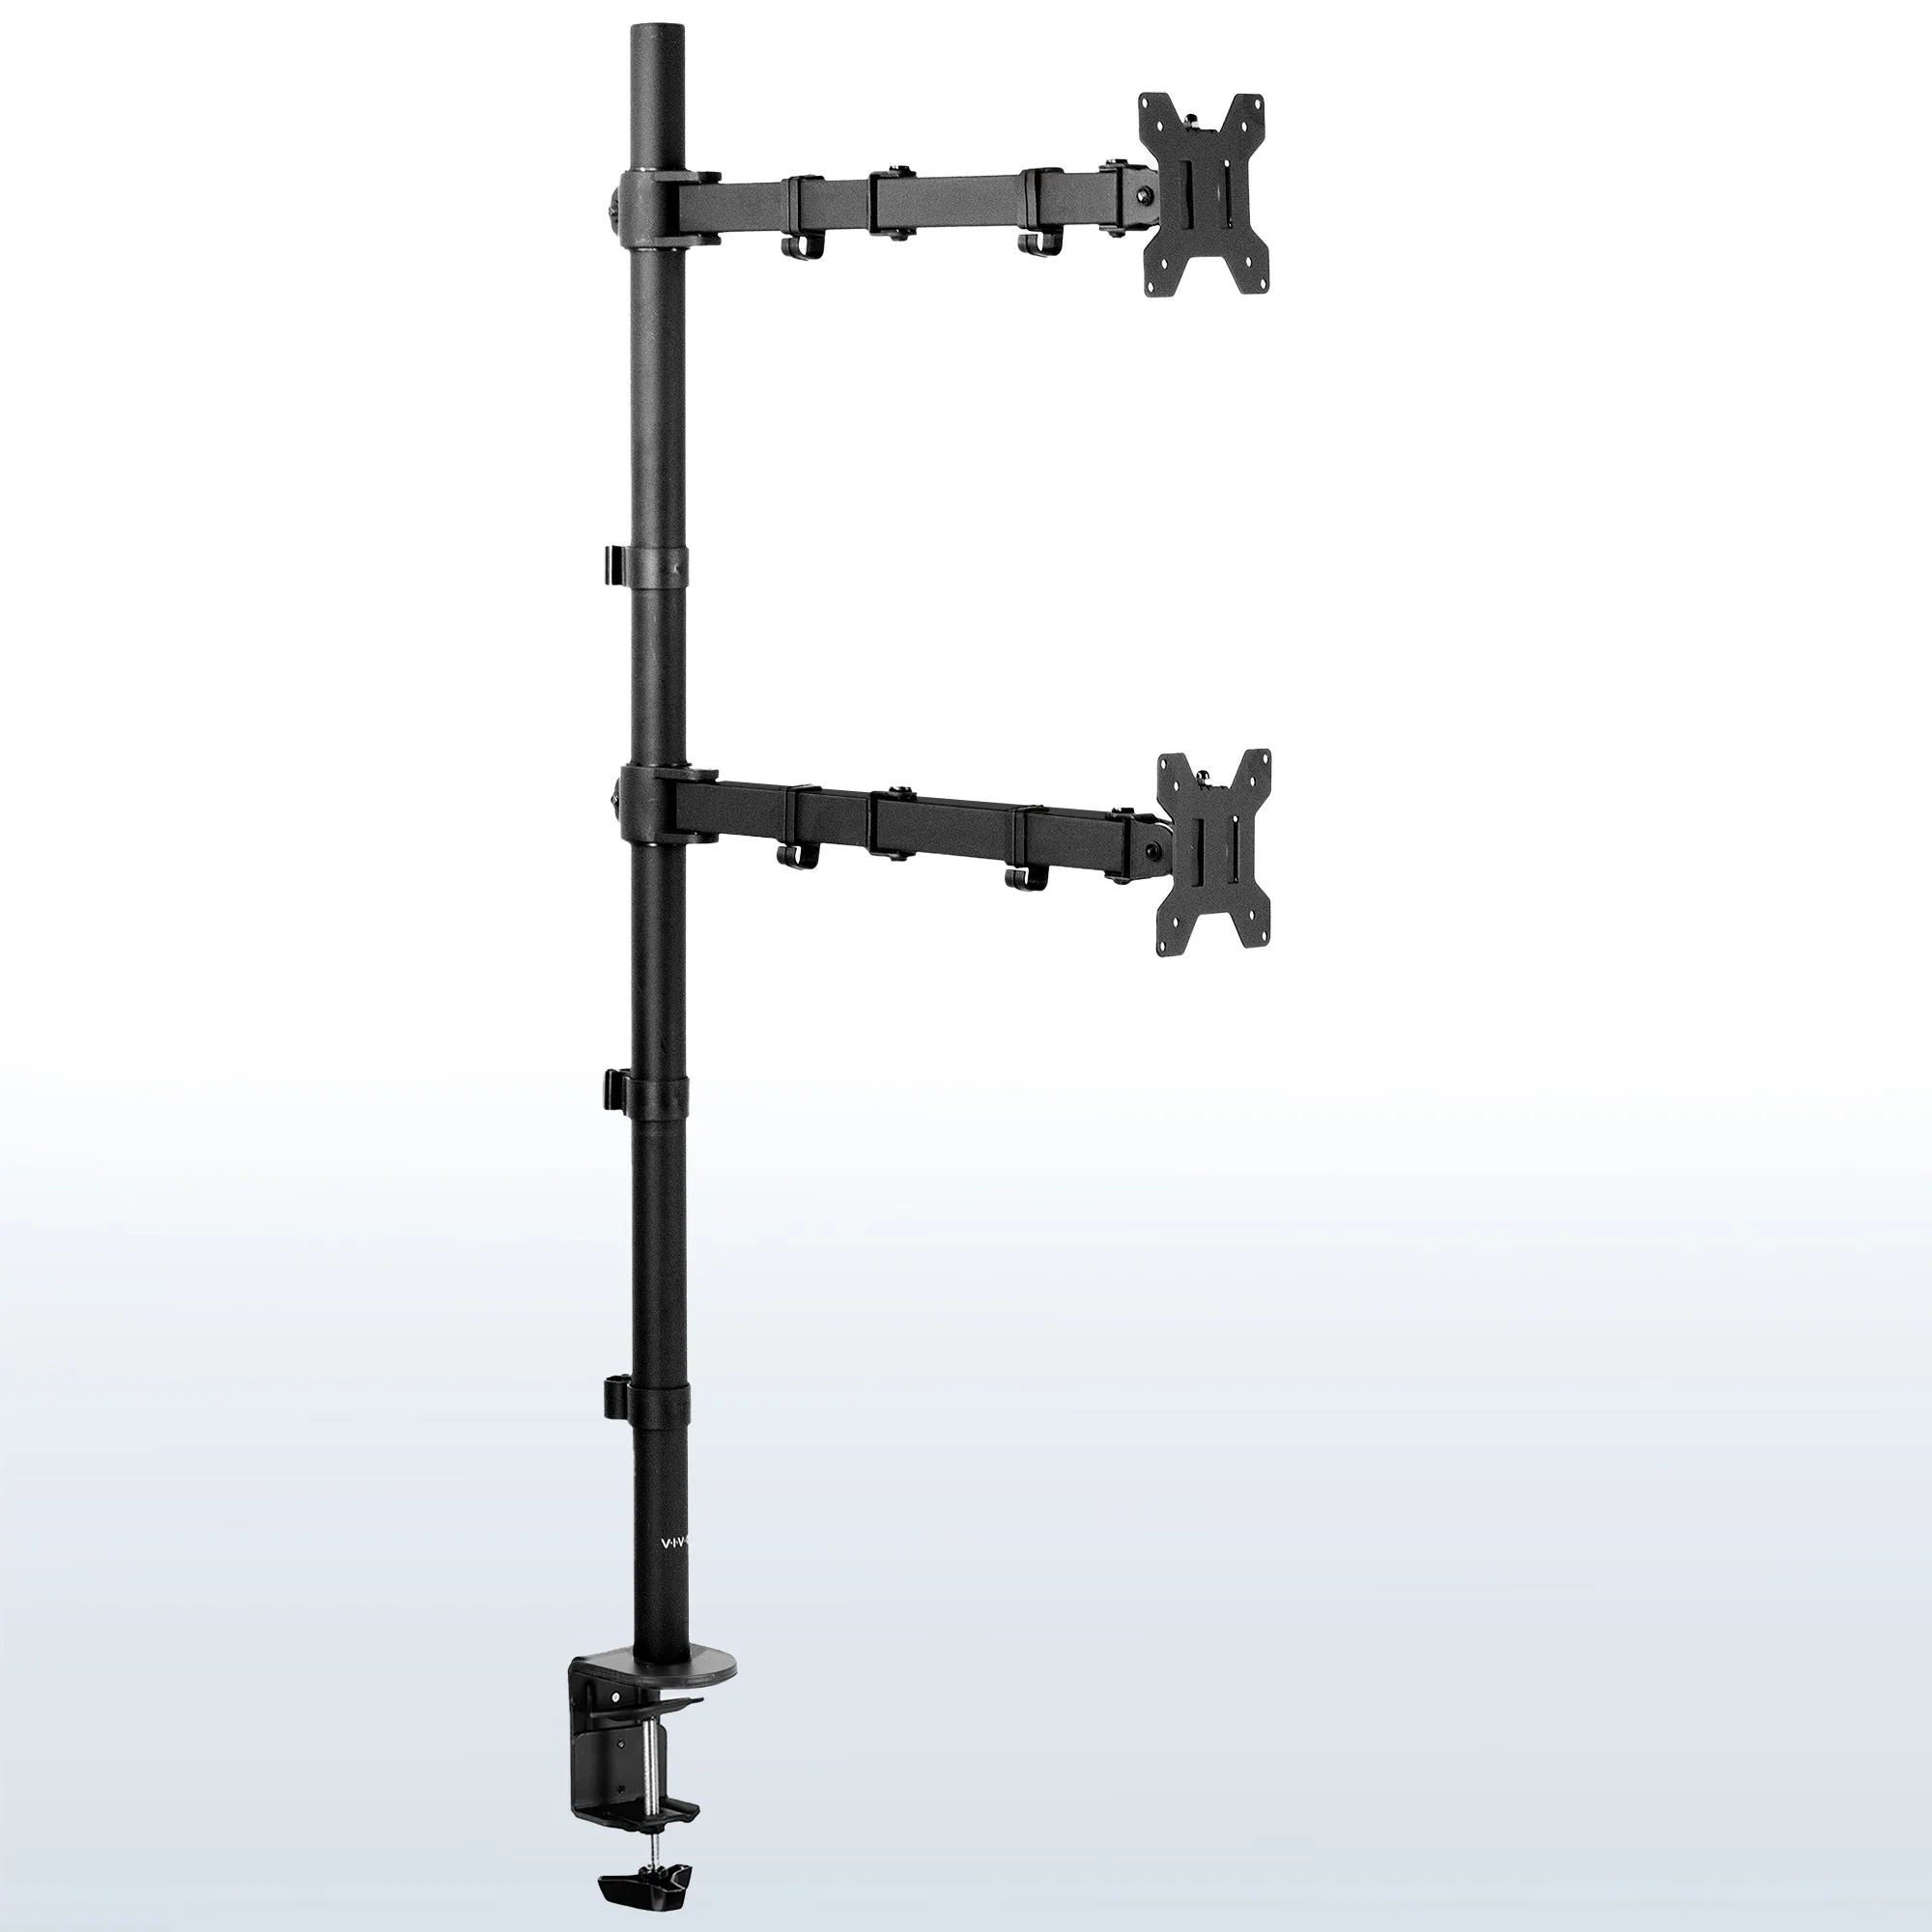
For a single monitor, place it directly behind the wheel base, with the screen center at eye level. If you're using a TV, ensure it's at a distance that fills your field of view without causing eye strain. A monitor arm can help you achieve the perfect height and angle.
For triple monitors, angle the side screens at about 60 degrees from the center. Use a triple monitor mount to keep them aligned and stable. The VIVO Flush to Wall Triple Monitor Desk Mount is designed to hold three monitors securely while keeping your desk space clear—a great option if your rig uses a desk.
If you're mounting a TV above your rig for a more immersive feel, consider the VIVO Height & Depth Adjustable Soundbar TV Mount. It allows you to adjust the height and depth to align the screen perfectly with your seating position, and it securely holds your soundbar for optimal audio.
- Use the 'rule of thumb': the screen should be about an arm's length away.
- Common mistake: mounting the screen too high or too low, causing neck strain.
Connect and Manage Cables
Connect all cables from the PC, monitors, wheel, pedals, and accessories. Use cable ties or sleeves to bundle them along the frame. Keep cables away from moving parts like the wheel base and pedal hinges.
If you have multiple devices to charge, like a tablet for lap timing or a phone, consider a charging station. The VIVO 16-Device Open Charging Station can keep your devices organized and powered, helping you maintain a clean cockpit area.
- Label cables with tags for easy troubleshooting.
- Common mistake: leaving cables loose, which can snag and cause disconnections.
Test and Fine-Tune Your Setup
Before you start racing, test all components. Check that the wheel base is secure, pedals don't move under pressure, and the monitor doesn't shake. Adjust the seat and wheel positions if needed.
Run a calibration in your sim racing software to ensure the wheel and pedals respond correctly. Take a few practice laps to see if you need to adjust the monitor distance or angle. Fine-tuning now will prevent discomfort during long sessions.
- Use a buddy to help you check for any wobble while you simulate steering force.
- Common mistake: skipping the test and discovering issues mid-race.
Step-by-Step Assembly Checklist
- Measure and plan your space: Take room measurements and ensure you have clearance for the rig and cables. Checkpoint: Confirm you have at least 2 feet behind the seat.
- Assemble the frame and seat: Lay out parts, assemble the frame, and mount the seat. Adjust the seat slider for proper leg extension. Checkpoint: Seat should allow a slight bend in knees when pedals are pressed.
- Mount wheel and pedals: Attach the wheel base and pedals, adjusting angles for comfort. Checkpoint: Wheel at chest height, arms slightly bent.
- Position your monitor or TV: Place the screen at eye level and correct distance. Use a monitor arm or TV mount for stability. Checkpoint: Screen center at eye level, no glare.
- Connect and manage cables: Bundle cables along the frame and keep them away from moving parts. Checkpoint: No loose cables that can snag.
- Test and fine-tune: Run calibration and test for stability. Adjust positions as needed. Checkpoint: No wobble, comfortable seating.
Products Mentioned in This Guide
- Flush to Wall Triple Monitor Desk Mount: This flush-to-wall triple monitor desk mount from VIVO is designed to hold three monitors securely while keeping your desk space clear and organized. Its space-saving design allows your monitors to sit close to the wall, maximizing your workspace. Accommodates three monitors for a multi-screen setup. For a triple-screen sim racing setup, this mount keeps your monitors stable and close to the wall, freeing up valuable desk space for your wheel and keyboard.
- Height & Depth Adjustable Soundbar TV Mount: The Height & Depth Adjustable Soundbar TV Mount from VIVO is designed to securely hold your soundbar while allowing you to adjust its position for optimal audio performance. This mount offers both height and depth adjustments, giving you flexibility to align the soundbar perfectly with your TV and room setup. If you use a TV as your sim racing display, this mount lets you position the screen at the ideal height and depth, and it also holds your soundbar for immersive audio without extra clutter.
Setting up a racing simulator cockpit is a rewarding project that enhances your sim racing experience. By following these steps, you'll create a stable, comfortable rig that you can enjoy for hours. Remember to take your time and adjust as you go—every racer's body is different. Happy racing!