Quick Answer
For video editing, set up your RAID desktop drive in RAID 0 for maximum speed, but only if you have a separate backup. If you need data safety, choose RAID 1 for redundancy, even though it halves usable capacity. The right choice depends on your workflow and backup strategy.
Video editing demands fast, reliable storage. A RAID desktop drive can provide the speed and capacity you need, but setting it up correctly is crucial. This guide walks you through the process, from choosing a RAID level to configuring your drive for optimal performance.
Whether you're working with 4K footage or large project files, understanding RAID configuration helps you avoid bottlenecks and data loss. Let's get your desktop drive ready for editing.
Choose the Right RAID Level
RAID 0 stripes data across multiple drives, delivering high read/write speeds ideal for editing high-bitrate footage. However, RAID 0 offers no redundancy—if one drive fails, you lose everything. Use RAID 0 only if you have a reliable backup system in place.
RAID 1 mirrors data across two drives, providing exact copies. This protects against drive failure but cuts usable capacity in half. For editors who prioritize data safety over raw speed, RAID 1 is a safer bet, especially for irreplaceable projects.
- RAID 0: Maximum performance, no fault tolerance.
- RAID 1: Redundancy, but half capacity.
Check Your Drive's Default Configuration
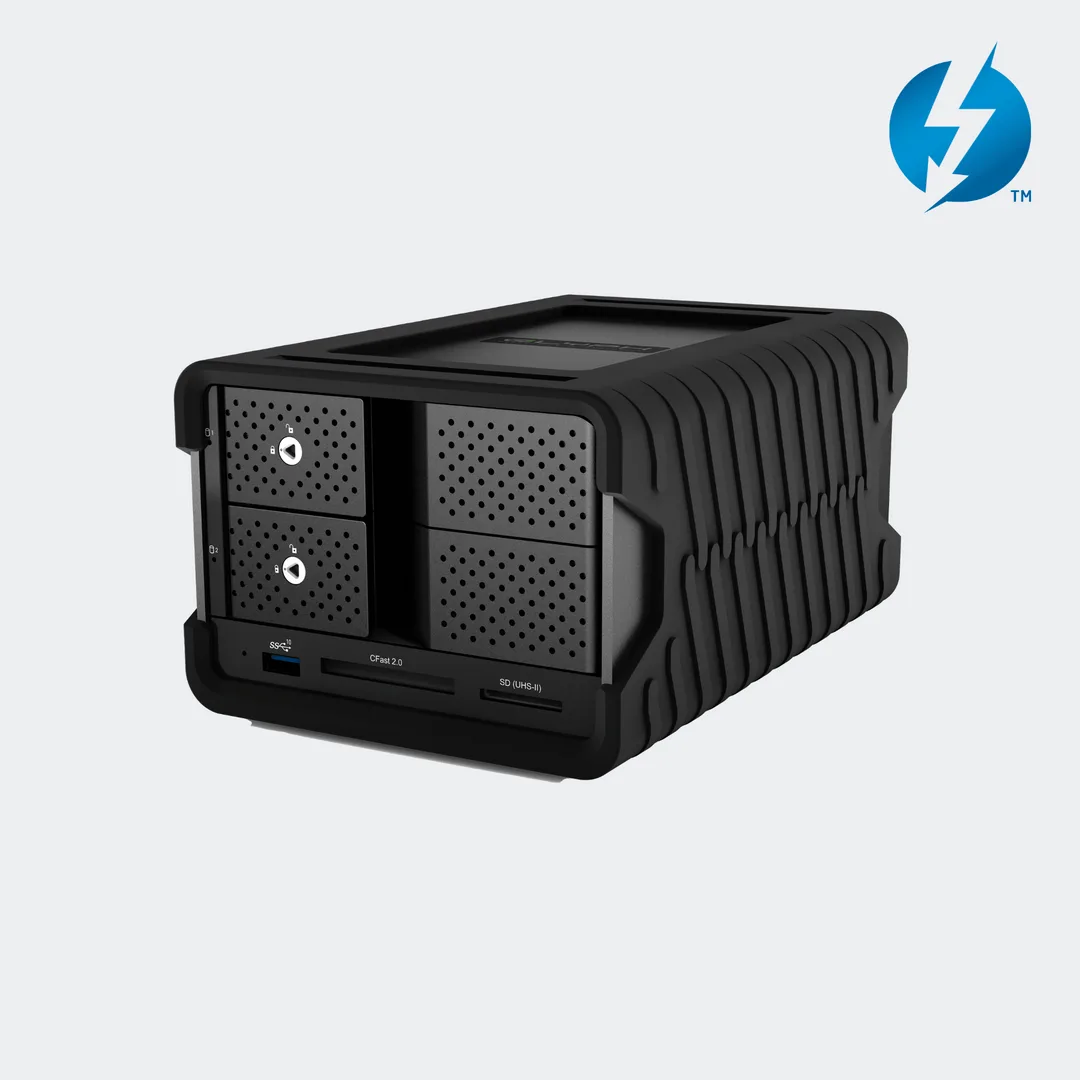
Many professional RAID desktop drives come pre-configured, often in RAID 0. Before you start, check the current setting. For example, the https://cleanlinescoai.shop/products/blackbox-pro-raid-desktop-drive-with-thunderbolt-3-320568https://cleanlinescoai.shop/products/blackbox-pro-raid-desktop-drive-with-thunderbolt-3-320577Blackbox PRO RAID Desktop Drive with Thunderbolt 3 is a well-built drive that many users change from RAID 0 to RAID 1 for redundant backups. Changing the configuration is usually straightforward, but you'll need to back up any existing data first.
If your drive is new, you can set it up from scratch. If it already contains data, ensure you have a backup before changing RAID levels, as reconfiguring erases all data.
- Always back up data before changing RAID configuration.
Connect and Initialize the Drive
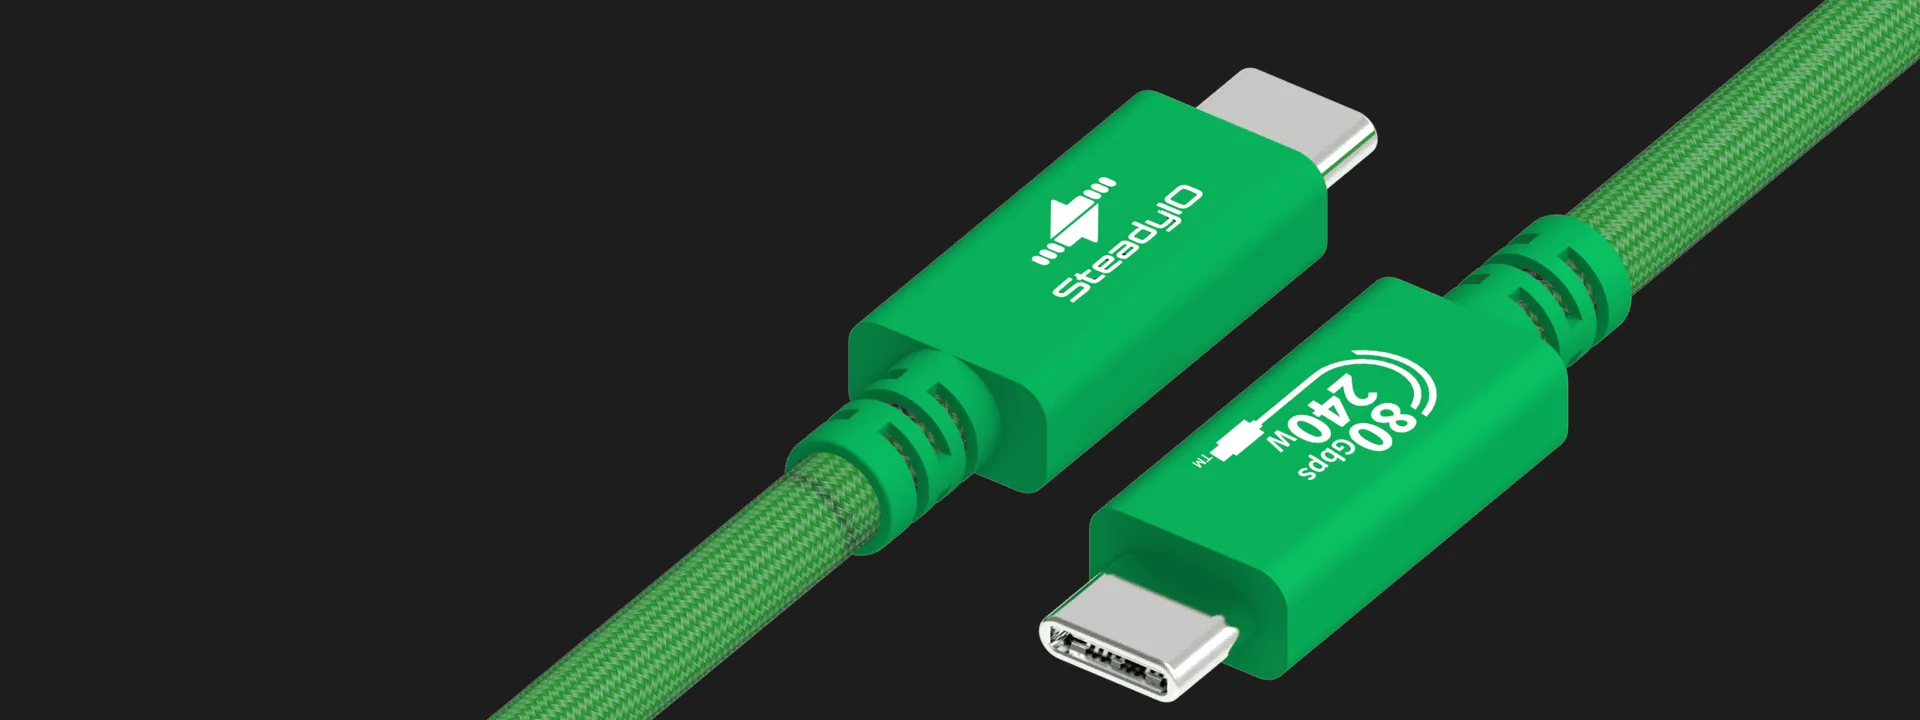
Connect your RAID desktop drive to your computer using the appropriate interface—Thunderbolt 3 or USB4. For best performance, use a high-quality cable that supports the drive's speed. For example, the https://cleanlinescoai.shop/products/connect-high-performance-usb4-80gbps-240w-type-c-cable-320563Connect+ High-Performance USB4 80Gbps/240W Type-C Cable supports data transfer up to 80Gbps, ensuring no bottleneck.
Once connected, the drive should appear in your operating system. If not, check connections and power. Initialize the drive using your OS's disk management tool, and format it with a file system suitable for your workflow (e.g., APFS for macOS, NTFS for Windows).
- Use a cable that matches your drive's speed capability.
Configure RAID via the Drive's Utility
Most RAID desktop drives include a utility or a physical switch to set the RAID mode. Follow the manufacturer's instructions to select RAID 0 or RAID 1. For the Blackbox PRO RAID, users report that changing from RAID 0 to RAID 1 was effortless, and the drive was up and running shortly after.
After selecting the RAID mode, the drive will rebuild or create the array. This process may take some time depending on capacity. Once complete, format the drive and verify it's accessible.
- Allow enough time for the RAID array to initialize.
Optimize for Video Editing Performance
After setup, optimize your drive for video editing. Ensure your editing software is configured to use the drive as the scratch disk or media location. For high-resolution footage, consider using RAID 0 for active projects and a separate backup drive for archiving.
Monitor drive health and performance. RAID 1 provides peace of mind, but even with redundancy, regular backups are essential. Keep your firmware updated and avoid disconnecting the drive during heavy read/write operations.
- Use the RAID drive for active projects, and back up to another location.
RAID Setup Steps at a Glance
- Decide RAID Level: Choose RAID 0 for speed or RAID 1 for redundancy. Consider your backup strategy before deciding. If you don't have a separate backup, choose RAID 1.
- Back Up Existing Data: If your drive already has data, back it up before changing RAID configuration to avoid loss. Data loss is permanent if you skip this step.
- Connect and Initialize: Connect the drive using a high-speed cable, initialize it, and format it with the appropriate file system. Use a cable that supports the drive's speed, like USB4 80Gbps.
- Configure RAID: Use the drive's utility or switch to set the desired RAID mode. Allow time for the array to build. The Blackbox PRO RAID makes this process easy.
- Optimize and Monitor: Set your editing software to use the RAID drive for media, and monitor drive health regularly. Even with RAID, keep regular backups.
Products Mentioned
- Blackbox PRO RAID Desktop Drive with Thunderbolt 3: The Blackbox PRO RAID is a very well build drive. Changed the original RAID 0 to RAID 1 to use a redundant backup for image files. Change was effortless and drive up and running only a short time after receiving. Appreciate the second Thunderbolt port for daisy chain! This drive is easy to reconfigure between RAID levels, making it a practical choice for editors who want flexibility between speed and redundancy.
- Connect+ High-Performance USB4 80Gbps/240W Type-C Cable: The Connect+ High-Performance USB4 80Gbps/240W Type-C Cable from Glyphtech is designed for high-speed data transfer and power delivery. This cable supports USB4 technology, offering a fast and reliable connection for your compatible devices. Supports USB4 data transfer speeds up to 80Gbps for quick file transfers. Using a cable that supports up to 80Gbps ensures your RAID drive isn't bottlenecked by the connection, which is critical when editing large video files.
Setting up a RAID desktop drive for video editing doesn't have to be complicated. By choosing the right RAID level, backing up your data, and configuring your drive properly, you can enjoy fast, reliable storage for your projects. Remember to always keep backups, even with redundancy, and use high-quality cables to maximize performance.