Quick Answer
To set up your reformer safely at home, start by choosing a stable, level surface and checking all parts for damage. Assemble the frame according to the manual, then adjust the shoulder rests, headrest, and foot bar to your body. Set spring tension based on your fitness level and the exercise, and always do a quick safety check before each workout.
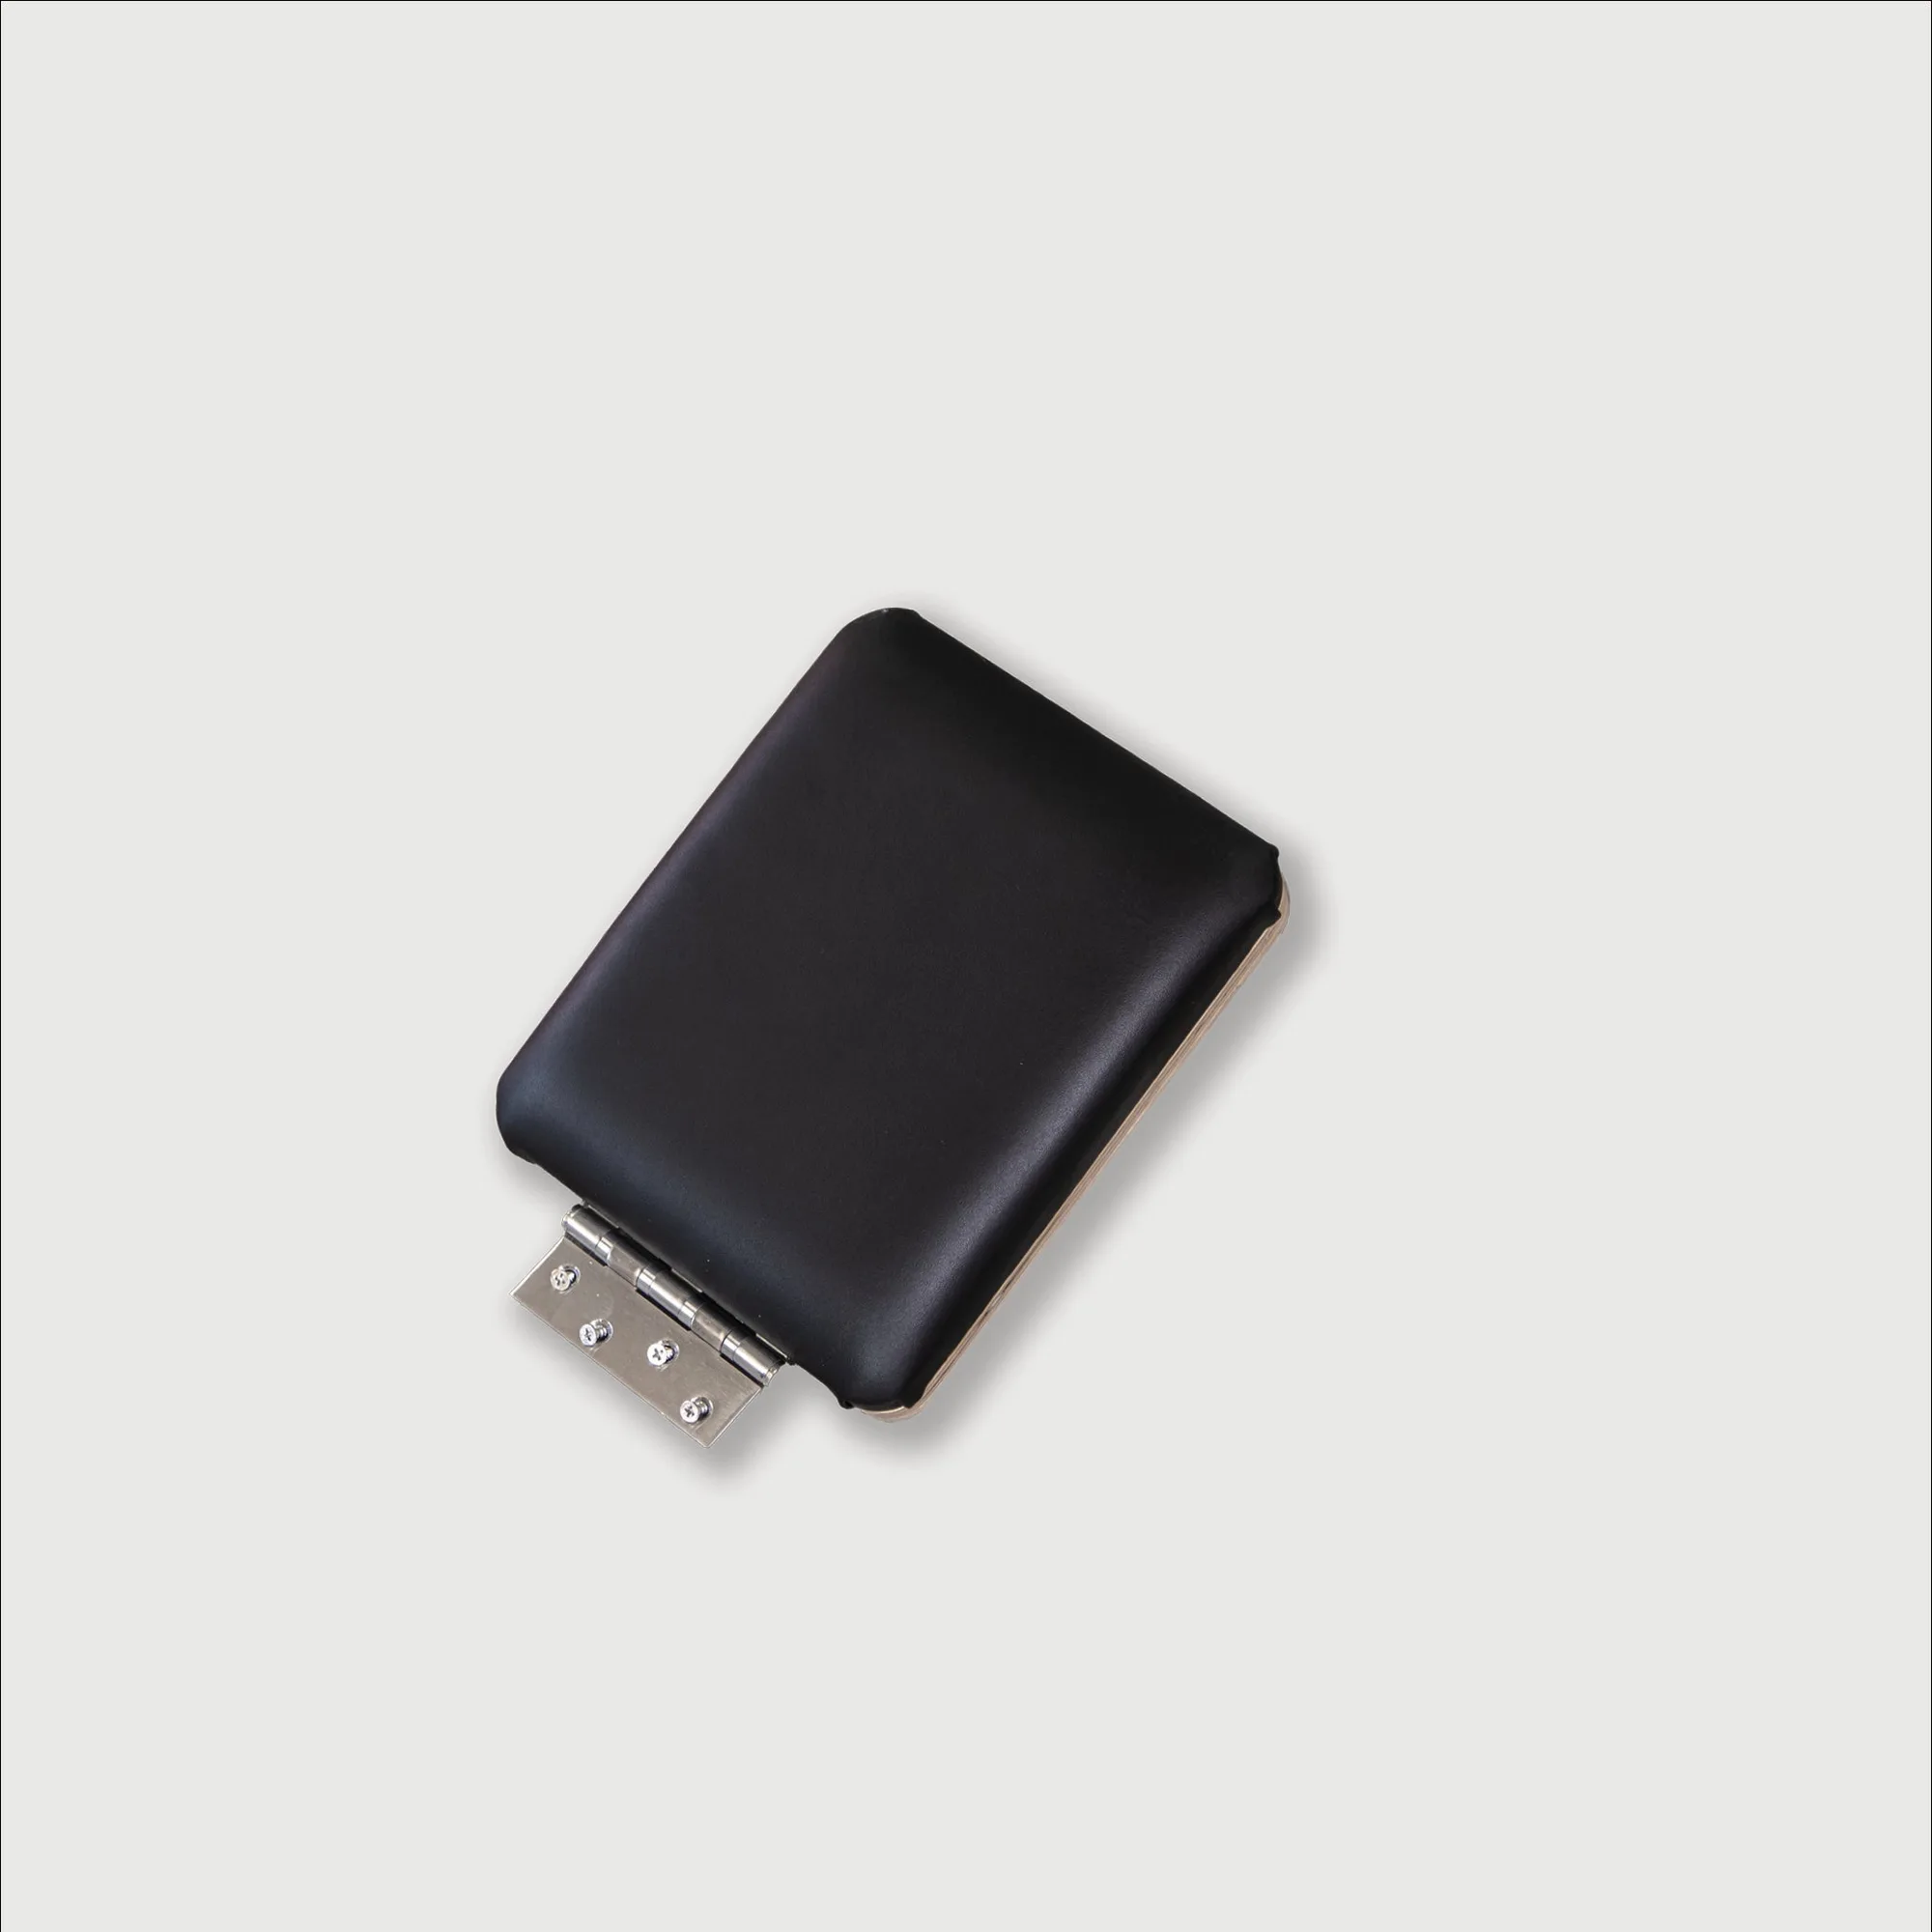
headrest
Setting up your reformer correctly is the first step to a safe and effective home workout. A properly assembled reformer not only prevents injuries but also ensures you get the most out of every exercise. Whether you're a beginner or a seasoned practitioner, understanding the setup process can make a significant difference in your practice.
This guide walks you through the essential steps to get your reformer ready, from unboxing to final adjustments. You'll also learn common mistakes to avoid and how to choose the right accessories to enhance your sessions. Let's dive in.
Step 1: Choose the Right Location
Before you start assembling your reformer, pick a location with enough clearance on all sides. You need at least 3 feet of space around the machine to move freely and adjust your body. The floor should be level and firm, like hardwood or laminate, to prevent wobbling. Avoid placing the reformer on thick carpet, which can cause instability.
Also, consider lighting and ventilation. A well-lit room helps you maintain proper form, while good airflow keeps you comfortable during intense sessions. If you're using the reformer near a wall, ensure the wall doesn't obstruct the carriage movement. This is a common home reformer setup mistake that can lead to accidents.
- Measure your space before unboxing to avoid moving the reformer twice.
- Use a mat under the reformer to protect your floor and reduce noise.
Step 2: Assemble the Frame Correctly
Follow the manufacturer's instructions to assemble the frame. Typically, you'll attach the foot bar, risers, and carriage. Use the provided tools and tighten all bolts securely, but avoid over-tightening, which can strip threads. If you're unsure about any part, refer to the manual or contact customer support.
A common mistake is skipping the leveling feet. Most reformers have adjustable feet to level the machine on uneven floors. If your reformer rocks, adjust these feet until it's stable. A wobbly reformer is not only distracting but also unsafe, as it can shift during exercises like jumping or lunges.
- Double-check that all screws are tight before your first use.
- If your reformer has wheels, ensure they're locked in place.
Step 3: Adjust Shoulder Rests and Headrest
Once assembled, adjust the shoulder rests to match your shoulder width. They should be slightly wider than your shoulders, so you can lie down comfortably without your neck straining. The headrest should support your neck and align with your spine. If the headrest is too high or low, it can cause neck pain during exercises.
To adjust, loosen the knobs, slide the rests or headrest to the desired position, and tighten securely. A checkpoint: lie down and check that your ears are in line with your shoulders. If you feel any pressure on your neck, readjust. This is a critical step for safe reformer use, especially for beginners.
- Test the adjustment by lying down and moving your head side to side.
- If your reformer has a padded headrest, ensure it's centered.
Step 4: Set Spring Tension
Spring tension determines the resistance of your workout. Most reformers have multiple springs, each with different resistance levels. Start with light tension, especially if you're new, and gradually increase as you build strength. For exercises like footwork, you might use one or two springs, while more advanced moves may require more.
A common mistake is using too much resistance, which can compromise your form and lead to injury. A checkpoint: when you push the carriage, you should feel resistance but still be able to move smoothly without jerking. If you're unsure, start with the lightest spring and adjust from there.
- Count how many springs you have attached before starting an exercise.
- Always disengage the springs when not in use to prevent them from snapping.
Step 5: Attach and Test Accessories
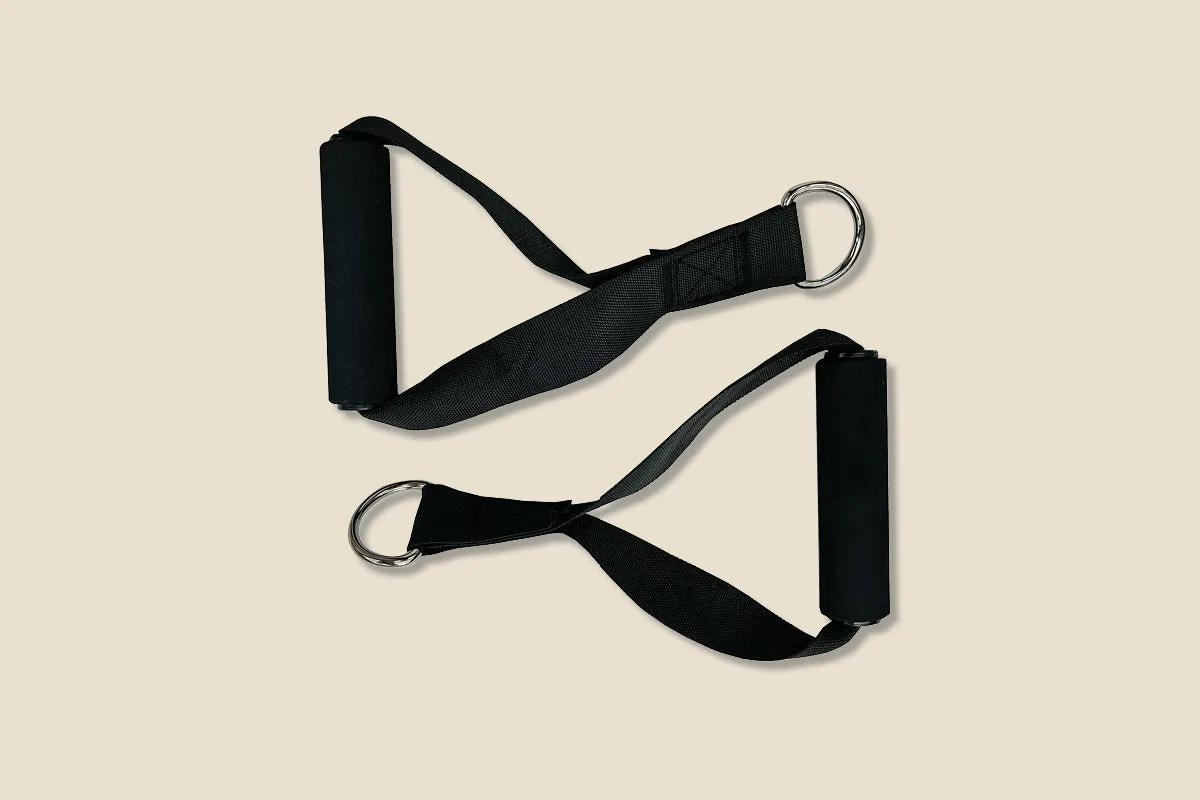
Accessories like handles and straps enhance your workout but must be attached correctly. For example, the Double Loop Handle Set from Your Reformer USA offers a secure grip for various exercises. Attach them to the pulleys, ensuring they click into place. Similarly, the Soft Grip Handle Set provides comfortable handles for better control.
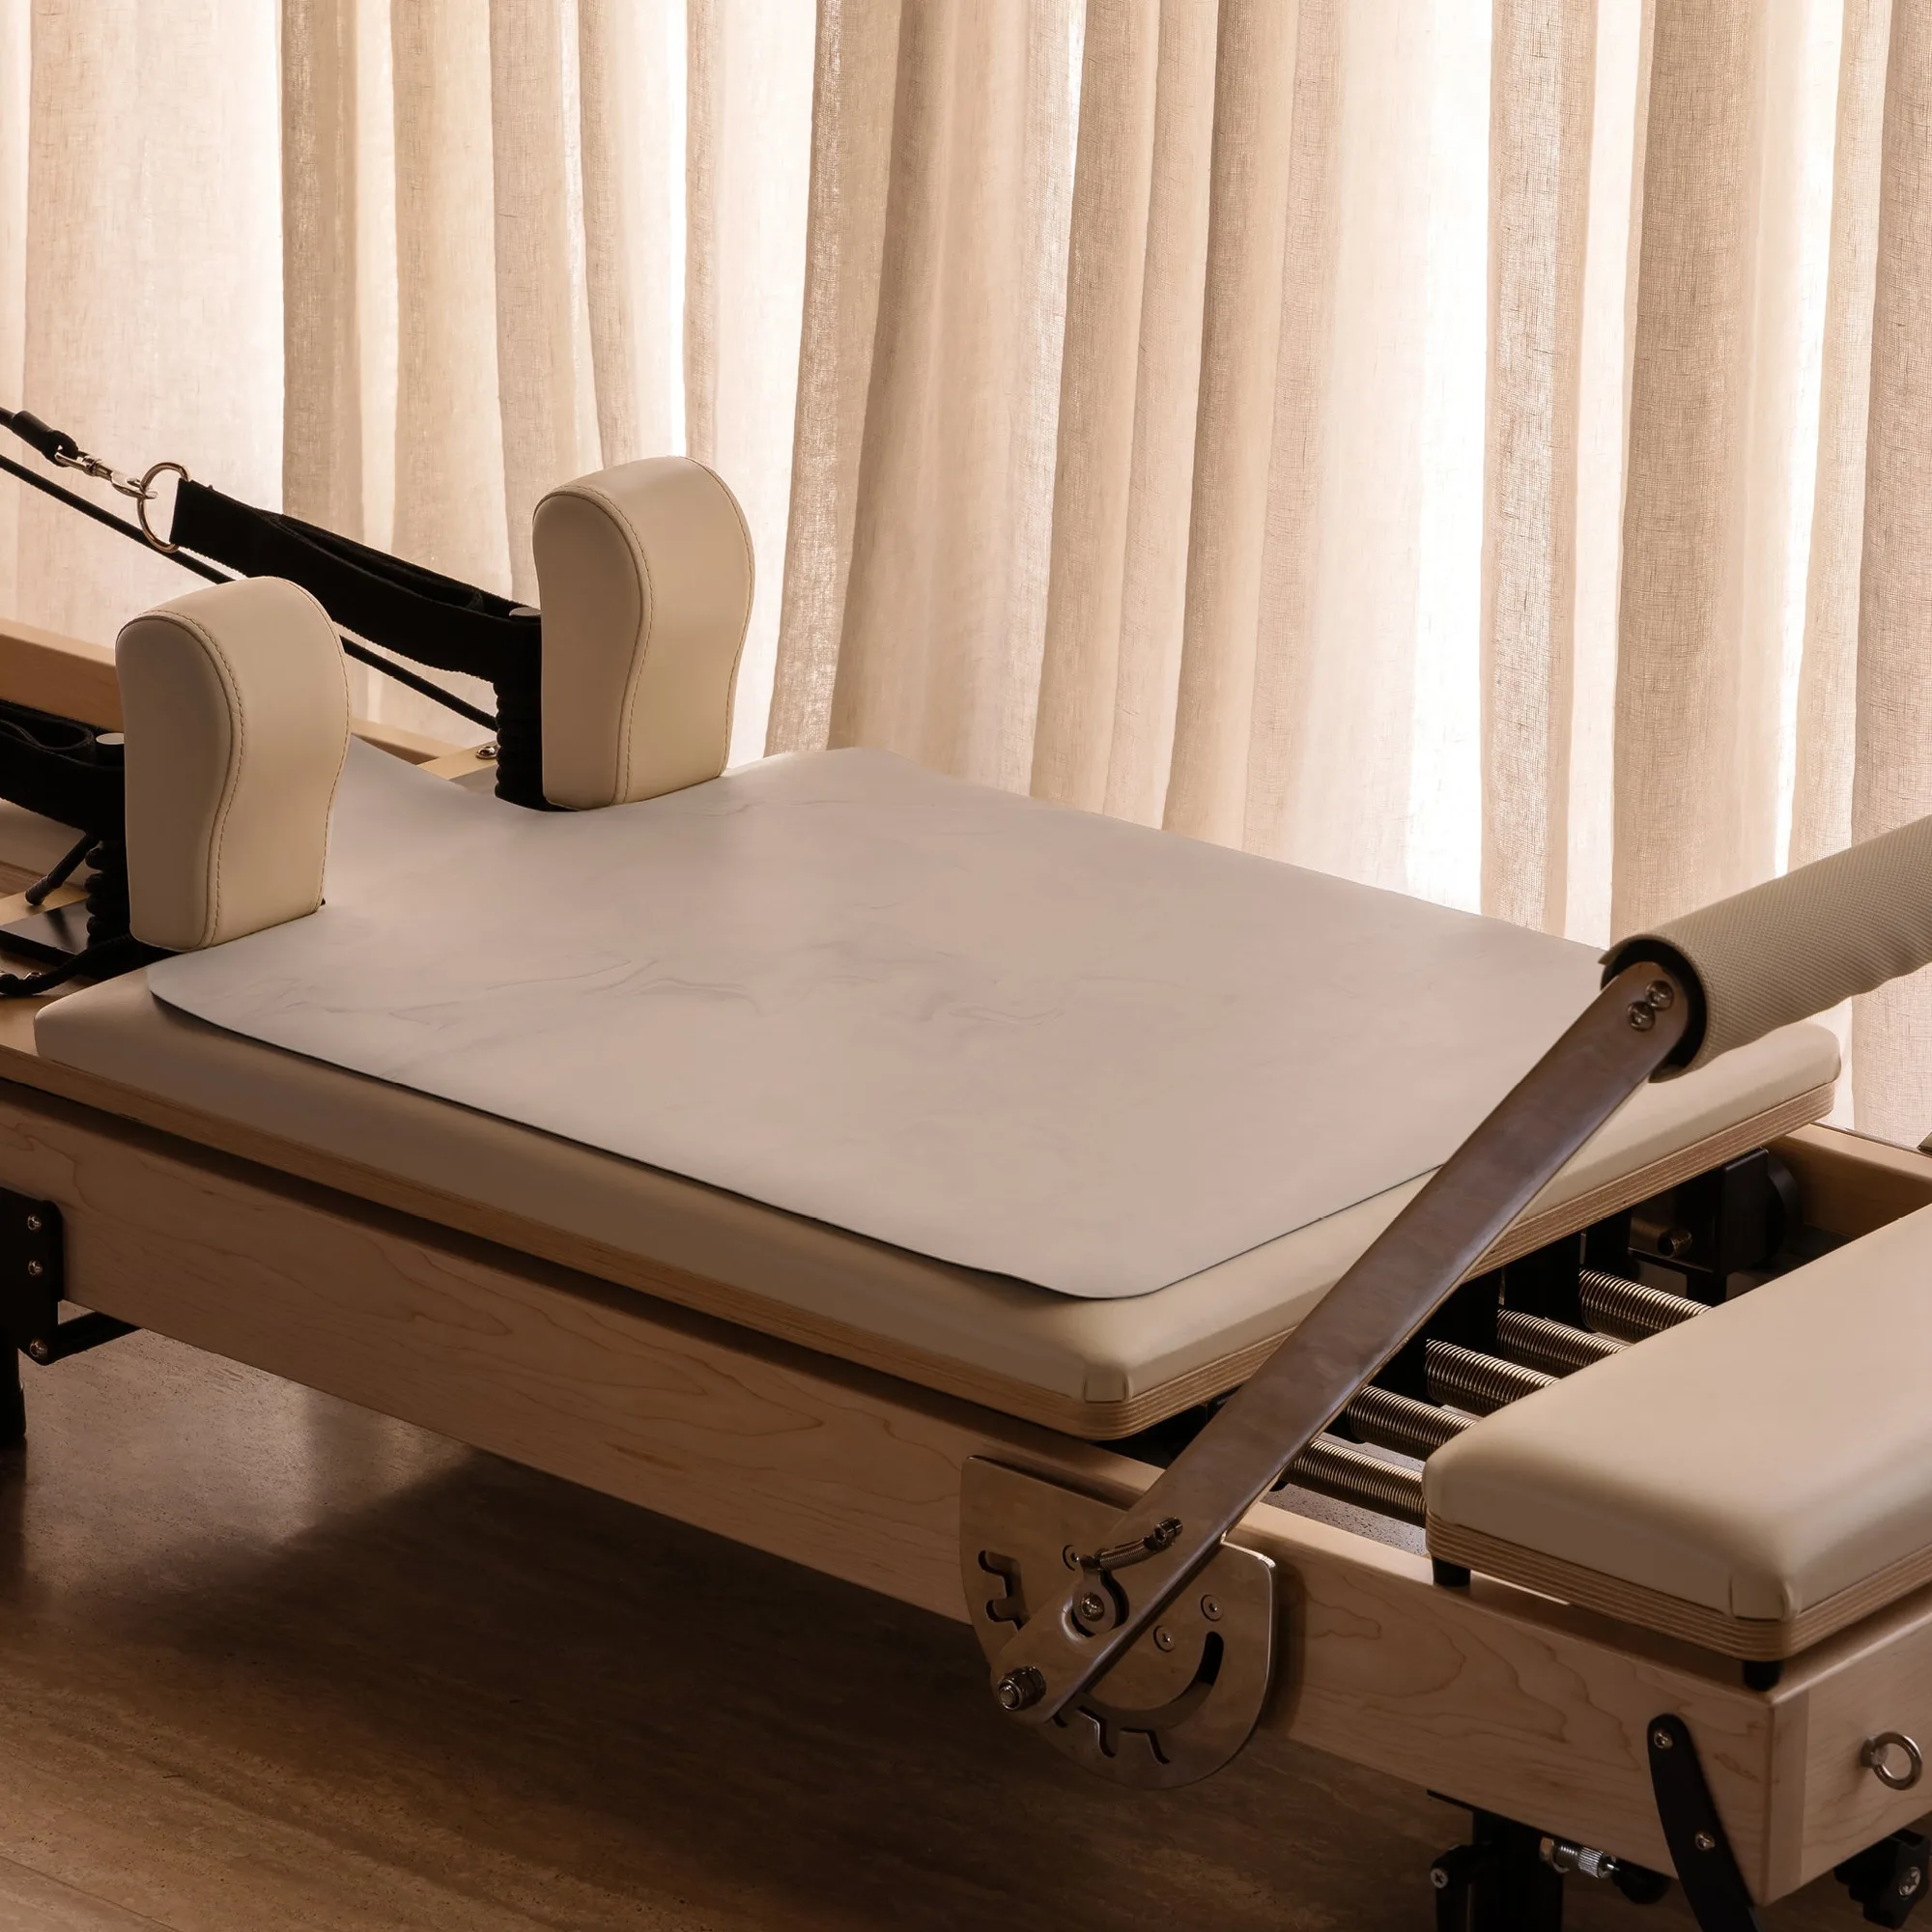
Before starting, give each accessory a gentle pull to test its security. A checkpoint: if a handle slips or feels loose, reattach it or replace it. Using damaged accessories can cause accidents. Also, consider using a Reformer Mat for comfort and hygiene, especially if you share the reformer.
- Use Booty Bands for lower-body warm-ups before your reformer session.
- Keep a towel and water nearby for convenience.
Step 6: Perform a Safety Check and Test Move
After setup, do a final safety check. Ensure all knobs are tight, springs are correctly attached, and the carriage moves smoothly. Then, perform a simple exercise like the footwork or a basic stretch to test the setup. If you feel any instability or unusual noises, stop and investigate.
A common mistake is skipping this step, leading to injuries during the first workout. A checkpoint: if you hear creaking, it might be a loose bolt or need lubrication. Regularly inspect your reformer for wear and tear, and replace parts as needed. This ensures safe reformer use over time.
- Keep a list of contact information for replacement parts.
- Set a monthly maintenance routine to check bolts, springs, and straps.
Step-by-Step Reformer Setup Checklist
- Location and Space: Choose a level, clutter-free area with at least 3 feet of clearance on all sides. Avoid thick carpet. A stable surface prevents wobbling and accidents.
- Frame Assembly: Follow the manual, tighten all bolts, and use leveling feet to stabilize on uneven floors. A wobbly frame can cause injury; check for stability after assembly.
- Shoulder Rests and Headrest: Adjust to slightly wider than shoulders, with headrest supporting your neck. Test by lying down. Proper alignment prevents neck strain.
- Spring Tension: Start light, attach springs securely, and adjust based on exercise and strength. Test resistance. Too much resistance compromises form; start with one spring.
- Accessories and Safety Check: Attach handles and straps securely, test with a gentle pull, and do a final check for loose parts. Damaged accessories should be replaced immediately.
Recommended Accessories for Your Reformer Setup
- Double Loop Handle Set: Your Reformer USA presents the Double Loop Handle Set, a practical replacement accessory for your reformer. Available in three color options: Black, Mocha, and Ivory, this set is designed to support your workout routine with reliable construction. Durable double loop handles offer a secure grip for various reformer exercises. Replacing worn or slippery handles ensures a secure grip, reducing the risk of hand fatigue and injury during exercises.
- Soft Grip Handle Set: The Soft Grip Handle Set from Your Reformer USA is designed as a practical accessory for your reformer equipment. This set offers a comfortable and secure grip for various exercises. Manufactured by Your Reformer USA, a brand focused on reformer parts and accessories. Categorized as a parts item, suitable for use as a replacement or spare component. Comfortable handles help you maintain control and proper form, especially during high-repetition or long sessions, enhancing workout effectiveness.
- Reformer Mat: The Reformer Mat from Your Reformer USA is a practical accessory designed for use with Pilates reformers. This mat provides a comfortable surface for your practice and is available in several attractive colors to suit your preference. Available in five color options: Beige Wash, Black Wash, Dusty Rose, Sage, and Blush. A mat adds cushioning for lying exercises and protects the reformer's surface, making your workout more comfortable and extending equipment life.
- Booty Bands Set: This Booty Bands Set from Your Reformer USA offers versatile resistance for lower-body shaping and glute activation. Each set includes multiple bands crafted for comfort and reliable performance during your warm-ups, strength workouts, or rehabilitation routines. Set includes bands available in six color options: Beige, Mocha, Blush, Sage, Black & Grey, and Coastal. Using resistance bands for warm-ups and targeted exercises can improve muscle activation and prepare your body for the reformer workout, enhancing overall results.
Setting up your reformer correctly is essential for a safe and effective home workout. By following these steps—choosing the right location, assembling properly, adjusting to your body, and checking accessories—you can prevent injuries and get the most out of each session. Remember to perform regular maintenance and replace worn parts to keep your reformer in top condition.