Quick answer
To set up a router table for precision routing, first mount the router to a flat, level plate, then align the fence parallel to the miter slot and square to the table. Lock down every adjustment and verify with a test cut before running finish work. Skipping the leveling or fence alignment step is the most common cause of inconsistent cuts.
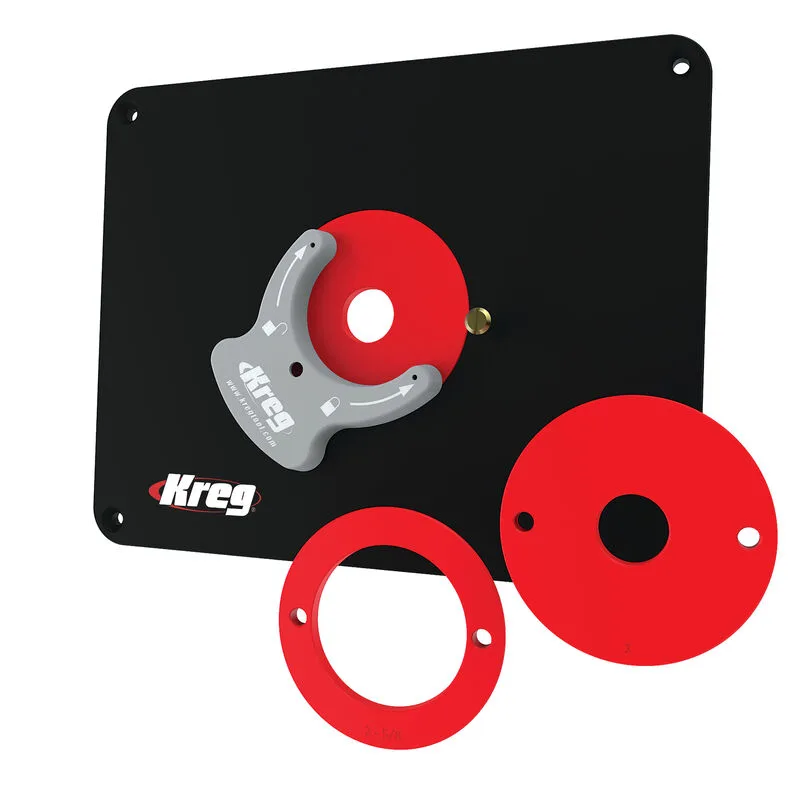
Mount the router plate flat and level
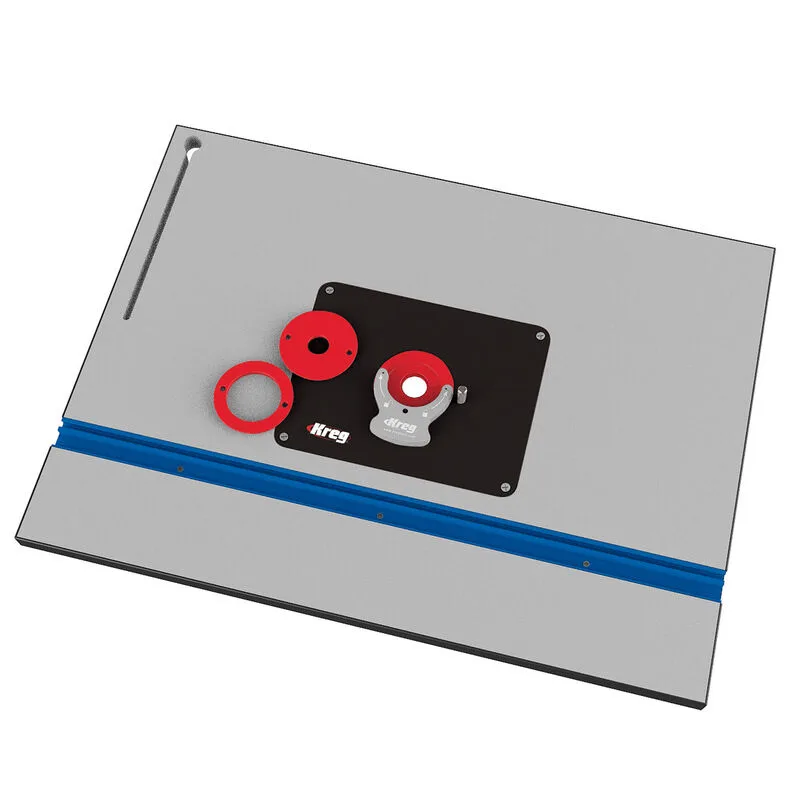
The router plate must sit flush with the table surface. Any high spot or dip will transfer directly into your cut depth and cause inconsistent results. Start by cleaning the recess and plate edges, then set the plate in place. Use a straightedge across the table and plate to check for gaps or rocking. Adjust the leveling screws in small increments until the plate is flush in all directions. A plate that rocks or sits proud will make every subsequent adjustment unreliable.
Center the base plate on the router
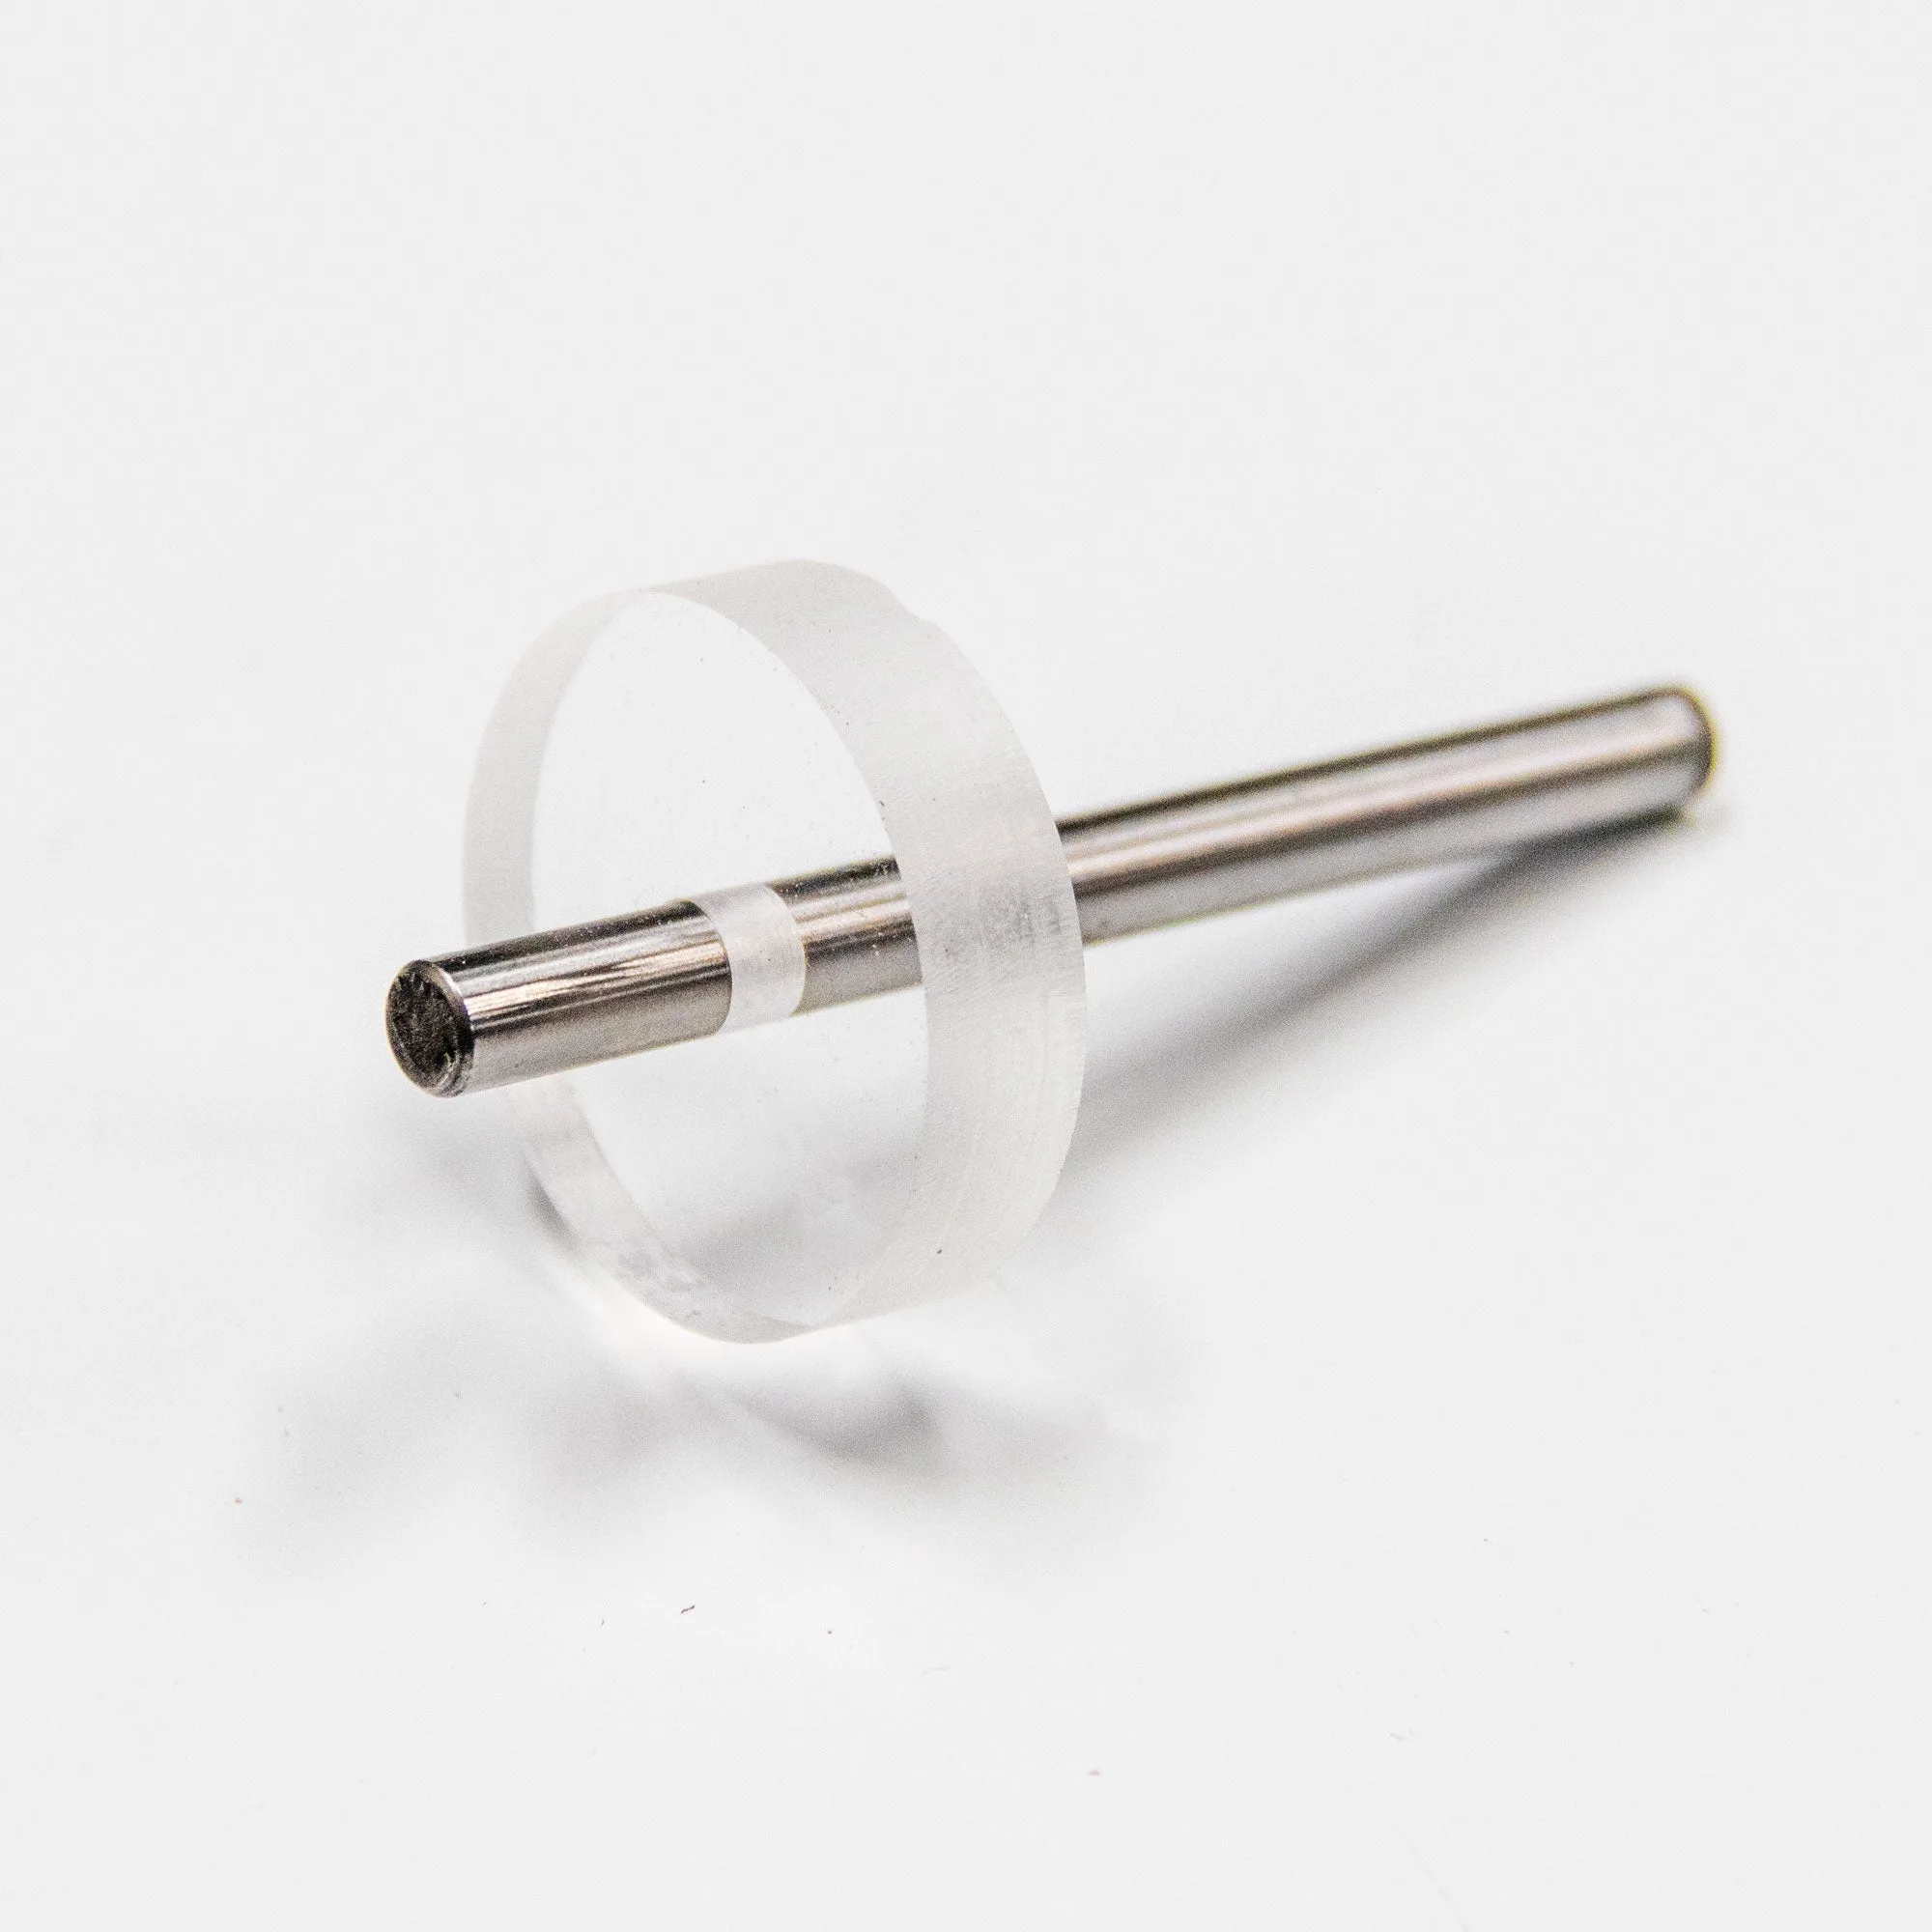
If you drill your own baseplate holes, centering the plate on the router is critical for accurate handheld routing. The Infinity Tools Base Plate Alignment Kit (product ID 1288797) includes a 1/4-inch precision centerless ground steel pin that chucks into your router collet and a centering insert that fits Porter-Cable-style template guide bushings. This lets you align the baseplate concentrically before drilling. Without centering, the bit will not sit in the middle of the base, which throws off edge guides and template work.
Align the fence parallel to the miter slot
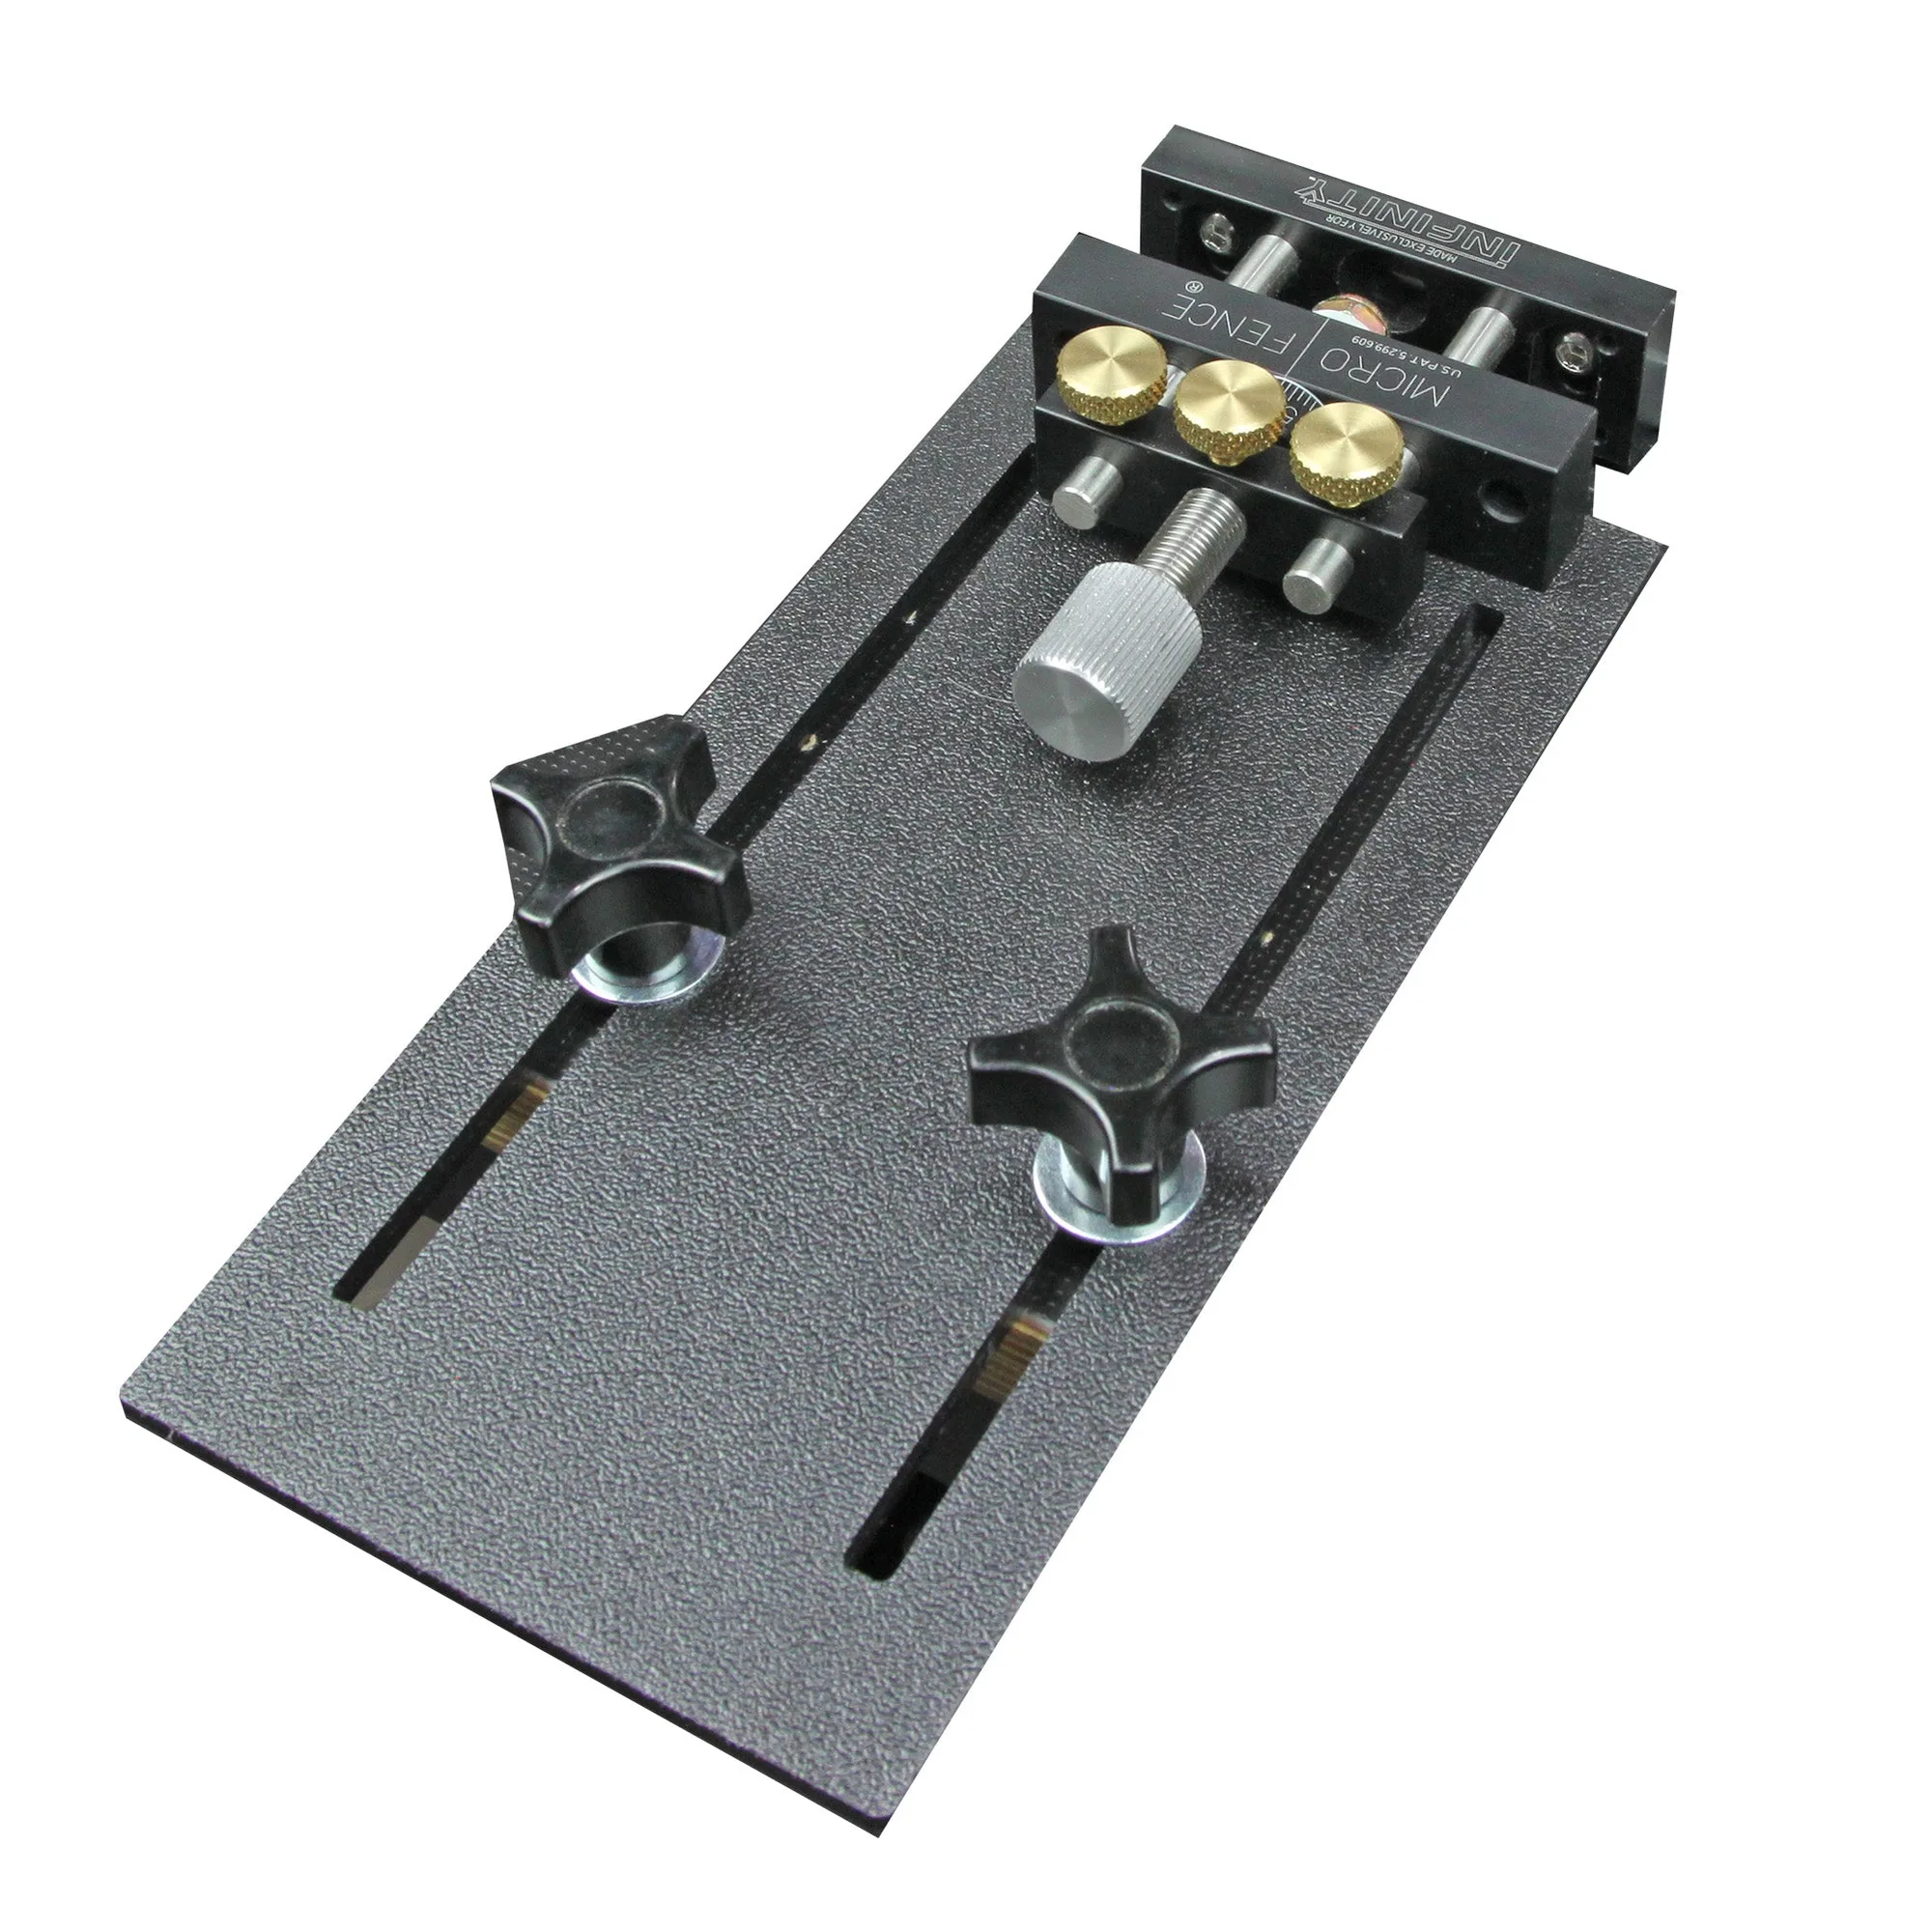
The fence must be parallel to the miter slot and perpendicular to the table surface. Use a reliable square or a dial indicator to check alignment. Even a small error will cause the workpiece to drift or bind. Once aligned, lock the fence securely. For fine adjustments, the Infinity Tools Router Fence Precision Micro Adjust Kit (product ID 1289190) provides ultra-fine control of fence movements forward and backward, letting you dial in exactly the position you need. This is especially helpful when sneaking up on a final cut.
Set bit height and depth of cut
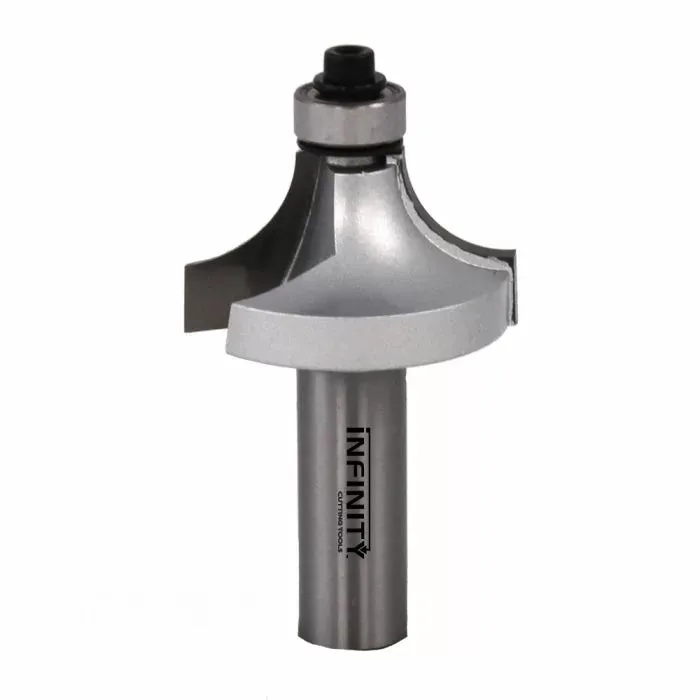
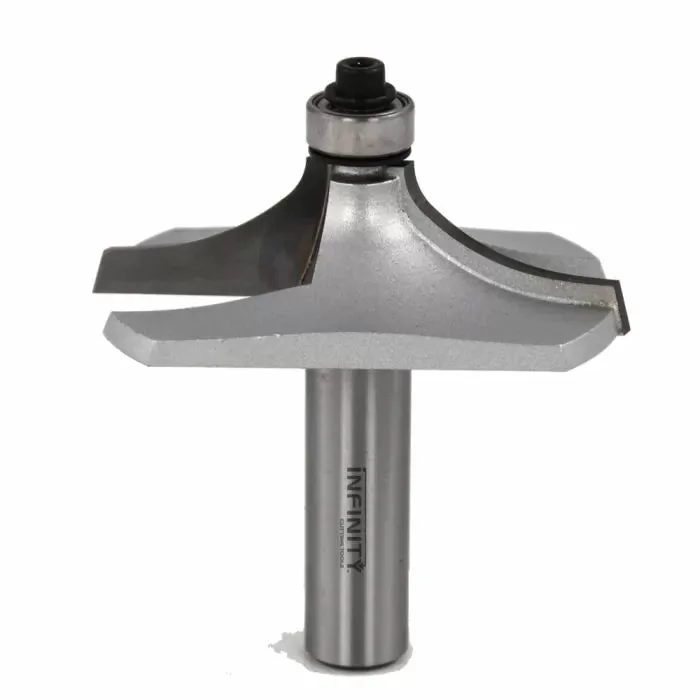
Install the router bit and set the height using a reliable gauge. For edge-forming bits like roundover and beading bits, the cutter radius determines the profile. Infinity Tools 1/2-inch shank Roundover & Beading Router Bits (product ID 1289442) are available in multiple cutter radii and diameters, so you can match the bit to your project. Make test cuts on scrap and adjust height until the profile meets your intended shape. Never bottom out the bit in the collet; leave a small gap for safety.
Verify with a test cut and check safety
Before routing your actual workpiece, run a test cut on scrap of the same thickness and species. Check for burn marks, tearout, or dimensional errors. Confirm that the fence is locked, the plate is flush, and the bit is tight. Always use push blocks and keep hands clear of the bit. Wear eye and hearing protection. Make sure the router is unplugged when making any adjustments.
Step-by-step router table setup
- Mount the router plate: Clean the recess and plate edges, set the plate in place, and adjust leveling screws until the plate is flush with the table surface in all directions. Checkpoint: the plate should not rock or sit proud; use a straightedge to verify.
- Center the base plate on the router: If you drill your own baseplate, use an alignment kit to center the plate concentrically on the router before drilling holes. Common mistake: skipping centering leads to off-center bits and inaccurate cuts.
- Align the fence parallel to the miter slot: Use a square or dial indicator to set the fence parallel to the miter slot and perpendicular to the table, then lock it down. Checkpoint: the fence should not move when locked; recheck after any adjustment.
- Set bit height and depth of cut: Install the bit, set height with a gauge, and make test cuts on scrap to fine-tune the profile. Common mistake: setting height by eye; always verify with a test cut.
- Run a test cut and check safety: Use scrap to verify setup, then confirm all locks are tight, push blocks are ready, and safety gear is worn. Checkpoint: unplug the router before making any adjustments.
Tools that help with precision setup
- Infinity Tools Router Fence Precision Micro Adjust Kit: The Infinity Tools Router Fence Precision Micro Adjust Kit gives ultra-fine control of fence movements both forward and backward, designed in partnership with MicroFence, with knurled brass knobs. Lets you dial in fence position precisely for fine craftsmanship without tapping or guessing.
- Infinity Tools Base Plate Alignment Kit; 1/4" Rod & Centering Insert: The Infinity Tools Base Plate Alignment Kit includes a 1/4-inch precision centerless ground steel pin that chucks into your router collet and a centering insert for Porter-Cable-style template guide bushings. Ensures your baseplate is centered on the router, which is critical for accurate handheld routing and template work.
- Infinity Tools 1/2" Shank Roundover & Beading Router Bits: Infinity Tools 1/2-inch shank Roundover & Beading Router Bits create smooth, professional-grade edges on hardwood, softwood, plywood, and MDF, and are available with different cutter radii and diameters. Choosing the right cutter radius and diameter lets you match the bit to your desired edge profile for clean, splinter-free cuts.