The Smart Hummingbird Feeder Housing is designed to protect your hummingbird feeder from the elements while adding a sleek, modern look to your backyard. Whether you’re a seasoned birdwatcher or a beginner, setting up the housing correctly ensures that your feathered visitors enjoy a safe and comfortable feeding spot. In this guide, we’ll walk you through the entire setup process—from unboxing to connecting your feeder to the Birdbuddy app.
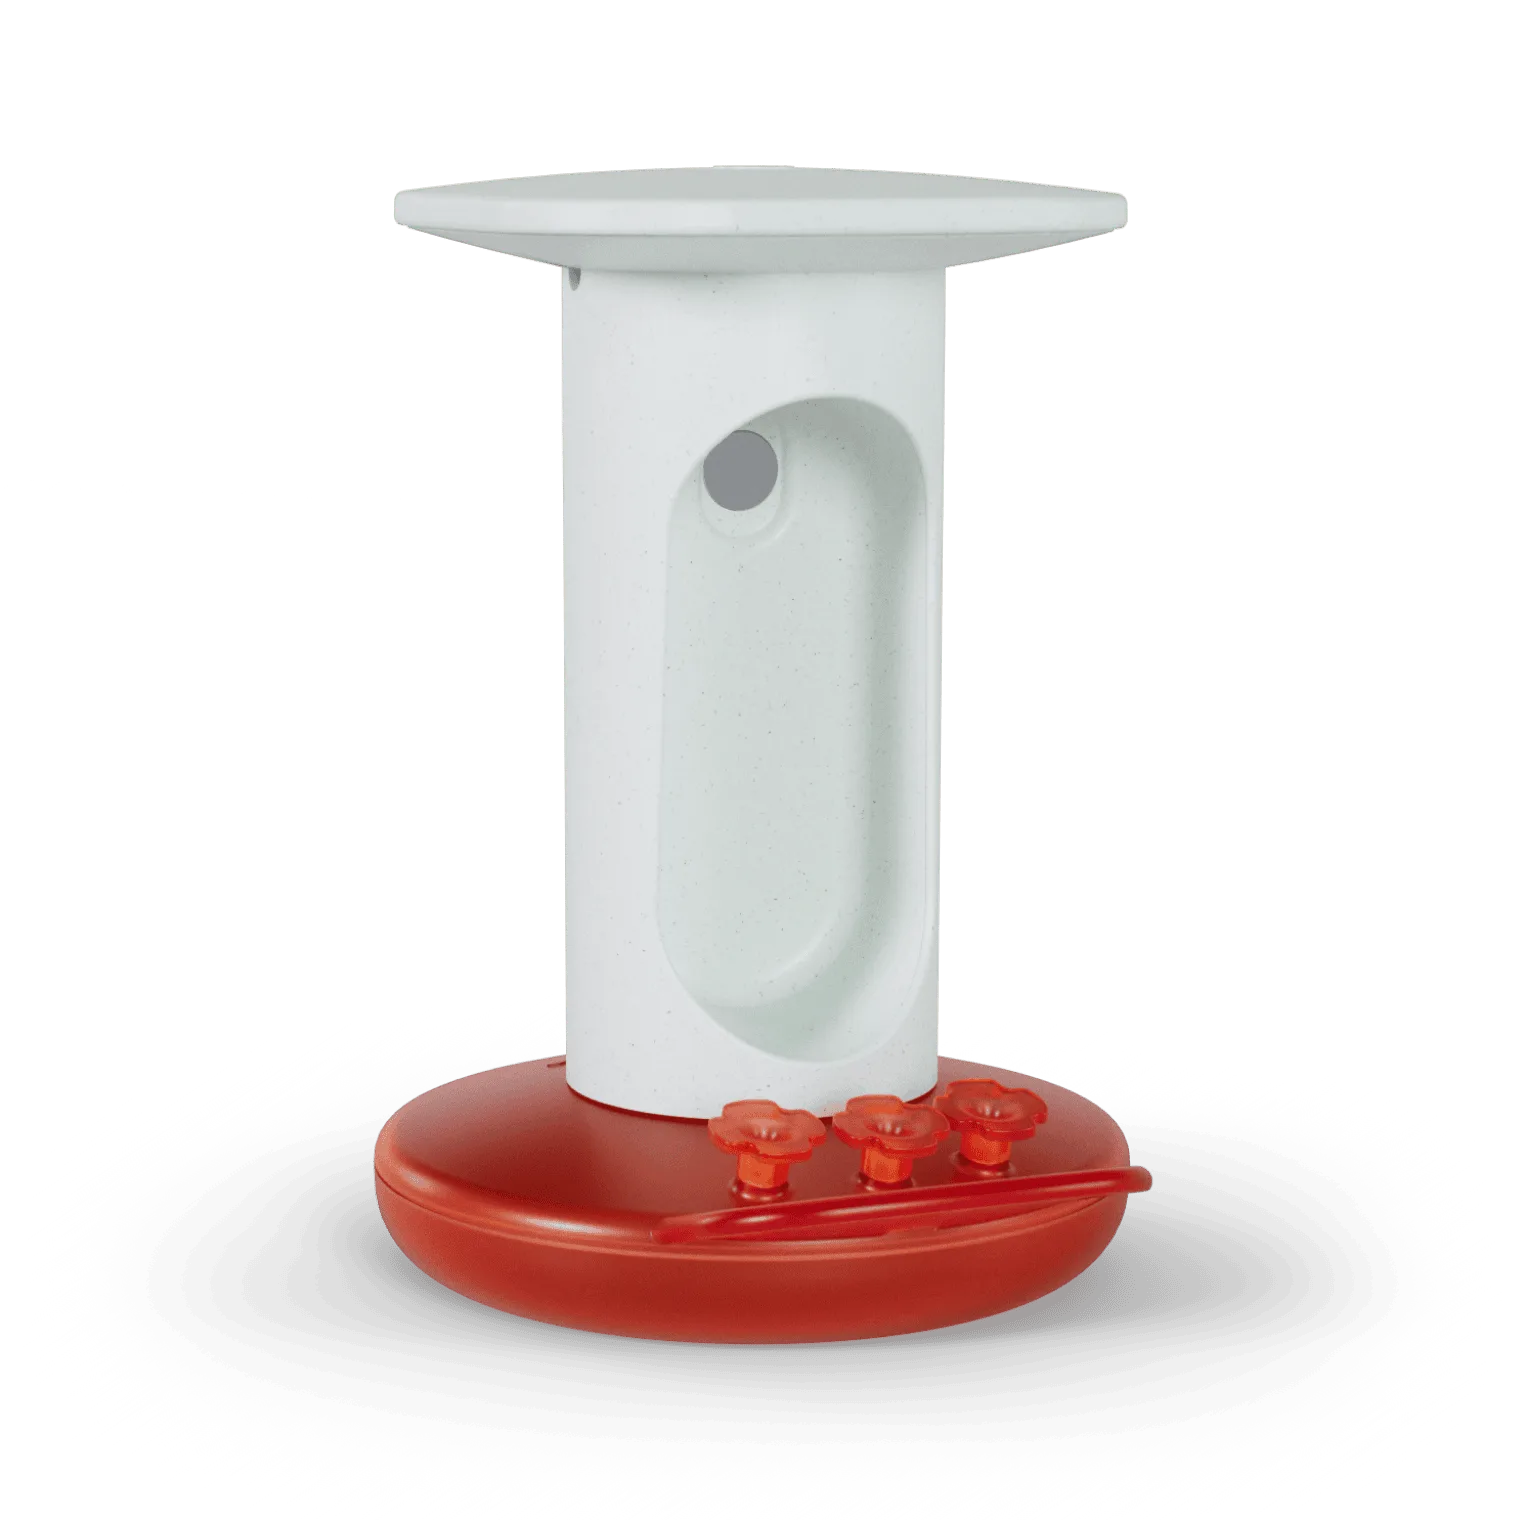
Smart Hummingbird Feeder Housing
After reading, you’ll have a fully operational hummingbird feeding station that keeps nectar fresh, birds dry, and your view unobstructed. Let’s get started with what comes in the box.
What’s in the Box
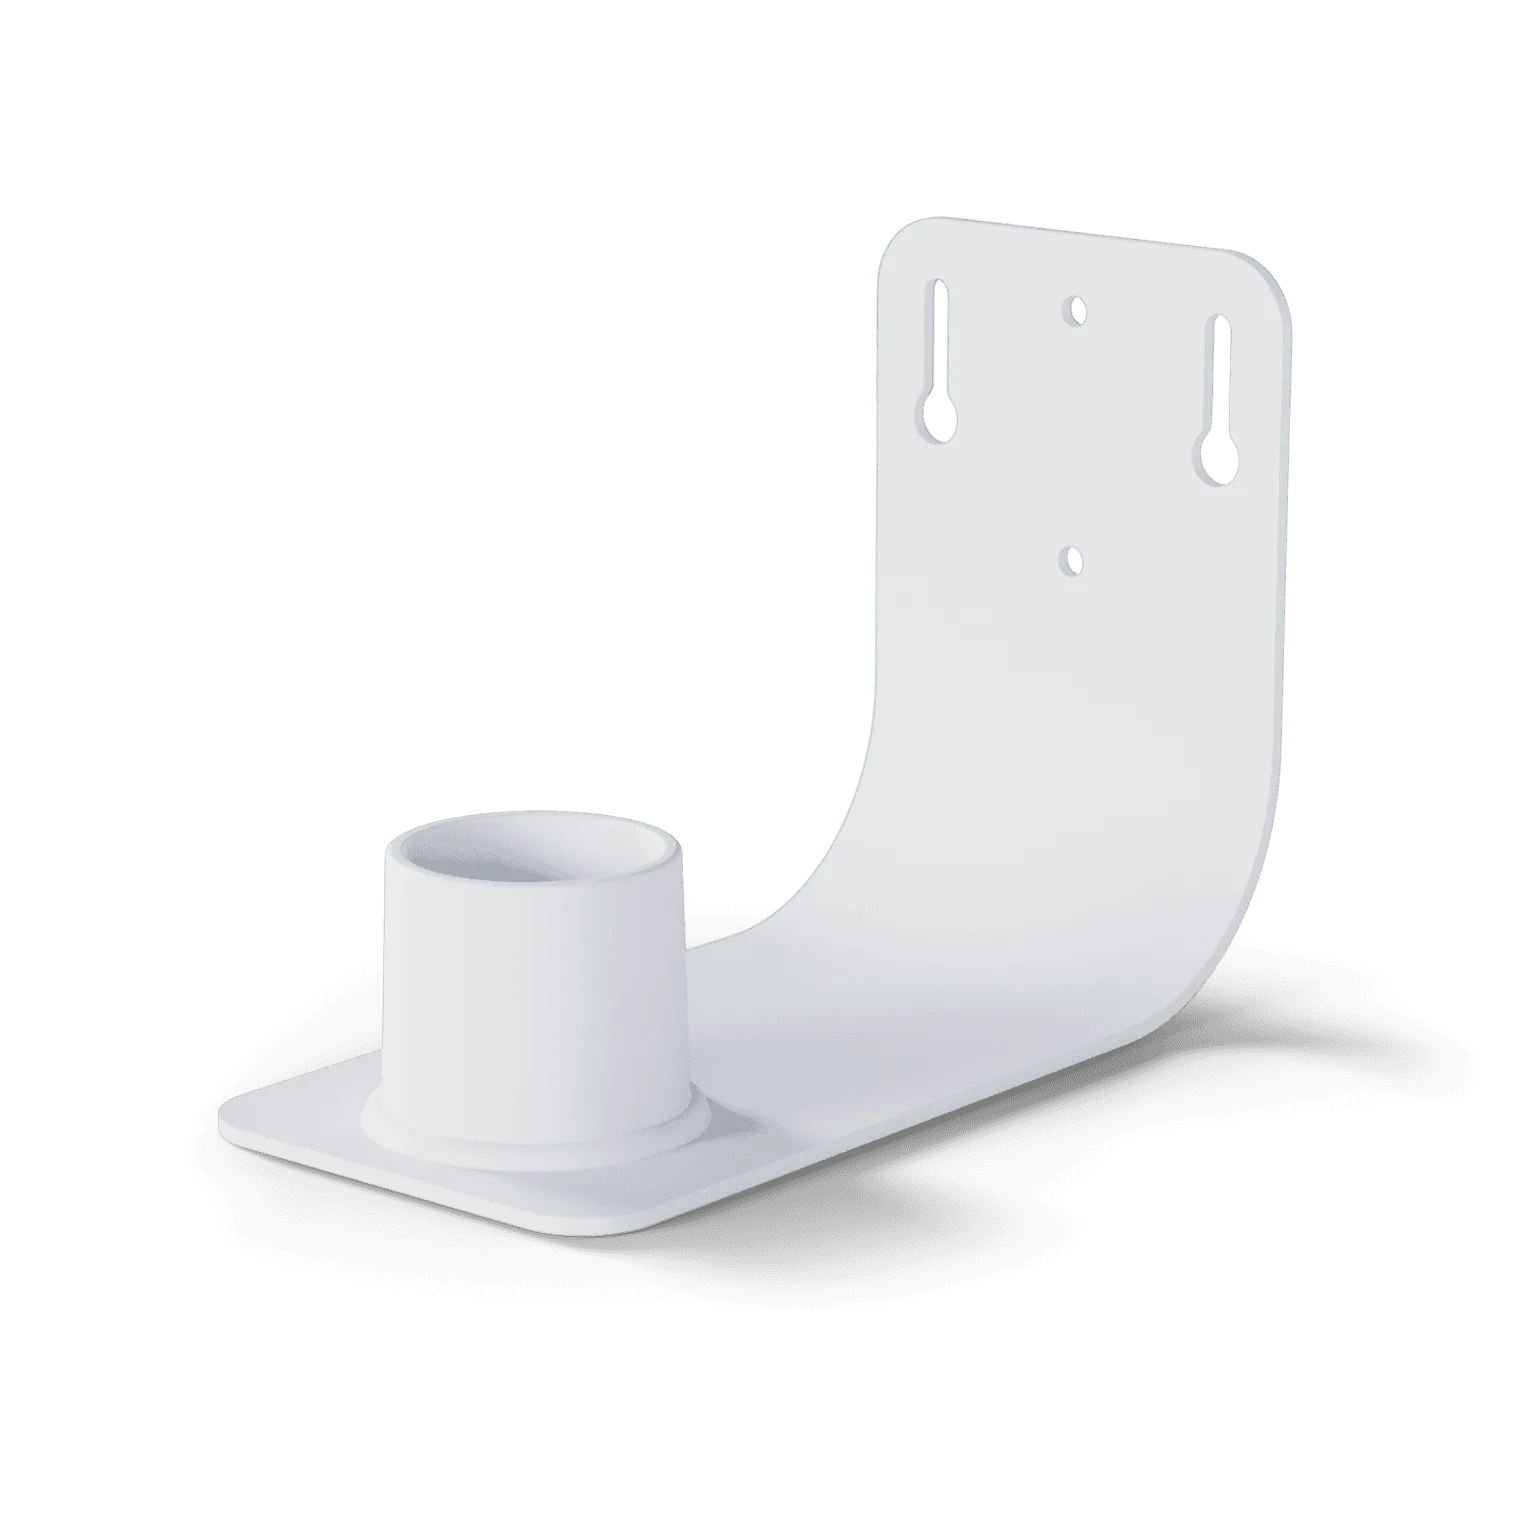
Upon opening the Smart Hummingbird Feeder Housing package, you’ll find the main housing unit (a curved roof with side panels), hardware for mounting (screws, wall anchors, and a mounting plate), and a user manual. Note that the housing does not include the feeder itself—it is compatible with both the Smart Hummingbird Feeder Pro and standard hummingbird feeders. Make sure you have your chosen feeder ready before assembly.
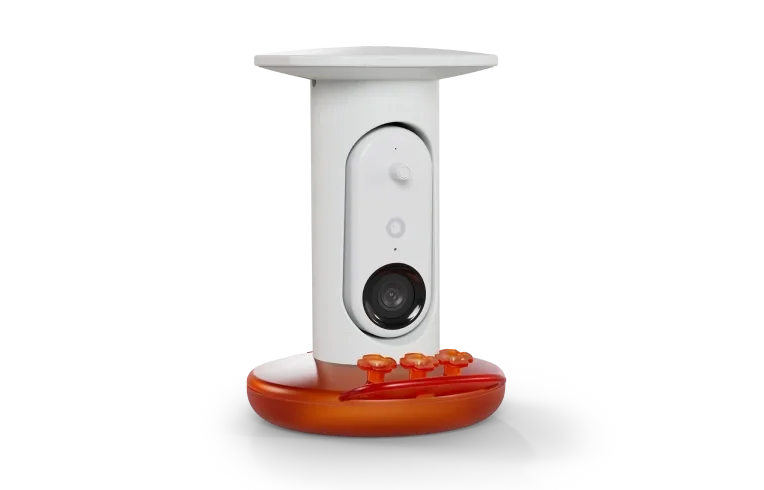
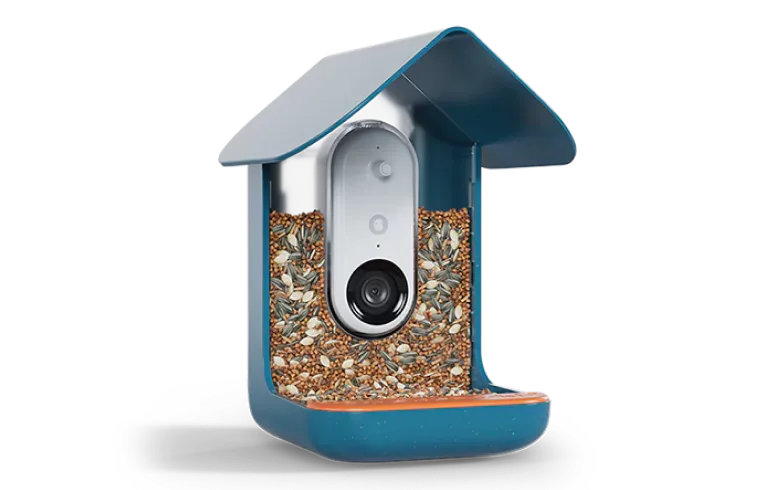
Smart Hummingbird Feeder Pro
Additional accessories like the Perch Extender can be purchased separately to provide extra perching space around the housing. Check the contents against the list in the manual to ensure nothing is missing before you begin installation.
- Housing unit (roof and side panels)
- Mounting plate with pre-drilled holes
- Screws, wall anchors, and Allen key
- User manual and QR code for app setup
Choosing the Perfect Location
The ideal spot for your hummingbird feeder should be partially shaded to slow nectar fermentation and visible from your favorite window. Avoid areas with heavy wind, as the housing could sway. Mount the housing at least 4–5 feet off the ground to deter predators and provide a clear flight path for hummingbirds. If you plan to use the Birdbuddy Pro camera features, ensure a clear line of sight with no branches blocking the lens.
Morning sun with afternoon shade is a great balance. Avoid placing the housing too close to bird feeders for larger birds to reduce territorial disputes. A quiet corner of the garden away from heavy foot traffic works best.
- Partial shade: morning sun, afternoon shade
- Elevation: 4–5 feet above ground
- Visibility: near a window but not direct sunlight
- Calm surroundings: away from high-traffic areas
Assembling the Housing
Start by attaching the mounting plate to the back wall of the housing using the provided screws. The plate allows for easy wall mount or pole mount later. Next, slide the roof panel onto the housing body until it clicks into place. The design ensures weatherproofing—the roof overhangs the body slightly to keep rain out. Do not overtighten any screws to avoid cracking the plastic.
If you purchased the Perch Extender, snap it onto the front lip of the housing now. This gives hummingbirds additional landing spots and can increase visitor numbers. The entire assembly takes about 10 minutes.
- Step 1: Attach mounting plate to housing back
- Step 2: Slide roof onto housing body
- Step 3: Optionally add Perch Extender
- Step 4: Tighten screws gently
Mounting the Housing
For wall mounting, use the mounting plate as a template to mark drill holes on your desired surface. Drill pilot holes, insert wall anchors, and screw the plate into place. Then hang the housing onto the plate and lock it with the security screw. The housing can also be mounted on a wooden post or a metal pole using compatible brackets (sold separately). Ensure the housing is level before finalizing.
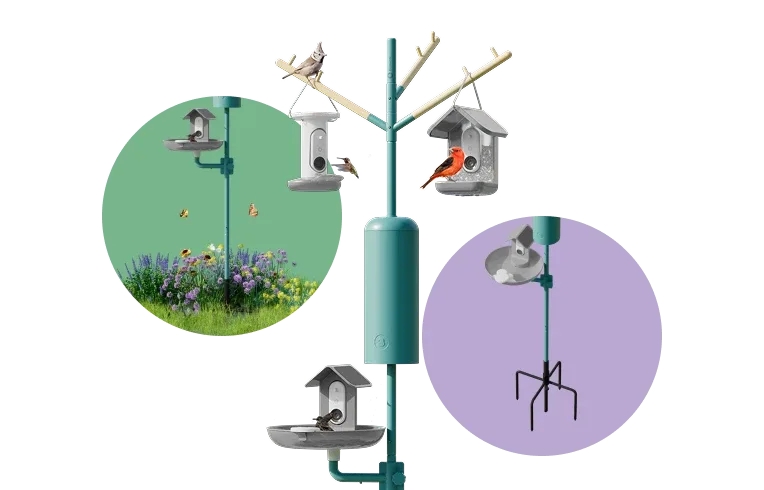
If you plan to use the housing with the Smart Hummingbird Feeder Pro, position the housing so that the feeder’s solar panel or camera module (if applicable) has unobstructed exposure. For ground-level mounting, use a sturdy base like the Nature Station Essential to keep the housing stable.
- Wall mount: mark, drill, install anchors, hang housing
- Pole mount: use optional bracket and secure with zip ties or screws
- Level check: use a bubble level before tightening
Attaching the Feeder and Final Setup
Once the housing is mounted, place your hummingbird feeder inside. The housing has a bottom tray that holds the feeder securely. If you’re using the Smart Hummingbird Feeder Pro, ensure the feeder’s weight sensor contacts the tray to enable smart features. Fill the feeder with fresh nectar (4 parts water to 1 part white sugar) and avoid adding red dye—red plastic is enough to attract birds.
Gently close the front latch of the housing to secure the feeder. The housing’s design allows easy access for refilling and cleaning. Before inviting birds, double-check that the roof is locked and the housing is stable.
- Place feeder in the bottom tray
- Connect Smart Hummingbird Feeder Pro sensors if applicable
- Fill with homemade nectar (no dye)
- Close latch and test stability
Connecting to the Birdbuddy App
If you’re using a compatible smart feeder like the Smart Hummingbird Feeder Pro, download the Birdbuddy app on your phone and follow the pairing instructions. The app will help you configure motion detection, capture photos, and receive alerts when hummingbirds visit. The housing does not interfere with Wi-Fi or camera signals. Make sure your device is within 30 feet of your home router for reliable connectivity.
After pairing, you can monitor activity, view visitor statistics, and even share videos with the Birdbuddy community. Regular updates add new features like weather alerts and nectar freshness reminders.
- Download Birdbuddy app from iOS/Android store
- Power on the feeder and scan QR code
- Select housing placement in app settings
- Test camera and motion alerts
Maintenance Tips for Long-Lasting Use
To keep your Smart Hummingbird Feeder Housing and feeder in top condition, clean them every 3–4 days in hot weather to prevent mold and bacteria growth. Use a bottle brush and mild soap; rinse thoroughly. The housing’s roof is removable for easy cleaning. Check the mounting screws monthly to ensure they remain tight.
During winter, consider moving the housing to a sheltered location or using a heated perch if hummingbirds stay in your area. Replace nectar if it becomes cloudy or shows signs of fermentation. With proper care, your housing will provide years of safe feeding.
- Clean feeder and housing every 3-4 days in summer
- Remove and wash roof separately
- Tighten screws monthly
- Winter: relocate or add heating element
Now that your Smart Hummingbird Feeder Housing is fully set up, sit back and enjoy the show. With the right location, assembly, and app integration, you’ll attract hummingbirds within days. Ready to start? Explore the Smart Hummingbird Feeder Housing and accessories to create the perfect feeding station in your backyard.