Quick Answer
To set up a triple monitor workspace with the Anker Nano docking station, connect the dock to your laptop via USB-C, plug your monitors into the dock's video outputs, and configure your display settings in your operating system. Ensure your laptop supports the required number of external displays and that you use the correct cables for your monitors.

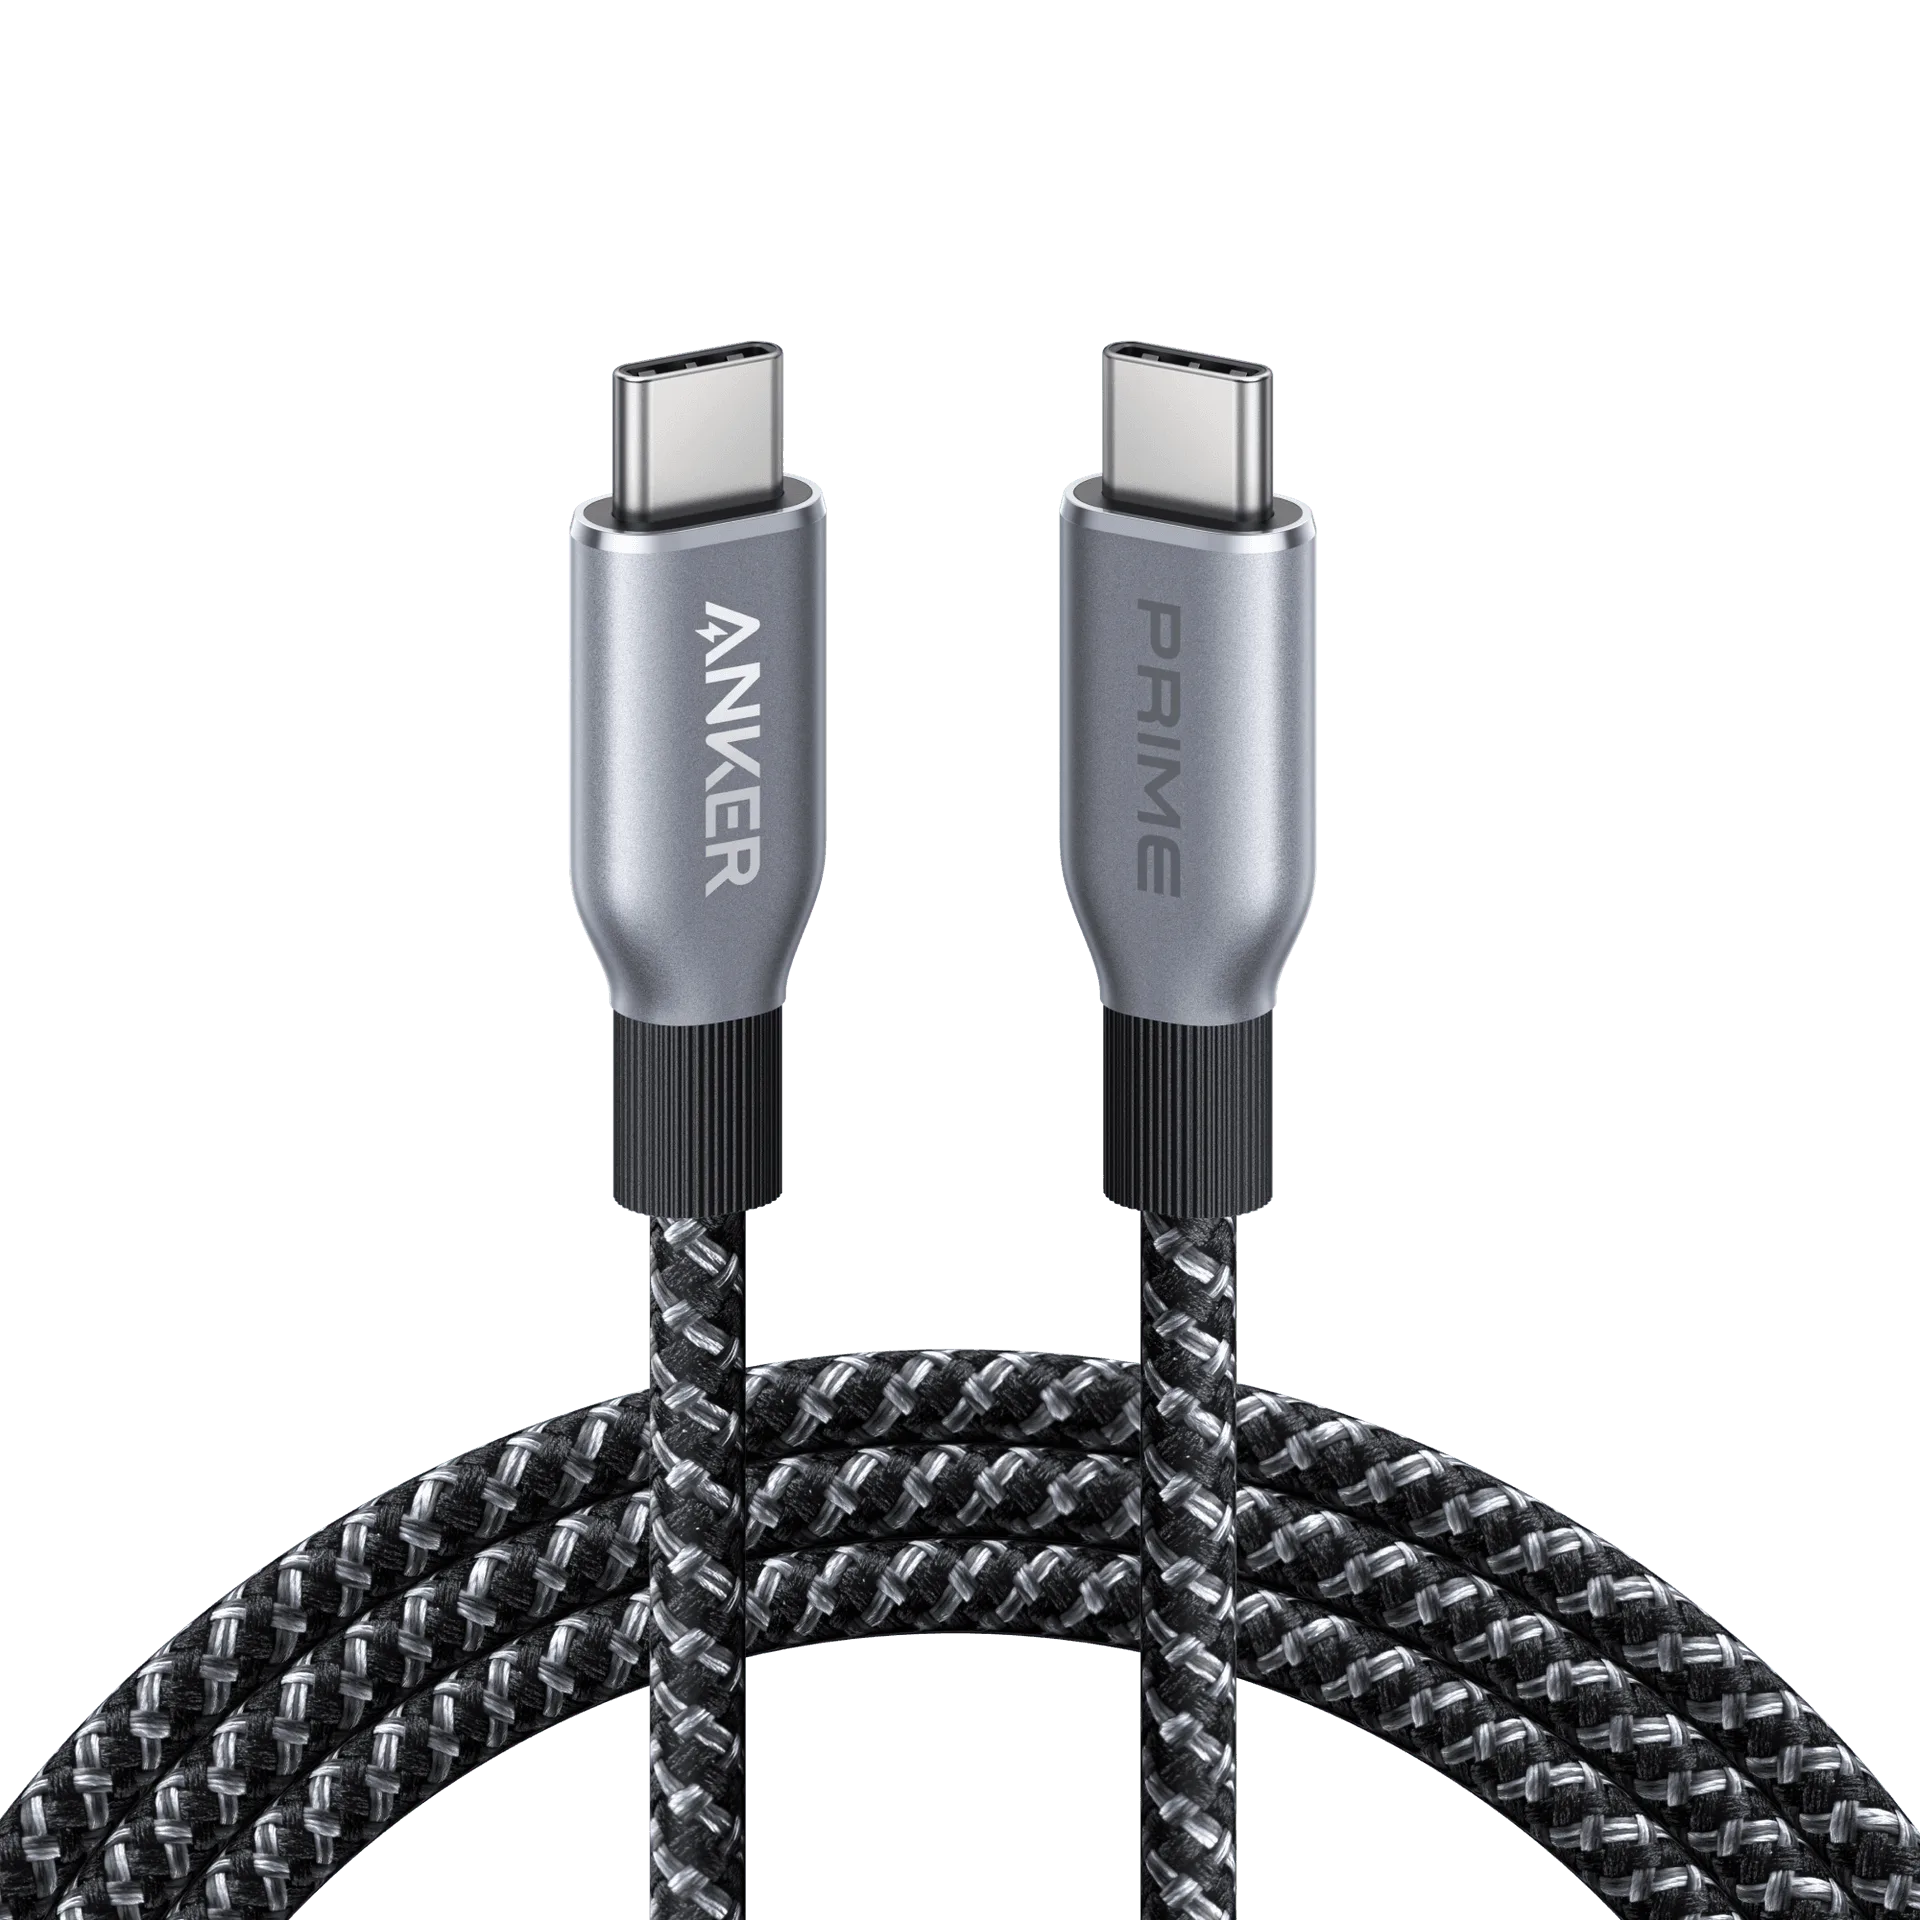
cables
A triple monitor setup can transform your productivity, giving you ample screen real estate for multitasking, coding, design, or trading. The Anker Nano docking station is a compact yet powerful hub that can drive multiple displays from a single USB-C connection, making it an ideal centerpiece for your workspace. In this guide, we'll walk you through the entire process, from unboxing to fine-tuning your display settings.
Whether you're using a Windows laptop or a MacBook, the principles are similar. We'll cover the necessary hardware, step-by-step setup instructions, and common pitfalls to avoid. By the end, you'll have a sleek, efficient triple monitor setup that maximizes your productivity.
Understanding Your Hardware Requirements
Before you start, it's crucial to verify that your laptop supports triple monitor output. Most modern laptops with USB-C ports that support DisplayPort Alt Mode or Thunderbolt 3/4 can drive multiple displays. Check your laptop's specifications or the manufacturer's website to confirm the maximum number of external displays supported. For example, many MacBook Pro models support up to two external displays, while some Windows laptops may support more.
Next, consider the resolution and refresh rate of your monitors. The Anker Nano docking station supports up to dual 4K@60Hz or triple 1080p@60Hz output, depending on the model. Ensure your monitors and cables (HDMI, DisplayPort, or USB-C) are compatible with these specifications. If you're using adapters, make sure they support the required bandwidth.
- Check your laptop's USB-C port capabilities (DisplayPort Alt Mode or Thunderbolt).
- Verify the maximum external display count supported by your laptop.
- Use high-quality cables that support the resolution and refresh rate of your monitors.
Step-by-Step Setup Process
Once you've confirmed compatibility, the setup is straightforward. First, connect the Anker Nano docking station to your laptop using the included USB-C cable. The dock will power on and may require driver installation on some systems. For Windows, Windows Update will typically install the necessary drivers automatically. On macOS, the dock should be plug-and-play.
Next, connect your monitors to the dock's video output ports. The Anker Nano docking station typically features multiple HDMI and DisplayPort outputs. Use the appropriate cables for your monitors. If your monitors only have VGA or DVI inputs, you'll need active adapters, but we recommend using modern monitors with HDMI or DisplayPort for best results.
After connecting all monitors, power them on and adjust your display settings. On Windows, right-click the desktop and select 'Display settings' to detect and arrange your monitors. On macOS, go to 'System Preferences' > 'Displays' to configure the arrangement. You can set the primary display, adjust resolution, and choose to extend or mirror your desktop.
- Connect the dock to your laptop before connecting monitors to avoid detection issues.
- Use the 'Detect' button in display settings if a monitor isn't recognized.
- Arrange the monitors in the settings to match their physical layout for intuitive cursor movement.
Optimizing Your Triple Monitor Workspace
With your monitors up and running, you can now optimize your workspace. Consider using a monitor arm or stand to align the screens at eye level, reducing neck strain. Adjust the brightness and color calibration to ensure consistency across all displays. Many users find it helpful to use a tool like DisplayFusion or the built-in Windows features to manage windows across multiple monitors.
Another tip is to assign specific tasks to each monitor. For example, you might keep your email and communication apps on one screen, your primary work on the center screen, and reference materials or dashboards on the third. This organization can significantly boost your efficiency.
If you're using a laptop, you might also want to invest in a laptop stand to keep it at eye level and improve airflow. The Anker Nano docking station's compact design means it won't clutter your desk, and its built-in cable management helps keep things tidy.
- Use monitor arms to align screens and save desk space.
- Calibrate monitor colors for a consistent visual experience.
- Organize tasks by monitor to streamline your workflow.
Step-by-Step Setup Guide
- Step 1: Verify Compatibility: Check that your laptop supports multiple external displays via USB-C. Look for DisplayPort Alt Mode or Thunderbolt symbols near the port. Also, confirm the maximum number of displays supported in your laptop's manual or online specs. Checkpoint: If your laptop only supports one external display, a triple monitor setup won't work without additional hardware like a USB graphics adapter.
- Step 2: Connect the Dock: Plug the Anker Nano docking station into your laptop's USB-C port. Use the cable that came with the dock. The dock's LED should light up, indicating it's receiving power. If your laptop doesn't provide enough power, you may need to connect the dock to a power source. Common mistake: Forgetting to connect the dock to power if required, which can cause intermittent disconnections.
- Step 3: Connect Monitors: Connect each monitor to the dock using HDMI or DisplayPort cables. Ensure the cables are securely plugged in. If you're using adapters, make sure they are active (powered) for reliable signal conversion. Checkpoint: After connecting, power on each monitor. You should see your desktop extend or mirror across them.
- Step 4: Configure Display Settings: On Windows, go to Settings > System > Display. Click 'Detect' if a monitor isn't recognized. Drag the monitor icons to match your physical layout. Set the primary display and adjust resolution as needed. On macOS, go to System Preferences > Displays and arrange the displays accordingly. Common mistake: Not arranging the monitors in the correct order, causing cursor to move in unexpected directions.
- Step 5: Optimize and Test: Test all monitors by dragging a window across them. Adjust scaling if text appears too small or large. Calibrate colors if necessary. Consider using a tool like DisplayFusion to manage window positions and save profiles. Checkpoint: Once everything works, you're ready to boost your productivity with a triple monitor setup.
Product Facts
- Anker 555 USB-C Hub (8-in-1): The Anker 555 USB-C Hub (8-in-1) expands your connectivity options with a versatile set of ports, making it a practical addition to your workspace. 8-in-1 hub design offers multiple ports for various devices. USB-C connectivity ensures broad compatibility with modern laptops and devices. Compact and portable form factor is ideal for travel or desk setups. This hub is a great alternative if you don't need a full docking station but still want to connect multiple peripherals and displays. Its portability makes it easy to move between workstations.
- https://ankermn.com/products/nano-charger-35w-built-in-retractable-usb-c-cable-291996https://ankermn.com/products/nano-charger-35w-built-in-retractable-usb-c-cable-292135Nano Charger (35W, Built-In Retractable USB-C Cable): The Anker Nano Charger (35W) is a compact charging solution with a built-in retractable USB-C cable, designed to keep your devices powered with minimal fuss. 35W output for fast, efficient charging of compatible devices. Built-in retractable USB-C cable for convenient storage and tangle-free use. Compact Nano design makes it easy to carry and use on the go. While setting up your triple monitor workspace, you'll need to keep your laptop and other devices charged. This compact charger is perfect for powering your laptop or phone without adding bulk to your desk.
Setting up a triple monitor workspace with the Anker Nano docking station is a straightforward process that can dramatically improve your productivity. With the right hardware and our step-by-step guide, you'll be up and running in no time. Remember to verify compatibility, connect everything securely, and configure your display settings for the best experience. Enjoy your new expansive workspace!