Quick answer
Choose a level, low-traffic wall with clearance for doors and knobs, assemble the kitchen fully before adding decor, and pick red or white based on the room's light and existing palette. Red anchors a bold corner; white blends into calm, bright spaces.
Why placement comes before color
A vintage play kitchen is a hands-on toy, not just decor. Doors that open and knobs that turn need elbow room, so map the footprint before you commit to red or white. A kitchen squeezed against a bed or bookshelf will be opened less often, no matter how good it looks.
Light matters too. Red reads warm and energetic in bright rooms but can feel heavy in a dark corner. White keeps a small or dim room feeling open, though it shows scuffs more readily. Neither is wrong; match the finish to the spot you actually have.
Red or white: a quick decision rule
Pick red when the kitchen will be a visible focal point and the surrounding walls are neutral. Pick white when the room already has strong colors, when the play area doubles as a bedroom, or when you want the kitchen to recede between play sessions.
Both finishes use stainless-steel-look accents, so the hardware ties either version to a retro look. If you plan to add vintage play kitchen decor later, decide the finish first so the accessories support it rather than fight it.
Setup steps for a red or white vintage play kitchen
- Measure the footprint and clearance: Confirm the kitchen fits the wall with room for doors to swing and knobs to turn. Common mistake: measuring only the cabinet width and forgetting open-door space. Mark the floor with painter's tape and test the swing zone before assembly.
- Choose the wall by light and traffic: Place the kitchen on a level wall away from doorways and heavy foot traffic. Common mistake: putting it in a dark corner where red looks muddy and white looks gray. Check the spot at the time of day your child usually plays.
- Assemble fully before decorating: Follow the manufacturer's instructions and tighten all fittings before adding accessories. Common mistake: adding decor mid-build and losing small parts among the packaging. Keep hardware in a labeled bag until each step is complete.
- Test the moving parts: Open and close every door and turn every knob after assembly. Common mistake: assuming they work smoothly without checking for binding or loose hinges. Fix any sticking door before your child starts playing.
- Anchor and childproof the area: Secure the kitchen to the wall if the instructions allow, and keep cables or small loose items out of reach. Common mistake: skipping anchoring because the kitchen seems stable. Recheck stability after the first week of play.
- Style with retro play kitchen decor: Add a small rug, play food basket, or hanging apron in colors that complement red or white. Common mistake: overcrowding the counter so there is no room to play. Leave at least half the counter clear for hands-on play.
Product facts
-
Vintage Play Kitchen - Red: The red vintage play kitchen has doors that open and close and knobs that click and turn. Plan clearance on the hinge side and in front of the knobs so kids can actually use those moving parts.
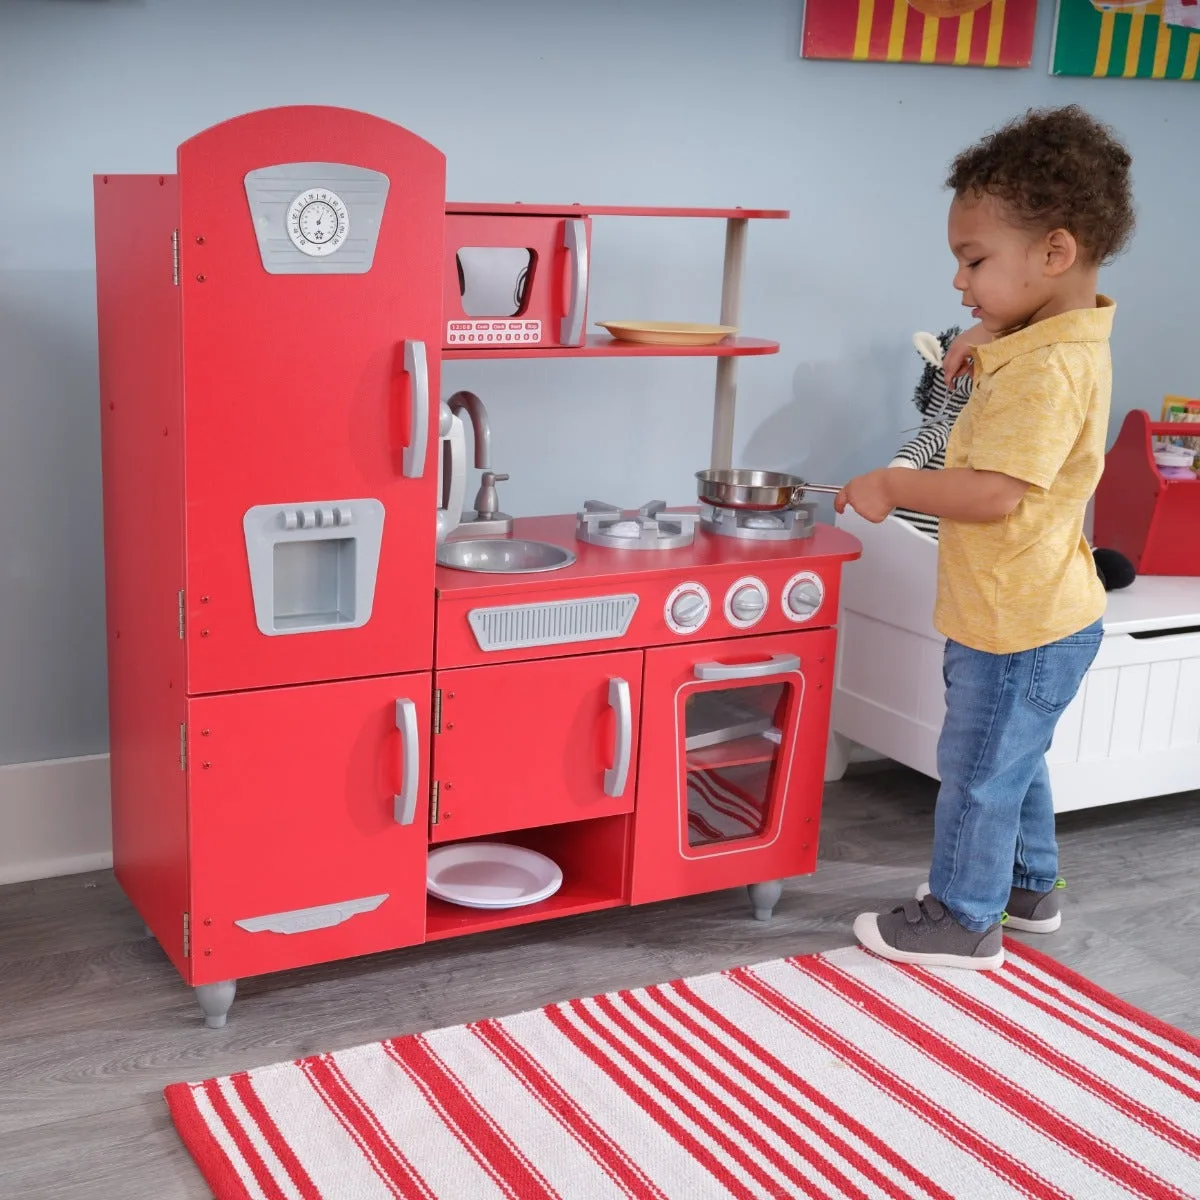
Vintage Play Kitchen - Red
-
Vintage Play Kitchen - White: The white vintage play kitchen includes a phone for pretend calls. Leave a small reachable spot near the kitchen for the phone so it does not become a floor toy.
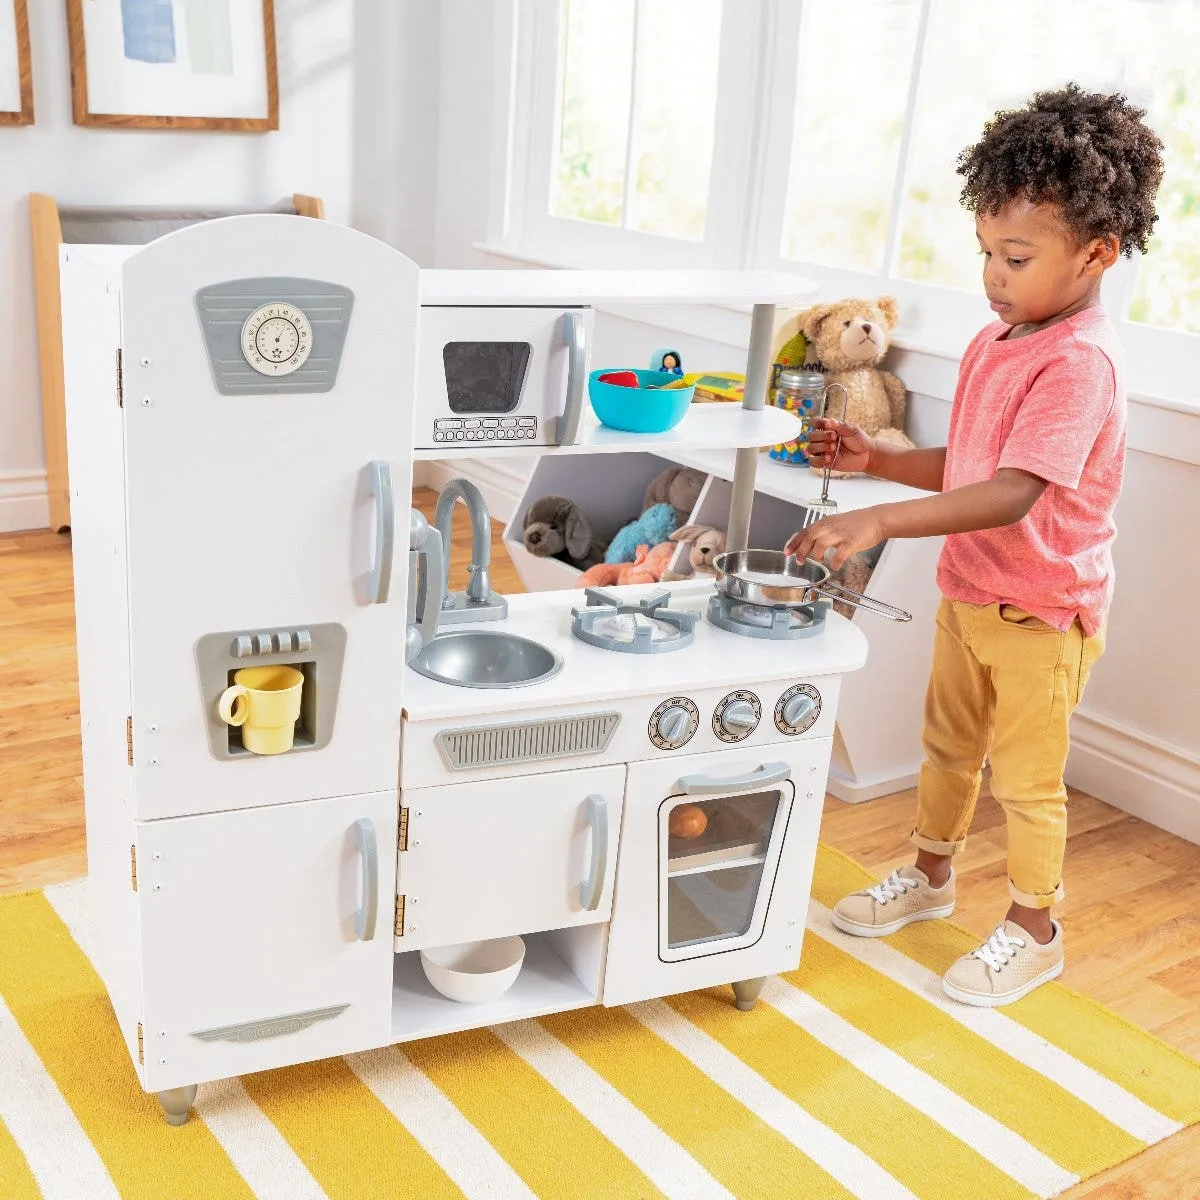
Vintage Play Kitchen - White