Quick Answer
Sew alpine jacquard webbing for bag straps by using a heavy-duty needle, a longer stitch length, and reinforcing the attachment points with bar tacks or box stitches.
Why Alpine Jacquard Webbing Needs Special Handling
Alpine jacquard webbing is thicker and more textured than plain nylon webbing, so it requires a few adjustments to your sewing setup. The woven pattern creates a dense surface that can deflect needles or cause skipped stitches if you rush.
Because the webbing is supple polyester, it feels comfortable against the shoulder, but that softness means it can stretch slightly under load. Using a longer stitch length and reinforcing stress points helps prevent seam slippage over time.
Choosing the Right Needle and Thread
A universal or denim needle in size 90/14 or 100/16 works well for most jacquard webbing. If you're sewing through multiple layers or attaching hardware, a jeans needle reduces the risk of bending or breaking.
Use a polyester or nylon thread that matches the weight of the webbing. All-purpose polyester thread is a good default; avoid cotton thread, which can weaken with moisture and abrasion.
Step-by-Step: Sewing Alpine Jacquard Webbing for Bag Straps
- Prepare Your Webbing and Cut to Length: Measure the desired strap length, adding extra for seam allowances and hardware folds. Cut with sharp scissors or a rotary cutter to avoid frayed edges. Always cut webbing slightly longer than needed—you can trim later, but you can't add back length.
- Set Up Your Machine with the Right Needle and Stitch: Install a size 90/14 or 100/16 needle and set your stitch length to 3.0–3.5 mm. A longer stitch helps the needle penetrate the dense weave without bunching. Test on a scrap piece first to ensure the stitch tension is balanced and the needle doesn't skip.
- Pin or Clip the Webbing in Place: Use wonder clips or binder clips to hold the webbing layers together; pins can distort the weave or break needles. Align edges carefully before sewing. If the webbing shifts while sewing, reduce speed and guide it gently with both hands.
- Sew the Main Seams: Start with a backstitch, then sew straight stitches along the edges, keeping a consistent seam allowance. Sew slowly to maintain control over the thick material. If the machine struggles, try a walking foot to feed the layers evenly.
- Reinforce Stress Points with Bar Tacks or Box Stitches: At each end of the strap and near any hardware, sew a bar tack (several zigzag stitches in place) or a box stitch (a rectangle with an X inside) to distribute weight and prevent tearing. Don't skip this step—it's the difference between a strap that lasts and one that pulls out.
- Finish the Raw Edges: Use a zigzag stitch or a serger along the cut ends to prevent fraying. Alternatively, melt the ends with a lighter or heat tool if the webbing is synthetic. For polyester webbing, heat-sealing is quick and effective—just be careful not to burn the fabric.
- Attach Hardware (Swivel Hooks, Sliders, D-Rings): Fold the webbing over the hardware and sew a box stitch or bar tack to secure. Use a heavy-duty needle for these thicker layers and go slowly to avoid needle breakage. Check that the hardware moves freely after sewing; if it's too tight, adjust the fold before final stitching.
Product Spotlight
-
Paloma - Alpine Jacquard Webbing: Paloma - Alpine Jacquard Webbing is made from supple polyester and designed to feel comfortable and withstand time. Its softness makes it pleasant for bag straps, but you still need to reinforce stress points to ensure long-term durability.
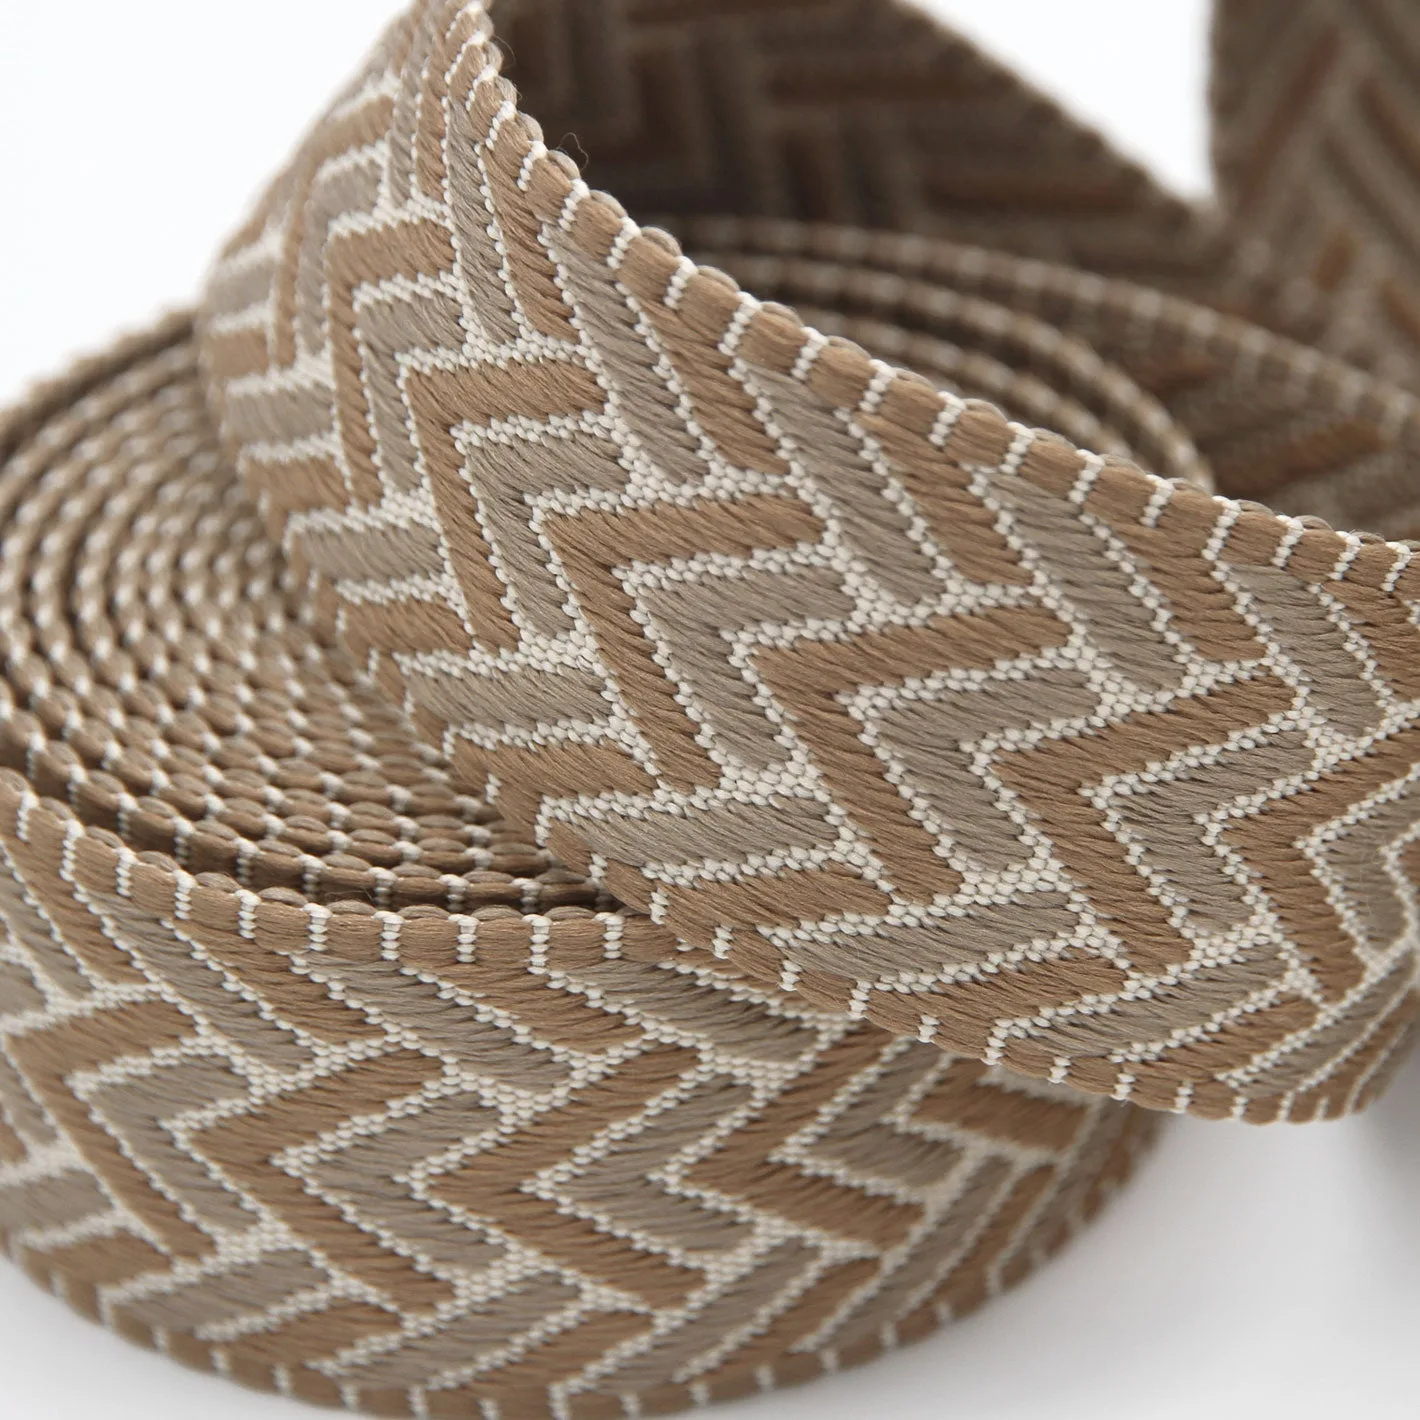
Paloma - Alpine Jacquard Webbing