Quick answer
To sew an embroidered patch on denim without ruining it, use a sharp needle, match thread to the patch edge, and work small stitches around the perimeter. Avoid stitching through heavy seams or the patch's dense embroidery. Always test placement before you start sewing.
Choose the right needle and thread for denim
Denim is a tightly woven cotton fabric, so a standard embroidery needle may bend or break. Use a needle labeled for denim or heavy woven fabrics, such as a size 100/16 or 110/18 sharp. These needles have a reinforced shaft and a sharp point that can penetrate denim without excessive force.
For thread, choose a strong polyester or cotton-wrapped polyester that matches the patch edge or the denim. If you want the stitching to blend, match the denim; if you want it to stand out, match the patch. Avoid thread that is too thick, as it can create large holes and stress the fabric.
Plan patch placement on jeans
Before you sew, decide where the patch will sit. Common spots include the upper thigh, back pocket, or lower leg. Avoid placing the patch over heavy seams, rivets, or the thick folded hem, as sewing through these areas can break needles and damage the denim.
Pin the patch in place or use a fabric-safe adhesive tape to hold it temporarily. Try on the jeans to check the placement and ensure it looks right when worn. Mark the outline lightly with tailor's chalk if needed, but test that the chalk removes easily.
Hand sew the patch with small, even stitches
Thread your needle with about 18 inches of thread and knot the end. Start from the inside of the garment so the knot is hidden. Bring the needle up through the denim and the edge of the patch, then take a small stitch back down through both layers. Work your way around the patch with stitches about 1/8 inch long and 1/8 inch apart.
Use a backstitch for extra strength: instead of a simple running stitch, bring the needle up, then insert it back at the end of the previous stitch. This creates a continuous, durable line. Keep the stitches close to the patch edge to avoid covering the embroidery. Do not pull the thread too tight, as this can pucker the denim.
Finish and secure the stitching
When you return to the starting point, take a few tiny stitches on top of each other to lock the thread. Then bring the needle to the inside of the garment and knot it close to the fabric. Cut the thread, leaving a short tail. Avoid bulky knots that can rub against the skin.
Check that the patch is secure by gently tugging at the edges. If any part feels loose, add more stitches. For heavy wear areas like knees or pockets, consider sewing around the patch twice for added durability.
Step-by-step: sewing an embroidered patch on denim
- Gather tools and materials: You will need a denim needle, strong thread, scissors, pins or tape, and a thimble. A thimble protects your finger when pushing through thick denim. Checkpoint: Make sure your needle is sharp and not bent.
- Position the patch: Place the patch where you want it, avoiding seams and rivets. Pin or tape it down. Try on the garment to confirm placement. Common mistake: Sewing over a thick seam can break your needle and damage the denim.
- Thread the needle and knot the end: Cut about 18 inches of thread. Thread the needle and tie a knot at the end. Use a double thread for extra strength if desired. Checkpoint: The knot should be small enough to hide inside the garment.
- Start sewing from the inside: Push the needle through from the inside of the garment to the front, catching the edge of the patch. Pull the thread through until the knot is snug against the inside fabric. Common mistake: Starting from the front leaves an exposed knot that can unravel.
- Sew around the patch with small stitches: Use a backstitch or running stitch, keeping stitches about 1/8 inch long and close to the patch edge. Work your way around the entire patch. Checkpoint: Stitches should be even and not pull the fabric too tight.
- Secure the thread and finish: When you reach the starting point, take a few tiny stitches to lock the thread. Bring the needle to the inside, knot it, and cut the thread. Common mistake: Knotting on the outside leaves a visible bump.
- Reinforce if needed: For high-wear areas, sew a second row of stitches just inside the first. This adds durability without covering the embroidery. Checkpoint: Gently tug the patch to ensure it is secure.
Product facts
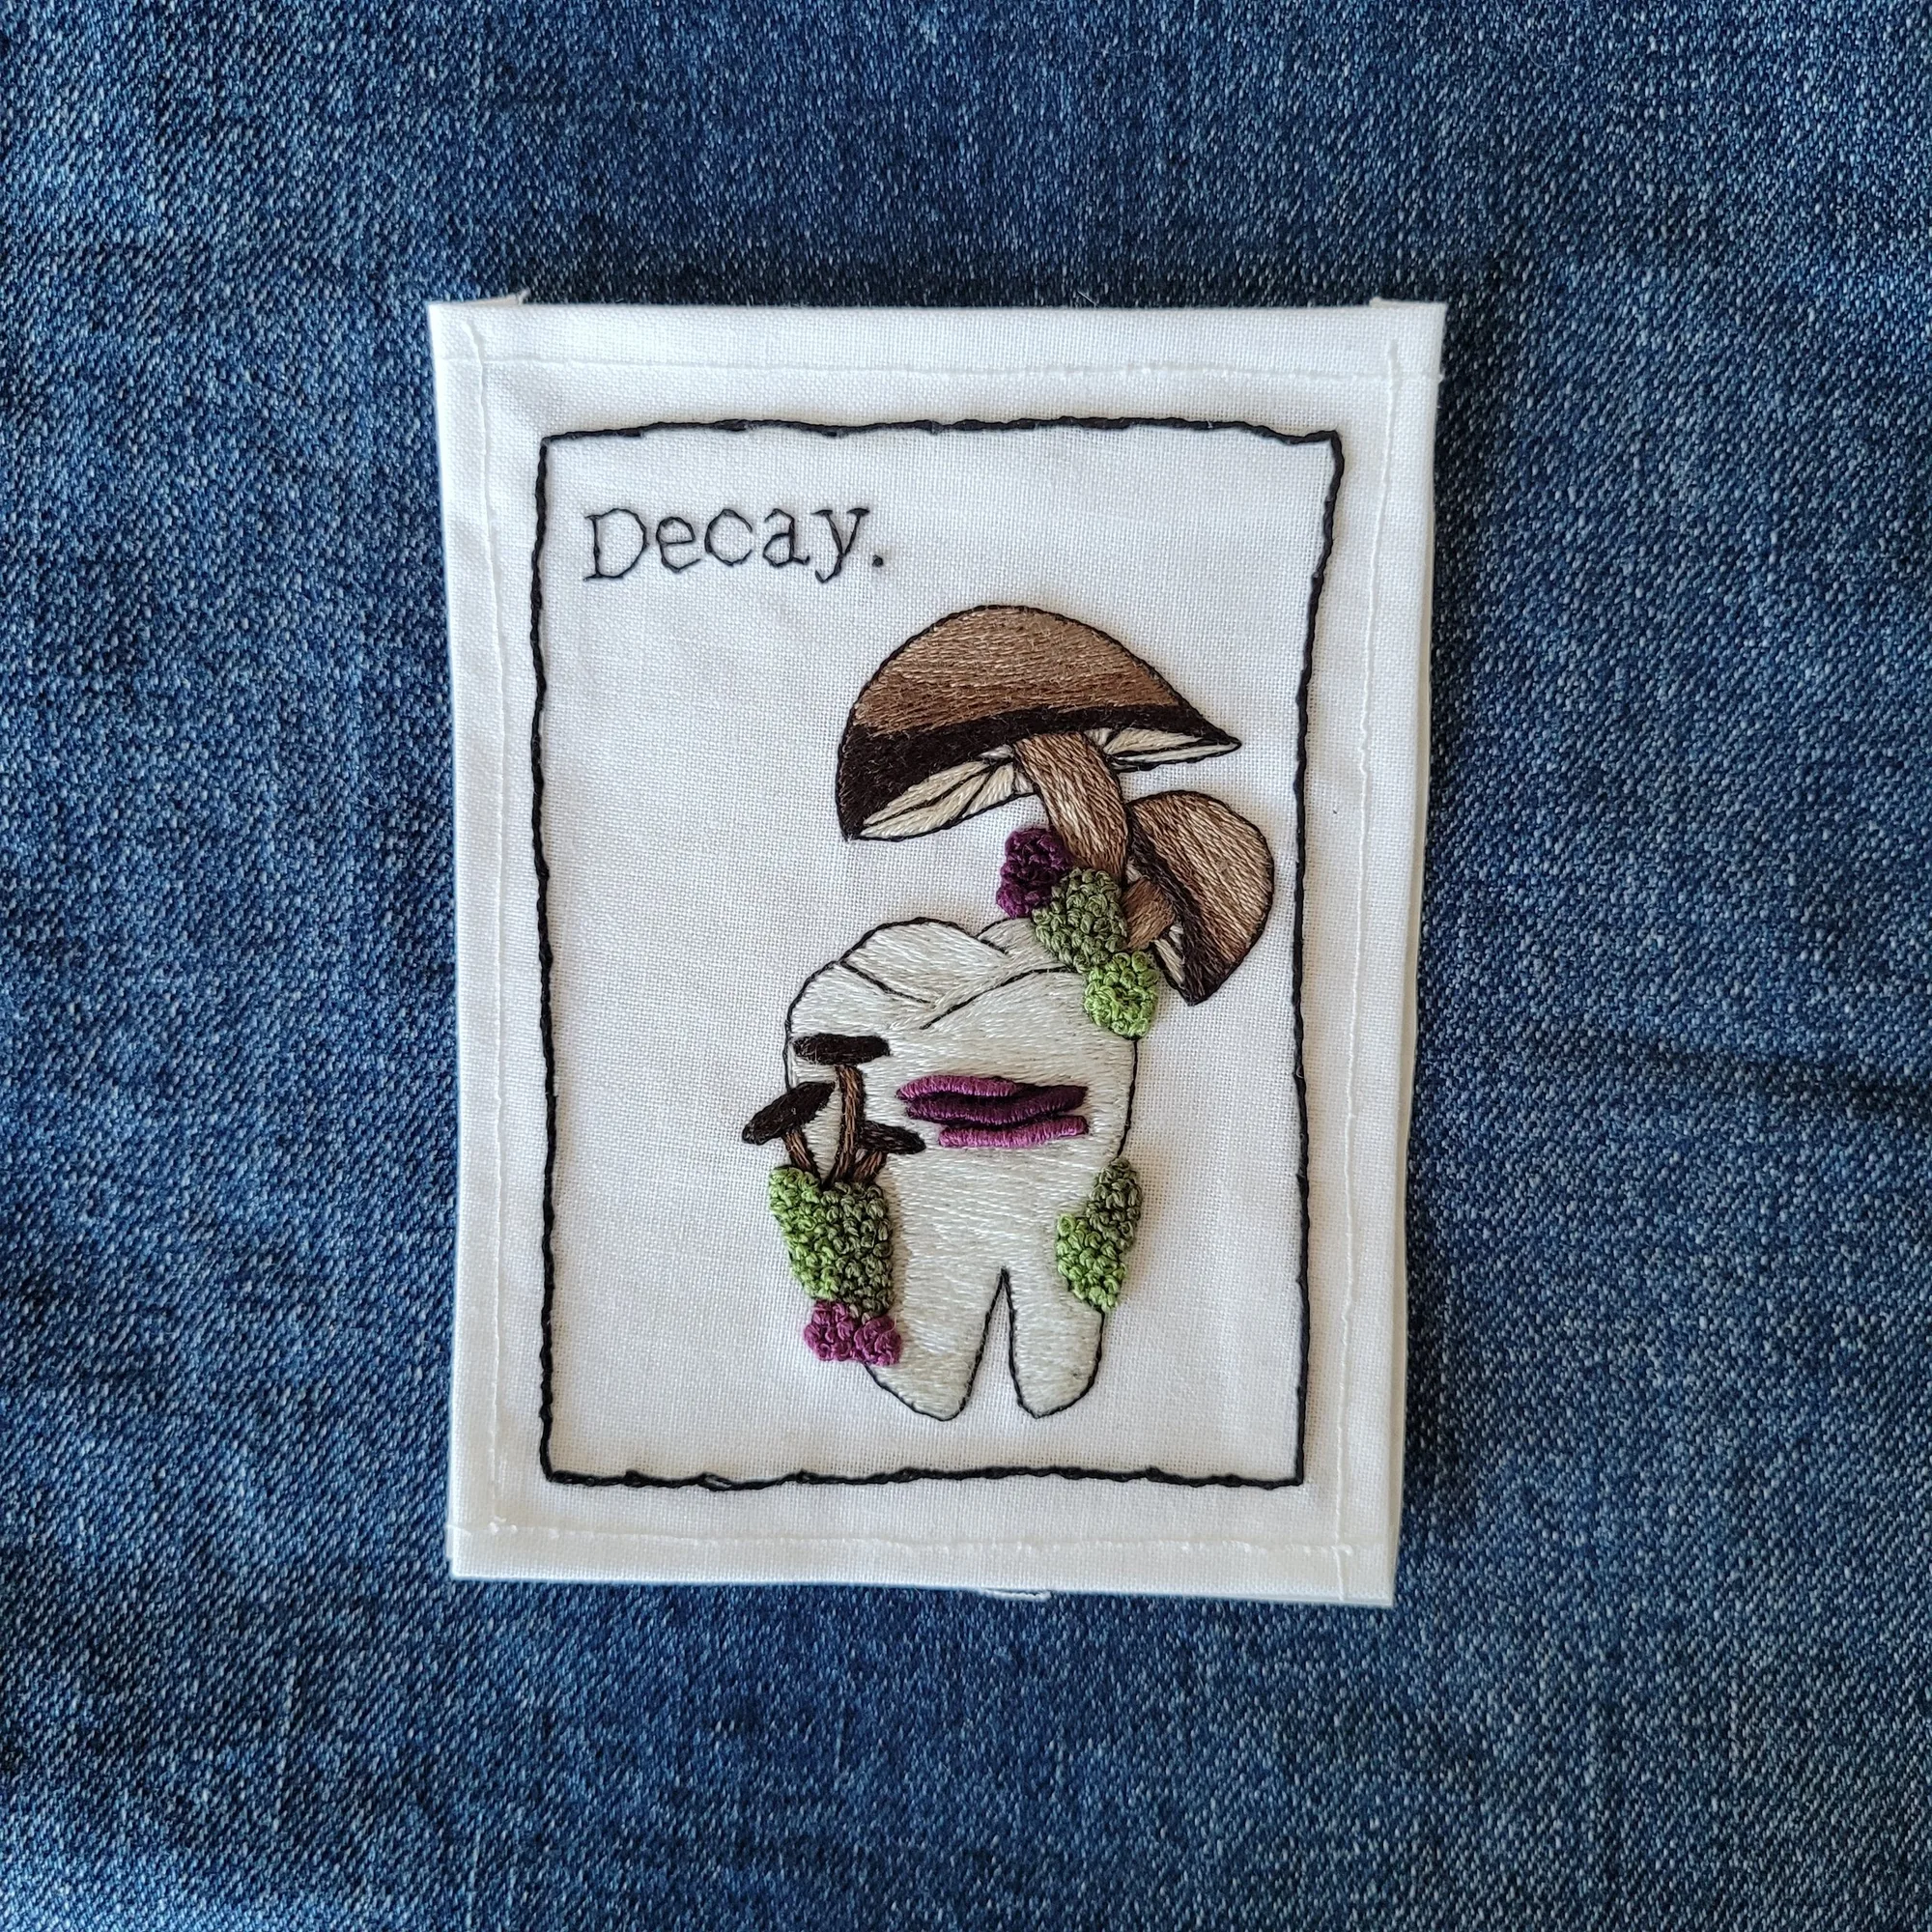
- Decay | Hand Embroidered Iron-on Patch: This patch is part of the Death and Nature collaboration series and is designed and hand stitched on off white cotton fabric. The backing used is Heat-n-Bond ultra-hold. The Heat-n-Bond backing allows you to iron the patch in place first, which can make hand sewing easier because the patch stays put. However, the manufacturer recommends adding stitches because the ultra-hold may degrade over time. This patch is a good candidate for the sewing method described here.