Quick answer
To sew a nylon coil zipper into water resistant canvas, use a #3 zipper tape, pin or clip it to the fabric, and sew with a longer stitch length to avoid puckering.
Why nylon coil zippers work well with water resistant canvas
Nylon coil zippers are flexible and lightweight, making them a natural match for the 300 Denier polyester canvas used in many bags and pouches. The coil teeth slide smoothly and won't catch on the fabric's PU coating.
Water resistant canvas has a slick surface, so pins can leave permanent holes. Use clips or wonder clips instead to hold the zipper in place without damaging the fabric.
Choosing the right zipper length
You can cut nylon coil zipper tape to any length you need, which is handy when working with custom bag patterns. Measure your opening and add a little extra for seam allowances, then trim the excess after sewing.
For most pouches and small bags, a #3 zipper is ideal—it's sturdy enough for daily use but not too bulky.
Step-by-step installation
- Prepare your fabric and zipper: Cut your water resistant canvas to size and trim the nylon coil zipper tape to the desired length, leaving about 1 inch extra on each end for seam allowance. Keep the zipper closed to prevent the slider from coming off. Always test the zipper slide before cutting to ensure it moves smoothly.
- Pin or clip the zipper to the fabric: Place the zipper face down on the right side of the fabric, aligning the edge of the tape with the seam line. Use wonder clips or binder clips instead of pins to avoid leaving holes in the water resistant coating. Check that the zipper teeth are centered over the seam allowance.
- Sew the first side: Using a zipper foot, sew along the edge of the zipper tape, starting from the bottom and going up. Use a longer stitch length (about 2.5-3 mm) to prevent puckering on the canvas. Backstitch at the beginning and end to secure the stitches. If the fabric puckers, increase stitch length or reduce presser foot pressure.
- Sew the second side: Zip the zipper partially open, then align the other side of the fabric to the zipper tape. Clip in place and sew the second side, keeping the seam allowance even. Be careful not to catch the zipper teeth in the seam. Stop with the needle down and lift the presser foot to adjust around the slider.
- Finish and trim: Trim any excess zipper tape and fabric at the ends, and secure the zipper stops by sewing a few extra stitches or using a dab of fabric glue. Press the seam flat with a cool iron (avoid high heat on the PU coating). Test the zipper opens and closes smoothly before finalizing your project.
Products that help
-
Neon Pink Nostalgia - #3 Silver Nylon Coil Zipper Tape: This #3 silver nylon coil zipper tape is durable, premium, and designed to look high-end. Cut it to any length you need and sew right over it without breaking your needles—the teeth look like metal but they're nylon. You can trim it to fit any bag project and sew directly over the teeth, making installation quick and hassle-free.
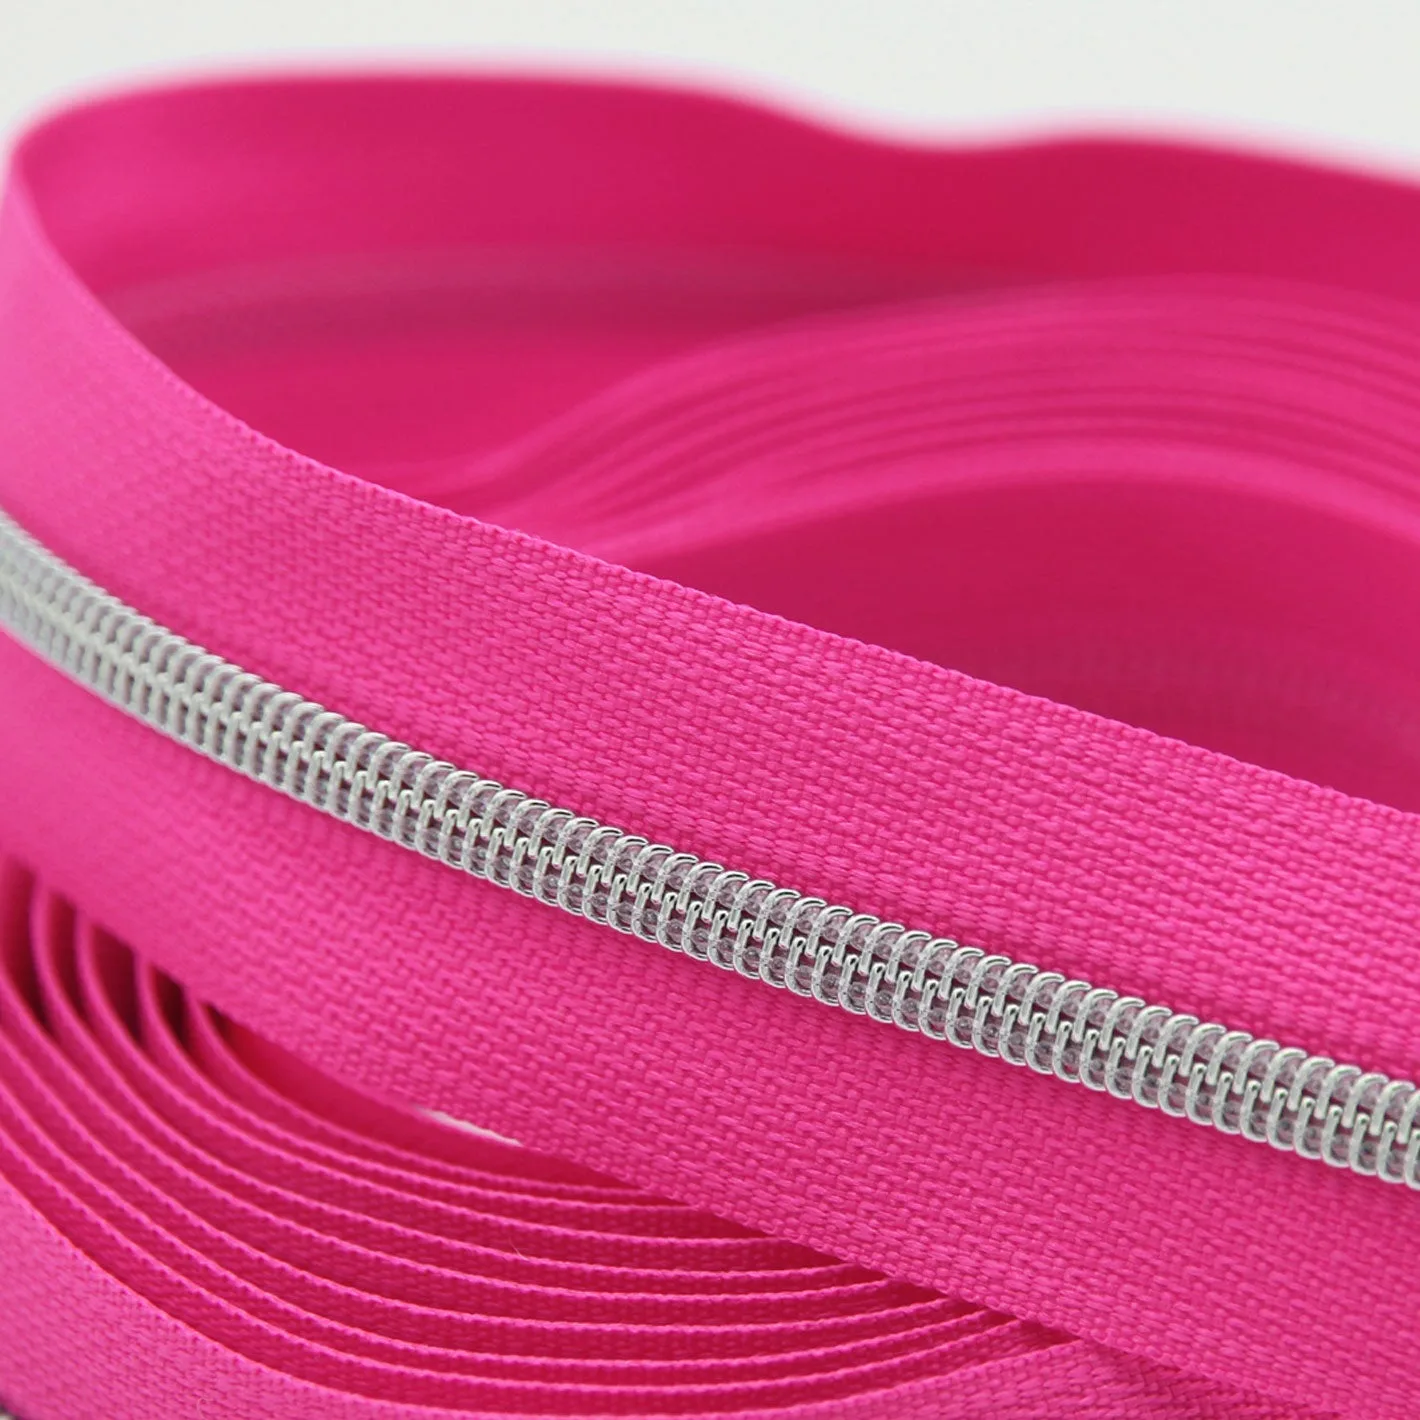
Neon Pink Nostalgia - #3 Silver Nylon Coil Zipper Tape
-
Good Vibes - Lightweight Water Resistant Canvas: This lightweight water resistant canvas is a 300 Denier polyester with a clear PU back coating—light, strong, and built to handle rogue coffee splashes. It's the perfect lining or outer fabric for pouches and bags, and its smooth surface pairs well with nylon coil zippers.
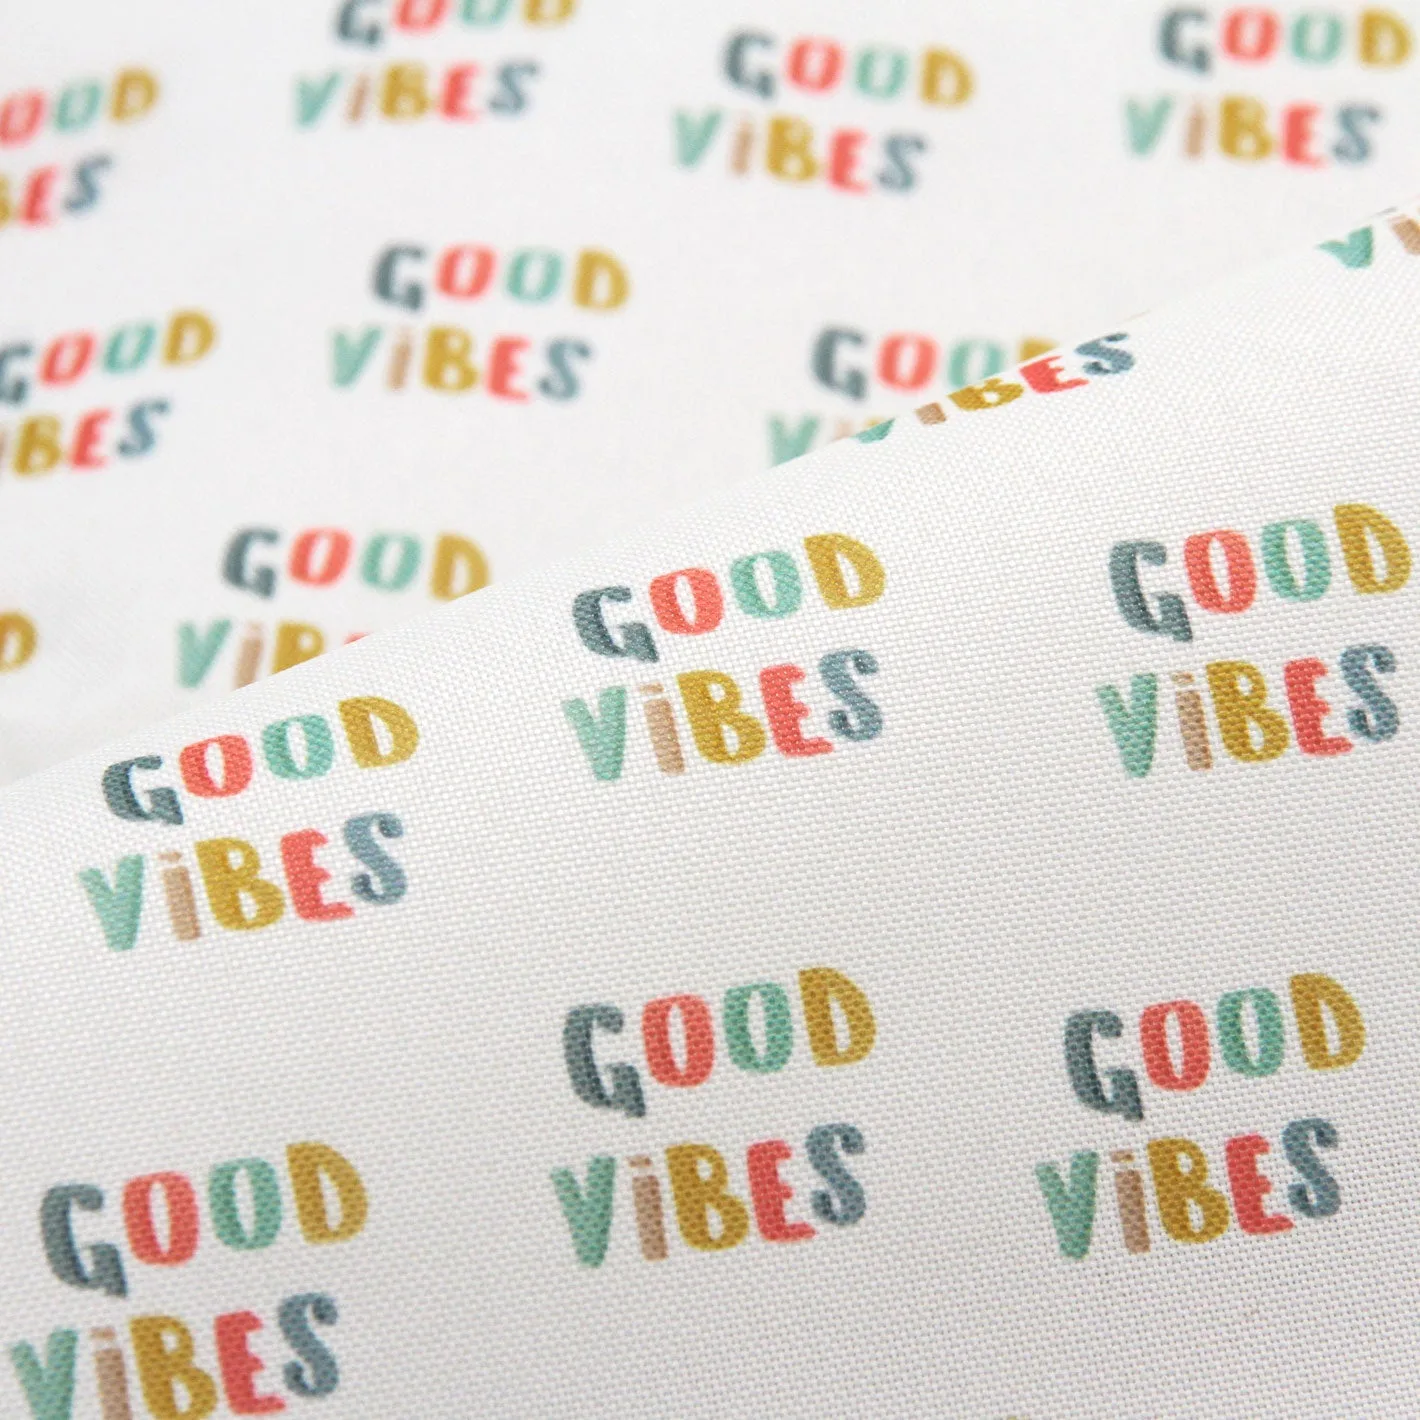
Good Vibes - Lightweight Water Resistant Canvas