Quick Answer
You can attach a patch securely without an iron by hand sewing it with a simple whip stitch or backstitch. This method works on denim, canvas, and other sturdy fabrics and gives you full control over placement.
Why Sew Instead of Iron?
Ironing is quick, but it isn't always the best option. Some fabrics, like nylon or certain synthetics, can't handle high heat. On thick denim or jackets with linings, an iron may not get hot enough to activate the adhesive properly, leading to peeling later. Hand sewing avoids these issues and creates a permanent bond that won't come off in the wash.
Sewing also gives you more flexibility. You can place the patch exactly where you want it, even on curved areas like shoulders or elbows, and adjust as you go. Plus, the thread adds a subtle decorative touch that matches the patch's style.
Step-by-Step Hand Sewing
- Gather your supplies: You'll need a needle, thread (preferably matching the patch edge or the fabric), scissors, and optionally a thimble and pins. Choose a thread that is strong, like polyester or cotton-wrapped polyester. Use a thimble if you're sewing through thick denim—it saves your fingers.
- Position the patch: Place the patch where you want it on the jacket. Use pins or a fabric marker to hold it in place. Make sure it's straight and centered. Double-check placement before you start—once you begin stitching, it's harder to adjust.
- Thread the needle and knot the end: Cut about 18 inches of thread and thread the needle. Tie a knot at the end. If the thread is slippery, wrap it around your finger a couple of times before pulling tight. A secure knot prevents the thread from pulling through the fabric on your first stitch.
- Start from the inside of the jacket: Push the needle from the inside of the jacket to the outside, right at the edge of the patch. Pull the thread through until the knot catches on the inside. This hides the knot. Starting inside keeps the knot out of sight and gives a cleaner finish.
- Use a whip stitch around the edge: Bring the needle over the patch edge and insert it back through the fabric just outside the patch, then bring it up again a few millimeters along. Repeat this all the way around. Keep stitches small and even, about 1/8 inch apart. Consistent stitch length makes the attachment stronger and looks neater.
- Secure the thread at the end: When you've gone all the way around, make a small knot near the patch by looping the needle through the thread a couple of times. Push the needle to the inside and snip the thread close to the fabric. A double knot prevents the thread from coming loose during washing.
Patches That Sew On Well
-
Over It Patch: The Over It Patch is a fully embroidered patch with an iron-on adhesive backing, measuring 2 inches tall by 3 inches wide. Even though it has adhesive, you can sew it on instead—the embroidery gives you a clear edge to stitch through, and the size is easy to handle on a jacket sleeve or chest.
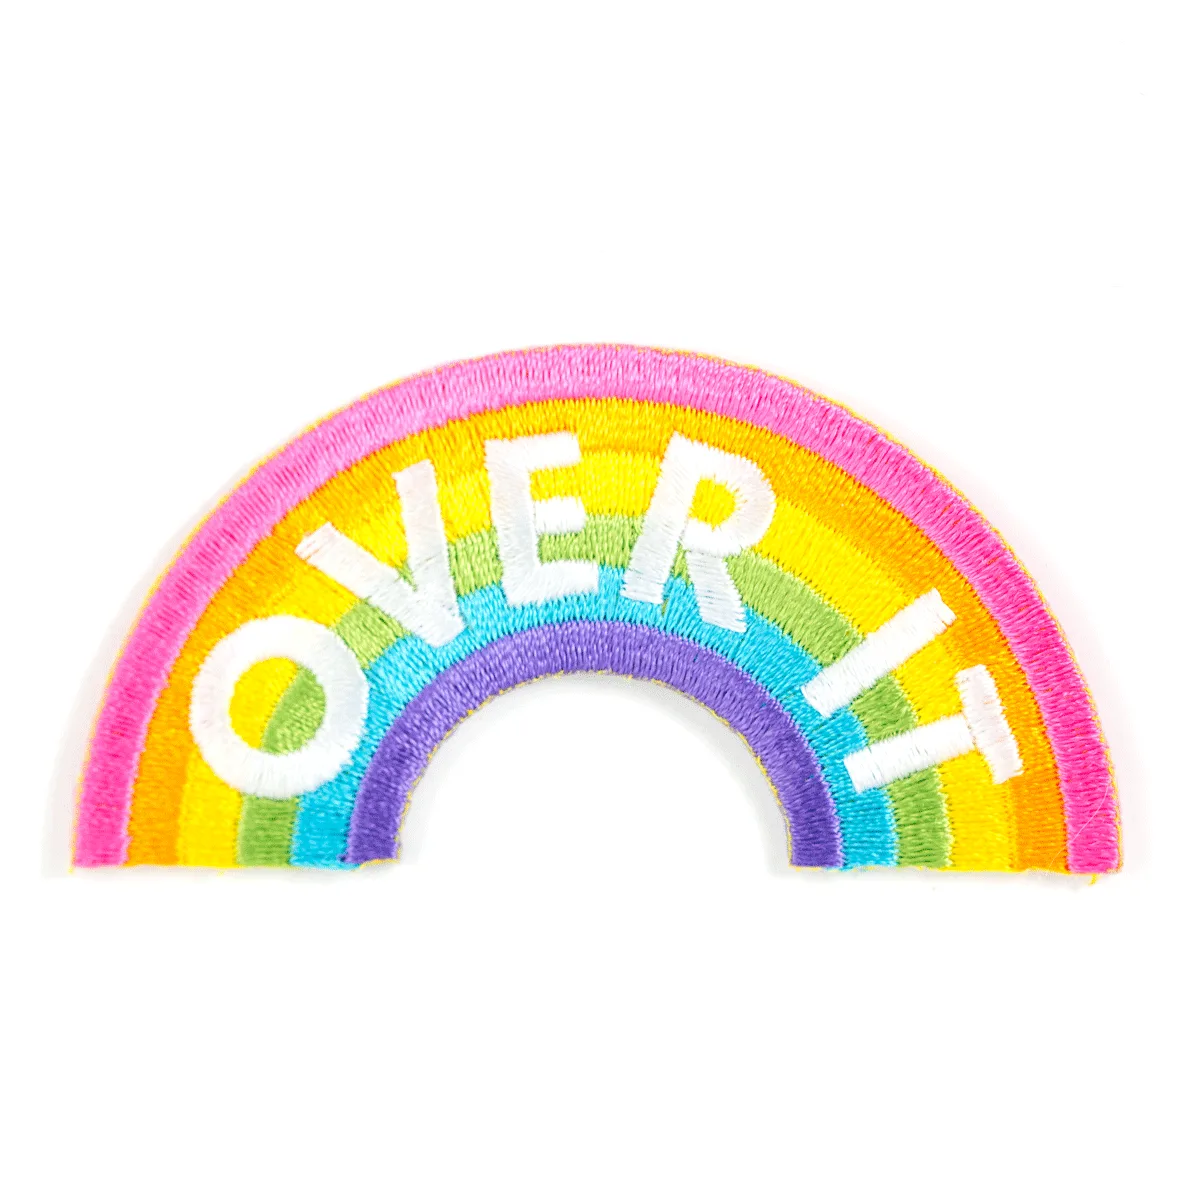
Over It Patch
-
Weed Heart Patch: The Weed Heart Patch features a weed leaf within a heart shape and measures 2.5 inches wide. Its compact size makes it a good choice for sewing onto smaller areas like a jacket pocket flap or a backpack strap.

Weed Heart Patch
-
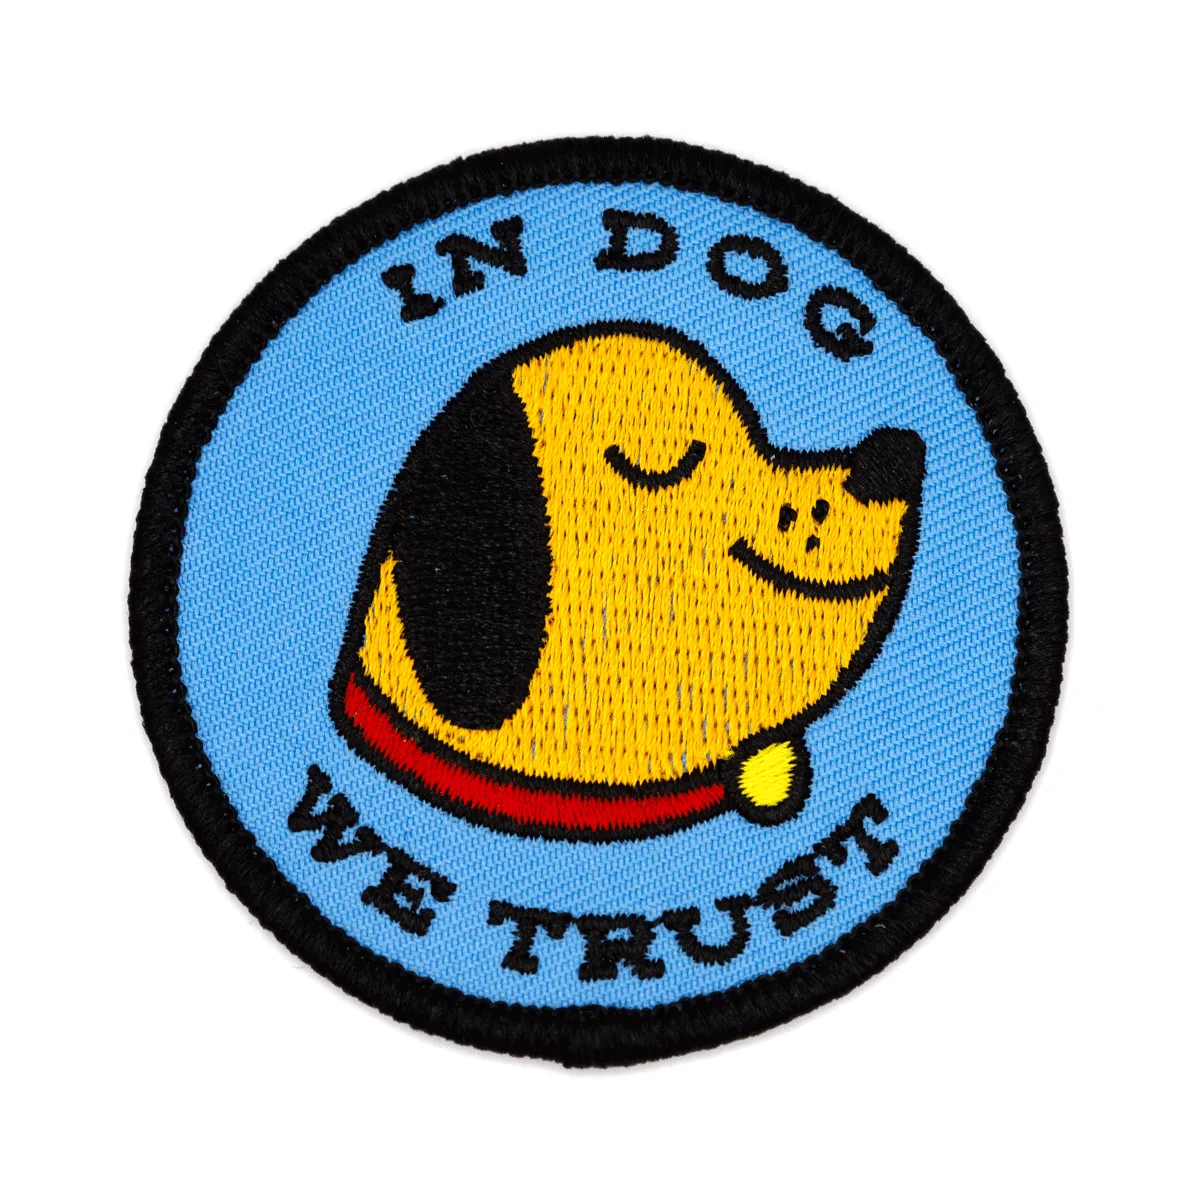
In Dog We Trust Patch: The In Dog We Trust Patch is a fully embroidered, circular patch approximately 2.5 inches in diameter. The round shape is easy to stitch around evenly, and the durable stitching holds up well to hand sewing.