Quick Answer
Sew self-adhesive binding tape by peeling, sticking, and stitching directly—no pins or clips needed. This method gives you clean bag edges with less prep time.
Why Self-Adhesive Tape Works for Bag Edges
Unlike traditional binding that requires pinning or clipping, self-adhesive tape has a full adhesive backing that holds it in place while you sew. This is especially helpful on curved edges where pins can shift or distort the fabric. The tape's water-resistant, nylon-like surface also resists fraying and wrinkling, so your bag edges stay neat through use.
Steps to Sew Self-Adhesive Binding Tape
- Prepare Your Edge: Trim your bag fabric so the edge is even and free of loose threads. A clean edge helps the tape stick fully. Check that the fabric edge is straight; uneven edges can cause gaps in the binding.
- Peel and Stick the Tape: Peel a section of the backing from the tape and press it onto the fabric edge, starting at a seam or corner. Work in short sections to avoid wrinkles. If the tape wrinkles, lift and re-stick it immediately—the adhesive is repositionable for a few seconds.
- Sew Along the Tape: Stitch close to the inner edge of the tape using a straight or zigzag stitch. The adhesive holds the tape in place, so you don't need pins. Use a new or sharp needle; a dull needle can drag the tape and cause puckering.
- Fold and Finish the Corner: At a corner, fold the tape over the edge at a 45-degree angle, then continue sticking and stitching. This creates a clean mitered corner. If the tape doesn't stick well at the fold, apply a tiny dab of fabric glue to secure it.
- Trim Excess Tape: After sewing, trim any extra tape at the ends, leaving a 1/4-inch tail to tuck under for a neat finish. Avoid cutting too close to the stitches—leave enough tape to prevent unraveling.
Product Facts
-
1" Stick 'n Sew™ Self-Adhesive Binding Tape in Diagonal Rainbow Grunge Stripes (10 Yard Roll): 1 roll = 10 yards, 1 inch wide, full adhesive backing The width covers most binding needs, and the adhesive eliminates pinning, saving time on every seam.
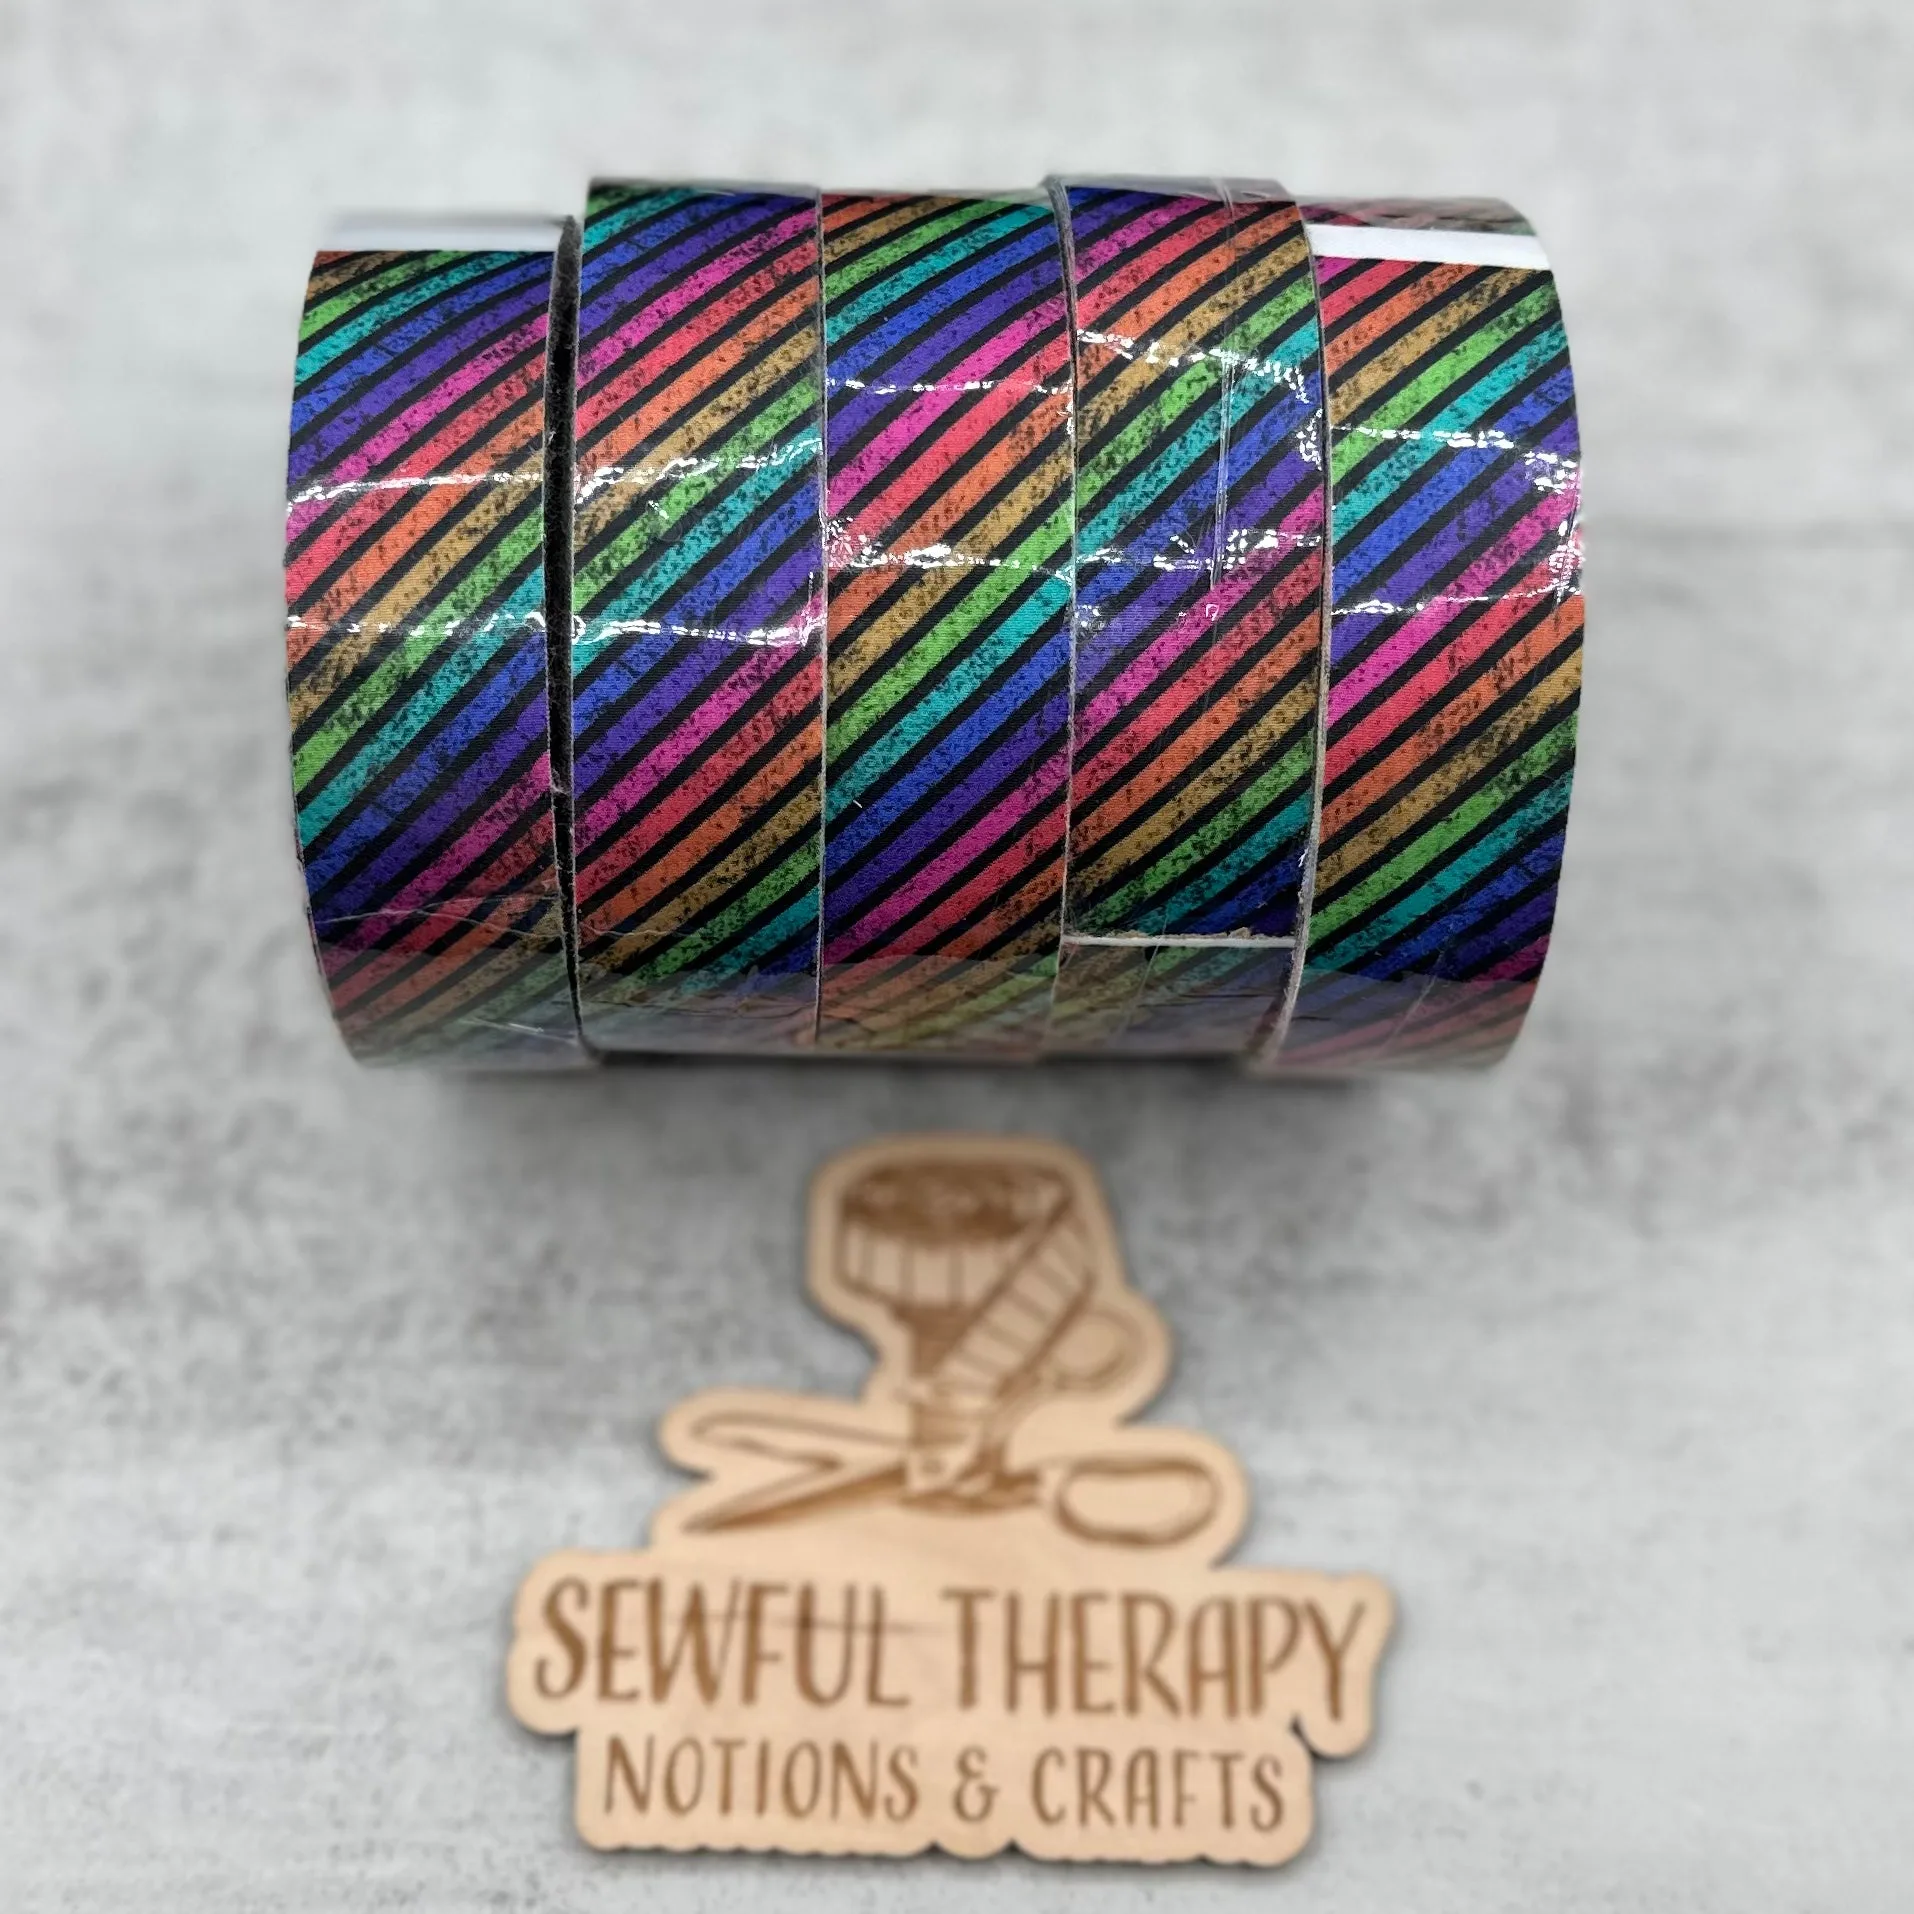
1" Stick 'n Sew™ Self-Adhesive Binding Tape in Diagonal Rainbow Grunge Stripes (10 Yard Roll)