Quick answer
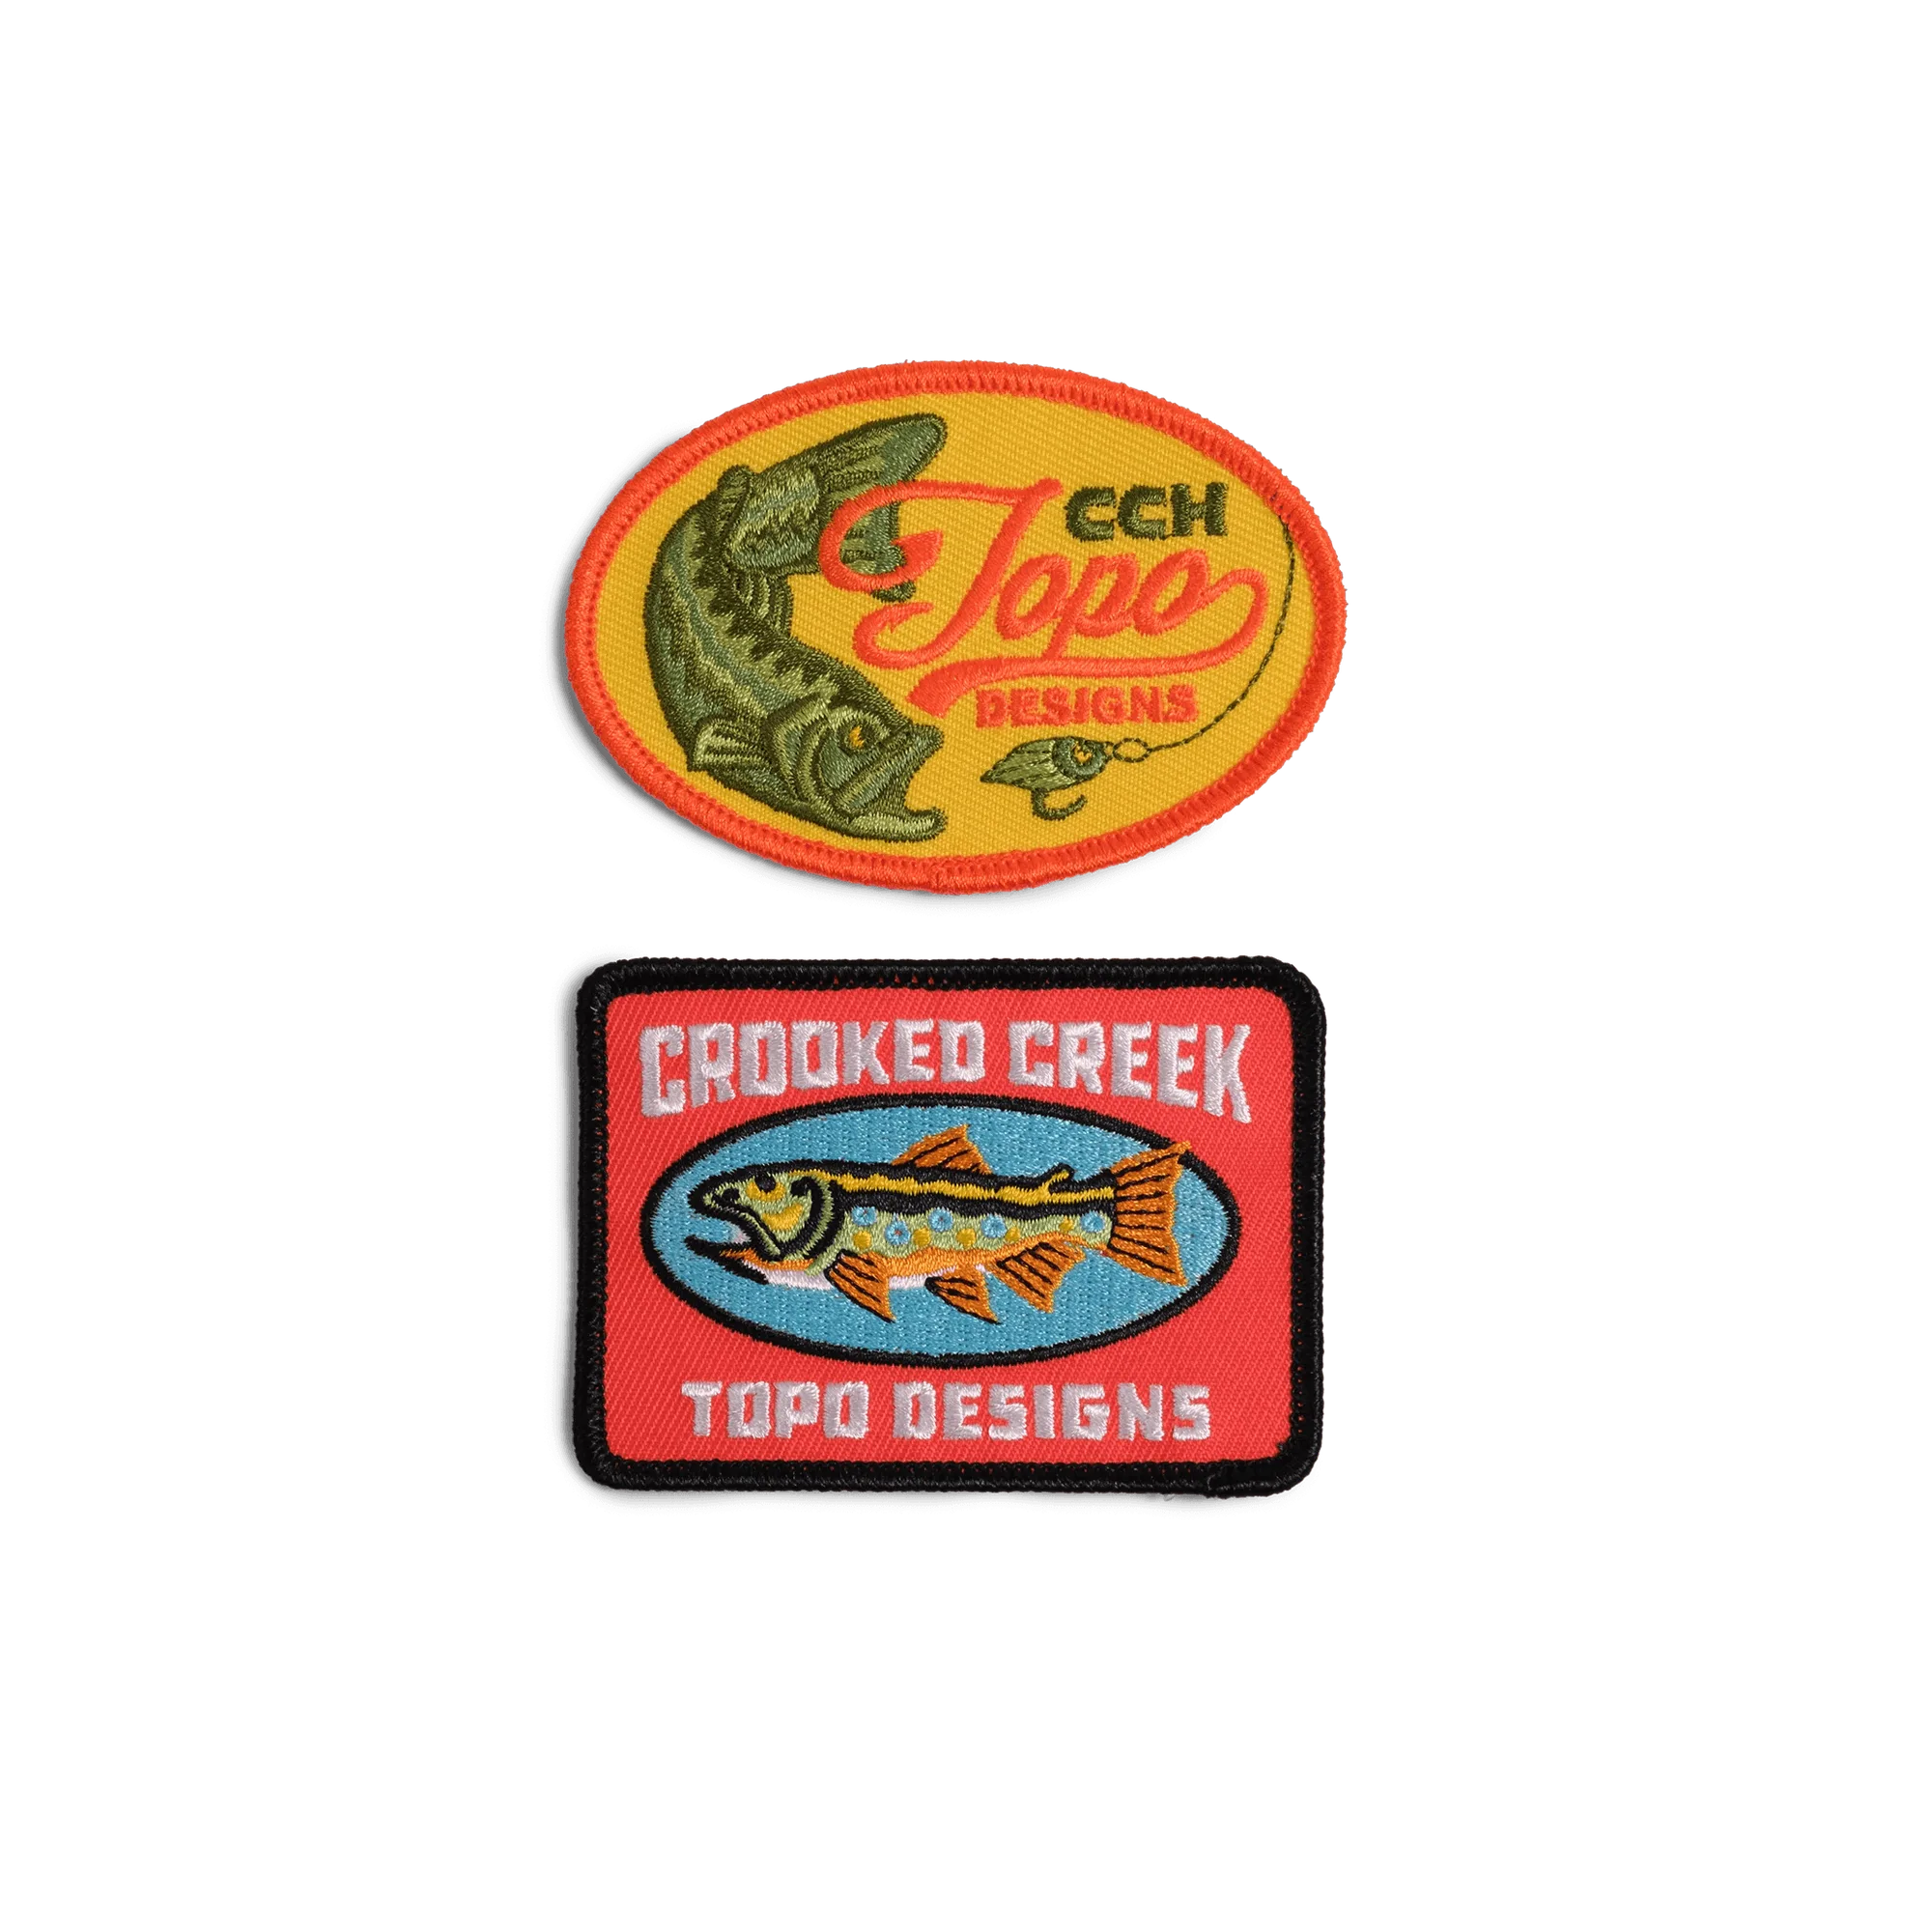
Sew the Topo Designs x CCH Patch 2-Pack on with a whipstitch around the border using heavy-duty polyester thread, after pinning the patch flat and checking that it clears zippers and straps. Hand-sewing gives you the most control on curved pockets and nylon shells.
Why hand-sewing beats fabric glue on nylon bags
Most daypacks and duffels use a tight nylon or recycled nylon weave. Fabric glue can stiffen that weave and may fail in heat or repeated flexing, while a hand-sewn border moves with the bag. Hand-sewing also lets you follow a curved pocket edge without puckering the shell.
The trade-off is time: a 2-inch patch takes roughly 10–15 minutes by hand. If you are patching a trucker jacket or a tote that will not see heavy abrasion, a simple running stitch is enough. For a pack that gets dragged through doorways, use a whipstitch and backstitch the corners.
When to skip sewing and use an iron or adhesive
Do not iron a patch onto nylon shells, coated fabrics, or anything with a waterproof membrane; heat can delaminate the coating. If the care label forbids heat, hand-sewing is the safe route. For non-structural cotton canvas, a fabric-safe adhesive can work as a temporary fix, but expect to re-sew it later.
Steps to sew the patch 2-pack onto your gear
- Plan placement with painter's tape: Tape both patches in position on the pack, tote, or jacket. Check that they sit flat, clear zipper pulls and strap anchors, and stay within any flat panel. Common mistake: placing a patch over a seam or curved pocket edge, which makes a flat patch pucker. Photograph the taped layout before you sew so you can restore it if a patch shifts.
- Pin the patch and mark the stitch line: Pin the patch at four points near the corners, then use a fabric marker to trace a stitch line 1/8 inch inside the patch border. On nylon, pin parallel to the weave so the holes close. Common mistake: pinning through the patch artwork or leaving pins in while you sew over them. Keep pins at least 1/4 inch from the border so the needle does not hit them.
- Thread a heavy-duty polyester needle: Use a size 16 denim or heavy-duty needle and polyester thread; polyester holds up to UV and moisture better than cotton thread on outdoor gear. Knot the thread and bring the needle up from inside the bag so the knot hides. Common mistake: using a standard sharp needle, which can bend on dense nylon. Test the needle on a scrap of nylon before starting on the finished bag.
- Whipstitch around the border: Sew small, even stitches over the patch edge, catching about 1/8 inch of patch and 1/8 inch of bag fabric each time. Keep tension firm but not tight enough to bunch the shell. Common mistake: pulling each stitch tight, which ripples the nylon around the patch. Every few stitches, lay the bag flat to check for puckering.
- Backstitch the corners and finish: At each corner, sew two or three backstitches to lock the thread, then run the needle to the inside of the bag and tie off. Repeat for the second patch. Common mistake: knotting on the outside, where the knot abrades and loosens. Trim thread tails to 1/4 inch after tying off inside the bag.
- Seal and stress-test the stitching: If the fabric is woven nylon, apply a tiny dot of fray-check to each stitch entry point on the inside. Let it dry, then gently tug the patch edges. Common mistake: applying fray-check to the patch face, which can stain the print. If any stitch pulls loose, re-sew that section before first use.
Product facts
-
Topo Designs x CCH x Pine Printshop Patch 2-pack: This classic patch set is made by Pine Printshop in Fort Collins, Colorado, with artwork by Danny Reed. Two coordinated patches let you plan a front-and-shoulder placement instead of a single random patch.
Topo Designs x CCH x Pine Printshop Patch 2-pack