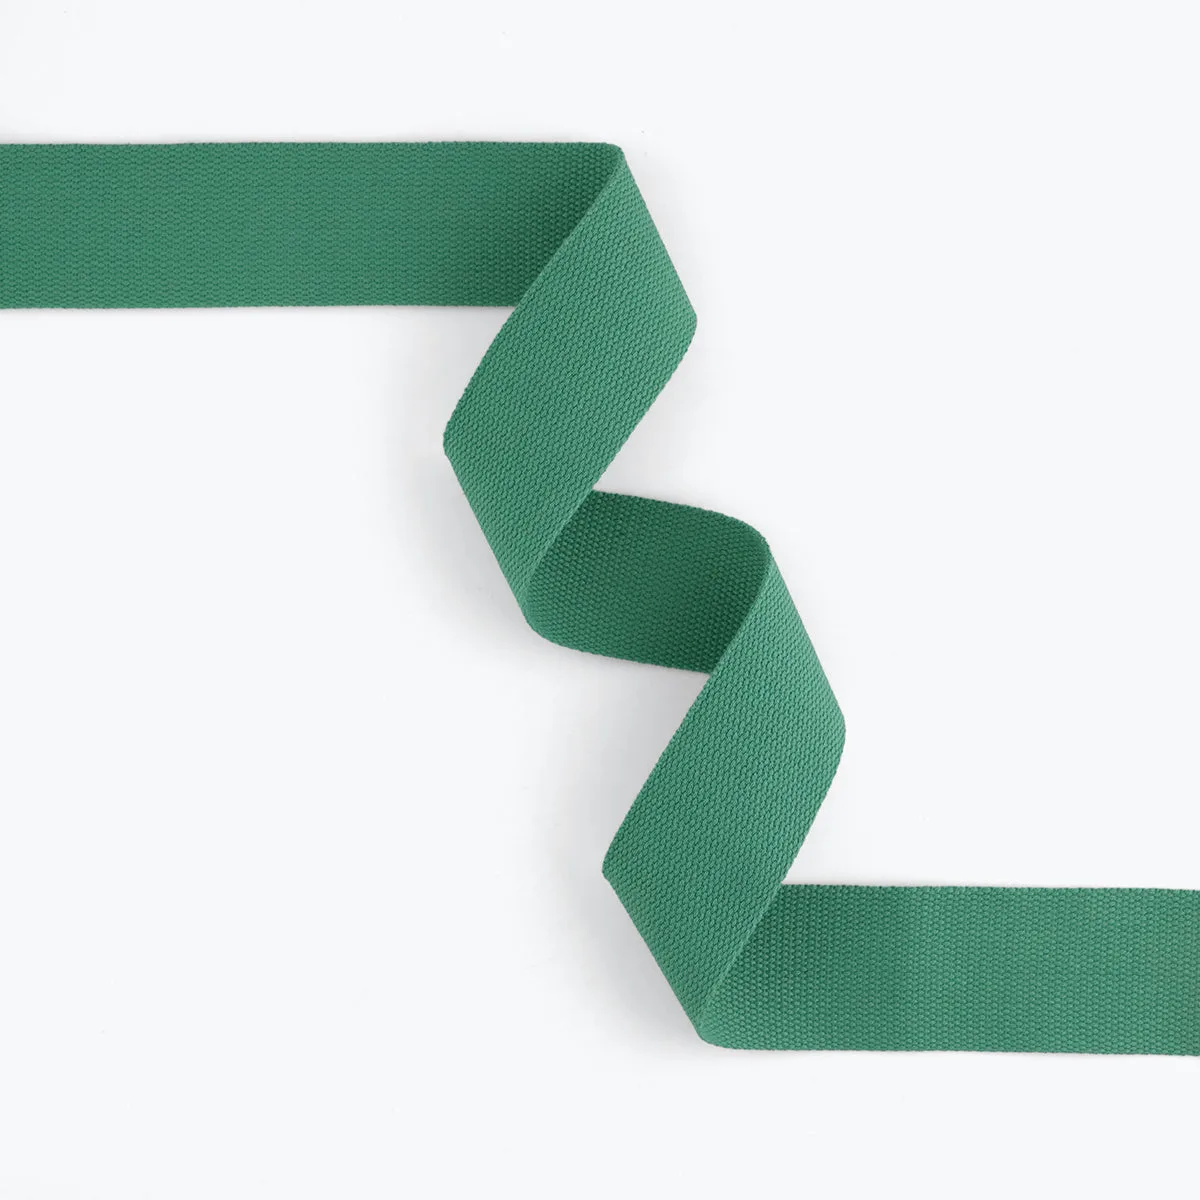
Why Use Webbing for Bag Straps
Sewing your own bag straps with webbing saves time and gives you a professional, durable result. Sallie Tomato Premium Webbing is a strong polyester woven material with finished edges, so you can skip the steps of turning, pressing, and interfacing fabric straps. The result is a clean, polished strap in minutes.
Choosing the Right Webbing Width
Webbing width affects both the look and function of your strap. Sallie Tomato offers 1-1/2" and 2" widths. For a classic tote or crossbody bag, 1-1/2" webbing (like the Checkerboard Blue/White or Grey Webbing) works well for handles and shoulder straps. The 2" Basil Webbing provides a wider, more substantial strap, ideal for larger totes, backpacks, or duffle bags that carry heavier loads.
Both widths are sold in 1-yard increments, so you can order the exact length you need for your project.
Webbing Options at a Glance
-
1-1/2" Checkerboard Blue/White Webbing: 1-1/2" Checkerboard Blue/White Webbing — polyester, 1-1/2" wide, sold in 1-yard increments. A classic color pattern that works for medium-weight bags like totes and crossbodies.

1-1/2" Checkerboard Blue/White Webbing
-
1-1/2" Grey Webbing: 1-1/2" Grey Webbing — polyester, 1-1/2" wide, sold in 1-yard increments. A neutral shade that pairs with many bag fabrics, ideal for everyday straps.
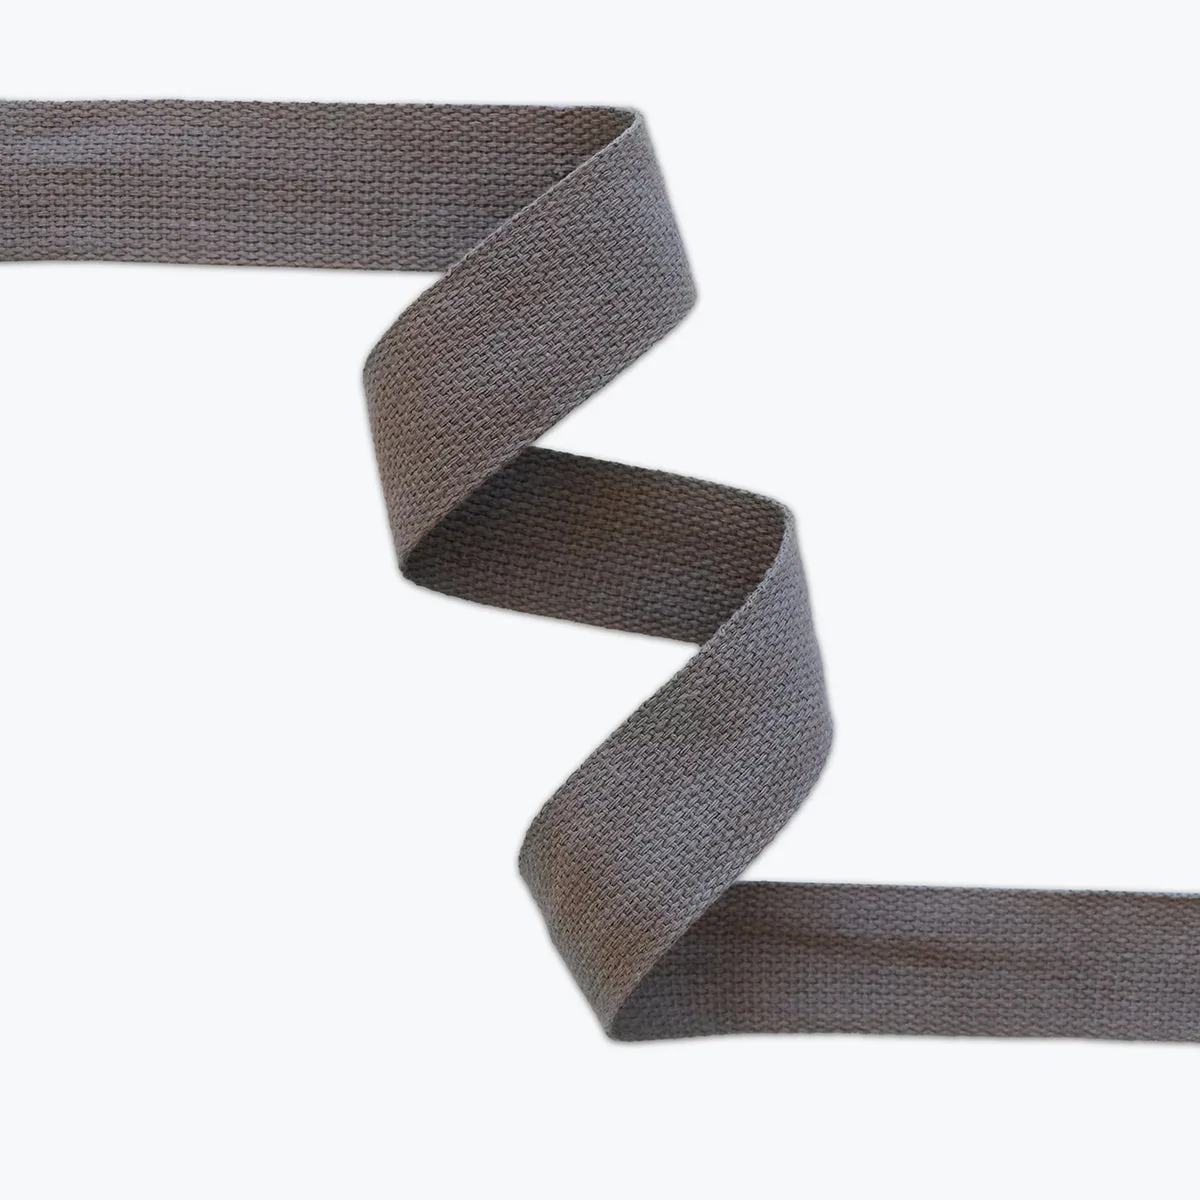
1-1/2" Grey Webbing
-
2" Basil Webbing: 2" Basil Webbing — polyester, 2" wide, sold in 1-yard increments. Extra width provides more surface area for heavy-duty bags and larger hardware.
How to Sew Webbing Straps
Follow these steps to create strong, professional bag straps with Sallie Tomato Premium Webbing. The process is the same for any width.
- 1. Cut your webbing to length: Measure and cut the webbing to your desired strap length. The cut ends will be raw, but they can be easily sewn into seams or finished with a zigzag stitch for a polished result.
- 2. Attach hardware (if using): Slide your chosen hardware (e.g., D-rings, swivel clips, or strap adjusters) onto the webbing. Fold the webbing end over the hardware and stitch across to secure. Use a heavy-duty needle and strong thread for best results.
- 3. Sew the strap to your bag: Position the webbing strap on your bag where you want it. Stitch a rectangle or X-box pattern over the attachment area to distribute weight and ensure durability. The finished edges of the webbing give a clean look without extra finishing.
Pairing Webbing with Bag Hardware
Sallie Tomato Premium Webbing is designed to work with your choice of hardware. The 1-1/2" width fits standard 1-1/2" hardware, while the 2" width requires larger hardware. Always test the fit before sewing. The webbing's polyester material holds up well to repeated stress, making it suitable for everyday and heavy-duty use.
Tips for a Professional Finish
Because the webbing has finished edges, you don't need to fold or press the sides. Just cut, attach hardware, and sew. For extra durability on load-bearing straps, sew a second row of stitches near the first. The raw cut ends can be hidden inside a seam or sealed with a quick zigzag stitch to prevent fraying.
Sallie Tomato also offers a step-by-step tutorial for creating beautiful, functional straps using webbing — you can watch it on their site.